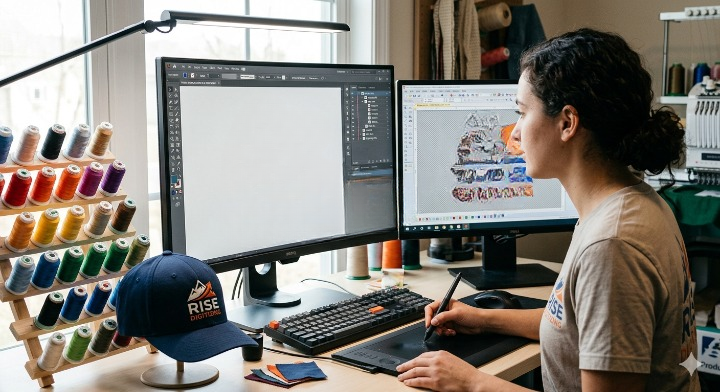
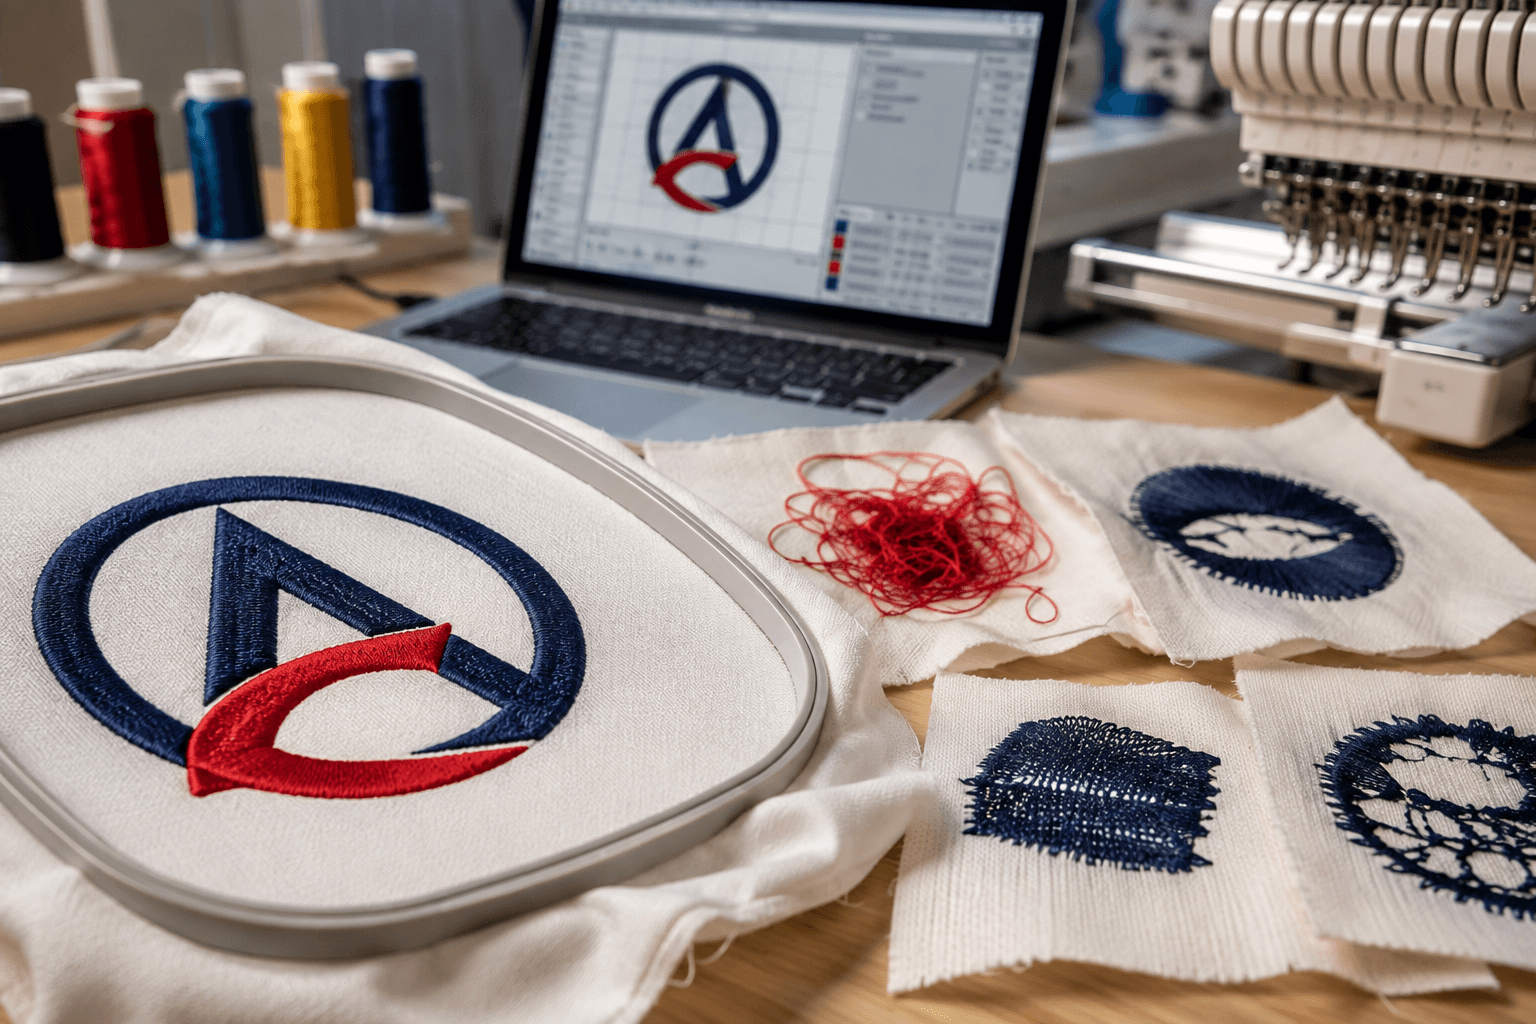

Embroidery can turn a simple logo, name, or artwork into a professional-looking piece of apparel. But when the embroidery digitizing is poorly prepared, even high-quality garments and expensive embroidery machines can produce disappointing results.
Uneven stitching, thread breaks, puckering, poor lettering, gaps, distorted shapes, and excessive stitch counts are often not machine problems at all. In many cases, the real issue begins before production—with the embroidery digitizing file.
A properly digitized design tells an embroidery machine exactly where to stitch, which stitch type to use, how dense each section should be, what direction the stitches should follow, and where color changes or trims should occur.
That is why professional digitizing is such an important part of consistent embroidery production.
If you want to understand the fundamentals first, our complete guide to embroidery digitizing explains how artwork is transformed into a machine-readable embroidery design.
This guide covers five common embroidery digitizing mistakes that can reduce production quality—and practical ways to fix them.
What Is Embroidery Digitizing and Why Does It Matter?
Embroidery digitizing is the process of converting artwork, logos, text, or images into a digital stitch file that an embroidery machine can read.
Unlike a standard image file such as PNG or JPG, an embroidery file contains instructions for the machine. These instructions determine stitch placement, stitch direction, density, sequencing, trims, color changes, and other production details.
Common embroidery machine formats include DST, PES, and VP3. Choosing the correct format is important because different machines may require different file types. You can learn more about the differences in our guide to DST vs PES vs VP3 embroidery file formats.
Good digitizing should account for:
- Fabric type and thickness
- Garment construction
- Design size
- Stitch density
- Stitch direction
- Underlay
- Pull and push compensation
- Stitch sequencing
- Lettering size
- Thread type
- Machine capabilities
- Hooping method
- Production speed
The goal is not simply to make artwork look like embroidery on a computer screen. The goal is to create a file that produces clean, stable, repeatable embroidery in the real world.
Mistake 1: Using the Wrong Stitch Density
One of the most common causes of poor embroidery quality is incorrect stitch density.
Stitch density refers to how closely stitches are placed together within a particular area of the design. If the density is too high, the design can become unnecessarily heavy and may cause thread breaks, stiffness, puckering, needle stress, or excessive production time.
If the density is too low, the fabric may show through the design. Filled areas can look weak, uneven, or incomplete.
Why Incorrect Density Causes Problems
Different fabrics require different approaches.
A lightweight polo shirt, a structured jacket, a cap, and a thick hoodie do not respond to embroidery in exactly the same way. A density setting that works well on one material may perform poorly on another.
Excessive density can lead to:
- Puckering around the design
- Thread breaks
- Needle penetration problems
- Stiff embroidery
- Increased stitch count
- Longer production times
- Unnecessary thread consumption
Insufficient density can result in:
- Visible fabric between stitches
- Weak coverage
- Uneven fills
- Poor color appearance
- Designs that look unfinished
How to Fix Stitch Density Problems
Start by considering the garment and fabric rather than using the same density settings for every design.
A professional digitizer should evaluate:
- Fabric thickness
- Fabric stretch
- Design dimensions
- Stitch type
- Thread weight
- Stabilizer requirements
- Intended production method
The stitch count should also be appropriate for the design size. Our guide on how many stitches a logo should have provides additional insight into managing stitch counts for logo embroidery.
The objective is balanced coverage, not simply adding more stitches.
Mistake 2: Ignoring Stitch Direction and Design Sequencing
Stitch direction plays a major role in how an embroidered design looks after production.
When stitches are placed without considering the shape and structure of the artwork, the finished design can appear flat, distorted, inconsistent, or visually confusing.
Stitch direction can also affect how light reflects from the thread. Two sections using the same thread color can appear different simply because the stitches run in different directions.
Why Stitch Direction Matters
Imagine a curved logo with several overlapping elements. If every section is stitched in the same direction, the design may lose its natural shape.
Good digitizing uses stitch direction to:
- Define shapes
- Add visual depth
- Follow curves
- Separate design elements
- Improve dimensional appearance
- Reduce unnecessary distortion
Sequencing is equally important.
The embroidery machine should generally complete design elements in a logical order that minimizes unnecessary trims, jumps, color changes, and movement.
Poor sequencing can create:
- Excessive thread trims
- Unnecessary jumps
- Visible connection points
- Longer production times
- Increased opportunities for thread breaks
- Poor registration between design elements
How to Fix Stitch Direction and Sequencing
Break the artwork into logical embroidery objects before assigning stitch types and directions.
Consider:
- Which element should be embroidered first?
- Which areas overlap?
- Where should one color connect with another?
- Where should the machine stop or trim?
- Which direction best follows the shape?
- How will the fabric react as stitching builds up?
For complex designs, thoughtful sequencing is particularly important.
If you are working with complicated artwork, our guide on how to digitize complex patterns for machine embroidery can help explain why complex designs require more careful planning.
Mistake 3: Digitizing Artwork Without Considering the Fabric
A design that looks perfect on a computer monitor can fail when embroidered onto an actual garment.
One major reason is that embroidery is not performed on a flat, motionless digital canvas. Fabric stretches, moves, compresses, shifts, and reacts to needle penetration.
This means digitizing must be adapted to the material.
Different Fabrics Behave Differently
Consider the difference between:
- Cotton T-shirts
- Stretch polos
- Denim jackets
- Caps
- Fleece hoodies
- Performance fabrics
- Towels
- Knitted garments
A dense design may perform well on a stable fabric but cause distortion on a stretchy material.
Likewise, very small details that work on a structured garment may disappear when stitched onto a soft or textured surface.
Common Fabric-Related Problems
Ignoring fabric characteristics can cause:
- Puckering
- Design distortion
- Registration problems
- Poor stitch coverage
- Thread sinking
- Detail loss
- Uneven edges
This is why stabilizer selection, underlay, density, compensation, and stitch direction should be considered together.
How to Fix Fabric Compatibility Problems
Before digitizing, identify the actual production material.
Ask:
- Is the fabric woven or knitted?
- Does it stretch?
- Is it lightweight or heavyweight?
- Is the surface smooth or textured?
- Will the design be placed on a cap, sleeve, chest, back, or another area?
- How large will the finished embroidery be?
The design should then be digitized according to those conditions.
If your artwork needs significant preparation before digitizing, consider whether it first requires vector conversion. Our resource on vector conversion and embroidery digitizing explains the relationship between clean artwork and embroidery-ready files.
Mistake 4: Making Small Details and Text Too Complicated
Small embroidery details are among the easiest elements to lose during production.
Designers sometimes create artwork that looks excellent at a large size but expect every tiny line, gap, letter, or decorative element to remain visible when reduced to a small embroidered logo.
Unfortunately, thread has physical limitations.
An embroidery machine cannot reproduce every tiny digital detail exactly as it appears on a screen.
Why Small Details Fail
Very small elements can become:
- Too dense
- Difficult to stitch
- Visually unclear
- Filled with thread
- Connected unintentionally
- Difficult to read
Small lettering is particularly challenging.
Thin fonts, narrow gaps, complicated scripts, and tiny text may become unreadable after stitching.
Simplify Instead of Overloading the Design
Professional embroidery digitizing often involves simplifying artwork.
That can mean:
- Removing unnecessary details
- Increasing spacing
- Thickening thin lines
- Simplifying small shapes
- Adjusting lettering
- Increasing the size of important elements
- Selecting embroidery-friendly fonts
The objective is to preserve the identity and visual message of the design, rather than forcing every tiny detail into the embroidery.
If you are starting with a logo, our guide on how to digitize a logo for embroidery provides a useful starting point.
You can also learn more about creating the perfect logo for embroidery before sending artwork for digitizing.
Mistake 5: Skipping Test Stitching and Quality Control
One of the biggest production mistakes is assuming that a digital embroidery file is finished simply because it looks correct in embroidery software.
A design can look perfect in simulation and still produce unexpected results on the actual garment.
This is why test stitching is such an important part of professional embroidery production.
Why Test Stitching Matters
A physical test can reveal problems that are difficult to identify on a computer screen.
For example:
- Thread breaks may occur
- Fabric may pucker
- Small text may become unreadable
- Registration may shift
- Density may be excessive
- Underlay may show through
- Stitch direction may produce an unwanted appearance
- Details may disappear
Testing also allows the digitizer to evaluate the design on the actual or comparable fabric.
What to Check During a Test Run
After stitching the sample, inspect:
Shape: Does the design maintain its intended proportions?
Edges: Are borders clean and consistent?
Density: Is the embroidery too heavy or too light?
Registration: Do overlapping elements align correctly?
Lettering: Is all text readable?
Fabric: Is there puckering, distortion, or excessive stiffness?
Thread: Are there unnecessary breaks, loops, or loose sections?
Overall appearance: Does the finished embroidery resemble the original artwork?
If something does not perform correctly, revise the digitizing file instead of simply increasing machine settings and hoping the problem disappears.
Bonus Mistake: Treating Auto-Digitizing as a Complete Solution
Automatic digitizing tools can be useful, especially for simple artwork and quick experimentation. However, automated conversion should not automatically be treated as finished professional digitizing.
An algorithm may convert artwork into stitches, but it may not understand every production variable involved in embroidery.
Complex logos, small lettering, overlapping elements, gradients, unusual fabrics, and detailed artwork often require manual adjustments.
When Manual Digitizing Matters
Manual editing can help control:
- Stitch direction
- Object sequencing
- Density
- Underlay
- Pull compensation
- Small details
- Lettering
- Overlaps
- Trims
- Machine movement
AI and automated embroidery tools are becoming increasingly useful, but the quality of the final embroidery still depends on how well the file is prepared for real production.
For more information, see our AI embroidery digitizing guide.
How to Prevent Embroidery Production Problems Before They Start
The easiest way to fix embroidery problems is to prevent them during digitizing.
A reliable pre-production workflow should include several stages.
Start With Clean Artwork
Use the highest-quality artwork available.
If possible, provide a clean vector file or high-resolution source image. Poor-quality artwork can make it harder to identify edges, shapes, colors, and small details.
If you only have a raster image, our guide on converting an image to an embroidery file explains the general conversion process.
Choose the Correct Finished Size
Always determine the final embroidery dimensions before digitizing.
A design created for a 4-inch chest logo may require different digitizing decisions when resized for a cap or jacket.
Avoid assuming that one file can simply be enlarged or reduced indefinitely.
Match the Design to the Garment
Tell the digitizer where the design will be embroidered and what type of garment will be used.
A cap logo, polo logo, jacket back design, sleeve logo, and embroidered patch can all require different approaches.
Plan for the Thread and Stitch Structure
Consider the entire stitch structure rather than focusing only on the artwork’s appearance.
The digitizer should evaluate:
- Fill areas
- Satin columns
- Running stitches
- Underlay
- Density
- Stitch direction
- Compensation
- Color sequencing
Test Before Full Production
A test stitch is especially valuable when producing:
- Large orders
- Corporate uniforms
- Team apparel
- Promotional merchandise
- Detailed logos
- New garment types
- New thread combinations
A small amount of testing can prevent a much larger production problem.
A Practical Embroidery Digitizing Quality-Control Checklist
Before approving an embroidery file, review the following:
- Is the artwork clean and suitable for embroidery?
- Is the final design size confirmed?
- Is the fabric type known?
- Is stitch density appropriate?
- Is stitch direction logical?
- Is the design properly sequenced?
- Are small details simplified where necessary?
- Is lettering large enough to remain readable?
- Is underlay appropriate for the fabric?
- Has pull and push compensation been considered?
- Are unnecessary trims and jumps minimized?
- Is the correct machine file format being used?
- Has the design been test stitched?
- Has the physical sample been inspected?
- Have any production issues been corrected before the final run?
Following this process can dramatically reduce avoidable production problems.
How Professional Digitizing Improves Production Quality
Professional embroidery digitizing is about much more than converting an image into stitches.
A skilled digitizer considers how every part of the design will behave during actual embroidery production.
This can improve:
- Stitch consistency
- Design clarity
- Fabric stability
- Production efficiency
- Thread management
- Lettering readability
- Overall appearance
- Repeatability across multiple garments
For businesses producing uniforms, promotional apparel, branded merchandise, hats, jackets, patches, or custom garments, consistency is particularly important.
A design that looks excellent on the first garment but produces inconsistent results on the tenth or hundredth garment is not a successful production file.
The goal is a digitized design that performs reliably throughout the production run.
When Should You Use Professional Embroidery Digitizing Services?
DIY and automatic digitizing can work for simple projects. However, professional digitizing is often the better choice when quality and consistency matter.
Consider professional digitizing when:
- You need a business logo digitized
- The design contains small lettering
- The artwork has multiple overlapping elements
- You are producing a large order
- The design will be used on different garment types
- You need a specific machine format
- Your current file produces thread breaks
- Your embroidery is puckering
- The design looks different from the original artwork
- You need consistent results across production runs
If you are comparing providers, our guide on how to choose embroidery digitizing services covers several factors to consider before selecting a service.
You can also explore our embroidery digitizing services for professional digitizing support.
Final Thoughts
Poor embroidery quality is not always caused by the embroidery machine, needle, thread, or garment. In many cases, the problem starts with the digitizing file.
The five biggest mistakes to watch for are:
- Using incorrect stitch density
- Ignoring stitch direction and sequencing
- Failing to consider the fabric
- Making small details and lettering too complicated
- Skipping test stitching and quality control
Each of these issues can affect the final appearance, production efficiency, and consistency of embroidered products.
The best embroidery files are designed with production in mind from the beginning. Instead of simply reproducing an image with stitches, professional digitizing considers fabric behavior, stitch structure, machine movement, design size, thread, and the intended finished product.
Whether you are creating a company logo, team uniform, custom hat, embroidered patch, jacket design, or promotional apparel, investing in properly prepared embroidery digitizing can help you achieve cleaner, more reliable results.
If you need help turning artwork into a production-ready embroidery file, explore Rise Digitizing’s custom embroidery digitizing services and choose a workflow built around quality, accuracy, and consistent production results.
Related Posts