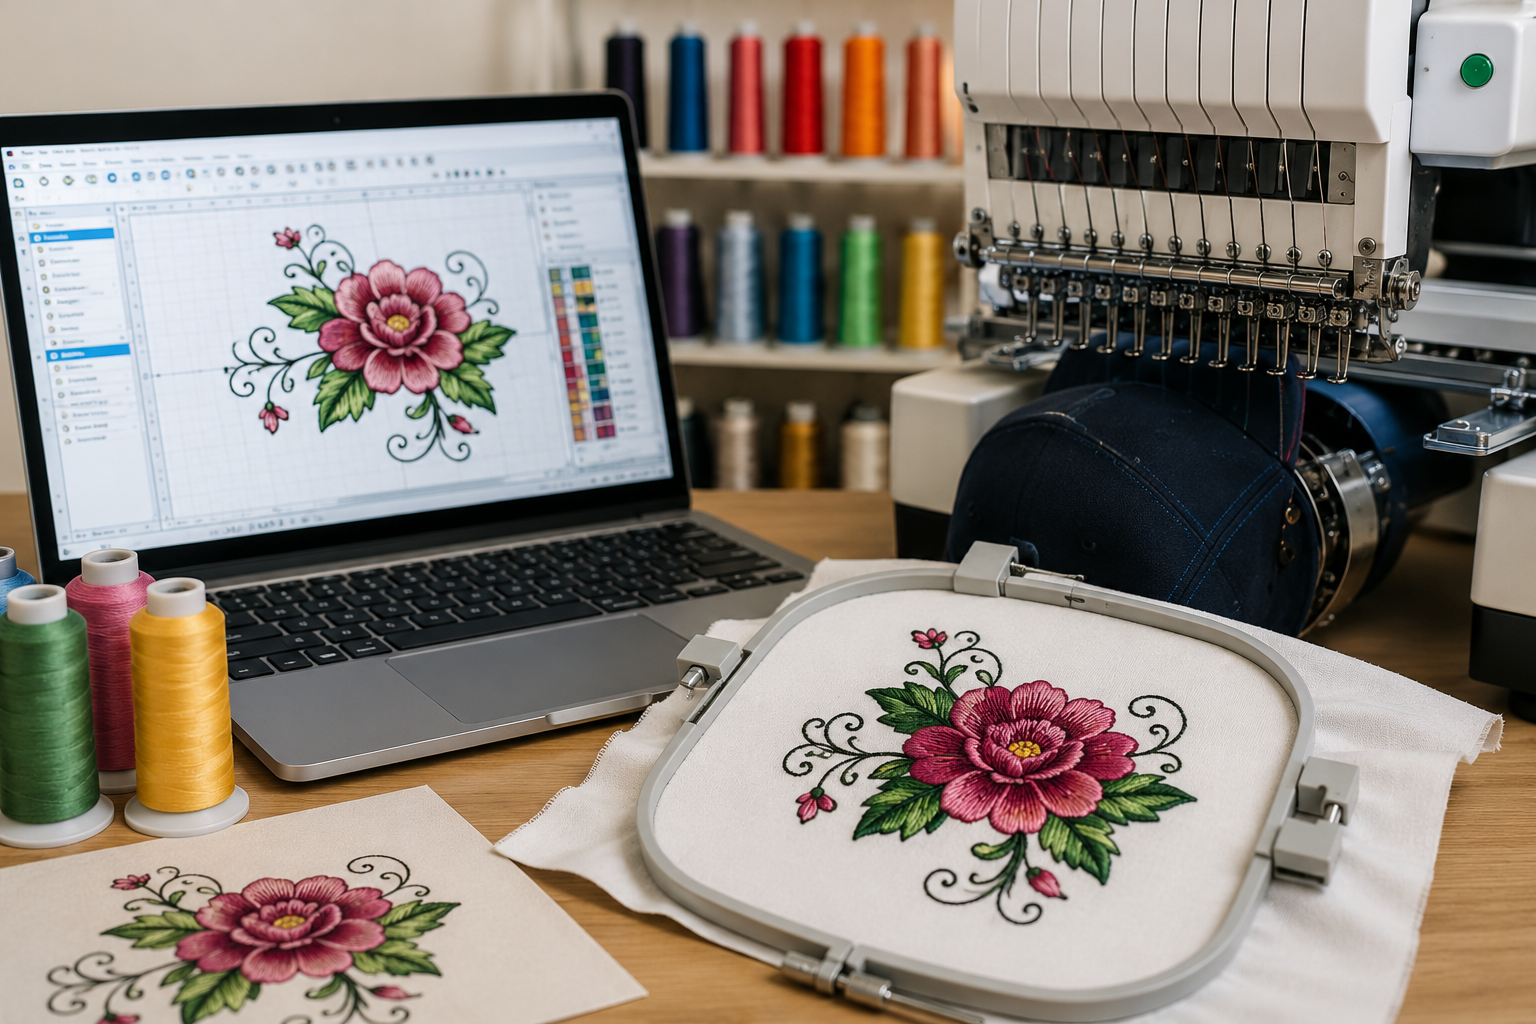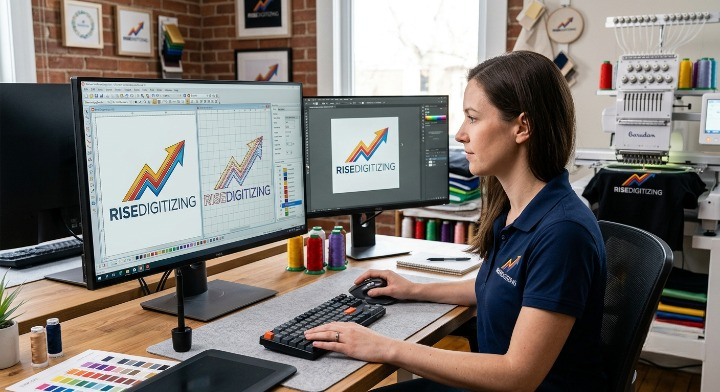
Have you ever wondered how a vibrant digital logo, a detailed sketch, or a crisp photograph seamlessly transforms into a stunning stitched masterpiece on a jacket, cap, or polo?
It’s a common misconception that you can simply plug a JPEG or PNG into a modern embroidery machine and hit “start.” In reality, embroidery machines don’t speak the language of pixels or vectors—they speak the language of stitches.
To bridge this gap, you need a specialized process known as custom embroidery digitizing.
Whether you are a seasoned apparel decorator or a brand looking to elevate your merchandise, understanding how to convert an image into an embroidery file is the key to achieving flawless results. Let’s pull back the curtain on this intricate process.
Step 1: Evaluating and Preparing the Artwork
Every great embroidery project begins with a high-quality source image. However, not all designs are instantly ready for the digitizing software.
Why Resolution Matters
If you feed a low-resolution, blurry image into a digitizing program, the digitizer will struggle to map out clean stitch lines. Ideally, artwork should be in a high-resolution raster format (300 DPI or higher) or, even better, a clean vector format (like an AI, EPS, or SVG file).
Simplifying for the Needle
Embroidery has physical limitations that digital screens do not. Super-fine gradients, tiny text (under 0.2 inches), and overly complex overlapping lines don’t translate well into thread. During the preparation phase, an expert digitizer will analyze the image and may recommend simplifying certain elements to ensure the final physical product looks crisp and legible.
Step 2: Choosing the Right Embroidery Digitizing Software
Once the artwork is prepped, it is imported into professional embroidery digitizing software. This isn’t your standard graphic design tool like Adobe Illustrator or Photoshop.
Industry leaders use robust, specialized software such as:
- Wilcom Embroidery Studio (The industry gold standard)
- Pulse Microsystems
- Hatch by Wilcom
These programs allow digitizers to plot individual stitch points, define boundaries, and program commands that tell the embroidery machine exactly what to do.
Step 3: Mapping the Stitch Paths and Sequencing
This is where the true artistry happens. Digitizing is not an automated “one-click” conversion; it is a highly skilled, manual process. The digitizer must decide the sequencing—the exact order in which the design will be stitched.
As a rule of thumb, the machine should stitch from:
- The center outward: To prevent the fabric from bunching or shifting.
- The background to the foreground: Ensuring that details sit perfectly on top of base layers.
If the sequencing is incorrect, the machine will constantly cut the thread and jump to different sections, lengthening production time and increasing the risk of thread breaks.
Step 4: Selecting Stitch Types, Density, and Angles
An image is flat, but embroidery is three-dimensional. A digitizer breathes life into the image by assigning different stitch types to various parts of the design.
The Three Core Stitch Types:
- Satin Stitch: Perfect for text, borders, and narrow columns. The thread wraps cleanly from one side to the other, giving a glossy, raised look.
- Fill (Tatami) Stitch: Used to cover large geometric areas. It features alternating, compact stitches that create a durable, fabric-like texture.
- Running Stitch: A single line of stitches used for fine detail work, intricate outlines, or mapping out the design.
Managing Stitch Density and Direction
If stitches are too close together (high density), the fabric will become stiff as a board and could even rip. If they are too far apart (low density), the garment fabric will peek through the design. Furthermore, by varying the stitch angles, the digitizer can control how light hits the thread, creating a beautiful depth and illusion of shading.
Step 5: Setting the Underlay
Think of the underlay as the foundation of a house. Before the beautiful, visible top stitches are laid down, the machine stitches a hidden skeleton directly onto the stabilizer and fabric.
The underlay serves multiple critical purposes:
- It tacks the fabric down to the stabilizer.
- It prevents the fabric from shifting or stretching.
- It lofts the top stitches up so they don’t sink into fluffy fabrics like fleece or towels.
Step 6: Exporting to the Correct Machine File Format
Once the digitizer has meticulously mapped out every stitch, underlay, and color change, the project is saved as a native design file (such as .EMB). However, to run it on a commercial or home machine, it must be exported into a specific embroidery machine format.
Different machine brands require different extensions:
| Machine Brand | Required File Extension |
| Tajima | .DST (The most universally accepted commercial format) |
| Brother / Baby Lock | .PES |
| Janome | .JEF |
| Husqvarna / Viking | .VP3 |
| Melco | .EXP |
Step 7: The Sample Stitch-Out (Quality Assurance)
At RiseDigitizing, we never trust the computer screen blindly. The final, crucial step in the process is running a sample “stitch-out.”
The digitized file is loaded onto an embroidery machine and stitched onto a piece of scrap fabric similar to the final garment. This allows the quality assurance team to check for gaps, puckering, alignment issues, or thread breaks. Any necessary tweaks are made in the software before the final file is delivered to the client.
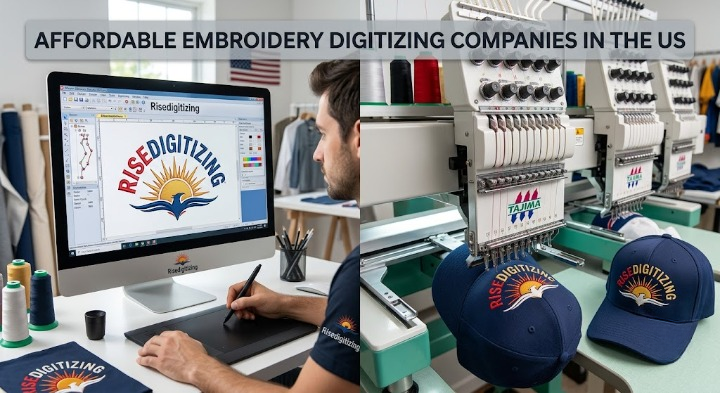
Why Choose RiseDigitizing for Your Conversion Needs?
While there is “auto-digitizing” software available today, it simply cannot match the human eye. Auto-converted files frequently result in broken needles, ruined garments, and messy designs.
At RiseDigitizing, our team of professional digitizers treats every logo as a work of art. We balance density, map flawless pathways, and optimize your files so your machines run faster, smoother, and produce premium results every single time.
Ready to convert your image into a production-ready embroidery file? [Contact RiseDigitizing today] for fast turnaround and unmatched precision.
Frequently Asked Questions (FAQs)
1. Can I just convert a JPG to a DST file using an online converter?
No. Free online file converters simply wrap a JPG image inside a DST file container without generating actual stitch data. An embroidery machine cannot read this and will register an error. The image must be manually digitised stitch-by-stitch in professional software.
2. What is the best file format to submit for embroidery digitizing?
Vector formats such as .AI, .EPS, .PDF, or .SVG are highly preferred because they can be scaled infinitely without losing clarity. However, high-resolution .PNG or .JPG files (300 DPI) are also perfectly acceptable.
3. Why does the fabric choice matter during the digitizing process?
Different fabrics behave differently under a needle. For example, stretchy performance wear requires less stitch density and more stabilizer than a structured canvas bag. A professional digitizer will always ask what garment you plan to stitch on so they can customize the file’s tension and underlay accordingly.
4. What is a .DST file, and why is it so popular?
A .DST file is the standard embroidery format developed by Tajima. It contains only the commands for the needle movements, jumps, and trims. Because it is highly reliable and stripped of unnecessary software data, almost all commercial embroidery machines can read it.
5. Can an embroidery file be resized after it is digitized?
You can safely resize an embroidery file by about 10% to 15% directly on your machine. However, resizing it drastically without recalculating the stitch density will cause the design to either become too dense (bunching up) or too thin (gaps in fabric). For significant size changes, it should be re-digitized.