Transforming a digital logo into a crisp, flawless piece of custom embroidery isn’t as simple as changing a file extension from .png to .dst. If you’ve ever tried to upload a standard image straight to a modern embroidery machine, you already know it doesn’t work.
Machines don’t read pixels or vectors; they read stitches, coordinates, and color changes.
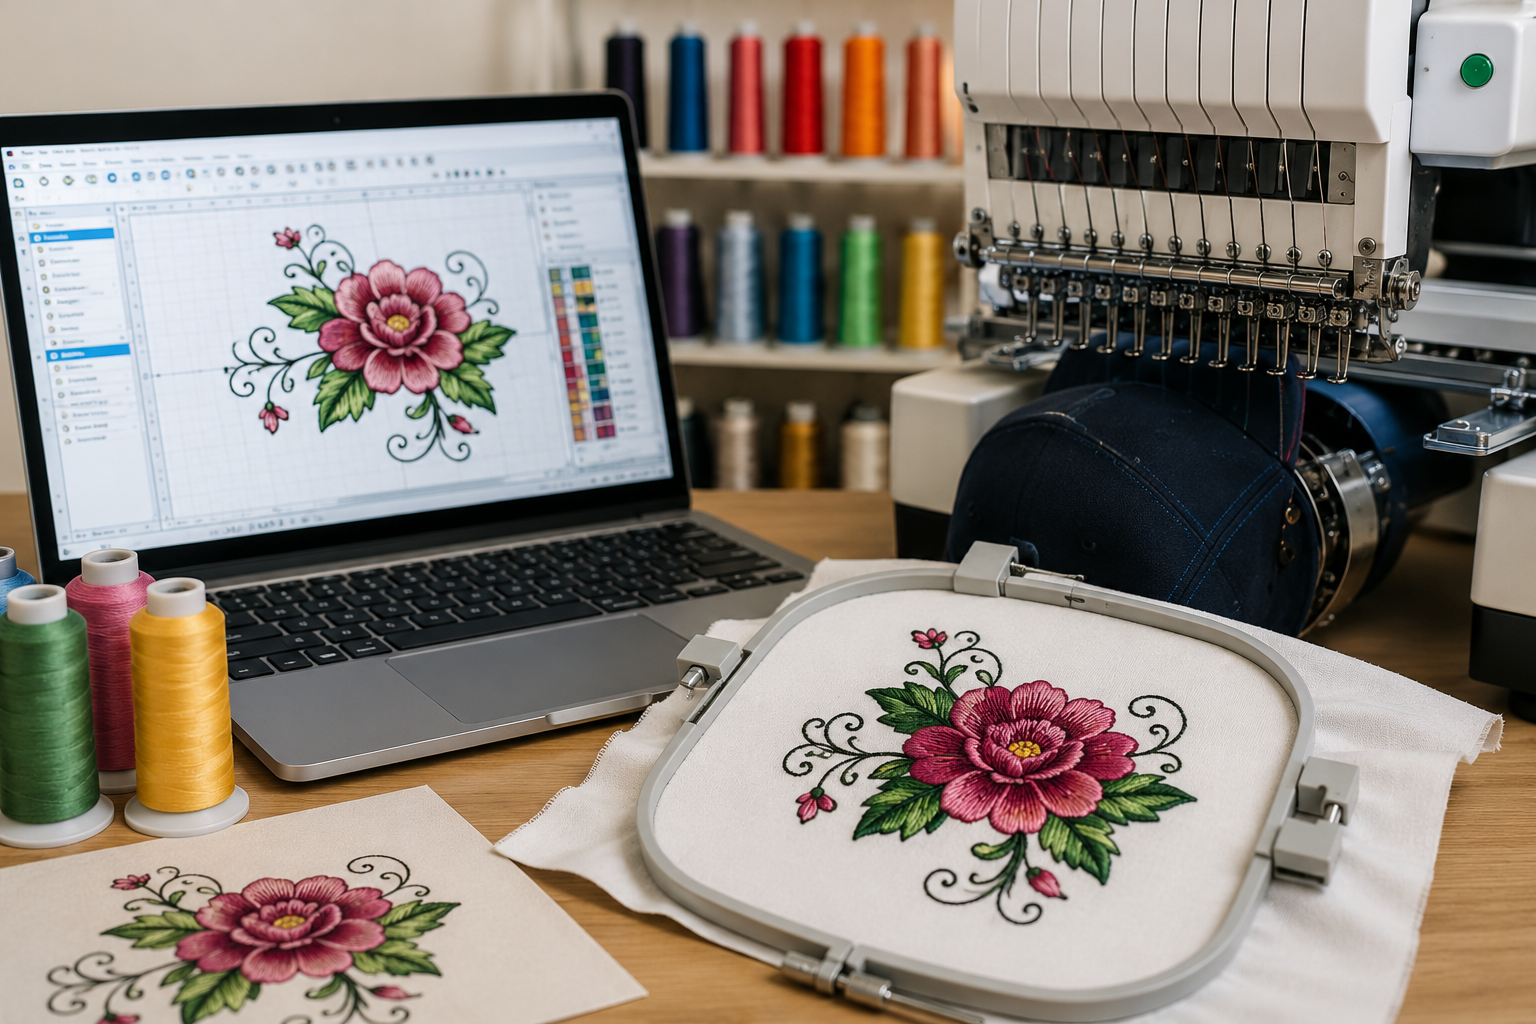
That is where embroidery digitizing comes in. Digitizing is the specialized process of converting a 2D graphic into a digital stitch file that an embroidery machine can understand. Whether you want to brand custom apparel for your business or offer premium products to your clients, mastering this workflow is essential.
In this definitive guide by Rise Digitizing, we will break down the exact step-by-step process to digitize a logo for embroidery like a seasoned professional.
Why You Can’t Just “Convert” an Image File
A common misconception is that a quick online file converter can turn a JPEG into an embroidery file.
When an embroidery machine sews a design, it needs to know exactly where to drop the needle, which stitch type to use, how dense the stitches should be, and when to trim the thread. Standard image files simply don’t contain this spatial, physical data.
Improperly digitized files lead to thread breaks, ruined garments, off-center puckering, and messy lettering. High-quality digitizing ensures your logo looks sharp, stays durable, and runs smoothly on commercial machines.
The Step-by-Step Logo Digitizing Process
Digitizing requires specialized embroidery software (such as Wilcom, Hatch, or TruEmber) and an eye for how thread behaves on physical fabric. Here is how professionals handle a project from start to finish.
1.Prepare and Upload Your Artwork:Step 1.
Start with a clean, high-resolution graphic file (preferably a vector format like SVG, AI, or EPS, though a high-res PNG or JPEG works too). Crop out any unnecessary white space around the logo and import it into your digitizing software.
2.Set Your Design Dimensions:Step 2.
Lock in the exact physical dimensions of the final embroidered product. A logo destined for a left-chest jacket placement (typically 3 to 4 inches wide) requires a completely different stitch count and density than the same logo scaled up for a full jacket back.
3.Choose Your Stitch Types:Step 3.
Different areas of your logo require different stitch behaviors. You will assign specific stitch types to each section of the artwork:
- Satin Stitches: Best for text, borders, and narrow shapes. They give a clean, shiny, raised appearance.
- Fill (Tatami) Stitches: Ideal for large shapes and background blocks. They prevent the fabric from showing through.
- Running Stitches: Thin, single lines of thread used for fine detail lines or mapping paths.
4.Define the Stitch Direction and Pathing:Step 4.
This is where amateur digitizing separates from professional work. You must map out the exact sequence (pathing) the machine will take. The design should stitch from the center outward and from the bottom layers to the top layers to prevent the fabric from shifting and wrinkling.
5.Set Underlay Stitches:Step 5.
Before the visible decorative stitches are laid down, your machine must sew an “underlay.” Think of this as the foundation of a house. Underlay stitches secure the fabric to the backing stabilizer, smooth down any fabric fleece or knits, and give the top stitches structural loft.
6.Adjust for Pull Compensation and Density:Step 6.
Thread naturally pulls fabric inward as it tightens. If you don’t adjust for this “push and pull” effect, circles will turn into ovals and gaps will appear between your fills and outlines. Professional digitizers slightly overshoot the boundaries in the software to ensure perfectly aligned borders in the real world.
7.Save in the Correct Machine Format:Step 7.
Once your design is fully mapped, export it into the native file format required by your specific embroidery machine brand.
Common Embroidery File Formats
Depending on the machine you or your production team uses, you will need to export the final file into a specific extension. The most common include:
| Format Extension | Machine Manufacturer / Target Audience |
| .DST | Tajima (The universal industry standard for commercial production) |
| .PES | Brother / Baby Lock (Very common for home and semi-pro machines) |
| .EXP | Melco / Bernina |
| .JEF | Janome |
| .EMB | Wilcom (The ultimate working design file that preserves vector details) |
Pro Tip for Success: Always run a “test sew” on a scrap piece of the exact same fabric you plan to use for your final product. Thread behaves wildly differently on heavy canvas than it does on a stretchy polyester performance polo.
The Golden Rules of Quality Embroidery Digitizing
When digitizing a logo, keeping these core principles in mind will save you time, money, and broken needles:
- Less is More with Small Text: Avoid using complex fill stitches for lettering that is less than 0.2 inches (5mm) tall. Stick to clean, thin satin stitches, or modify the logo slightly to ensure readability.
- Respect Fabric Weight: Heavy designs with high stitch density will cause light, delicate fabrics to sag and pucker. Balance your density settings against your substrate.
- Control Your Trims: Every time an embroidery machine has to stop, trim a thread, and jump to a new section, it adds production time and introduces a potential point of failure. Efficient pathing keeps thread trims to a minimum.
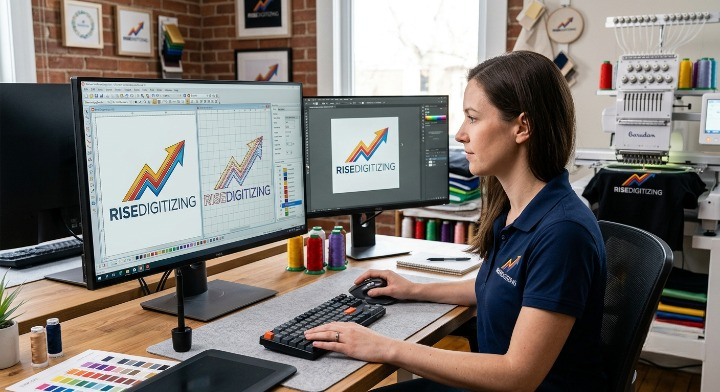
Why Outsource Your Digitizing to Rise Digitizing?
While learning to digitize can be a rewarding creative challenge, the software learning curve is steep, and the licensing fees for commercial software packages run thousands of dollars. Achieving clean, production-ready files requires years of trial-and-error experience.
If you are running an apparel brand, a print shop, or an embroidery business, your time is best spent creating and selling—not fighting with stitch directions.
At Rise Digitizing, we provide premium, production-ready embroidery digitizing services tailored exactly to your specifications.
- Flawless Machine Performance: Our designs are built to minimize thread breaks and maximize run-time efficiency.
- Fast Turnaround: Get your digitized logo files back in hand quickly so your machines keep running.
- Industry Expertise: From small cap details to complex 3D puff embroidery layouts, our seasoned professionals understand exactly how thread behaves on every fabric type imaginable.
Let us handle the technical heavy lifting while you focus on scaling your brand.