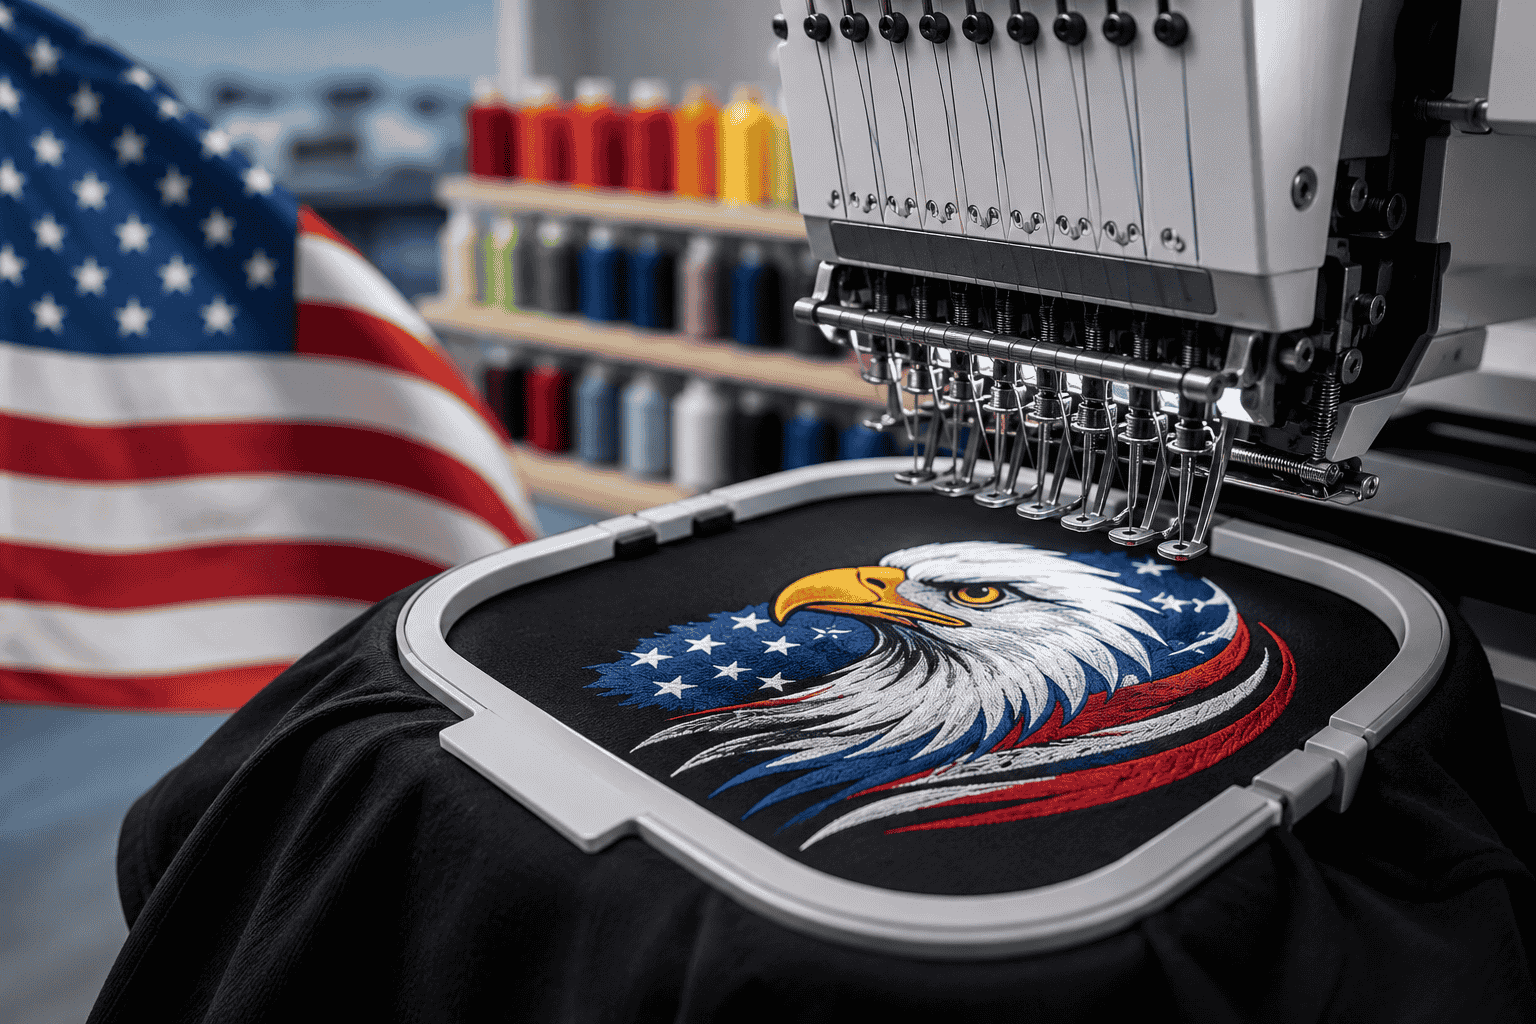
Stepping into the world of machine embroidery is an exciting journey. However, turning a beautiful drawing or a business logo into a flawless stitched design requires a specialized middle step: embroidery digitizing. This is the technical process of converting standard digital artwork into a path of individual stitches that an embroidery machine can read and execute.
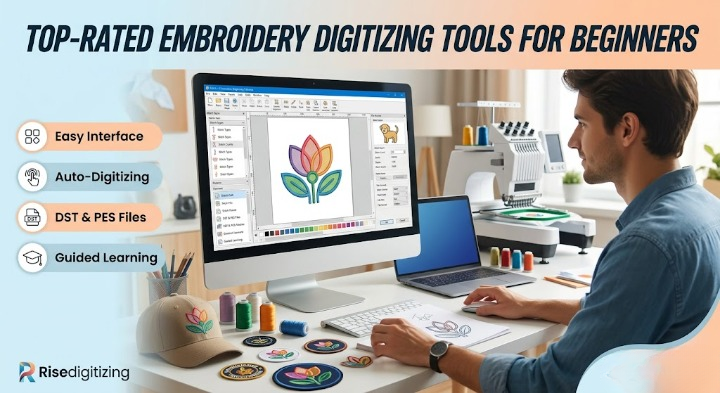
If you are just starting out, finding the right software can feel overwhelming. Complex interfaces, confusing file formats, and high price tags often discourage beginners. To help you kickstart your journey, we have compiled and reviewed the top-rated embroidery digitizing tools for beginners, balancing ease of use, cost, and creative freedom.
Why Choosing the Right Beginner Software Matters
Many newcomers assume that they can simply upload a PNG or JPEG directly into an embroidery machine. In reality, machines require specific vector-based commands that dictate stitch types, paths, direction, and density. To learn more about how these digital mechanics work under the hood, check out our comprehensive guide on what is digitizing for embroidery.
When you are starting out, your software should offer a smooth learning curve, helpful auto-digitizing features, and room to grow as your skills sharpen.
Top-Rated Embroidery Digitizing Tools for Newcomers
Here is a breakdown of the best entry-level software programs currently available for hobbyists and emerging embroidery business owners.
1. Hatch Embroidery by Wilcom
Widely considered the gold standard for home customizers and small businesses, Hatch offers an incredibly intuitive user interface built specifically for beginners who want professional results without an impossible learning curve.
- Best For: Beginners looking for a premium, guided experience.
- Key Features: Exceptional auto-digitizing capabilities, seamless letter sequencing, and manual editing controls. It layout is highly logical, steering you through the design process step-by-step.
- Learn More: To see how Wilcom’s commercial engine translates to its beginner platforms, explore our look at Wilcom embroidery digitizing software.
2. Brother PE-Design Plus / PE-Design 11
If you own a Brother embroidery machine, their proprietary PE-Design series is designed to sit comfortably within your existing workflow.
- Best For: Brother machine owners and hobbyists.
- Key Features: Excellent integration with Brother hardware, simple image tracing, and a vast library of built-in fonts and shapes. It simplifies the process of creating a stitch file for embroidery directly from basic drawings.
3. Embrilliance Essentials
Embrilliance takes a modular approach, meaning you only buy the features you actually need. The “Essentials” package is perfect for beginners who want to customize, combine, and adjust designs without drowning in heavy manual punch tools.
- Best For: Mac and Windows users who want an affordable, non-intimidating start.
- Key Features: Easy scaling, color sorting, and text manipulation. It runs natively on Mac operating systems, making it a standout choice for Apple users. For a broader view of alternative platforms, read our analysis on the best embroidery programs for mac.
4. Ink/Stitch (Free & Open Source)
If you want to try your hand at digitizing without spending a dime, Ink/Stitch is an open-source extension for the free vector graphics program Inkscape.
- Best For: Budget-conscious learners who enjoy a hands-on, technical approach.
- Key Features: Complete manual control over stitch placement, path editing, and zero upfront costs.
- Pro Tip: Because it relies on vector geometry, you’ll need to understand vectors first. If you’re on the fence about free options, jump over to our compilation of the top 10 free embroidery digitizing software.
Direct Software Comparison
| Software | Pricing Model | Best Feature | Learning Curve |
| Hatch Embroidery | Paid (Free Trial) | Industry-grade Auto-Digitizing | Smooth / Guided |
| Brother PE-Design | Paid | Brother Hardware Ecosystem | Moderate |
| Embrilliance Essentials | Modular Paid | Font customization & sizing | Very Easy |
| Ink/Stitch | Free / Open Source | Vector path control | Steep |
Essential Beginner Concepts to Keep in Mind
As you experiment with your newly chosen software for embroidery digitizing, you will quickly encounter technical hurdles that every beginner faces. Mastering these three foundations will save you hours of wasted thread and fabric ruin:
1. Understanding File Formats
Different embroidery machines speak different languages. For instance, commercial Tajima machines typically utilize .DST files, while residential Brother machines require .PES files. Understanding how your software exports these is critical. To avoid machine errors, familiarize yourself with our breakdown on DST vs PES vs VP3: which embroidery file format do you need.
2. Auto-Digitizing vs. Manual Digitizing
Most beginner software advertises a “one-click auto-digitizing” button. While modern advancements make this feature highly convenient, it rarely produces perfect results for intricate artwork or complex textiles. To understand how automated systems compare to traditional design, explore the realities of ai embroidery digitizing.
3. Special Textures & 3D Formats
If your goal is to design trendy streetwear or structural headwear, standard flat stitches won’t cut it. Heavy, raised designs require extra planning inside your software parameters. If this is your end goal, look into our step-by-step tutorial on creating striking 3d puff logo designs.
Pitfalls to Avoid on Your First Designs
When learning how to digitize a logo for embroidery, beginners usually make a few common mistakes:
- Ignoring Fabric Push and Pull: Thread creates tension on fabric. Stitches will pull material inward, distorting circles and misaligning borders if your software settings aren’t adjusted.
- Incorrect Stitch Count: Adding too many stitches to a small area results in bulletproof, rigid designs that can break needles. Learn the sweet spot by reading up on how many stitches should a logo have.
- Skipping Underlay Stitches: Underlay acts as a foundation, pinning your stabilizer and fabric together before the visible satin or fill stitches cover the top. Without underlay, your designs will look sparse and uneven.
Hit a Wall? When to Partner with Professionals
Learning to digitize on your own is highly rewarding, but the learning curve is undeniably steep. If you are trying to launch a brand, managing a tight deadline, or struggling with intricate client logos, struggling through software bugs can stall your business growth.
When you need flawless, production-ready files without the headache, outsourcing to an expert embroidery digitizing studio is the smartest move you can make. At Risedigitizing, we specialize in taking your raw artistic concepts and transforming them into perfect, machine-tested files. Whether you are scaling up production or looking for the absolute cheapest digitizing rates that still preserve structural stitching quality, we are here to support your creative journey.
Feel free to browse our dedicated embroidery digitizing services page today, get your project moving, or reach out to our team whenever a design throws a wrench in your software workflow!