Embroidery has moved far beyond simple patterns. Today, businesses and hobbyists rely on precise digital files to produce clean, professional results. If you want consistent stitching and fewer machine errors, understanding the stitch file for embroidery is essential. This guide explains how to import existing designs, edit them properly, and even create a stitch file for embroidery that runs smoothly on your machine.
What Is a Stitch File for Embroidery?
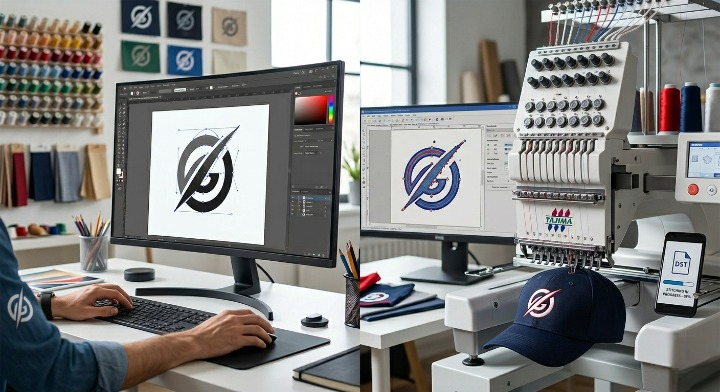
A stitch file is a digital format that tells an embroidery machine exactly how to sew a design. It includes stitch types, directions, thread colors, and sequencing. Popular formats include DST, PES, JEF, and EXP. Each machine brand supports specific formats, so choosing the right one is critical.
Why Editing Embroidery Files Matters
Even a well-made design may need adjustments. Fabric type, hoop size, and thread tension can all affect the final output. Editing allows you to:
- Resize designs without losing quality
- Adjust stitch density
- Change thread colors
- Fix alignment or spacing issues
A properly edited file improves efficiency and reduces wasted materials.
How to Import an Existing Embroidery Design
Importing a design is the first step before making any changes. Most embroidery software follows a similar process:
- Open your embroidery software
- Select the import or open file option
- Choose the design file (DST, PES, etc.)
- Load it into the workspace
- Preview stitch layout and sequence
Before editing, always review the design for errors like overlapping stitches or incorrect thread paths.
How to Edit a Stitch File for Embroidery
Once your design is imported, you can refine it for better performance. Key editing steps include:
1. Resize Carefully
Avoid extreme resizing. Increasing size too much can distort stitches, while reducing it may cause gaps.
2. Adjust Stitch Density
Too many stitches can damage fabric, while too few can make the design look incomplete.
3. Modify Thread Colors
Match thread colors to your project needs without changing stitch paths.
4. Optimize Stitch Order
Rearranging stitch sequence can reduce thread breaks and improve speed.
5. Check Underlay Settings
Underlay stitches support the top layer and improve design stability.
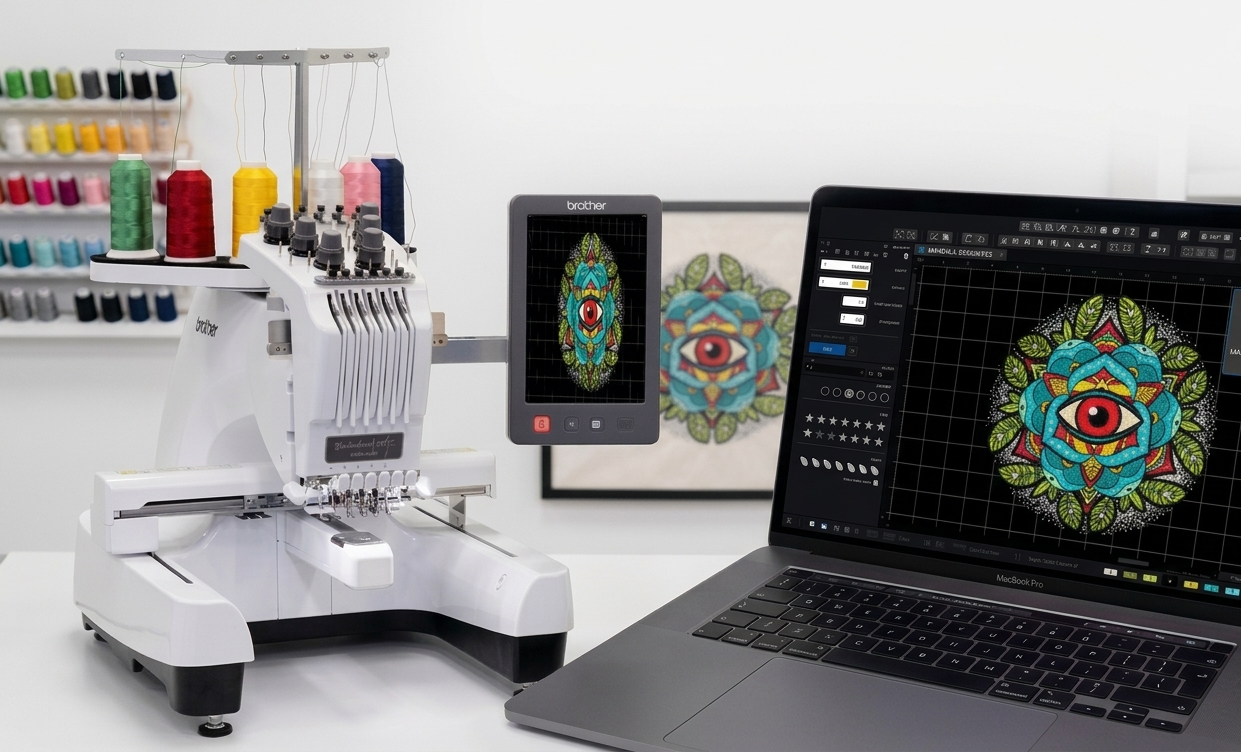
How to Create a Stitch File for Embroidery from Scratch
If you want full control, you can create a stitch file for embroidery using digitizing software. Here’s a simple process:
- Import or draw your artwork
- Trace the design manually or automatically
- Assign stitch types (fill, satin, running stitch)
- Adjust stitch direction and density
- Set thread colors
- Preview the stitch simulation
- Export in your machine’s format
Creating your own file ensures better customization and branding.
Common Embroidery File Formats
| Format | Used By | Features | Best For |
| DST | Commercial machines | Simple, widely supported | Industrial use |
| PES | Brother machines | Color support | Home & business |
| JEF | Janome machines | Easy editing | Beginners |
| EXP | Melco/Bernina | Fast processing | Professional setups |
Pros and Cons of Using Pre-Made vs Custom Stitch Files
Pros
- Saves time with ready-made designs
- Easy to use for beginners
- Lower upfront cost
Cons
- Limited customization
- May not suit all fabrics
- Quality varies between sources
Custom Files Pros
- Full control over design
- Better quality output
- Perfect for branding
Custom Files Cons
- Requires skill and software
- Takes more time
- Higher initial effort
Tips for Better Embroidery Results
- Always test your design on scrap fabric
- Use the correct needle and thread type
- Keep your machine well-maintained
- Avoid overly complex designs for small areas
- Double-check file compatibility before stitching
FAQs
1. What is the best format for a stitch file for embroidery?
It depends on your machine. DST is widely used, while PES is common for Brother machines.
2. Can I edit an existing embroidery file?
Yes, most embroidery software allows resizing, color changes, and stitch adjustments.
3. Is it hard to create a stitch file for embroidery?
It requires practice, but with the right software, beginners can learn quickly.
4. Why does my embroidery design look distorted?
This can happen due to incorrect resizing or poor stitch density settings.
5. Do I need special software for embroidery files?
Yes, digitizing software is required to create and edit stitch files.
Conclusion
Mastering the stitch file for embroidery gives you full control over your designs and final output. Whether you are importing an existing file or learning to create a stitch file for embroidery, the key is precision and proper editing. By understanding formats, adjusting settings, and testing your designs, you can achieve clean, professional embroidery results every time.