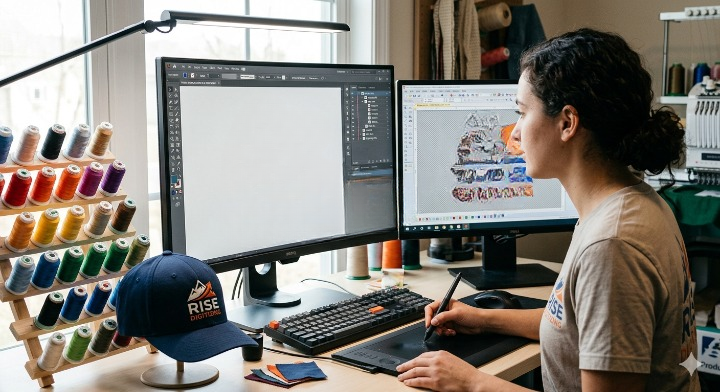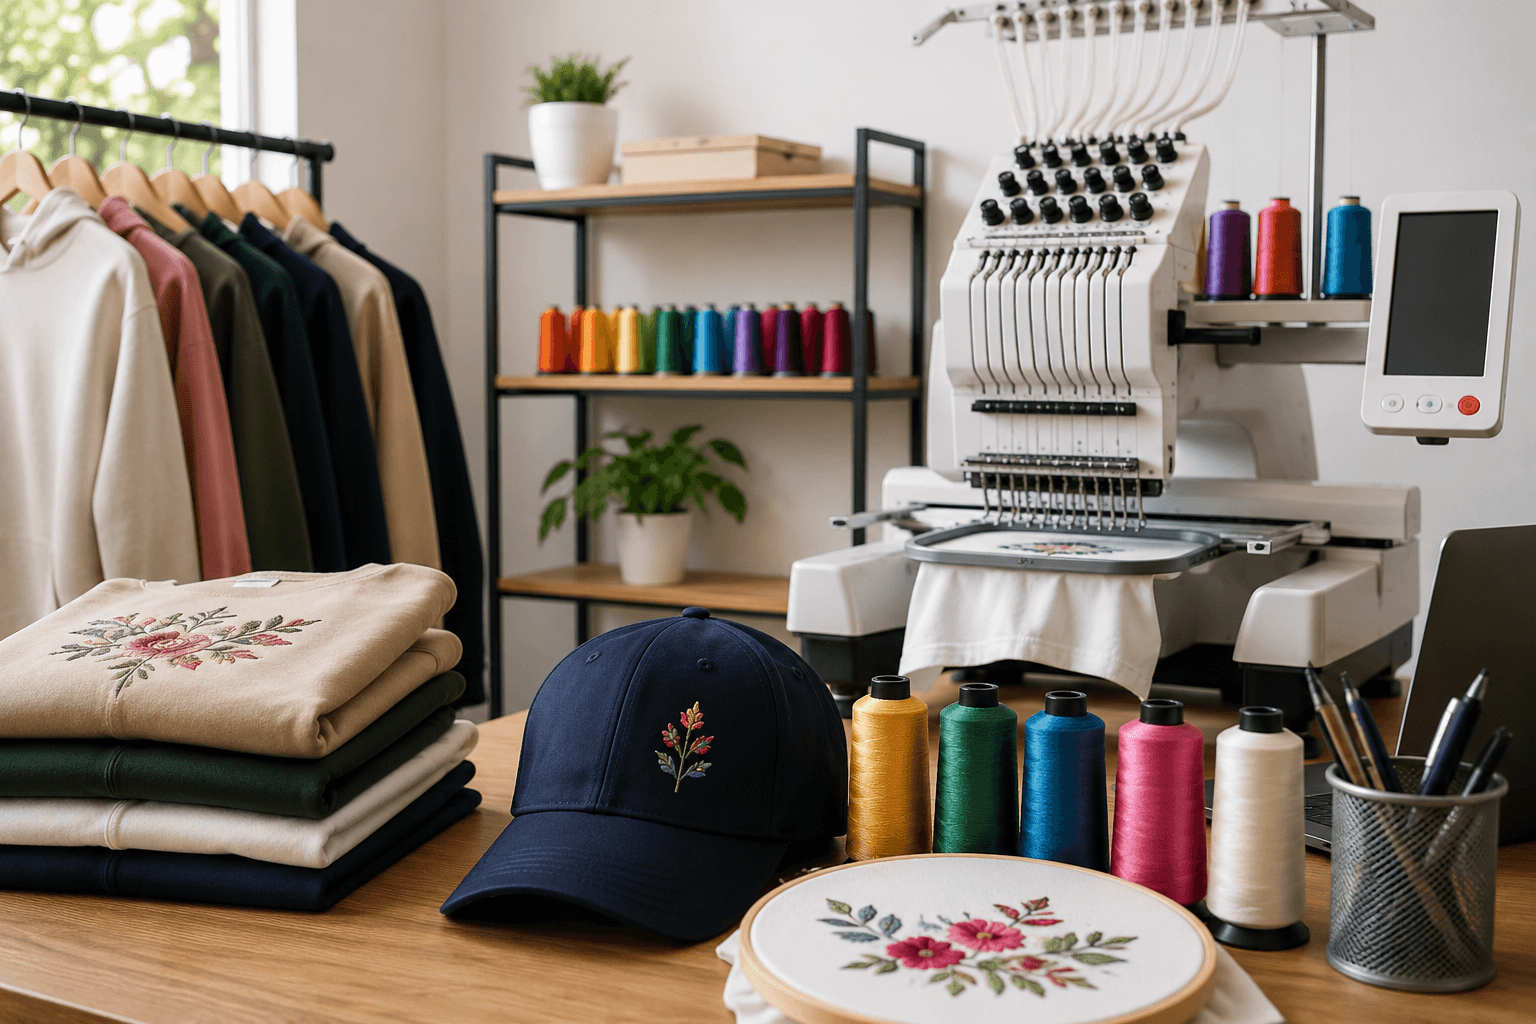
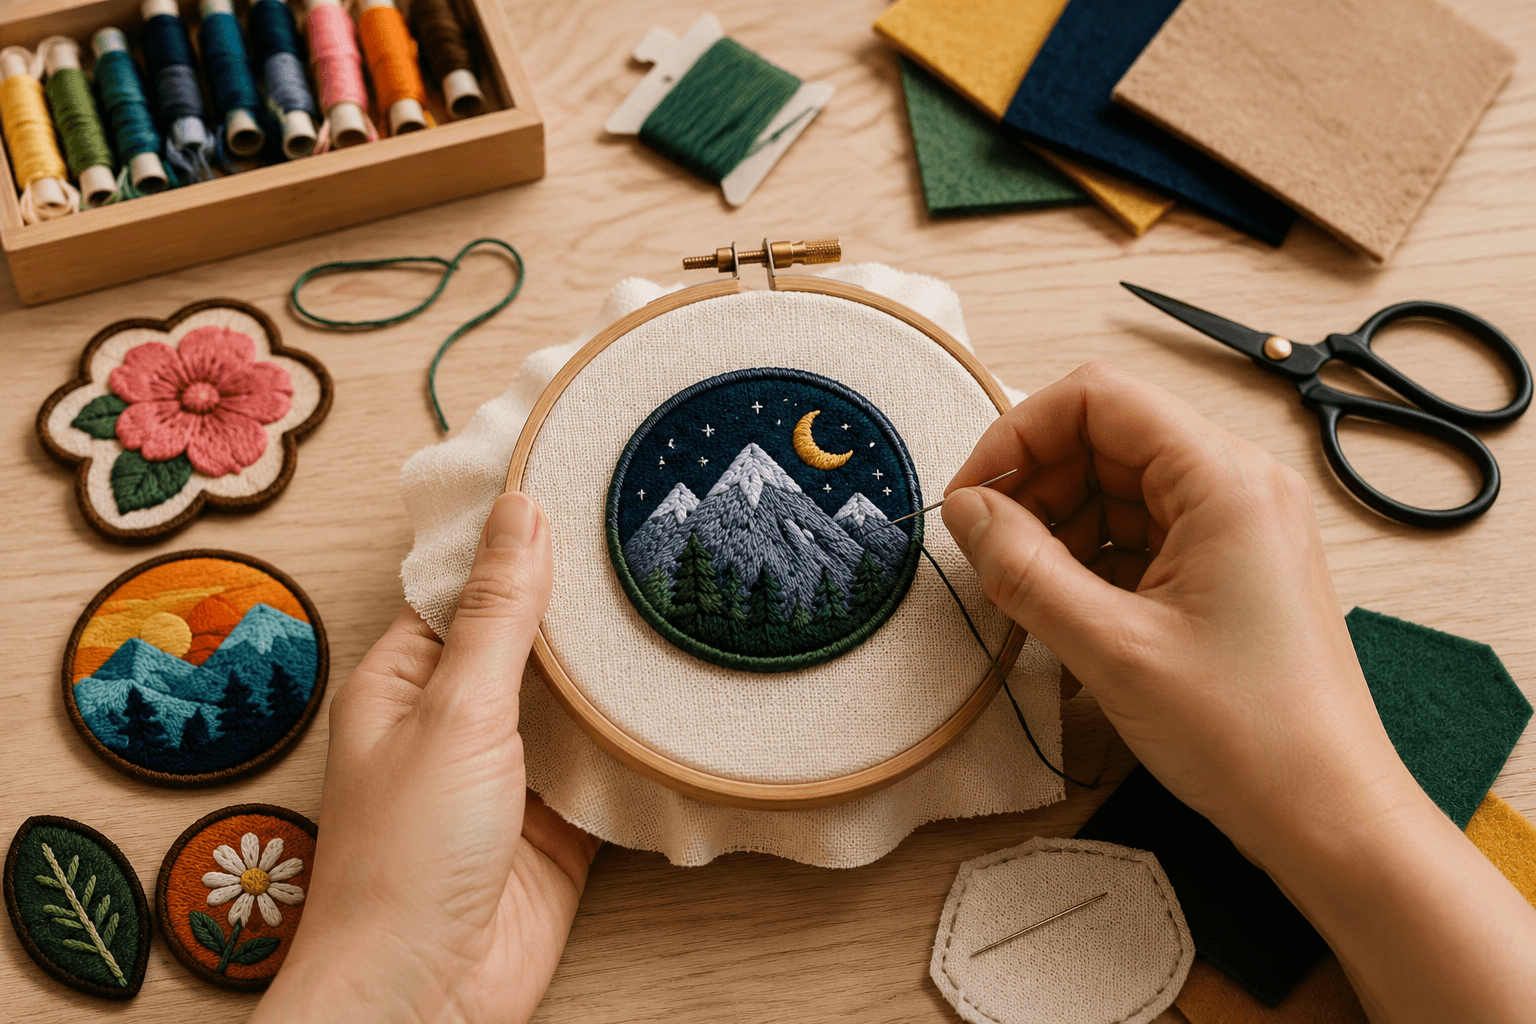

Handmade embroidery patches are a creative and affordable way to personalize clothing, backpacks, hats, jackets, tote bags, and accessories. Whether you want to showcase your artwork, repair worn fabric, create gifts, or start a small craft business, learning how to make embroidery patches by hand is a valuable skill.
Unlike machine embroidery, hand embroidery requires only a few basic tools, making it an excellent hobby for beginners. While it takes more time, handmade patches have a unique charm and craftsmanship that machine-made patches often can’t replicate.
In this complete guide, you’ll learn everything you need to know—from selecting the right materials to stitching, backing, cutting, and attaching your finished patch.
What Is an Embroidery Patch?
An embroidery patch is a decorative or functional piece of embroidered fabric that can be sewn or attached to another item. Patches are commonly used for:
- Personalizing clothing
- Club and organization logos
- Military and scouting uniforms
- Sports teams
- Fashion accessories
- Repairing holes or tears
- Promotional branding
- DIY crafts
- Gifts
- Collectibles
Handmade patches allow you to create completely custom designs without needing expensive embroidery machines.
Benefits of Making Embroidery Patches by Hand
There are many reasons people choose hand embroidery over machine embroidery.
Affordable to Start
You only need basic embroidery supplies instead of investing in costly embroidery equipment.
Unlimited Creativity
Create any design, size, or color combination you imagine.
Portable Hobby
Embroidery projects can easily travel with you.
Relaxing Activity
Many people find embroidery calming and therapeutic.
Handmade Appeal
Every patch becomes a one-of-a-kind piece of artwork.
Materials You’ll Need
Before you begin, gather the following supplies.
Fabric
Choose a tightly woven fabric such as:
- Cotton twill
- Canvas
- Linen
- Denim
- Felt
- Heavy cotton
Cotton twill is especially popular because it’s durable and easy to stitch.
Embroidery Hoop
A hoop keeps the fabric tight while stitching, preventing wrinkles and uneven stitches.
Choose a hoop slightly larger than your design.
Embroidery Floss
Embroidery floss comes in hundreds of colors.
Popular brands include:
- DMC
- Anchor
- Cosmo
Six-strand embroidery floss allows you to adjust thickness.
Embroidery Needles
Select sharp embroidery needles with large eyes for easy threading.
Fabric Marker
Use a washable or heat-erasable marker to transfer your design
Small Sharp Scissors
Embroidery scissors help create clean cuts around the finished patch.
Patch Backing (Optional)
Depending on how you plan to use your patch, you may also need:
- Iron-on adhesive
- Fusible interfacing
- Felt backing
- Peel-and-stick backing
- Hook-and-loop (Velcro)
- Fabric glue
Step 1: Choose Your Patch Design
Start with a simple design if you’re new to embroidery.
Popular beginner ideas include:
- Flowers
- Hearts
- Mountains
- Initials
- Animals
- Cartoon icons
- Stars
- Leaves
- Smiley faces
- Simple logos
Avoid highly detailed artwork until you’ve mastered basic stitches.
Step 2: Transfer the Design
There are several methods for transferring artwork.
Trace Directly
Place the fabric over your design on a bright window or light pad.
Trace with a washable fabric pen.
Carbon Transfer Paper
Place transfer paper between your drawing and the fabric.
Trace the design using a pen.
Water-Soluble Stabilizer
Print your design directly onto water-soluble stabilizer.
Attach it to your fabric and stitch through it.
After finishing, rinse it away.
Step 3: Secure the Fabric in the Hoop
Place your fabric inside the embroidery hoop.
Tighten it until the fabric feels firm like a drum.
Loose fabric often causes uneven stitches.
Step 4: Select Your Embroidery Stitches
Different stitches create different textures.
Back Stitch
Perfect for outlines.
Advantages:
- Strong
- Easy
- Clean appearance
Satin Stitch
Used to fill larger areas with smooth embroidery.
Ideal for:
- Letters
- Logos
- Solid shapes
Split Stitch
Creates thicker outlines.
Often used for:
- Animals
- Decorative borders
- Vintage designs
Chain Stitch
Produces decorative textured lines.
Excellent for:
- Floral designs
- Script lettering
French Knots
Perfect for tiny details.
Common uses:
- Flower centers
- Eyes
- Decorative accents
Long and Short Stitch
Best for realistic shading and smooth color transitions.
Step 5: Begin Stitching
Start from the center of the design whenever possible.
Work slowly and keep stitches even.
Helpful tips:
- Avoid pulling the thread too tightly.
- Use consistent stitch lengths.
- Keep the back neat.
- Change thread before it becomes worn.
Good embroidery is more about consistency than speed.
Step 6: Fill the Design
After outlining, fill the larger sections.
For smooth results:
- Stitch in one direction.
- Keep thread tension even.
- Cover the fabric completely.
- Blend colors gradually if needed.
Take your time to avoid gaps.
Step 7: Secure the Thread
Once finished:
- Pass the needle under several stitches on the back.
- Tie a small knot.
- Trim excess thread.
Avoid bulky knots that may show through the patch.
Step 8: Add Patch Backing
Adding backing increases durability.
Popular options include:
Felt Backing
Provides extra strength.
Easy to sew onto clothing.
Iron-On Backing
Allows quick application using heat.
Ideal for jackets and bags.
Fusible Interfacing
Makes thinner patches more stable.
Peel-and-Stick Adhesive
Useful for temporary applications.
Hook-and-Loop Backing
Perfect for tactical gear and uniforms.
Step 9: Cut Around the Patch
Use small embroidery scissors.
Leave approximately:
1/8 inch (3 mm) around the embroidered edge.
Take care not to cut any stitches.
Step 10: Finish the Edges
Professional-looking edges make a huge difference.
Blanket Stitch
One of the easiest finishing methods.
Benefits:
- Prevents fraying
- Decorative
- Beginner friendly
Whip Stitch
Simple and clean.
Works well for small patches.
Satin Border
Produces a machine-style appearance.
Requires patience but looks highly professional.
Fabric Sealant
Apply a thin layer around the edge to reduce fraying.
Allow it to dry completely.
How to Attach Your Handmade Patch
There are several attachment methods.
Sew-On
The most durable option.
Ideal for:
- Jackets
- Jeans
- Uniforms
- Bags
Iron-On
Use an iron if you’ve added heat-activated backing.
Always follow the adhesive manufacturer’s instructions.
Fabric Glue
Suitable for decorative projects that won’t undergo heavy washing.
Hook-and-Loop Fastener
Allows removable patches.
Common for:
- Tactical gear
- Military uniforms
- Work clothing
Best Fabrics for Handmade Patches
Good fabric choices include:
| Fabric | Durability | Beginner Friendly |
|---|---|---|
| Cotton Twill | Excellent | Yes |
| Canvas | Excellent | Yes |
| Felt | Very Good | Yes |
| Denim | Excellent | Moderate |
| Linen | Good | Yes |
Common Beginner Mistakes
Avoid these common errors.
Using Thin Fabric
Thin fabric wrinkles easily.
Choose sturdy materials.
Pulling the Thread Too Tight
This distorts your design.
Maintain gentle tension.
Using Long Thread
Very long thread tangles frequently.
Work with shorter lengths.
Skipping the Hoop
Loose fabric creates uneven stitching.
Always use a properly tightened hoop.
Cutting Too Close
Leave enough fabric around the embroidery before finishing the edge.
How Long Does It Take to Make an Embroidery Patch by Hand?
Time depends on the complexity.
Approximate times:
| Skill Level | Small Patch | Medium Patch | Large Patch |
|---|---|---|---|
| Beginner | 2–5 hours | 5–10 hours | 10–20 hours |
| Intermediate | 1–3 hours | 3–6 hours | 8–15 hours |
| Advanced | Under 1 hour | 2–4 hours | 5–10 hours |
Intricate designs with multiple colors may take significantly longer.
Tips for Professional-Looking Handmade Patches
Improve your results with these tips:
- Use high-quality embroidery floss.
- Keep stitches evenly spaced.
- Use a sturdy fabric base.
- Finish edges carefully.
- Match thread colors thoughtfully.
- Practice on scrap fabric first.
- Keep your fabric taut in the hoop.
- Press the finished patch gently from the back using a pressing cloth.
- Store finished patches flat to maintain their shape.
Can You Sell Handmade Embroidery Patches?
Absolutely. Handmade embroidered patches are popular on online marketplaces, craft fairs, and social media shops.
Popular products include:
- Name patches
- Pet portraits
- Floral designs
- Travel souvenirs
- Cartoon-inspired artwork (ensure you respect copyright laws)
- Custom initials
- Hobby-themed patches
- Motorcycle club patches
- Outdoor adventure patches
- Holiday-themed designs
Focus on quality craftsmanship and original artwork to build a loyal customer base.
Frequently Asked Questions
Are handmade embroidery patches durable?
Yes. When stitched on sturdy fabric and finished properly, handmade patches can last for years with normal use.
Do I need an embroidery machine?
No. All the techniques in this guide can be completed with basic hand embroidery tools.
Which stitch is best for beginners?
The back stitch is often the easiest to learn and is perfect for outlining designs. Satin stitch is a good next step for filling shapes.
Can I wash handmade embroidery patches?
Yes, especially if they are securely sewn onto garments. Wash in cold water on a gentle cycle and avoid high heat when drying to help preserve the embroidery.
What’s the best fabric for beginners?
Cotton twill and felt are excellent choices because they are sturdy, easy to stitch, and less likely to fray than lightweight fabrics.
Final Thoughts
Learning how to make embroidery patches by hand is a rewarding craft that combines creativity with practical skills. With just a few affordable materials and some patience, you can create unique patches for clothing, bags, gifts, or even a small business.
Start with simple designs, master a few essential stitches, and focus on neat finishing techniques. As your confidence grows, you can experiment with more detailed artwork, layered colors, and different backing options. Whether you’re making a single keepsake or a collection of custom patches, hand embroidery offers a timeless way to turn your ideas into durable, wearable art.
Related Posts