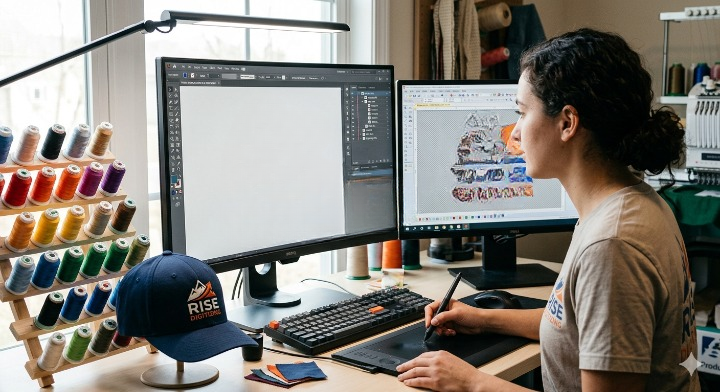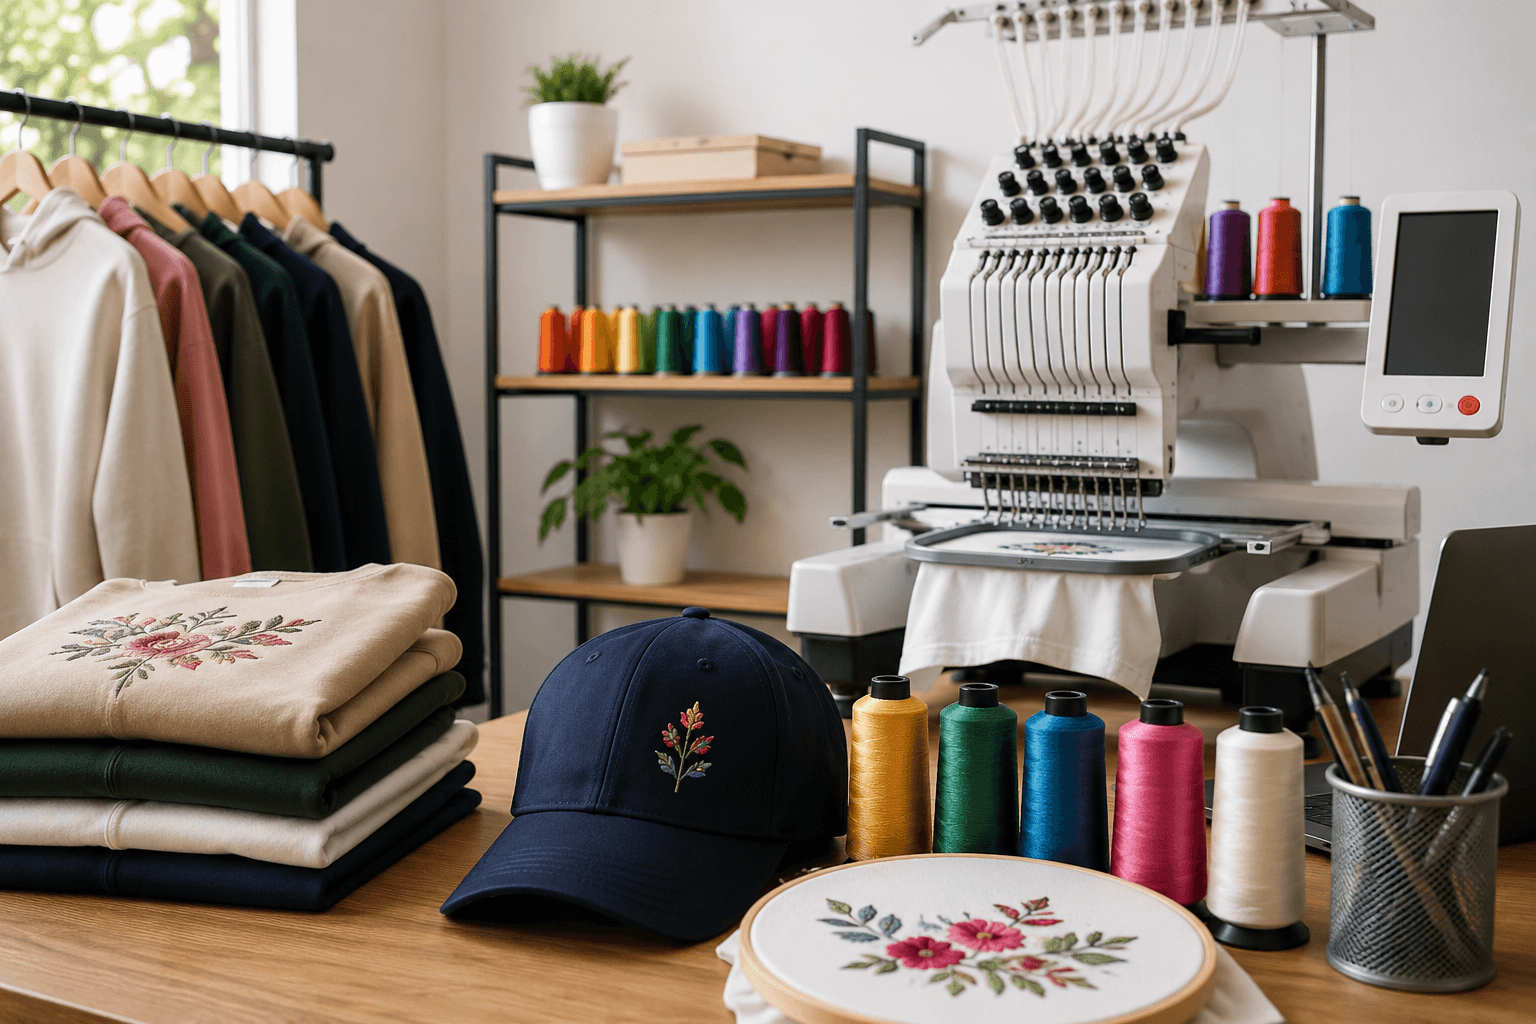
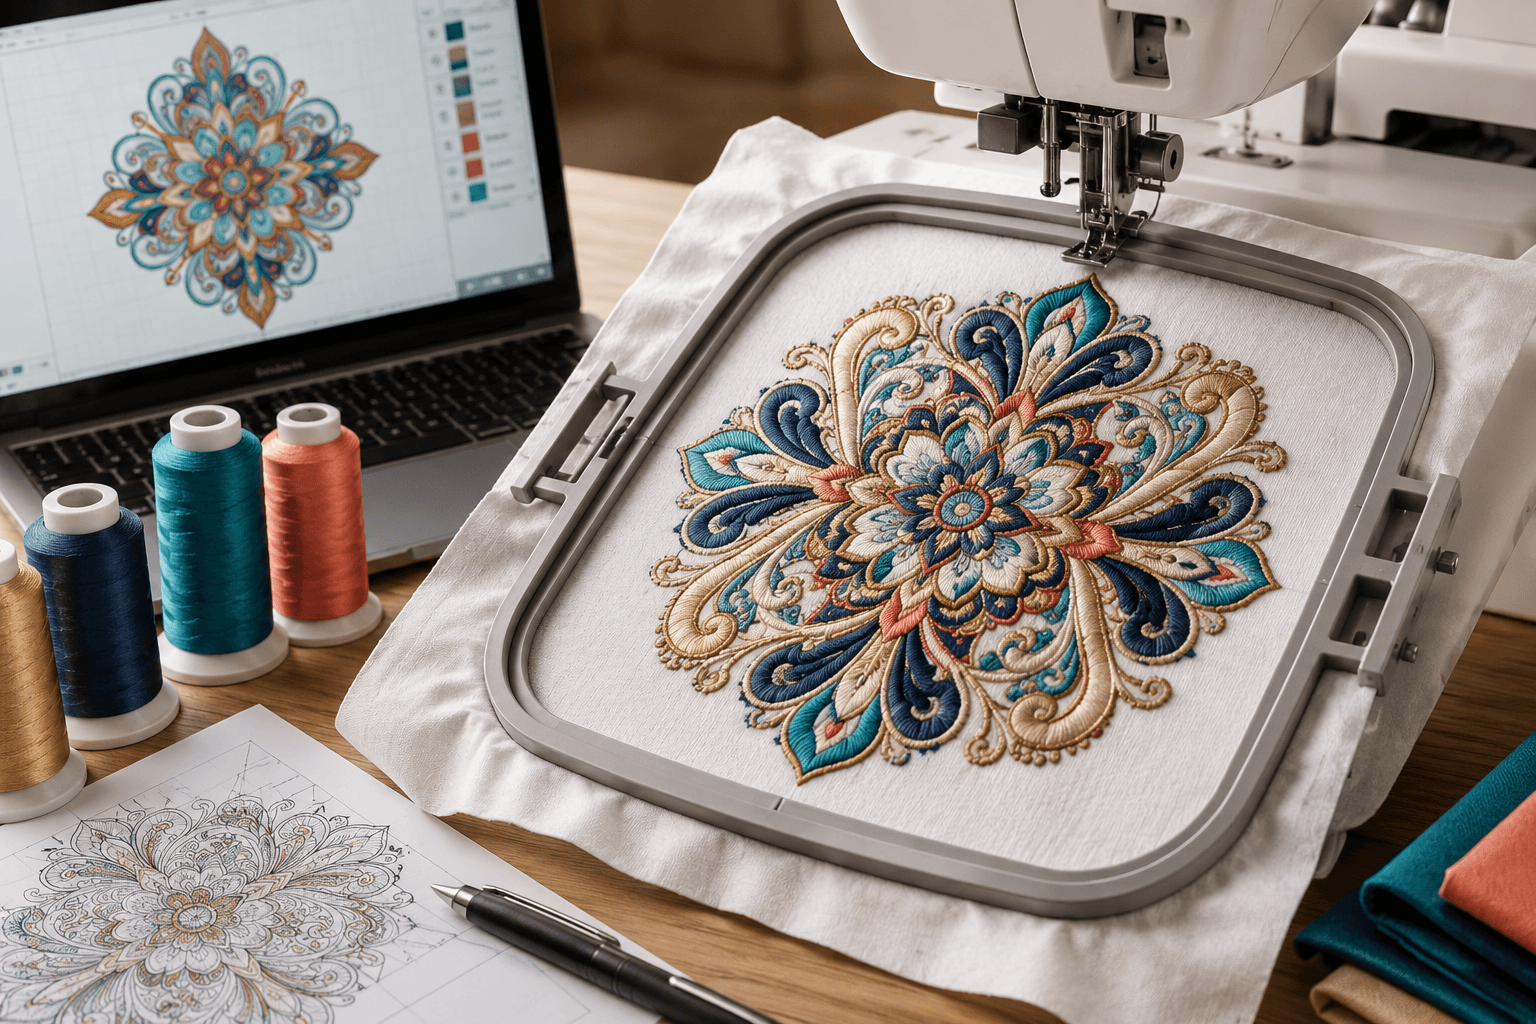

A 4×4 hoop is the workhorse size for caps, left-chest logos, and small patches — but it’s also the size where complex embroidery patterns fall apart fastest. Fine detail, small text, and layered elements that look great at 6 inches often turn into muddy, thread-clogged blobs once they’re squeezed into a 4×4 field. The fix isn’t a fancier machine — it’s proper digitizing. This guide walks through exactly how professional digitizers adapt complex artwork for small hoops without losing detail, so your embroidered result matches what you designed on screen.
Why Complex Patterns Break Down in a 4×4 Hoop
Before fixing the problem, it helps to understand why it happens. A 4×4 hoop gives you roughly 4 inches by 4 inches of usable stitching area — sometimes less once you account for hooping stability. When a design built for a large chest or jacket back gets scaled straight down to that size, three things go wrong at once:
- Stitch density stays the same but the shapes shrink. The thread ends up piled on top of itself, creating a stiff, board-like patch instead of clean coverage.
- Fine detail falls below minimum stitch size. Thin lines, small letters, and tight curves that were digitized for a larger area become unreadable or get dropped entirely by the machine.
- Underlay and pull compensation don’t scale. Settings that stabilize a large design can distort or pucker a small one, since fabric behaves differently at small stitch counts.
This is a digitizing problem, not an artwork problem — which is good news, because it means it’s fixable. If you’re still working from a raw logo file at this stage, it’s worth reviewing how to digitize a logo for embroidery first, since the same simplification principles apply before you even get to hoop-size constraints.
Step 1: Simplify the Artwork Before You Touch the Software
The single biggest mistake in small-hoop digitizing is trying to preserve every detail from the original artwork. A complex pattern with 15 colors and fine gradients needs to be edited down before digitizing even starts:
- Identify the 3-5 elements that actually need to be legible at 4 inches — usually the main shape, one or two accent details, and any text.
- Merge small, closely spaced elements into single shapes where the color is similar. Two thin lines 1mm apart will just fuse into one blob of thread anyway, so decide that in the design instead of letting the machine decide it for you.
- Remove gradients and soft shading. Embroidery can’t blend colors the way print can, so gradients should become flat color blocks or a controlled halftone/pattern fill instead.
- Increase the weight of any text or thin linework so it doesn’t fall below the minimum readable stitch width (roughly 1.5mm for satin columns, more for script fonts).
If the source file is a raster image rather than clean vector art, this is also the point to run it through vector conversion — it’s a separate step from digitizing itself, but doing it first gives you clean, editable outlines to digitize from instead of guessing at edges in a blurry PNG.
Step 2: Choose the Right Stitch Type for Each Element
Complex patterns almost always need more than one stitch type. Using the same fill setting across the whole design is what makes small, detailed embroidery look flat and lifeless. Match the stitch type to the size of the shape:
- Satin stitches for borders, text, and any shape under about 6mm wide — they hold small detail cleanly and catch light well.
- Fill (tatami) stitches for larger open areas, with density reduced for small designs so the fabric doesn’t stiffen or dome.
- Run stitches for fine outlines, single-line detail, or accent elements that would look bulky as satin.
A skilled digitizer will often convert what looks like one continuous shape in the artwork into several stitch types once it’s broken down for embroidery — this is the core technical difference between tracing an image and actually digitizing it.
Step 3: Set Density, Pull Compensation, and Underlay for Small Scale
These three settings are where most small-hoop designs succeed or fail, and they need different values than a standard full-size design:
Density
Standard fill density (around 4-4.5 stitches per mm) will over-stitch a small shape. For 4×4 hoop work, density is typically reduced by 15-25% depending on fabric weight, so the design stays soft and doesn’t pucker or curl the fabric at the edges.
Pull Compensation
Fabric pulls inward slightly as it’s stitched, which distorts thin shapes more noticeably at small sizes. Adding a bit of extra pull compensation on narrow columns keeps letters and thin borders from looking pinched once they’re off the hoop.
Underlay
Small, detailed designs benefit from a lighter, tighter underlay (edge-walk or a light zigzag) rather than the heavier underlay used on large designs — a heavy underlay under a small shape adds bulk that shows through the top stitching.
If you’re comparing file formats or software output for these settings, this breakdown of DST vs PES vs VP3 file formats explains how density and underlay data is stored differently across formats, which matters if you’re moving a design between machines.
Step 4: Manage Stitch Count and Sequencing
Complex patterns tend to accumulate a high stitch count fast, which causes two problems on a small hoop: thread trims add up (slowing production and increasing cost), and dense stitching in a tight area generates heat and thread breaks. Keep this in check by:
- Grouping same-color elements together to reduce color-change and trim stops
- Sequencing stitches so the machine moves in a logical path rather than jumping across the hoop repeatedly
- Watching your overall stitch count against hoop size — as a rough guide, a heavily detailed 4×4 design shouldn’t exceed roughly 8,000-10,000 stitches or it starts to affect both stitch-out time and fabric integrity
If pricing is part of the conversation with a client at this stage, how many stitches should a logo have and embroidery digitizing cost per 1,000 stitches are useful references for explaining why a detailed design costs more to digitize and stitch than a simple logo.
Step 5: Test-Stitch Before Finalizing
No amount of on-screen preview replaces an actual test stitch-out, especially for complex patterns going into a small hoop. Stitch a sample on the actual fabric type the final piece will use — a test on twill won’t tell you how the design behaves on knit or fleece. Check specifically for:
- Thread coverage — any gaps where the base fabric shows through
- Puckering or doming around dense fill areas
- Legibility of small text or fine detail at normal viewing distance
- Registration — do color blocks line up correctly, with no visible gaps or overlap between sections
Adjust density, pull compensation, or element sizing based on what the test reveals, then re-stitch a second sample before sending the file to production. This is standard practice for any digitizing service — including 3D puff work, where small-hoop constraints are even tighter. If your pattern includes raised elements, it’s worth reviewing how these settings differ in this guide to puff embroidery designs.
Common Small-Hoop Digitizing Mistakes to Avoid
- Scaling a large design down without re-digitizing. Resizing in software changes the shape but not the stitch settings underneath it — density and stitch type need to be rebuilt for the new size.
- Using auto-digitizing software on complex artwork. Automated tools can rough out simple shapes but consistently mishandle overlapping detail and fine text at small sizes — manual cleanup is almost always needed.
- Ignoring fabric type during digitizing. A design that stitches cleanly on structured twill can pucker badly on a stretchy knit at the same settings.
- Skipping the color-block order review. On complex, multi-color small designs, poor sequencing causes registration drift that’s much more visible at small scale than large.
When to Simplify vs. When to Digitize Manually
Not every complex pattern needs to be forced into a 4×4 hoop exactly as designed. Sometimes the better answer is a controlled simplification — dropping a background texture, consolidating two similar accent colors, or converting fine linework to a single bold outline. A good digitizer will tell a client honestly when a design needs to be adjusted for embroidery rather than quietly stitching a version that won’t hold up. If you’re weighing whether to handle this in-house or outsource it, this comparison of digitizing tools for beginners versus working with a professional service can help you decide based on how complex your regular workload is.
Key Takeaways
- Simplify artwork before digitizing — not every visual detail needs to survive at 4×4 scale.
- Match stitch type (satin, fill, run) to element size rather than using one setting across the whole design.
- Reduce density and adjust pull compensation and underlay specifically for small-scale work.
- Keep stitch count and sequencing efficient to protect both production time and fabric quality.
- Always test-stitch on the actual fabric before finalizing the file.
Get Complex Patterns Digitized Right the First Time
Digitizing detailed designs for small hoops is one of the more technical corners of embroidery digitizing, and it’s easy to end up with a file that looks fine on screen but stitches poorly on fabric. If you’d rather hand this off, Rise Digitizing’s embroidery digitizing services handle complex, small-hoop, and multi-element designs daily, with a test stitch-out included before any file is finalized. You can also browse our full range of digitizing services if your project includes puff embroidery, patches, or multi-format file delivery.
Internal Links Used in This Article
- How to Digitize a Logo for Embroidery
- Vector Conversion vs. Embroidery Digitizing
- DST vs PES vs VP3 Embroidery File Formats
- How Many Stitches Should a Logo Have
- Embroidery Digitizing Cost Per 1,000 Stitches
- Puff Embroidery Designs
- Top Embroidery Digitizing Tools for Beginners
- Embroidery Digitizing Services
- Custom Embroidery Digitizing
Note on duplicate content: Your site already has an indexed page at /how-to-digitize-complex-patterns-in-4×4-hoop-machine-embroidery/. Publish this as a distinct URL (suggested slug above) with a genuinely different angle, or 301-redirect the old URL into this one — don’t run both live on near-identical titles, or you’ll split ranking signals between them.
Related Posts