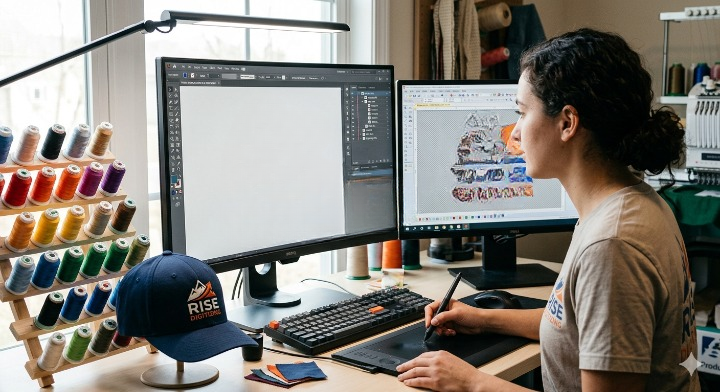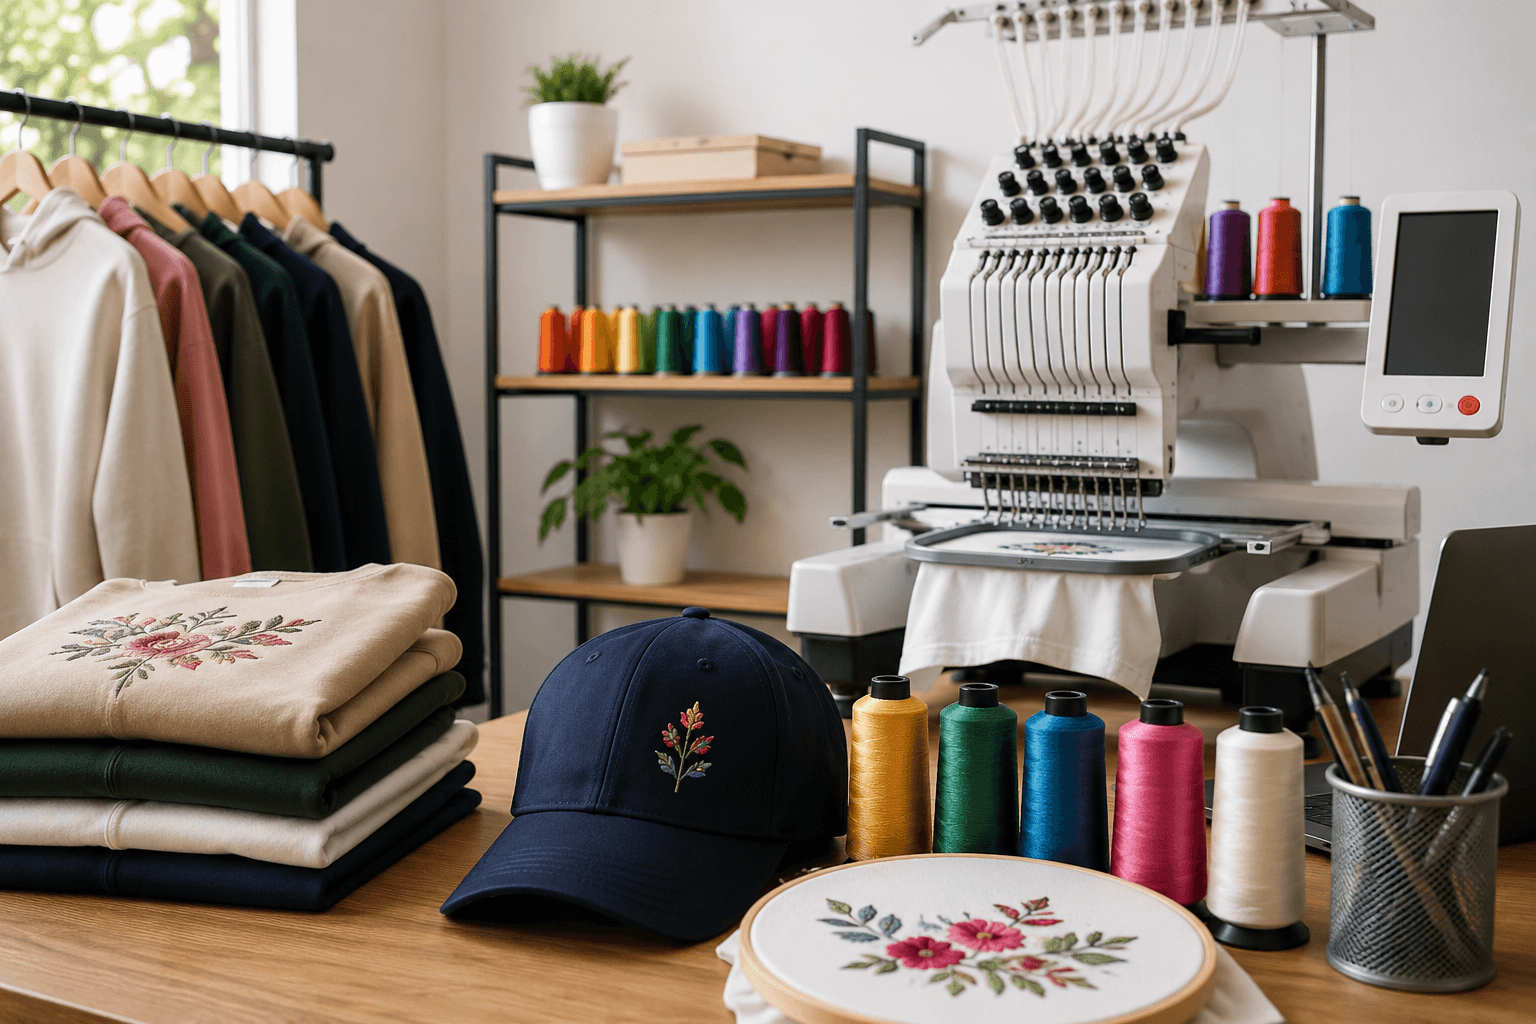
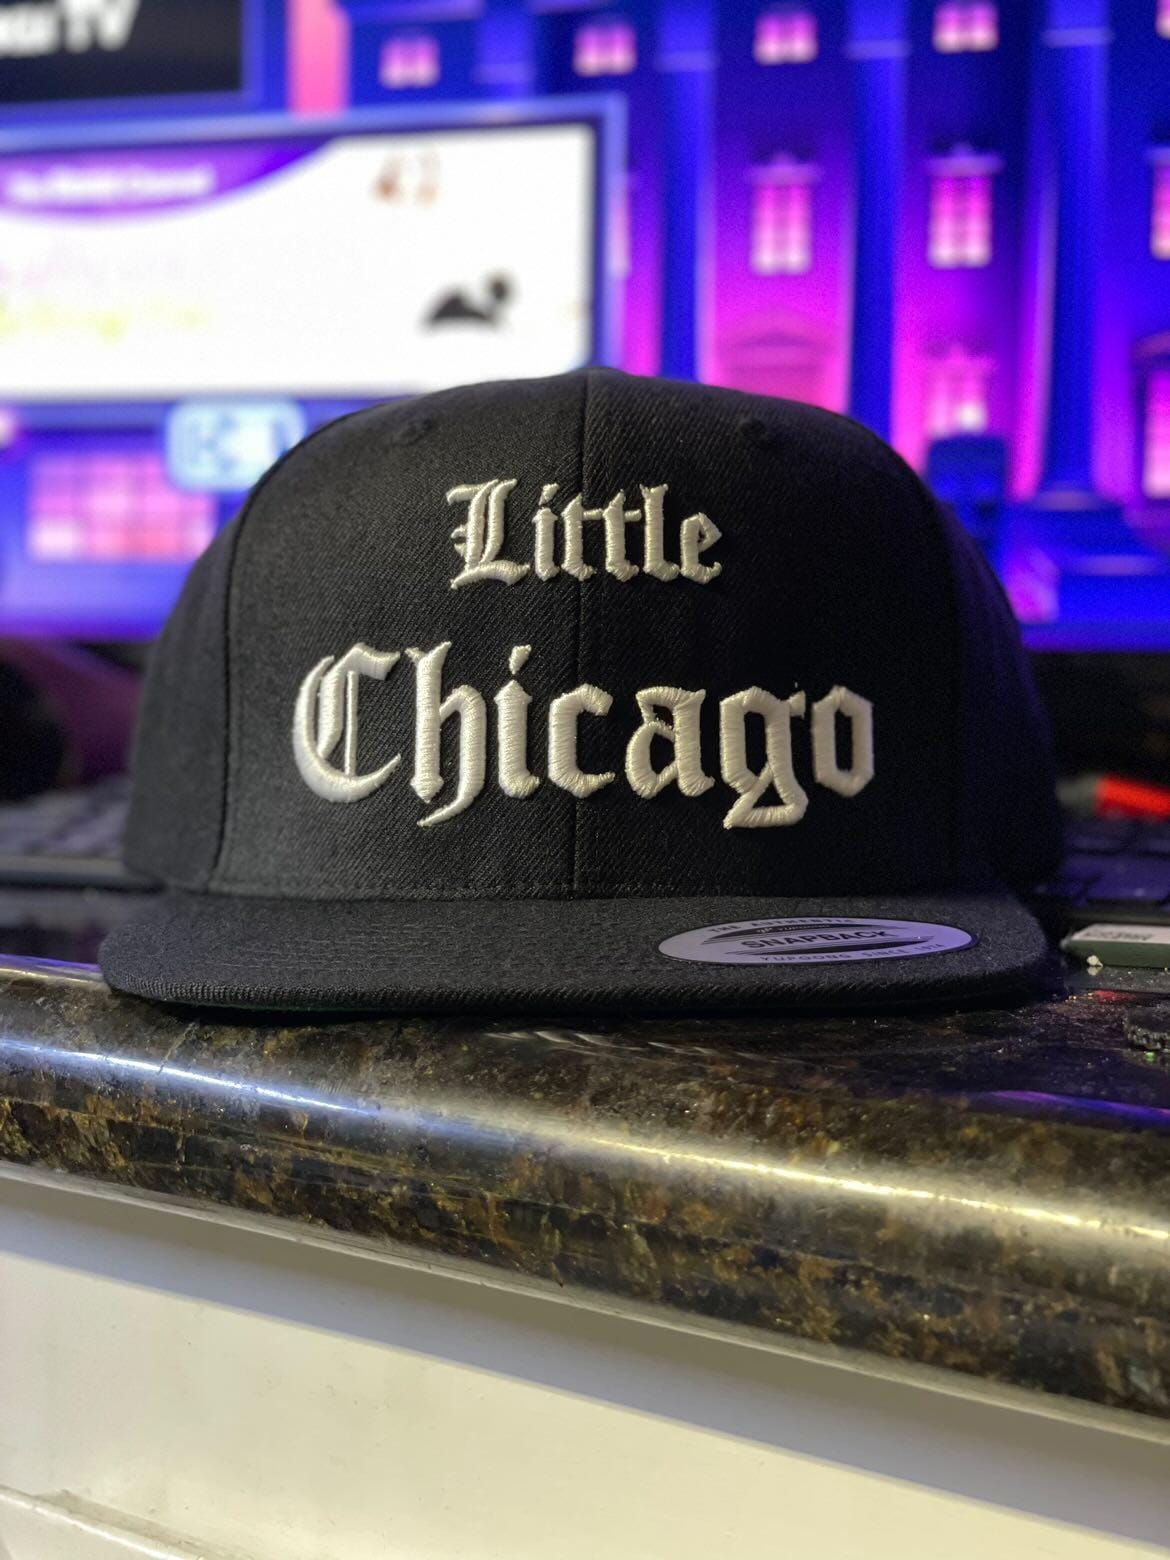

Want to turn your logo into a crisp embroidery design? Digitizing makes it simple to stitch your brand on shirts, hats, or bags. This guide shows you easy steps to digitize logo online free—no fancy skills needed. You’ll get pro results fast.
Why Digitize Your Logo?
A digitized logo looks sharp on fabric and lasts wash after wash. It saves you cash compared to hiring out. Perfect for small shops or hobbyists starting embroidery work. Use it to build custom gear that grabs eyes.
Pros and Cons of Digitizing Yourself
| Aspect | Pros | Cons |
| Cost | Free tools mean zero spend upfront. | Time to learn the ropes. |
| Control | Tweak every stitch your way. | Tricky for busy patterns. |
| Quality | Clean looks with practice. | May need fixes on complex art. |
| Speed | Quick for simple logos. | Slower than pros at first. |
DIY wins for basic needs like text logos. Pros shine for detailed work.
Tools You Need
Grab free picks like Ink/Stitch or online converters. They handle JPG or PNG files well. No downloads for web options—digitize logo online free in minutes. Start with high-res images for best output.
Step-by-Step: Digitize Logo Online
Step 1: Prep Your Logo
Scan or snap a clear pic of your logo. Crop tight—no extra space. Boost contrast so edges pop. Aim for simple colors, under 8 max.
Step 2: Pick a Free Tool
Load Ink/Stitch (Inkscape add-on) or a web converter. Upload your file. Set size—like 3×3 inches for chest logos.
Step 3: Trace the Outline
Use auto-trace to outline shapes. Adjust nodes for smooth curves. Break complex parts into fills and sats.
Step 4: Add Stitches
Pick fill for big areas, satin for edges. Set underlay to stop puckers. Test stitch paths to cut jumps.
Step 5: Set Colors and Size
Match your logo shades. Lock size to fit your item. Preview in slow motion to spot gaps.
Step 6: Export and Test
Save as DST or PES file. Stitch a sample on scrap fabric. Tweak pulls or density as needed.
Follow these to digitize logo online without hassle. Real tests beat guesswork every time.
Best File Prep Tips
Start with vectors if you can—SVG beats PNG. Cut colors to 6-8. High contrast helps software “see” lines. Fix blurry scans first.
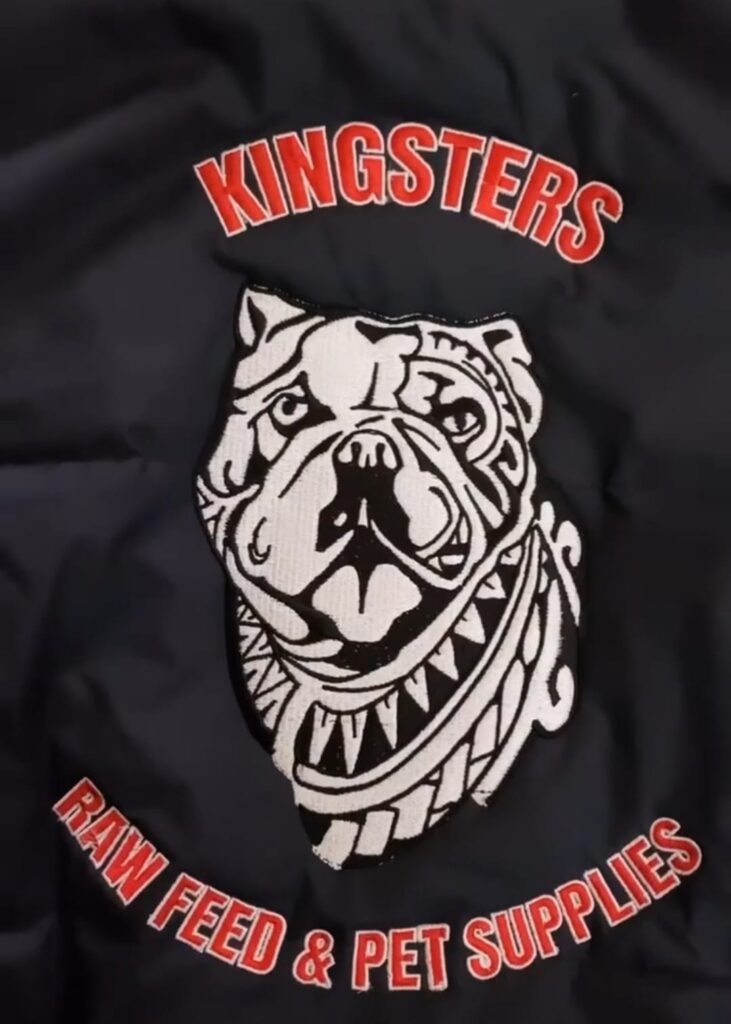
Common Fixes for Bad Stitches
- Puckers? Add zigzag underlay.
- Gaps? Up density 10%.
- Pulls? Boost satin width.
- Jumps? Resequence paths.
Quick changes save redo time. Always sample first.
When to Call a Pro
Skip DIY for gradients or tiny text. Pros handle it clean for $10-30. Good for one-offs or rush jobs.
FAQs
- How to digitize logo online free? Use Ink/Stitch—upload, trace, export DST in 10 mins.
- Best free tool to digitize logo online? Ink/Stitch beats web converters for clean stitches.
- Can I digitize logo online for embroidery? Yes—convert JPG/PNG to PES/DST files fast.
- How long to digitize logo online? Simple logos take 15 mins; complex ones 30-45 mins.
- What files work to digitize logo online? Start with high-res PNG/JPG, export as DST/PES.
- Digitize logo online without software? Try web tools, but download Ink/Stitch for pro results.
- Fix puckering when digitize logo online? Add underlay stitches and test on scrap fabric.
- Cost to digitize logo online professionally? $10-25, but DIY saves cash every time.
Conclusion
Digitizing your logo opens doors to custom embroidery that sells. Practice these steps, and you’ll crank out pro designs fast. Save money, own the process—start today and watch orders roll in.