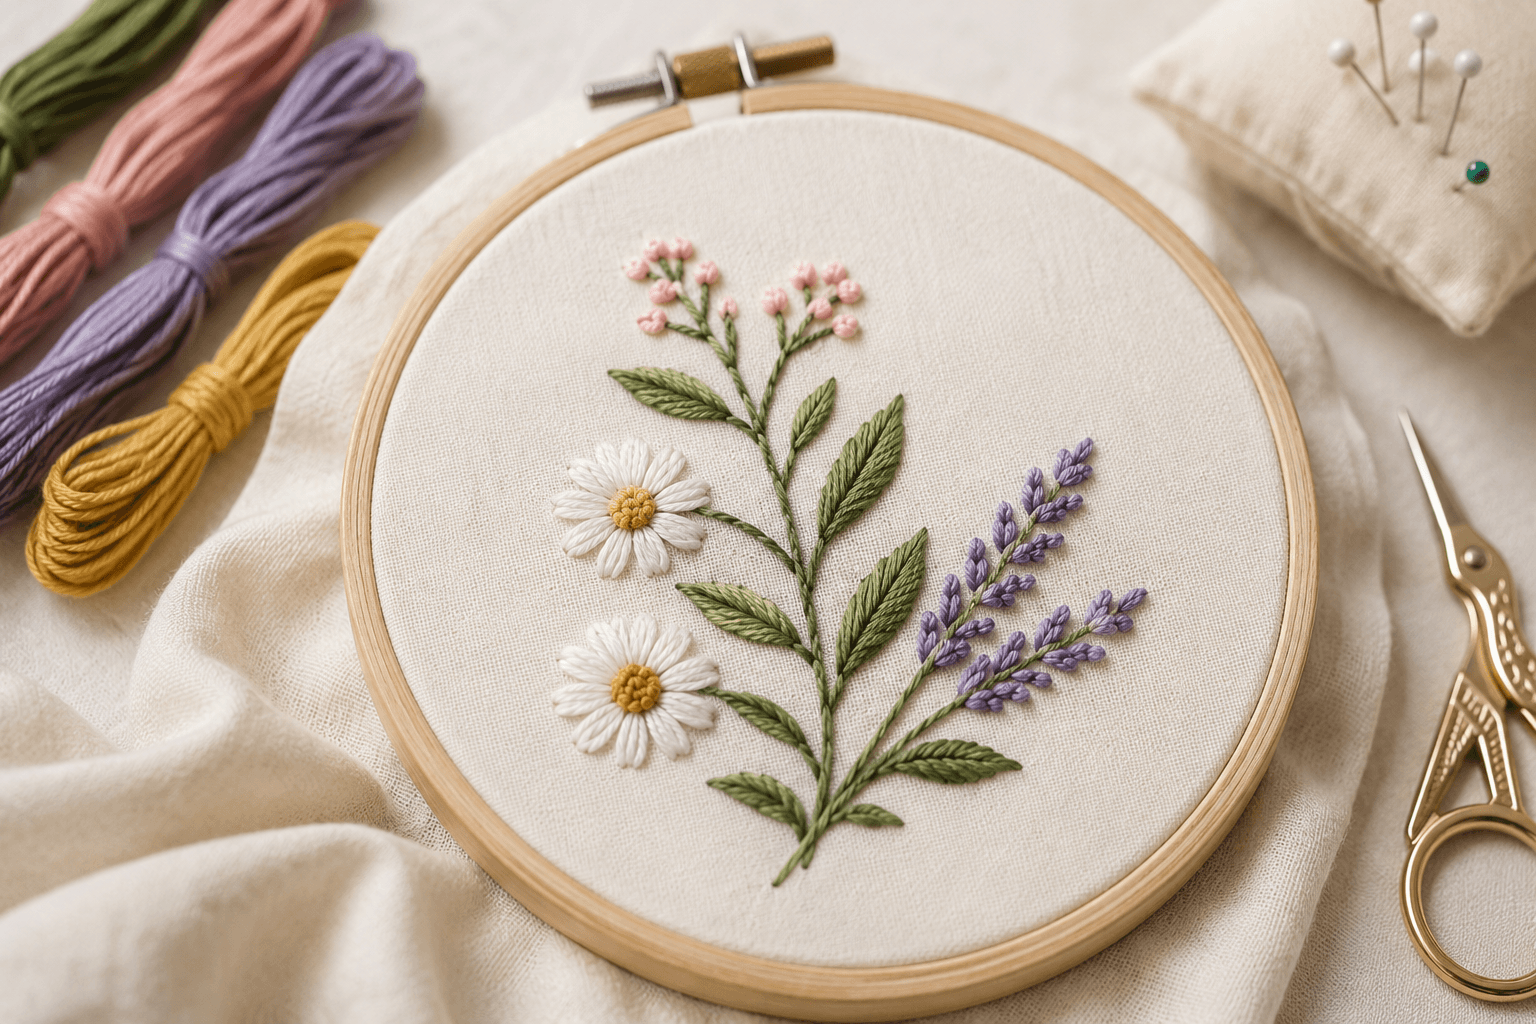

Few things are more frustrating than pulling a project out of the hoop and finding your stitches have shifted, gapped, or slid right off the line you carefully planned. Slipping stitches don’t just look messy — they weaken the design, waste thread, and can ruin hours of work on a logo, patch, or garment. The good news is that stitch slippage almost always comes down to a handful of fixable causes: loose hooping, the wrong stabilizer, poor tension, dull needles, or a digitizing file that wasn’t built for the fabric it’s running on.
In this guide, we’ll walk through exactly why embroidery stitches slip and the practical, tested fixes that keep every stitch anchored — whether you’re hand-stitching a hoop art piece or running a commercial embroidery machine.
Why Do Embroidery Stitches Slip in the First Place?
Before fixing the problem, it helps to understand what’s actually happening. Stitches “slip” when the thread isn’t held firmly enough by the fabric weave, the stabilizer, or the surrounding stitches. This can happen for several reasons:
- Loose fabric tension in the hoop — if the fabric can move, the stitches move with it.
- Wrong or missing stabilizer — stretchy or loosely woven fabrics need more support than a stabilizer-free approach can offer.
- Incorrect thread tension — top or bobbin tension that’s too loose lets loops sit on the surface instead of locking into the fabric.
- Low stitch density or poor digitizing — if a design wasn’t digitized correctly for the fabric type, stitches can sit too far apart to hold each other in place. This is one of the most common (and most overlooked) causes on machine embroidery.
- Dull or wrong-size needles — a needle that struggles to pass through fabric can drag threads instead of setting them cleanly.
- Fabric type mismatch — silky, stretchy, or loosely woven fabrics are naturally more prone to shifting stitches than stable cottons or twills.
Let’s break down the fixes for each.
1. Hoop Your Fabric Correctly (and Tightly)
The single biggest cause of slipping stitches — for both hand embroidery and machine embroidery — is a fabric that isn’t held drum-tight in the hoop.
- Loosen the hoop screw, place the fabric flat and centered, then tighten from the outside in.
- Pull gently on all sides to remove wrinkles before locking the hoop.
- Re-tighten as you work; fabric relaxes over time, especially with looser weaves.
- For machine embroidery, make sure the fabric doesn’t shift when you tap the hooped area — if it gives at all, re-hoop.
A properly hooped project keeps every stitch anchored to the same tension point, which is the foundation of clean, non-slipping embroidery.
2. Use the Right Stabilizer for Your Fabric
Stabilizer is what gives stitches something firm to “bite into.” Skipping it — or using the wrong type — is a top reason stitches slide, especially on knits, fleece, or lightweight wovens.
- Cut-away stabilizer for stretchy fabrics like t-shirts and polos, since it stays permanently behind the stitching for lasting support.
- Tear-away stabilizer for stable wovens where you want to remove excess backing after stitching.
- Water-soluble stabilizer for delicate or sheer fabrics, or when stitching lace and free-standing designs. If you’re not familiar with this option, our guide on water-soluble paper for embroidery breaks down when and how to use it.
- Double up on stabilizer for high-stitch-count designs like puff embroidery or dense logos, which put more strain on the fabric.
Matching stabilizer to fabric weight is one of the fastest ways to stop stitches from shifting mid-design.
3. Check and Adjust Your Thread Tension
Both hand and machine embroiderers run into slipping stitches from improper tension. On a machine, top tension that’s too loose lets the bobbin thread pull excess top thread to the surface, creating loose loops that catch and slide. Too tight, and the fabric puckers, pulling stitches out of alignment.
- Run a test stitch-out on scrap fabric matching your project before starting the real piece.
- Bobbin thread should show as small, evenly spaced dots on the underside — not loops.
- On the top side, thread should lie flat with no visible looping.
- For hand embroidery, keep even, consistent pull on your thread with each stitch; inconsistent tension is what causes hand-stitched designs to slip out of shape over time.
If you frequently work with different embroidery machines and want to know which threads perform best across various tension setups, our breakdown of the best thread for embroidery machines is a useful reference.
4. Don’t Overlook Digitizing Quality
If you’re running machine embroidery from a digitized file, slipping and shifting stitches are frequently a digitizing problem, not a machine problem. Poorly digitized files can have:
- Stitch density too low for the fabric type
- Underlay stitching missing (the foundation layer that anchors top stitches)
- Stitch direction that doesn’t account for fabric stretch or grain
Professionally digitized files build in proper underlay and density calculated for the exact fabric and stitch count, which is why working with a dedicated embroidery digitizing services provider often resolves slipping issues that hooping and stabilizer alone can’t fix. If you’re digitizing your own logo, our guide on how to digitize a logo for embroidery covers proper underlay and density settings in detail.
It’s also worth understanding how stitch count relates to stability — designs with too few stitches for their size are more prone to gapping. Our article on how many stitches should a logo have explains how digitizers calculate the right density for clean, secure results, and if you’re budgeting a project, embroidery digitizing cost per 1000 stitches can help you understand how density affects pricing too.
5. Match Your Needle to Your Fabric and Thread
A needle that’s too fine, too dull, or the wrong type for your fabric can drag threads instead of setting them cleanly, contributing to slipping and skipped stitches.
- Use embroidery-specific needles (they have a larger eye to reduce thread friction).
- Swap needles every 6–8 hours of stitching time, or sooner if you notice fraying or skipped stitches.
- Choose ballpoint needles for knits, sharp needles for wovens.
6. Lock Your Stitches (Especially in Hand Embroidery)
For hand embroidery specifically, slipping is often about how you start and end your threads:
- Use a waste knot or backstitch anchor instead of a simple knot, which can pull through looser weaves.
- Weave thread tails through several stitches on the back before trimming, rather than tying off loosely.
- Avoid excessively long stitches (like long satin stitches) without a securing understitch — they’re the most prone to snagging and shifting after the piece is finished.
If you’re newer to embroidery and want a broader foundation before troubleshooting specific issues, our overview of simple embroidery techniques is a good starting point, and browsing simple embroidery designs can help you practice on projects less prone to slipping while you build consistency.
7. Consider the Machine You’re Using
Older or poorly maintained machines can also contribute to inconsistent stitching. Skipped timing, a worn bobbin case, or inconsistent take-up lever tension all show up as loose or slipping stitches over time.
- Clean lint from the bobbin area regularly — buildup affects tension consistency.
- Have timing checked annually on machines used for heavy or commercial work.
- If you’re shopping for a new machine and want one built for consistent stitch quality, our comparison of the best embroidery machines for beginners covers models known for reliable tension control, and our guide to embroidery and sewing machine combos is useful if you’re deciding between a dedicated embroidery machine or a dual-purpose one.
Quick Troubleshooting Checklist
| Symptom | Likely Cause | Fix |
|---|---|---|
| Stitches shift after removing from hoop | Loose hooping | Re-hoop tighter, check fabric grip |
| Loops visible on fabric surface | Tension too loose | Adjust top/bobbin tension, test on scrap |
| Stitches gap or show fabric underneath | Low stitch density | Re-digitize with proper underlay/density |
| Puckering around design | Tension too tight or no stabilizer | Loosen tension, add stabilizer |
| Thread fraying and slipping mid-stitch | Dull or wrong needle | Replace with correct needle type |
| Design shifts on stretchy fabric | Wrong stabilizer | Switch to cut-away stabilizer |
Frequently Asked Questions
Why do my embroidery stitches keep slipping even with a stabilizer? If stabilizer alone hasn’t solved it, check your hooping tension and thread tension next — stabilizer supports the fabric, but loose hooping or tension will still let stitches shift regardless of backing.
Does thread quality affect stitch slippage? Yes. Lower-quality or old thread can be inconsistent in thickness, causing uneven tension and looser stitches. If you’re troubleshooting thread issues more broadly, it’s also worth checking why your thread keeps breaking on a sewing machine, since breakage and slippage often share the same root causes.
Can digitizing fix slipping stitches on a logo? Often, yes. If a logo design was digitized with insufficient underlay or density for the fabric, no amount of hooping or stabilizer adjustment will fully fix it — the file itself needs to be corrected by a professional digitizer.
Is slipping more common on certain fabrics? Yes — stretchy knits, silky fabrics, and loosely woven materials are far more prone to stitch slippage than stable cottons, twills, or canvas.
Final Thoughts
Stitches that slip or shift are almost always a sign that something upstream — hooping, stabilizer, tension, needle choice, or the digitized file itself — needs adjusting. Work through the checklist above from the ground up: secure hooping first, then stabilizer, then tension, then needle and machine condition. If you’ve covered all of that and machine-embroidered stitches are still slipping, the issue is very likely in the digitizing file itself, and getting it professionally re-digitized is usually the fastest fix.
For more embroidery troubleshooting and digitizing guides, browse the full Rise Digitizing blog for additional tips on stitching, digitizing, and machine maintenance.