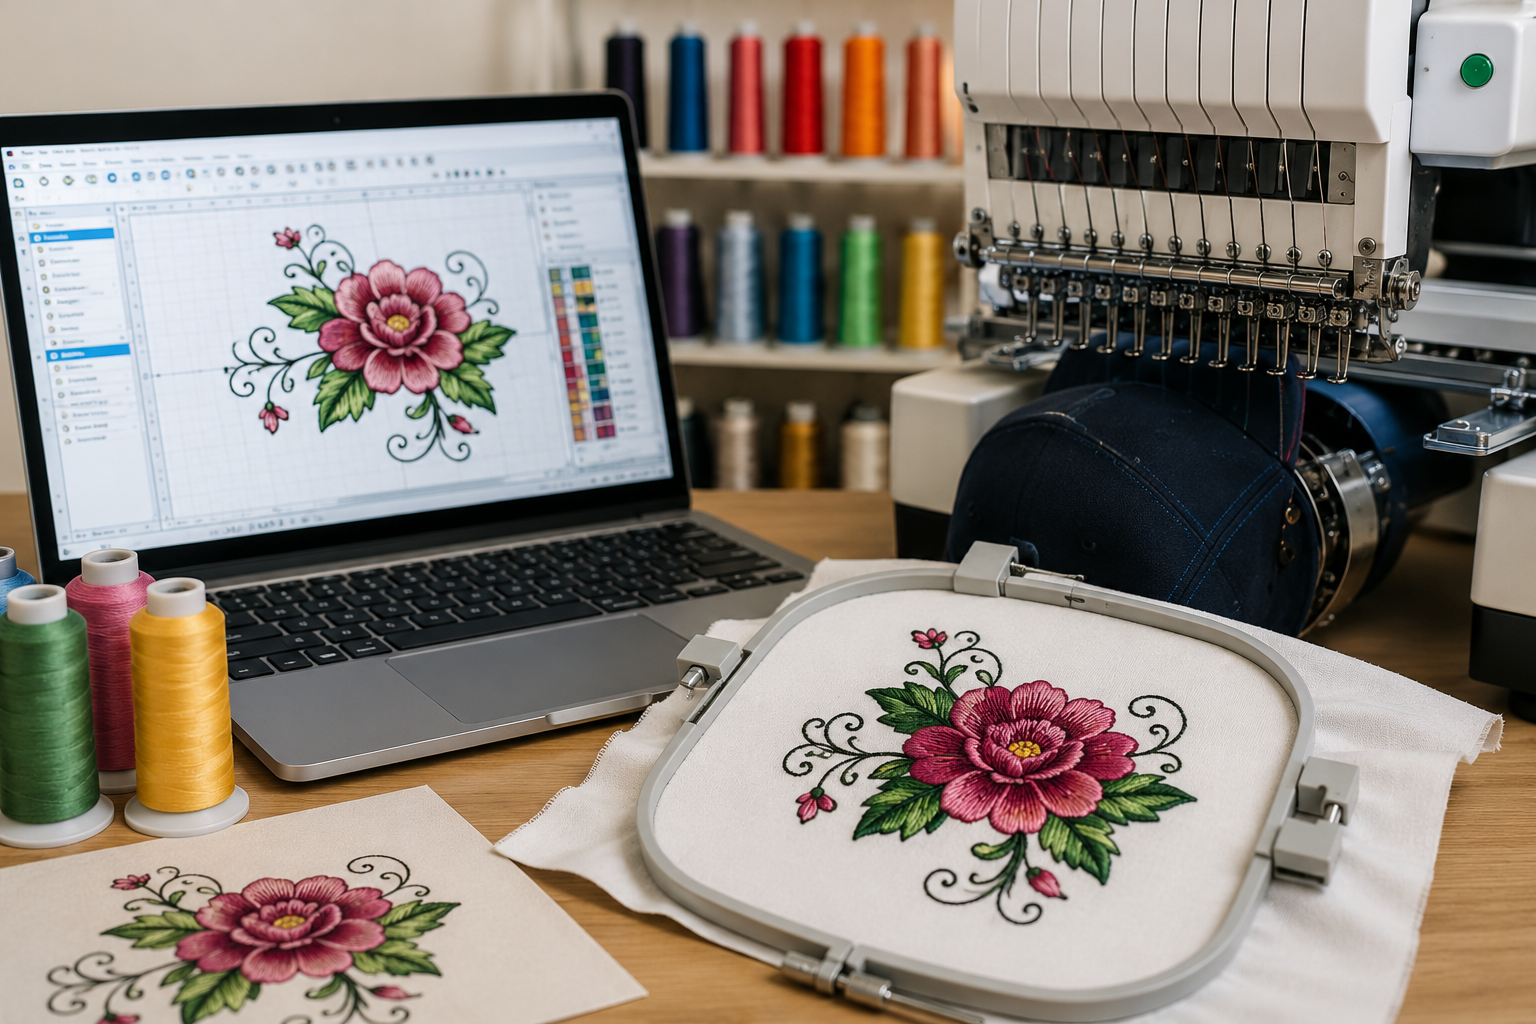
When ordering custom embroidered apparel for your brand, one of the first technical terms you will encounter is stitch count.
If you are working with an embroidery shop or an outsourcing partner like Rise Digitizing, you’ll quickly notice that pricing, production time, and final quality all revolve around this single number.
But how many stitches does a logo actually need? Why does a 3-inch logo sometimes require 5,000 stitches, while another one the exact same size requires 15,000?
In this comprehensive guide, we will break down the variables that dictate embroidery stitch counts, provide real-world estimation benchmarks, and help you optimize your designs for the best results.
What is a Stitch Count and Why Does It Matter?
Simply put, a stitch count is the total number of individual needle penetrations required to reproduce a digital design on fabric.
Understanding your logo’s stitch count is crucial for three major reasons:
- Cost Estimation: Many traditional embroidery shops price their services based on “price per 1,000 stitches.”
- Production Speed: Embroidery machines run at a set speed (usually between 600 to 1,000 stitches per minute). A design with a massive stitch count takes longer to run, directly affecting your production timeline.
- Garment Integrity: Forcing too many stitches onto a lightweight fabric causes the material to bunch, pucker, or tear. Conversely, too few stitches will look cheap, sparse, and let the background fabric peek through.
The Cheat Sheet: Average Stitch Counts by Placement
While every logo is unique, industry averages can give you a solid baseline for budgeting. Here is a handy reference table for standard branding placements:
| Placement Type | Average Dimensions | Typical Stitch Count Range |
| Left Chest Logo (Corporate/Polo) | 3″ to 4″ wide | 4,000 – 10,000 stitches |
| Baseball Cap / Hat (Front) | 2″ to 2.25″ high | 5,000 – 12,000 stitches |
| Cap (Side or Back) | 1.5″ to 2.5″ wide | 1,500 – 4,000 stitches |
| Jacket Back (Large Center) | 8″ to 11″ wide | 25,000 – 75,000+ stitches |
| Sleeve Brand Logo | 2″ to 3″ wide | 2,000 – 6,000 stitches |
4 Main Factors That Dictate a Logo’s Stitch Count
You can’t determine stitch count based on physical size alone. Two logos can measure exactly $3 \times 3$ inches, but one might have triple the stitch count of the other. Here is why:
1. Artwork Complexity & Elements
A minimalist text-only logo requires significantly fewer needle drops than an intricate crest featuring gradient fills, shield borders, and fine background patterns. More elements naturally equal more thread.
2. Stitch Types (Satin vs. Fill)
The type of stitch chosen during the digitizing process drastically impacts the final count:
- Satin Stitches: Used for text and thin borders. They span across a shape cleanly, keeping stitch counts relatively low.
- Fill (Tatami) Stitches: Used to pack solid color into large background blocks. Because they weave back and forth tightly to cover the fabric entirely, they rack up thousands of stitches very quickly.
3. Logo Text and Small Details
Every single letter requires a foundation (underlay) and a top layer of satin stitches. If your logo includes a lengthy tagline or small website URL at the bottom, your stitch count will climb rapidly.
4. Fabric Types
Stiff canvas, thick denim, and heavy hoodies can handle dense, multi-layered embroidery. Lightweight performance polyesters or delicate silk blends require a lighter touch. A professional digitizer will purposely lower the stitch density for lighter fabrics to prevent the garment from puckering.
How to Estimate Stitch Count: The Grid Rule
If you don’t have professional digitizing software, you can use the 1-Square-Inch Rule to get a rough, ballpark estimate for a standard left-chest or hat logo:
The Quick Formula:
As a baseline rule of thumb, 1 square inch of solid embroidery coverage equals roughly 1,200 to 2,000 stitches.
- Light coverage (Simple text, thin line art): Multiply total square inches by 1,200.
- Medium coverage (Text with a small icon or moderate fills): Multiply total square inches by 1,500.
- Heavy coverage (Solid filled shapes, thick corporate shields): Multiply total square inches by 2,000+.
How to Optimize Your Logo to Lower Stitch Counts (and Costs)
If you find that your design’s stitch count is too high for your budget or too heavy for your chosen fabric, you don’t necessarily have to change your branding. You can optimize it:
- Ditch the Background Fills: If your logo is a circle with text inside, consider leaving the interior circle open. Let the color of the shirt act as the background color instead of filling it completely with thread.
- Simplify Text: Eliminate microscopic taglines. If a font is too small to read clearly in thread, it’s better to remove it or enlarge it rather than waste stitch counts on unreadable blobs.
- Scale Intelligently: Reducing a logo’s overall footprint by just 15% can sometimes cut the total stitch count down by 30% to 40%.
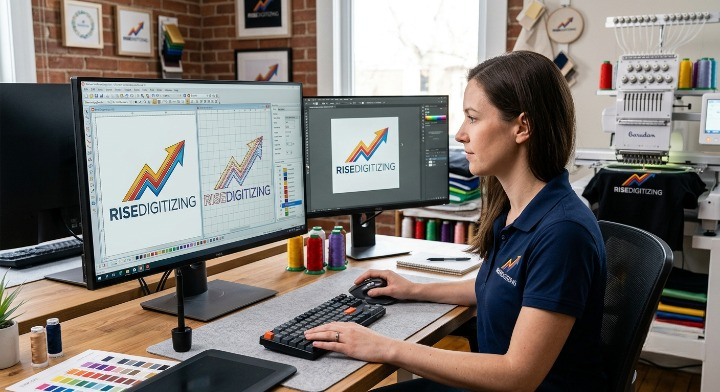
Get a Precise Stitch Count from Rise Digitizing
While formulas and grids offer helpful estimates, the only way to know your exact stitch count is to have your artwork processed by a professional digitizing engineer.
At Rise Digitizing, we don’t guess. We analyze your artwork, map out the precise stitch paths, and optimize the file specifically for your target garment. Whether you need an ultra-efficient file optimized for a high-speed production run or a premium 3D puff execution for headwear, we deliver clean, industry-standard machine files (.DST, .PES, .EXP) that execute flawlessly.
Stop guessing your production costs. Send us your logo today, and our team will provide a highly accurate blueprint tailored to your brand’s embroidery needs.