In today’s competitive branding world, businesses and individuals are constantly looking for ways to stand out. One powerful method is turning your digital logo into embroidery for uniforms, caps, jackets, and promotional items. The process of converting a logo to embroidery allows your brand to appear more professional, durable, and visually appealing across different materials.
Whether you run a small business or manage a large brand, understanding how to convert logo to embroidery file can help you achieve consistent branding and long-lasting results.
What Does Logo to Embroidery Mean?
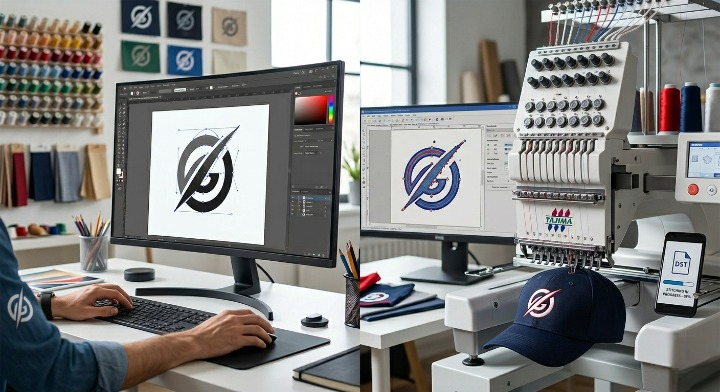
Converting a logo to embroidery involves transforming a digital image (such as PNG, JPG, or SVG) into a stitch file that embroidery machines can read. This file includes instructions like stitch type, direction, density, and thread color.
Unlike regular images, embroidery files are not just pictures—they are carefully structured stitch patterns that guide machines to recreate your design on fabric.
Why Converting Logo to Embroidery is Important
Embroidery adds a premium and long-lasting feel to your brand. Printed logos may fade or peel over time, but embroidered designs stay intact even after repeated washing.
Key benefits include:
- Strong brand visibility
- Long-lasting design quality
- Professional appearance
- Suitable for uniforms and merchandise
Steps to Convert Logo to Embroidery File
The process of convert logo to embroidery involves several important steps:
- Prepare Your Logo
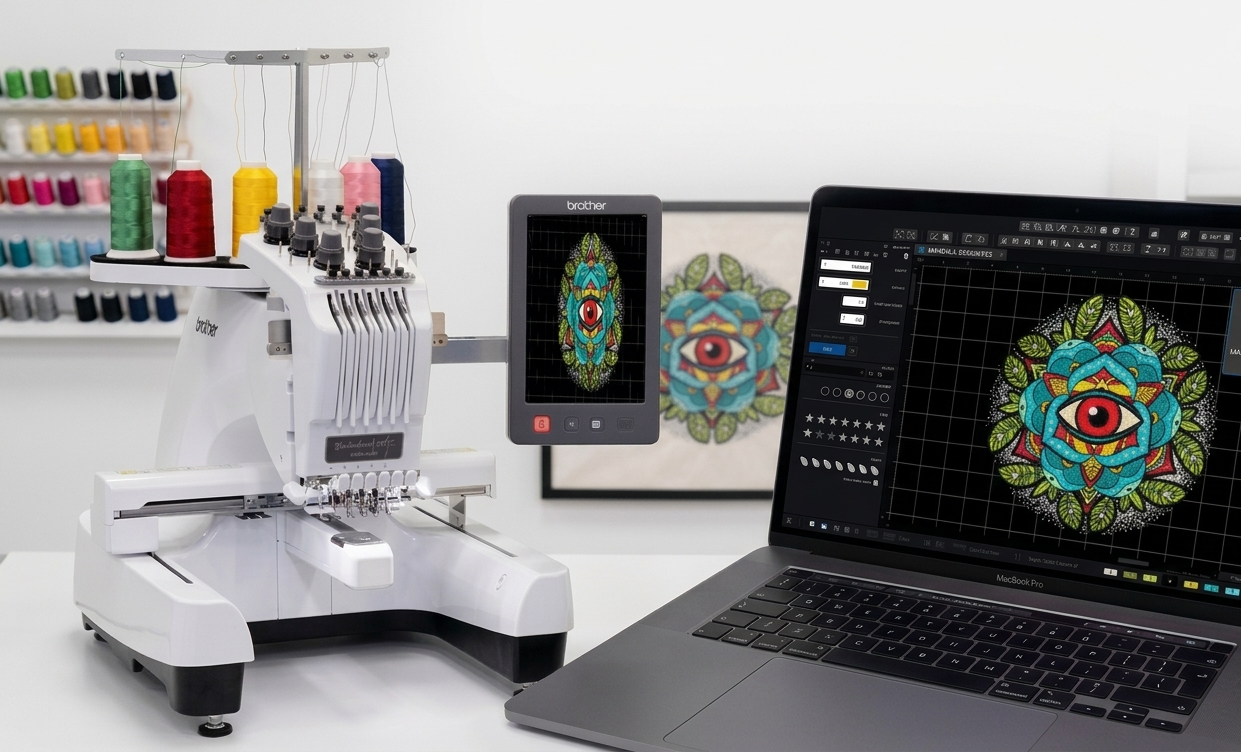
Ensure your logo is high-resolution with clear lines and minimal complexity. - Digitizing the Design
This is the most critical step where your logo is manually converted into stitch patterns using specialized software. - Assign Stitch Types
Different areas of the logo use different stitches such as satin, fill, or running stitch. - Choose Thread Colors
Colors are matched carefully to maintain brand identity. - Export to Embroidery Format
The file is saved in formats like DST, PES, or EXP depending on the machine.
Comparison Table: Logo File vs Embroidery File
| Feature | Regular Logo File | Embroidery File |
| Format | JPG, PNG, SVG | DST, PES, EXP |
| Purpose | Display & printing | Machine stitching |
| Editable Layers | Yes | No (stitch-based) |
| Complexity Handling | High detail possible | Simplified for stitching |
| Usage | Digital & print media | Fabric & apparel |
Best Practices for Logo to Embroidery Conversion
To get the best results when you convert logo to embroidery file, follow these tips:
- Keep your design simple and clean
- Avoid very small text or fine details
- Use solid colors instead of gradients
- Perform a trial embroidery on fabric to ensure the design looks correct
- Maintain proper spacing between elements
Pros and Cons of Converting Logo to Embroidery
Pros
- Durable and long-lasting branding
- Premium and professional look
- Works well on various fabrics
- Resistant to fading and wear
Cons
- Initial digitizing cost can be higher
- Complex designs may need simplification
- Limited detail compared to digital prints
- Requires skilled digitizing for best results
Common Mistakes to Avoid
Many people rush the process and end up with poor results. Avoid these mistakes:
- Using low-quality logo files
- Ignoring stitch density settings
- Choosing incorrect thread colors
- Not testing the design before production
A properly digitized design ensures your embroidery looks clean and sharp.
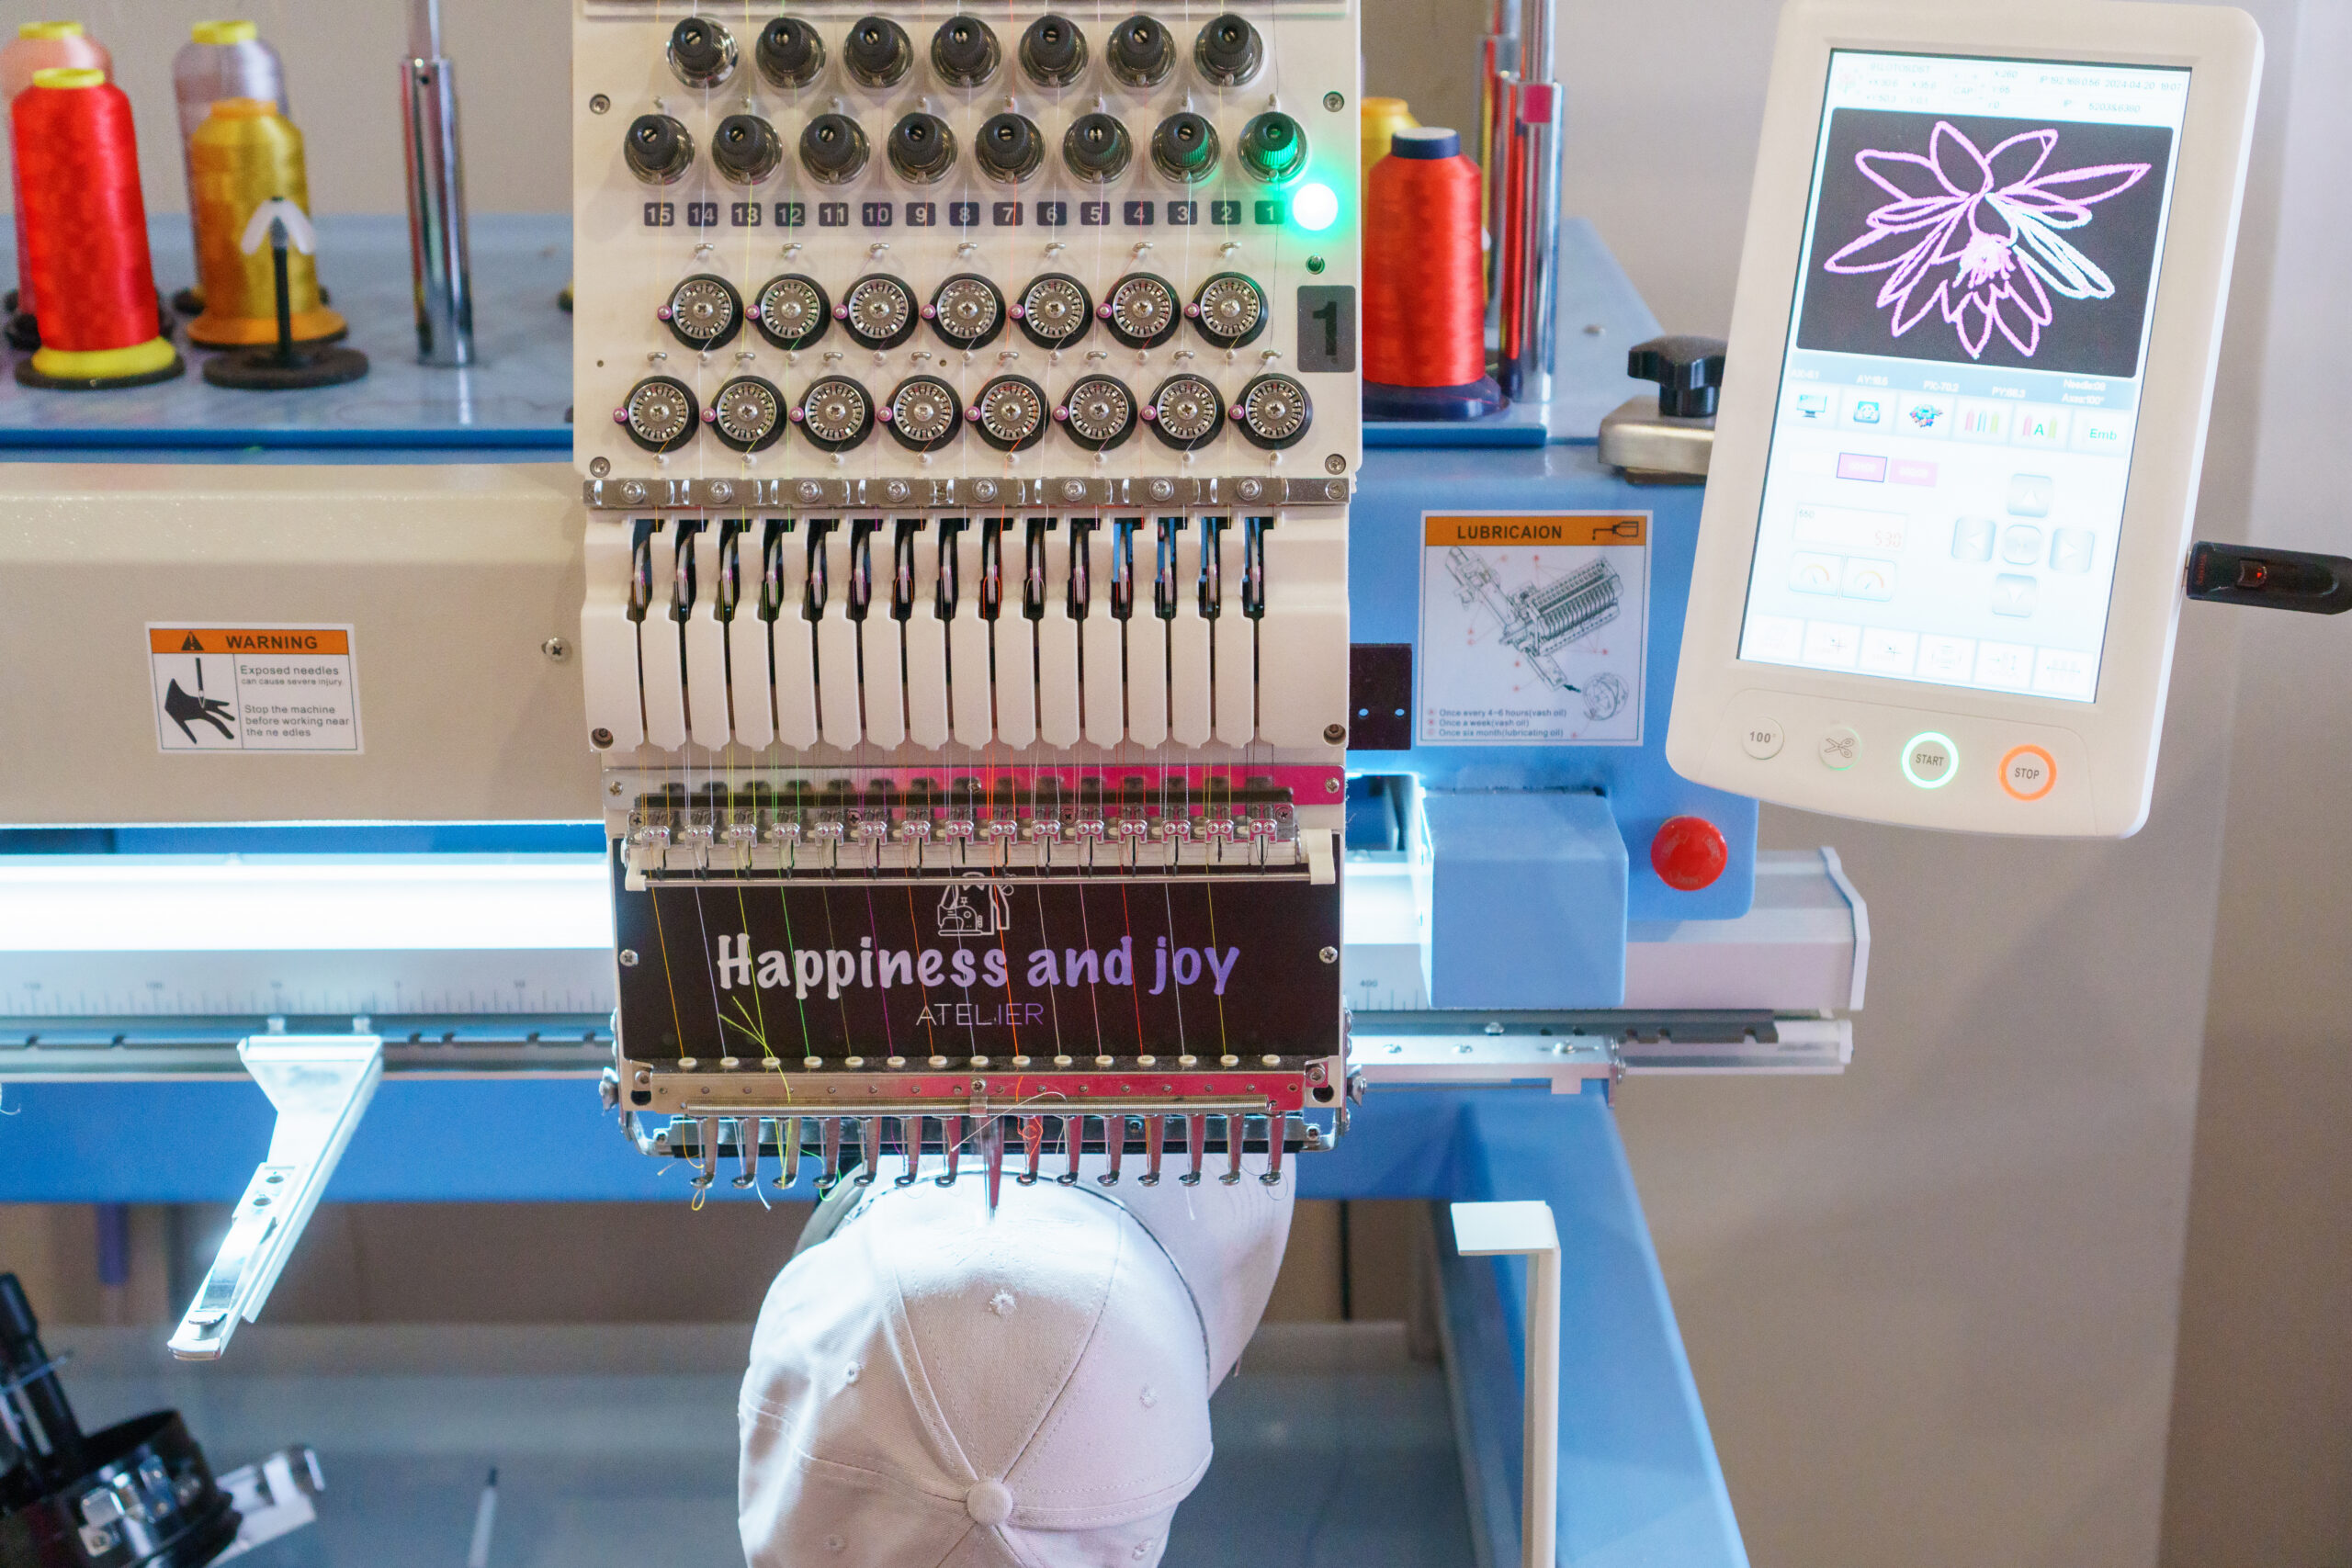
How Businesses Benefit from Logo Embroidery
Businesses across industries use embroidery for branding. From corporate uniforms to promotional merchandise, embroidered logos create a strong visual identity.
Popular uses include:
- Company uniforms
- Caps and hats
- Jackets and hoodies
- Workwear and safety gear
Embroidery helps create a consistent and professional image that customers trust.
FAQs
1. What is the best format to convert logo to embroidery file?
DST and PES are among the most commonly used embroidery formats.
2. Can any logo be converted into embroidery?
Yes, but complex designs may need simplification for better results.
3. How long does it take to convert logo to embroidery?
It usually takes a few hours to a day depending on design complexity.
4. Why does my embroidered logo look different from the original?
Embroidery uses stitches, so fine details and gradients may be adjusted.
5. Is digitizing necessary for embroidery?
Yes, digitizing is essential to convert your logo into a stitch file.
6. Can I convert logo to embroidery by myself?
You can use software, but professional digitizing gives better results.
7. What is stitch density in embroidery?
It refers to how closely stitches are placed, affecting design quality.
8. Does embroidery work on all fabrics?
Most fabrics support embroidery, but results vary depending on material.
9. How much does it cost to convert logo to embroidery?
Costs vary based on design complexity and size.
10. Can I edit an embroidery file later?
Editing is limited; major changes require re-digitizing.
Conclusion
Converting a logo to embroidery is a smart investment for any brand looking to create a strong and lasting impression. By transforming your design into a stitch-ready format, you ensure durability, professionalism, and consistent branding across all products.
When you properly convert logo to embroidery file, you unlock the potential to showcase your identity in a more refined and impactful way. With the right approach, tools, and attention to detail, your embroidered logo can become a powerful representation of your brand.