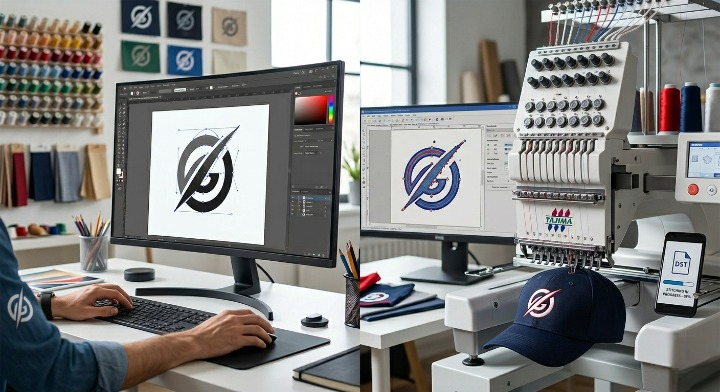
Turning a simple logo into an embroidery-ready design requires more than just uploading an image. If you want sharp stitching, clean edges, and professional output, you need the right process. Whether you’re a business owner, designer, or hobbyist, understanding how to convert logo to embroidery file properly can save time, cost, and frustration.
In this guide, you’ll learn the step-by-step process, key considerations, and best practices to achieve high-quality embroidery results.
What Does It Mean to Convert Logo to Embroidery?
When you convert logo to embroidery, you are transforming a standard image file (JPG, PNG, SVG) into a stitch file format that embroidery machines can read (such as DST, PES, or EXP). This process is called digitizing.
Unlike regular images, embroidery files contain stitch paths, thread colors, and direction instructions. Without proper digitizing, your logo may appear distorted, uneven, or unclear when stitched.
Why Proper Logo Conversion Matters
A poorly converted design can ruin fabric and waste resources. High-quality conversion ensures:
- Clean and sharp stitching
- Accurate logo representation
- Smooth thread flow
- Reduced thread breaks
- Professional finish
For businesses, this directly impacts branding and customer perception.
Step-by-Step Process to Convert Logo to Embroidery File
1. Choose the Right Logo Format
Start with a high-resolution logo. Vector files (AI, SVG, EPS) work best because they scale without losing quality.
2. Simplify the Design
Complex logos with too many colors or small details may not stitch well. Simplify shapes and reduce unnecessary elements.
3. Select Thread Colors
Match your logo colors with available thread shades. Keep contrast in mind for better visibility on fabric.
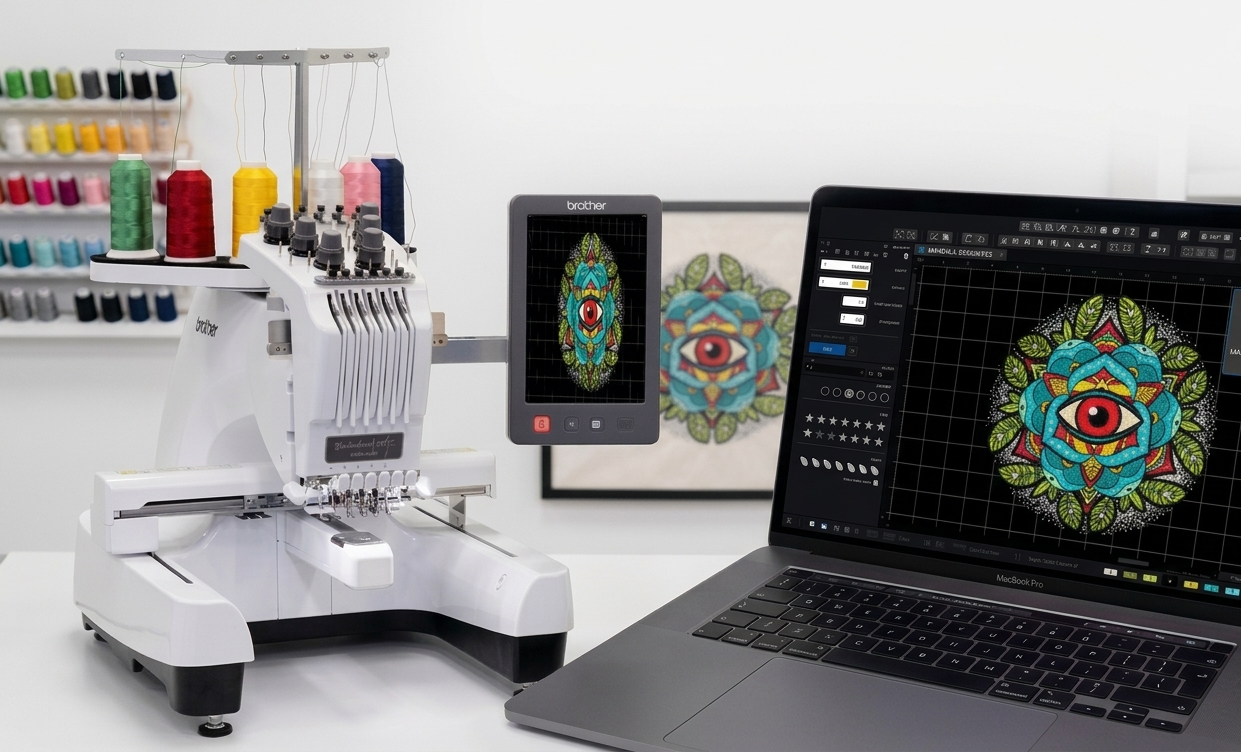
4. Digitizing the Logo
This is the most important step. You can either:
- Use embroidery digitizing software
- Hire a professional digitizer
Digitizing involves assigning stitch types such as satin, fill, or running stitches.
5. Set Stitch Direction & Density
Correct stitch direction improves the look and durability. Density must be balanced to avoid fabric puckering.
6. Export to Embroidery Format
Save your file in the required format (DST, PES, etc.) based on your embroidery machine.
7. Test Before Final Production
Always run a sample stitch on fabric to check alignment, color accuracy, and stitching quality.
Common File Formats for Embroidery
| Format | Used For | Compatibility |
| DST | Industrial machines | Widely supported |
| PES | Brother machines | Home & small business |
| EXP | Melco machines | Commercial use |
| JEF | Janome machines | Home embroidery |
| VP3 | Husqvarna/Viking | Advanced machines |
Pros and Cons of Converting Logo to Embroidery
Pros
- Enhances brand visibility on apparel
- Long-lasting and durable design
- Professional appearance
- Customization flexibility
Cons
- Requires technical skill or expert help
- Initial setup cost can be high
- Complex designs need adjustments
- Trial and testing may take time
Tips for Better Embroidery Results
- Keep text size readable (avoid very small fonts)
- Use fewer colors for cleaner output
- Maintain proper spacing between elements
- Choose the right fabric type
- Always test stitch before bulk production
Common Mistakes to Avoid
Many beginners make these errors when trying to convert logo to embroidery file:
- Using low-resolution images
- Ignoring stitch density settings
- Overcomplicating design details
- Skipping test runs
- Choosing wrong file format
Avoiding these mistakes ensures smoother results and saves time.
Manual vs Automatic Digitizing
| Method | Advantages | Disadvantages |
| Manual Digitizing | High precision, better quality | Time-consuming, requires skill |
| Auto Digitizing | Fast and easy | Lower quality, less control |
For professional branding, manual digitizing is always recommended.
FAQs
1. What is the best format to convert logo to embroidery file?
DST and PES are the most commonly used formats depending on your machine.
2. Can I convert a logo to embroidery for free?
Some tools offer free conversion, but quality may not be professional.
3. How long does it take to digitize a logo?
It usually takes a few hours depending on the design complexity.
4. Why does my embroidery logo look different from the original?
This happens due to improper digitizing, incorrect stitch settings, or design complexity.
5. Can all logos be converted into embroidery?
Yes, but complex logos may need simplification for better stitching results.
6. What software is used for embroidery digitizing?
Popular tools include Wilcom, Hatch, and Brother PE-Design.
7. How much does it cost to convert logo to embroidery?
Prices vary based on complexity but usually range from $10 to $50.
8. What is stitch density in embroidery?
It refers to how close stitches are placed together, affecting design quality and fabric behavior.
Conclusion
Learning how to convert logo to embroidery file is essential for achieving clean and professional stitching results. From choosing the right format to proper digitizing and testing, every step plays a crucial role. A well-prepared embroidery file not only improves design quality but also enhances brand value.