Turning artwork into a stitch-ready embroidery file is not as simple as uploading a picture and pressing convert. If you want clean stitching, proper thread flow, and professional results, you need to understand how to digitize image for embroidery the right way.
Many beginners search for ways to digitize image for embroidery online or look for options to digitize image for embroidery free. While free tools and quick converters exist, they often produce low-quality stitch files that require heavy editing. Let’s explore how proper digitizing works and how it compares to free software methods commonly discussed in embroidery communities.
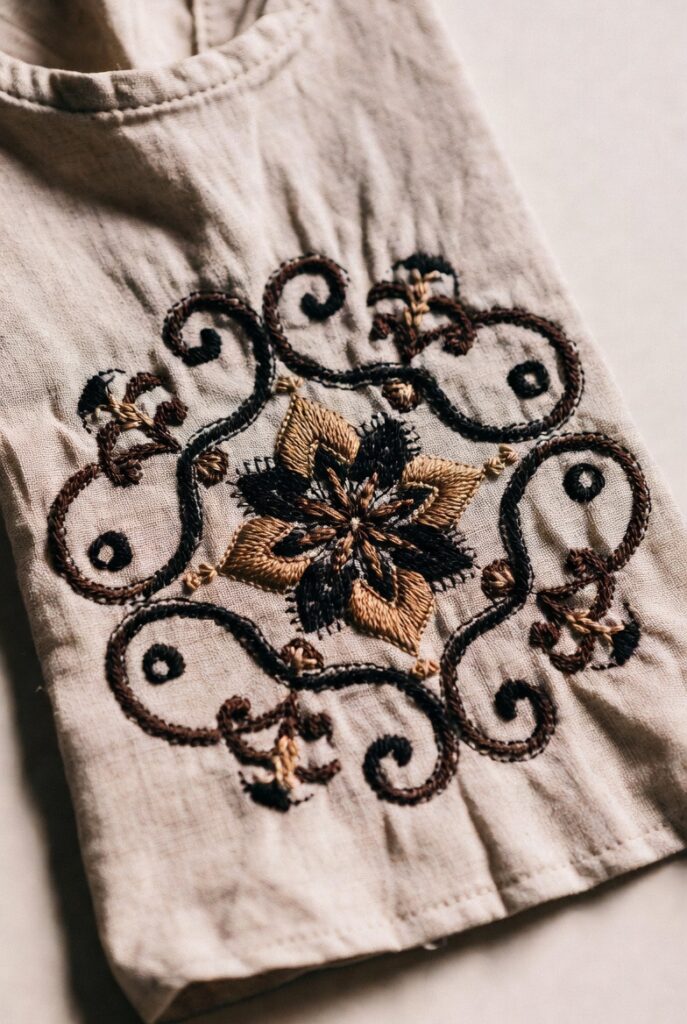
What Does It Mean to Digitize an Image?
Digitizing is the process of converting artwork (JPG, PNG, or SVG) into a machine embroidery file like DST, PES, or EXP. Embroidery machines cannot read images directly. They need stitch data, including:
- Stitch type (satin, fill, run stitch)
- Stitch direction
- Density
- Underlay
- Thread sequence
Automatic converters usually miss these important settings, which affects the final result.
Free Software vs Professional Digitizing
In embroidery forums, many users discuss free software options to convert images into embroidery designs. These tools are helpful for beginners who want to experiment. However, they often create:
- Uneven stitch density
- Poor pathing (extra trims and jumps)
- Thread breaks
- Distorted small text
- Bulky designs
When you try to digitize image for embroidery free using basic converters, the software usually auto-generates stitches without understanding fabric type or design complexity.
Professional digitizing, on the other hand, manually maps stitch paths. This results in:
- Smooth curves
- Proper stitch angles
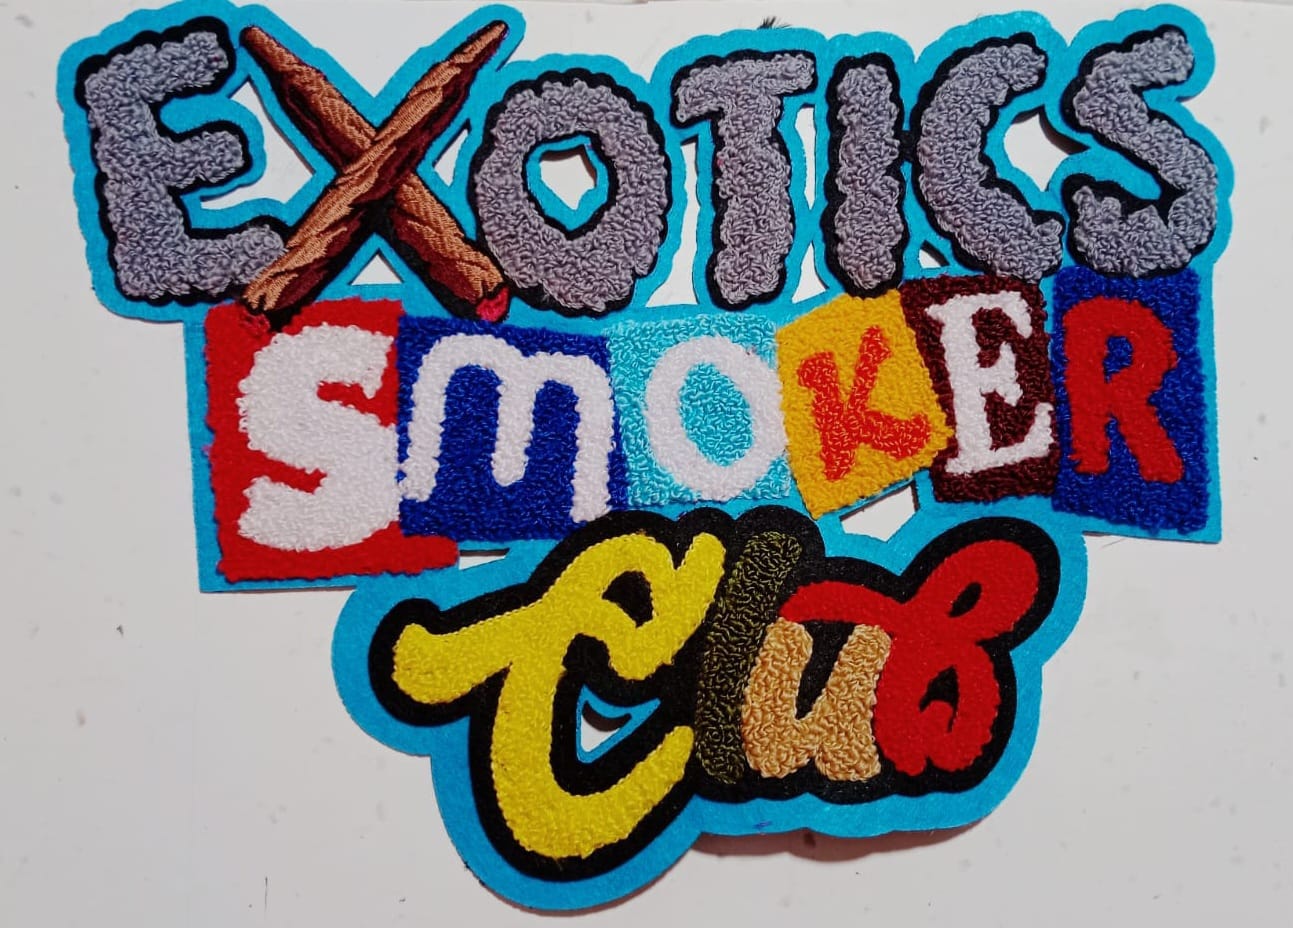
- Clean lettering
- Reduced thread breaks
- Better fabric stability
That’s the key difference between quick conversion and expert digitizing.
Can You Digitize Image for Embroidery Online?
Yes, there are online platforms where you can upload your design and receive a digitized file. Some offer instant auto-conversion, while others provide manual digitizing services.
When using online tools, consider:
- Does it allow stitch editing?
- Can you control stitch density?
- Does it support multiple embroidery file formats?
- Is there preview simulation?
Online auto-digitizing tools are convenient, but manual digitizing services often deliver more polished results, especially for logos and detailed artwork.
Best Method to Convert Image to Embroidery File
Here’s the recommended step-by-step process:
1. Clean Your Artwork
Simplify the design. Remove gradients, shadows, and unnecessary details. Embroidery works best with solid colors.
2. Import into Digitizing Software
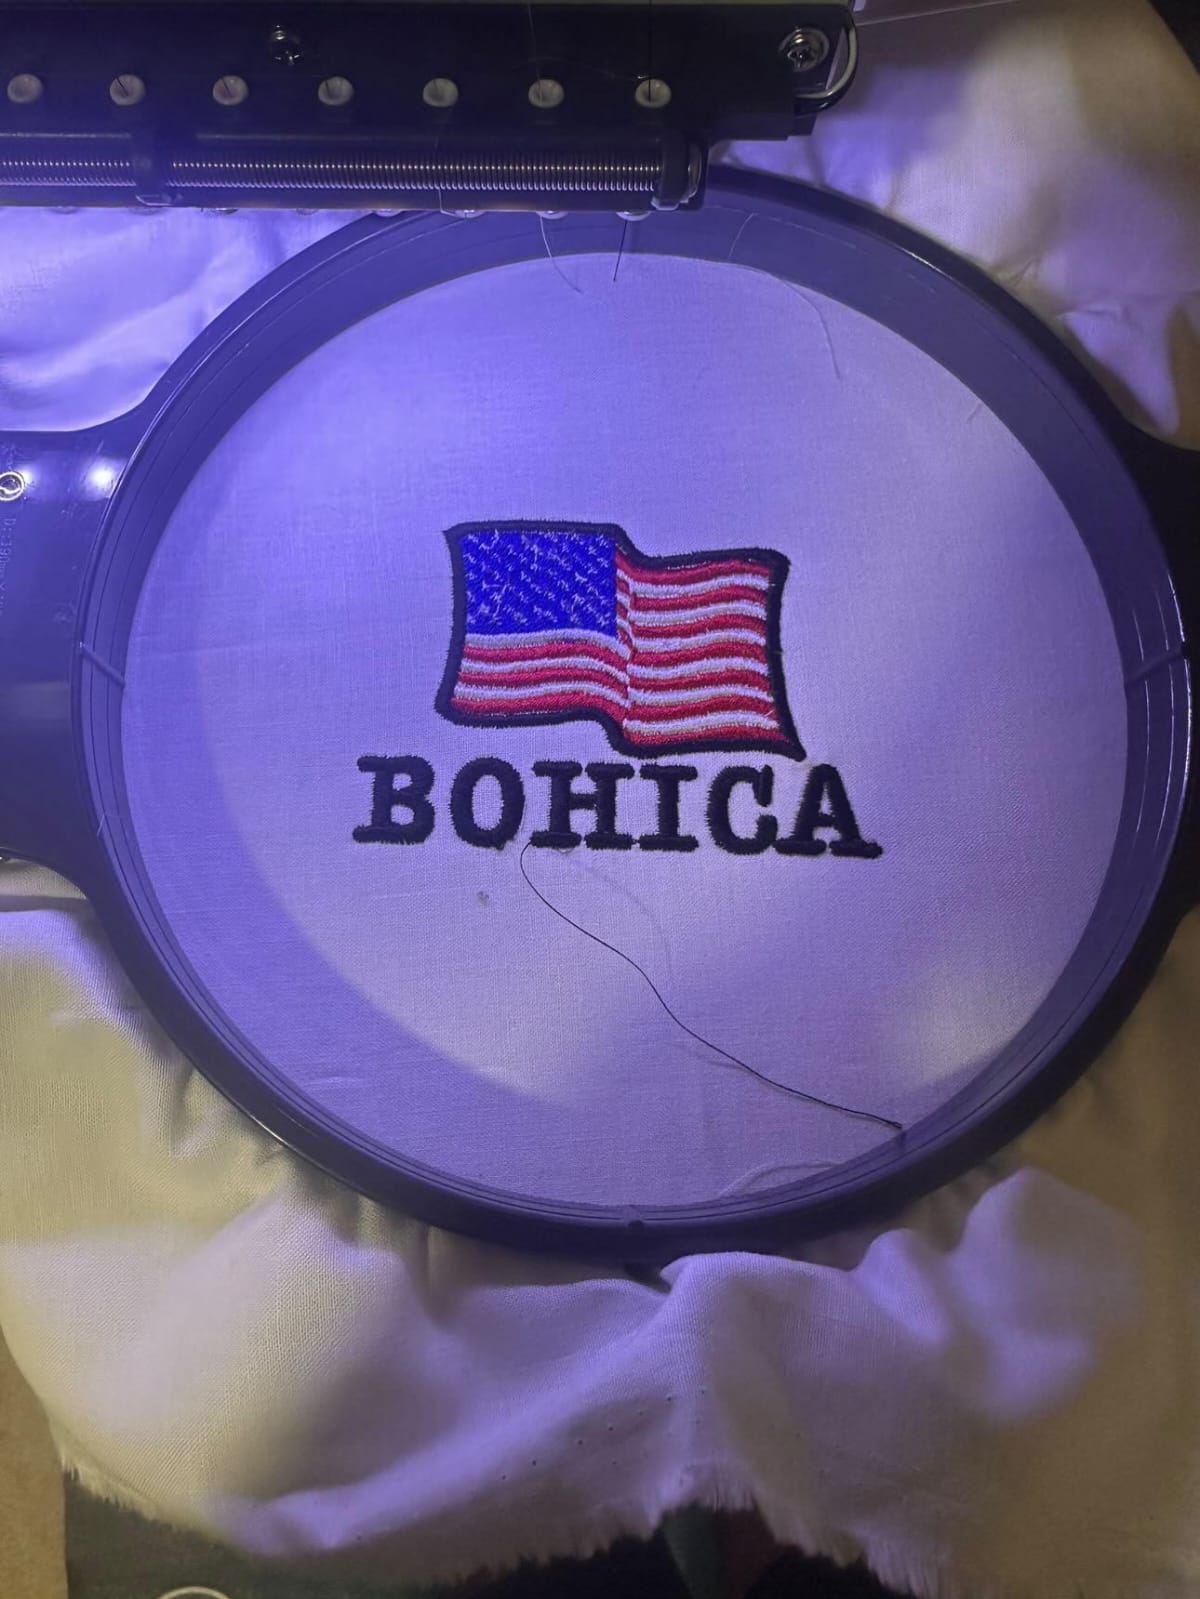
Use embroidery digitizing software like Wilcom, Hatch, Brother PE-Design, or similar professional tools.
3. Assign Stitch Types
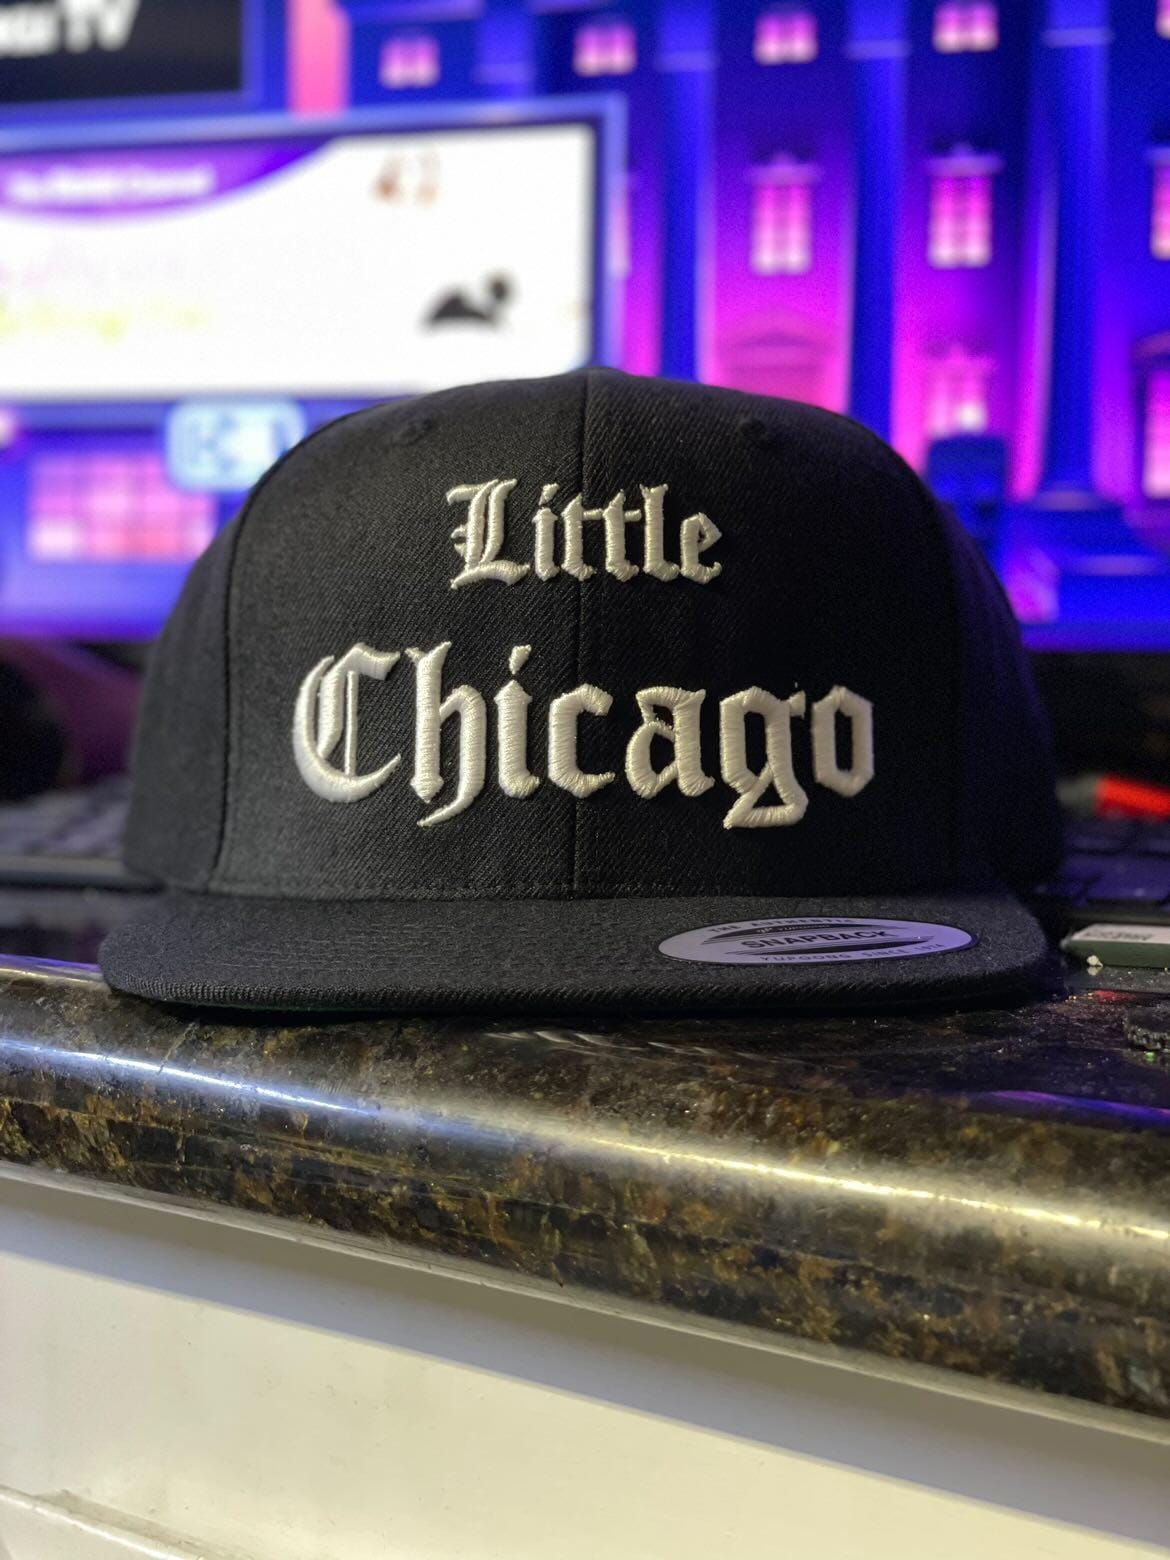
- Satin stitch for borders and text
- Fill stitch for large areas
- Run stitch for details
4. Adjust Stitch Direction
Correct angles improve the visual texture and prevent fabric pulling.
5. Set Underlay and Density
Underlay supports the design structure. Proper density avoids thread bunching.
6. Test the Design
Always test stitch on sample fabric before final production.
Why Auto Digitizing Often Fails
Free auto-digitizing tools detect color blocks and convert them directly into fill stitches. But embroidery requires planning.
For example:
- Small text needs careful satin stitching.
- Thin lines may disappear if density is incorrect.
- Fabric type (cotton, polyester, caps) changes digitizing strategy.
This is why many embroidery professionals prefer manual digitizing over automatic conversion.
When Free Digitizing Is Useful
To be fair, free tools are helpful when:
- You are practicing
- The design is very simple
- You need a quick draft
- It’s a personal hobby project
But for business logos, uniforms, caps, and commercial embroidery, quality digitizing makes a big difference in the final appearance.
Choosing the Right Approach
If your goal is professional branding or selling embroidered products, investing in proper digitizing ensures:
- Cleaner finish
- Less machine downtime
- Faster production
- Professional presentation
If you are just experimenting, trying to digitize image for embroidery free can help you understand basics before upgrading to advanced tools.
FAQs
1. Can I digitize image for embroidery free?
Yes, some free software tools are available, but they may lack advanced stitch control and editing features.
2. What is the best format for embroidery machines?
Common formats include DST, PES, EXP, and JEF. The correct format depends on your machine brand.
3. Is online auto-digitizing accurate?
It works for simple designs, but detailed logos and text usually require manual digitizing for better results.
4. How long does digitizing take?
Simple designs may take 30–60 minutes, while complex logos can take several hours.
5. Why does my embroidery design look bulky?
Incorrect stitch density or overlapping fill areas often cause bulkiness.
Final Thoughts
Learning how to digitize image for embroidery is an essential skill for anyone involved in machine embroidery. While free and online tools make the process accessible, they cannot fully replace manual expertise. Automatic conversion may work for basic designs, but detailed and commercial projects demand precision.
If you want clean stitching, smooth curves, and professional-quality embroidery, understanding stitch planning and fabric behavior is key. Whether you choose free software for practice or professional digitizing for business, the right approach will determine the final result on fabric.