Embroidered patches have become increasingly popular for uniforms, sports teams, businesses, motorcycle clubs, military organizations, fashion brands, and personal projects. With a modern embroidery machine and the right techniques, creating professional-quality embroidered patches is easier than ever.
Whether you’re starting an embroidery business or looking to create custom patches at home, understanding the patch-making process is essential for achieving clean edges, vibrant designs, and long-lasting durability.
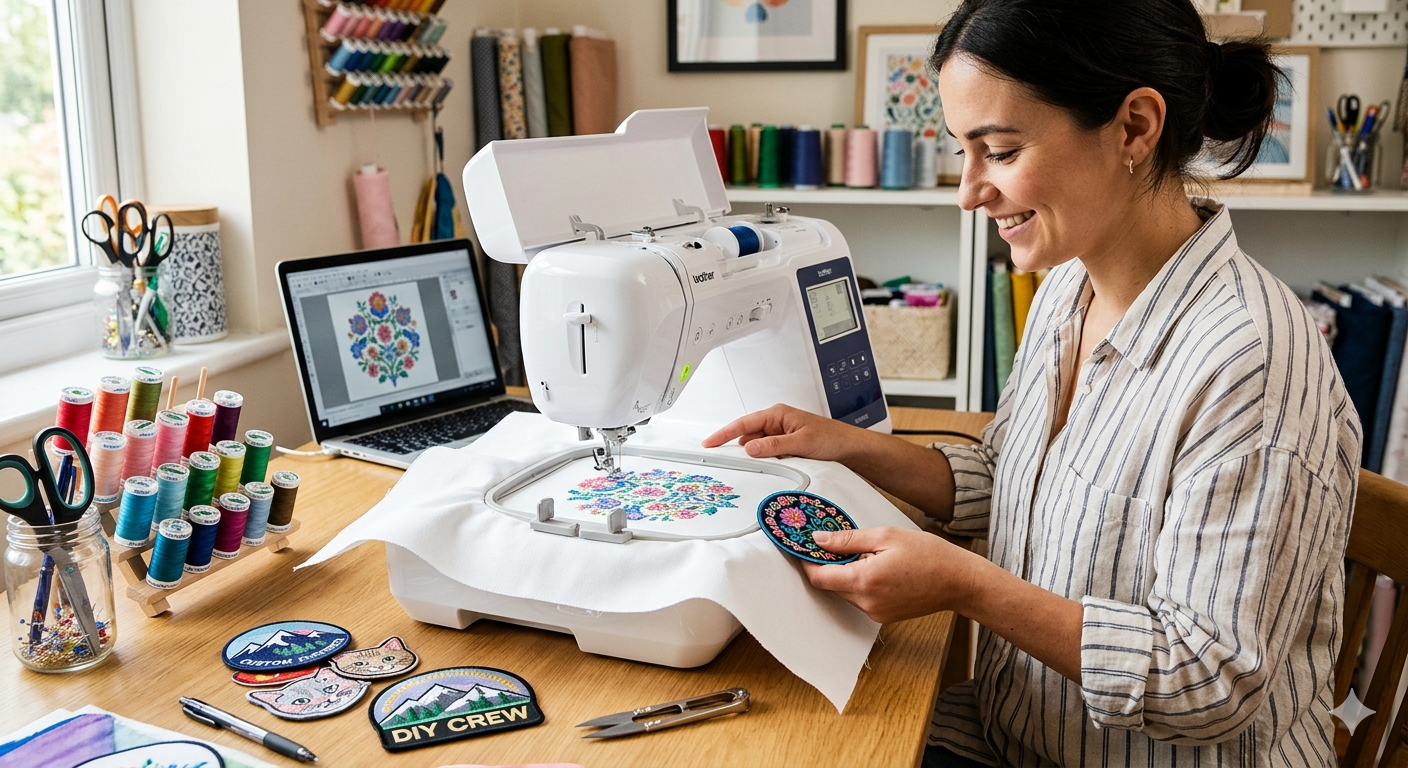
In this comprehensive guide, Risedigitizing explains exactly how to make embroidered patches with an embroidery machine, from digitizing the design to applying the finished patch.
What Are Embroidered Patches?
An embroidered patch is a piece of fabric decorated with embroidery and finished with a border that allows it to be attached to clothing, hats, bags, jackets, uniforms, and other items.
Unlike direct embroidery, patches are created separately and then attached using:
- Sewing
- Heat seal backing
- Velcro backing
- Adhesive backing
Patches provide flexibility and are often easier to replace than direct embroidery.
Benefits of Making Embroidered Patches
Custom embroidered patches offer several advantages:
Professional Appearance
Patches create a polished and premium look.
Easy Application
They can be attached to various garments without re-embroidering the item.
Durability
Well-made patches withstand frequent washing and daily wear.
Cost Efficiency
Large patch orders can often be produced more efficiently than direct garment embroidery.
Brand Recognition
Businesses use patches to reinforce logos and visual identity.
Materials Needed to Make Embroidered Patches
Before starting, gather the necessary supplies.
Embroidery Machine
Single-needle or multi-needle embroidery machines work well.
Embroidery Software
Digitizing software helps convert artwork into stitch files.
Patch Fabric
Common choices include:
- Twill fabric
- Felt
- Canvas
- Polyester twill
Twill is the most popular option due to its durability and smooth surface.
Stabilizer
Recommended stabilizers include:
- Cut-away stabilizer
- Tear-away stabilizer
- Water-soluble stabilizer
Embroidery Thread
Use high-quality polyester or rayon embroidery thread.
Sharp Scissors or Patch Cutter
Needed for trimming finished patches.
Heat Seal or Velcro Backing (Optional)
For patches that will be attached after production.
Step 1: Create or Choose Your Patch Design
The quality of your patch starts with the artwork.
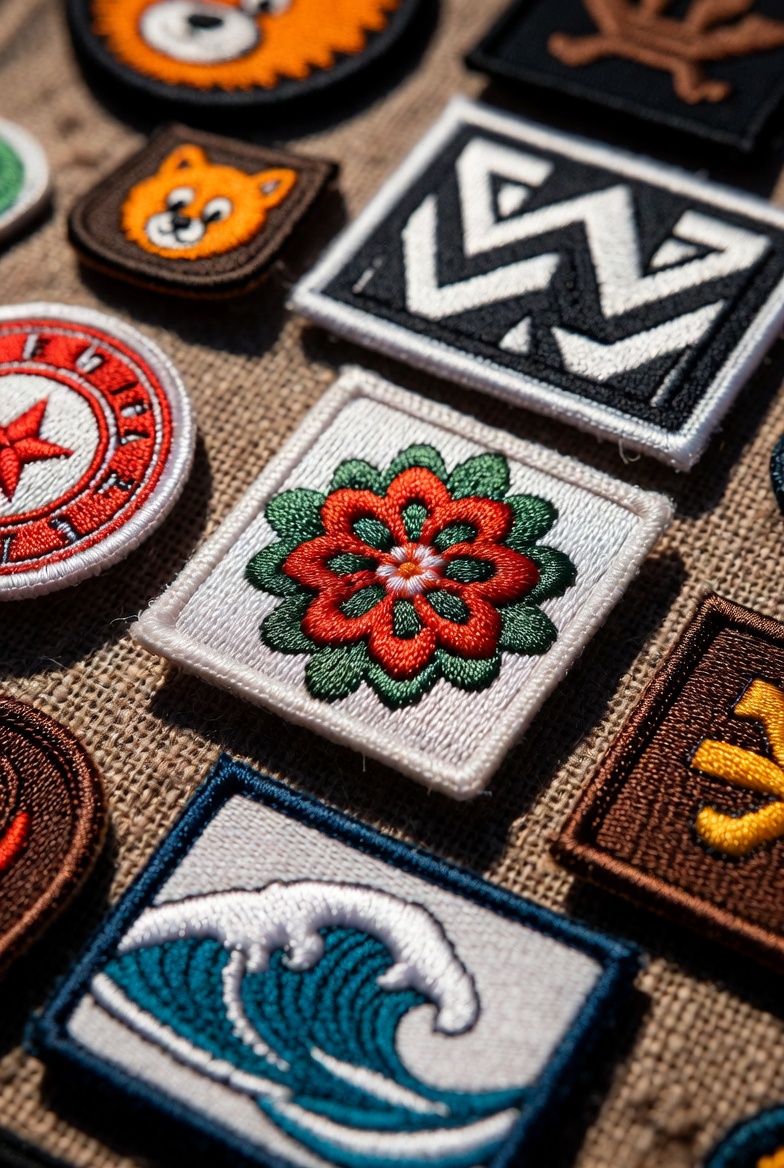
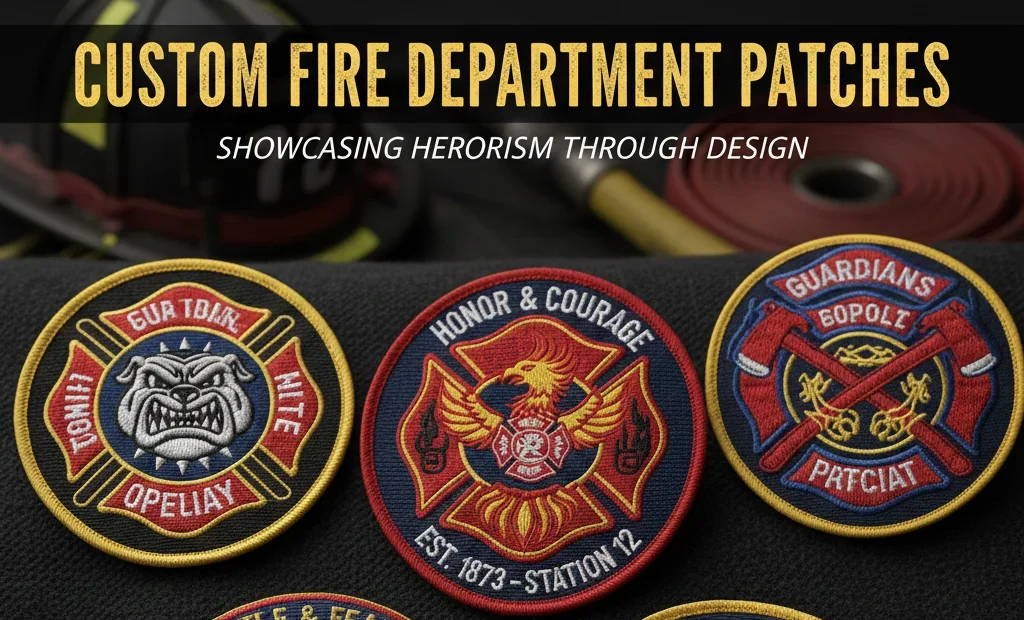
Popular patch designs include:
- Company logos
- Team emblems
- Military insignia
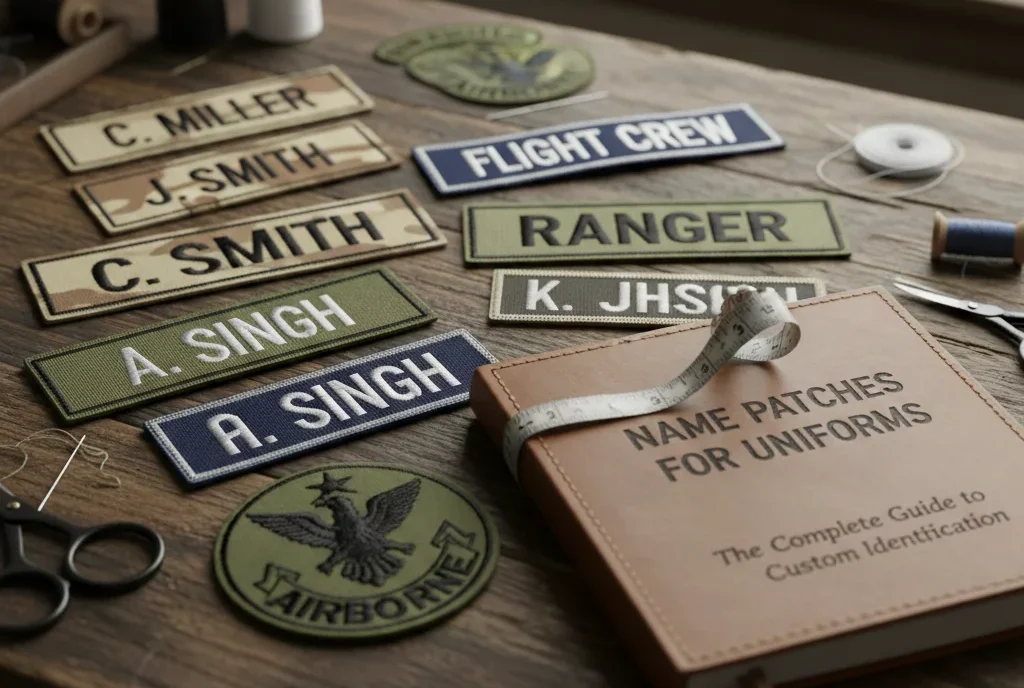
- Name patches
- Monograms
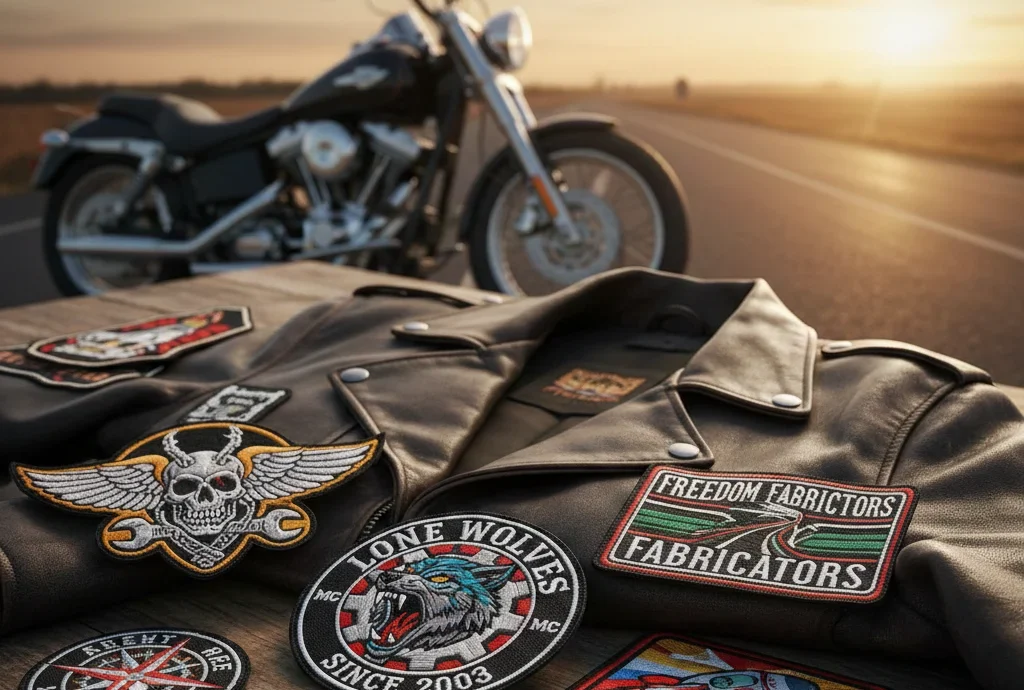
- Club patches
Keep in mind that embroidery cannot reproduce every detail found in printed graphics.
Simple, bold designs often produce the best results.
Step 2: Digitize the Patch Design
Digitizing is one of the most important stages in patch production.
A design must be converted into embroidery machine instructions before stitching.
Key Digitizing Considerations
- Stitch direction
- Density settings
- Underlay stitching
- Border creation
- Lettering optimization
Poor digitizing can cause:
- Thread breaks
- Distorted shapes
- Uneven borders
- Registration issues
Professional digitizing ensures clean, production-ready patches.
Step 3: Select the Right Fabric
Patch fabric significantly affects the final appearance.
Twill Fabric
Best for:
- Business patches
- Uniform patches
- Logo patches
Felt Fabric
Best for:
- Decorative patches
- Craft projects
- Vintage-style designs
Canvas Fabric
Best for:
- Outdoor applications
- Durable custom patches
Choose fabric colors that complement your embroidery design.
Step 4: Hoop the Stabilizer
Many professional patch makers hoop only the stabilizer rather than the patch fabric.
The fabric is then attached using temporary adhesive spray.
Benefits include:
- Better stability
- Cleaner results
- Easier patch removal
Ensure the stabilizer is taut and wrinkle-free.
Step 5: Stitch the Placement Line
The first embroidery step is typically the placement stitch.
This stitch outlines where the patch fabric should be positioned.
After stitching:
- Place the patch fabric over the outline.
- Smooth the fabric.
- Secure it if necessary.
Accurate placement helps prevent alignment issues later.
Step 6: Stitch the Tack-Down Line
The tack-down stitch secures the patch fabric to the stabilizer.
This step ensures the fabric remains stable during embroidery.
Once complete:
- Trim excess fabric close to the tack-down line.
- Avoid cutting the stitches.
Clean trimming contributes to professional-looking patch edges.
Step 7: Embroider the Main Design
Now the embroidery machine stitches the primary design elements.
These may include:
- Logos
- Text
- Graphics
- Decorative elements
During this stage:
- Monitor thread tension
- Watch for thread breaks
- Ensure proper registration
High-quality digitizing minimizes embroidery problems.
Step 8: Create the Patch Border
The border is one of the most important features of an embroidered patch.
Merrow Border
Traditional thick border often seen on military and uniform patches.
Satin Border
Created directly by the embroidery machine.
Benefits include:
- Professional finish
- Flexible shapes
- Strong edge protection
Most home and commercial embroidery machines use satin borders.
Step 9: Remove the Patch from the Hoop
After embroidery is complete:
- Remove the hoop from the machine.
- Carefully separate the patch.
- Remove excess stabilizer.
Work slowly to avoid damaging the border stitches.
Step 10: Trim the Patch Carefully
Precision trimming is essential.
Use:
- Embroidery scissors
- Applique scissors
- Patch cutting tools
Trim close to the border without cutting any stitches.
Clean edges improve the overall appearance and durability.
Step 11: Apply Backing if Needed
Different backing options serve different purposes.
Heat Seal Backing
Allows patches to be ironed onto garments.
Velcro Backing
Popular for military, tactical, and uniform patches.
Adhesive Backing
Suitable for temporary applications.
Sew-On Backing
Provides maximum durability.
Choose the backing based on how the patch will be used.
Best Embroidery Settings for Patches
For professional patch production:
Thread
- Polyester thread preferred
- Strong color retention
- Excellent durability
Needle
- 75/11 embroidery needle
- 80/12 embroidery needle
Stitch Density
Balanced density prevents stiffness and puckering.
Stabilizer
Heavy-weight stabilizers work best for detailed patches.
Testing is recommended before large production runs.
Common Mistakes to Avoid
Many beginners encounter problems when making patches.
Avoid these mistakes:
Poor Digitizing
Bad stitch paths create messy embroidery.
Excessive Density
Overly dense designs can cause thread breaks.
Weak Borders
Thin borders reduce durability.
Incorrect Stabilizer
Insufficient support leads to distortion.
Rushing Trimming
Poor trimming creates unprofessional-looking patches.
Attention to detail makes a significant difference.
How to Improve Patch Quality
Professional patch makers focus on:
- High-quality digitizing
- Proper stitch sequencing
- Consistent thread tension
- Quality materials
- Multiple test sew-outs
Every successful patch begins with a properly digitized embroidery file.
Why Professional Digitizing Matters for Embroidered Patches
Patch embroidery requires specialized digitizing techniques.
Professional digitizers understand:
- Border creation
- Density optimization
- Fabric compensation
- Lettering adjustments
- Stitch sequencing
This expertise produces patches that stitch cleanly and consistently across different machines and fabrics.
How Risedigitizing Helps Create Production-Ready Patch Designs
At Risedigitizing, we specialize in professional embroidery digitizing for custom patches.
Our services include:
- Patch digitizing
- Logo digitizing
- Applique digitizing
- Cap digitizing
- 3D puff digitizing
- Small text optimization
- Custom embroidery file creation
Every design is manually digitized to ensure outstanding stitch quality and production efficiency.
Final Thoughts
Learning how to make embroidered patches with an embroidery machine can open exciting opportunities for hobbyists, small businesses, and commercial embroidery shops. By using quality materials, proper stabilizers, professional digitizing, and careful finishing techniques, you can create durable and visually impressive patches for virtually any application.
Whether you’re producing company logos, club patches, uniform insignia, or custom fashion accessories, success starts with a well-digitized design and attention to detail throughout the embroidery process.
If you need expert patch digitizing services, Risedigitizing can help transform your artwork into high-quality embroidery files ready for flawless patch production.