Embroidery has evolved from a traditional craft to a professional industry powered by machines and technology. But even the most advanced embroidery machine cannot work without a crucial step: digitizing.
So, what is digitizing for embroidery, and why does it matter? This complete guide will explain everything you need to know — from the basics to advanced techniques, tools, and benefits — so you can create professional-quality embroidery designs every time.
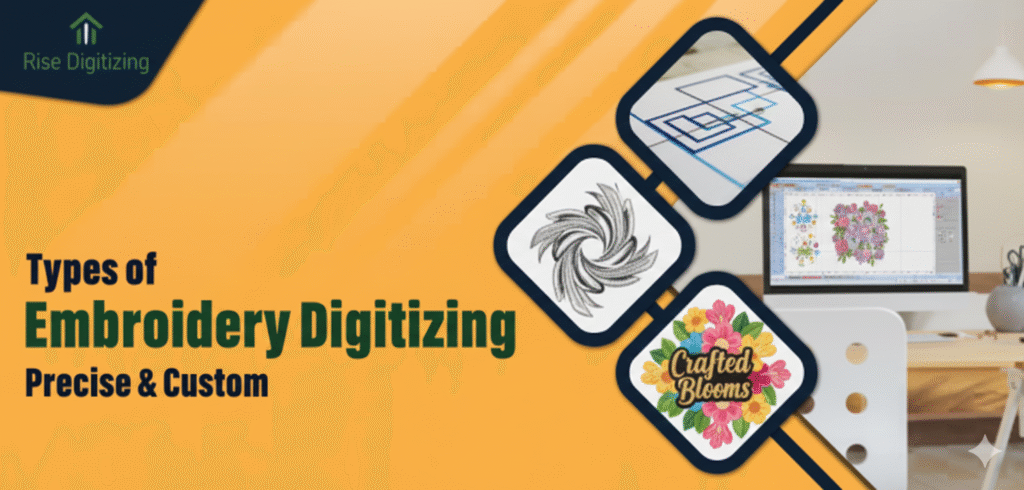
What Is Digitizing for Embroidery?
What is digitizing for embroidery? Simply put, it is the process of converting any artwork — such as a logo, image, or text — into a machine-readable embroidery file.
In other words:
Digitizing translates a visual design into instructions for the embroidery machine, including stitch types, directions, density, underlay, and thread colors.
Without digitizing, an embroidery machine cannot sew the design accurately, even if you have a high-quality image.
Why Digitizing Is Important in Embroidery
Understanding what digitizing for embroidery entails is crucial because:
- It ensures clean outlines
- Maintains consistent stitch density
- Preserves fabric integrity
- Prevents thread breaks and puckering
- Achieves accurate color placement
A poorly digitized design can ruin even the best embroidery machine’s output.
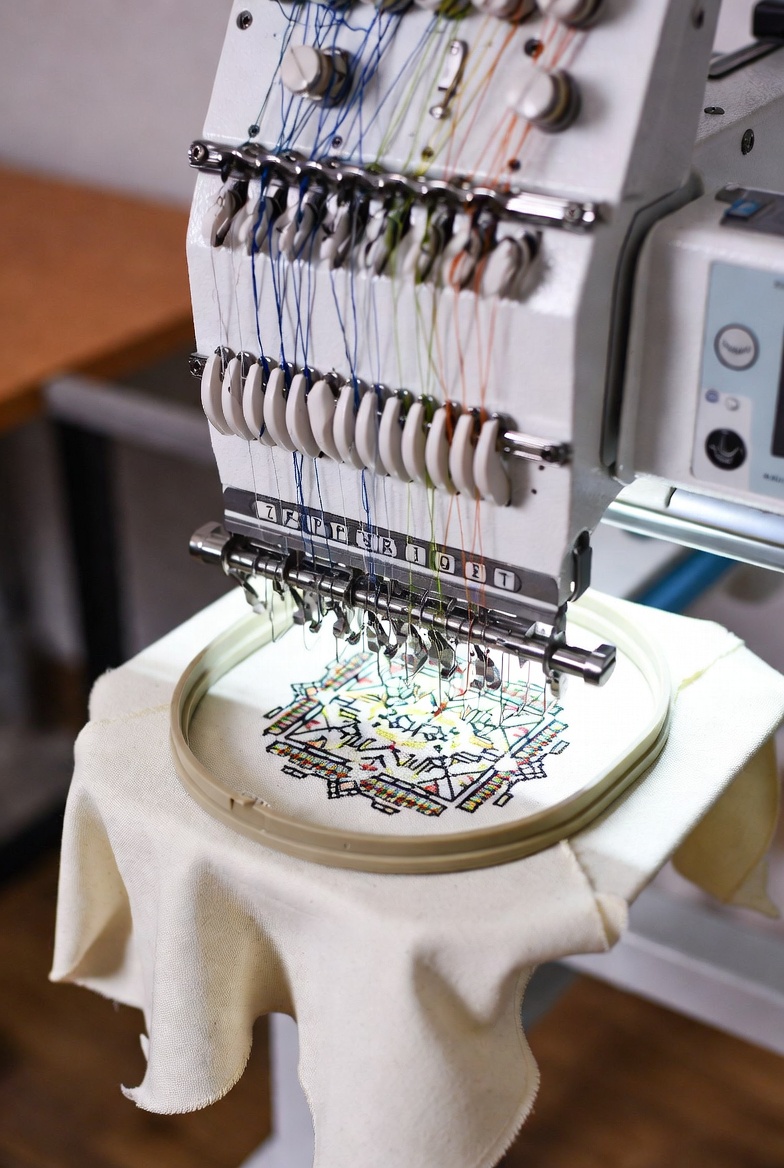
Step-by-Step Process: How Digitizing Works
Here’s how professionals handle what is digitizing for embroidery:
1. Artwork Import
Digitizing starts by importing the artwork file. Supported formats include:
- PNG
- JPG
- Vector files (AI, SVG, EPS)
The design becomes the blueprint for stitching.
2. Choosing Stitch Types
Different sections of the design require different stitch types:
- Satin stitch – for outlines and borders
- Fill stitch – for larger areas
- Run stitch – for fine details and thin lines
Selecting the right stitch type is crucial for high-quality embroidery.
3. Setting Stitch Direction
Stitch direction affects texture, shine, and how the fabric reacts. Properly set angles give professional smoothness and avoid flat-looking fills.
4. Adjusting Stitch Density
Density controls the number of stitches per inch:
- Too high → thread breakage
- Too low → gaps in the design
A professional digitizer considers fabric type, design size, and thread thickness to balance density perfectly.
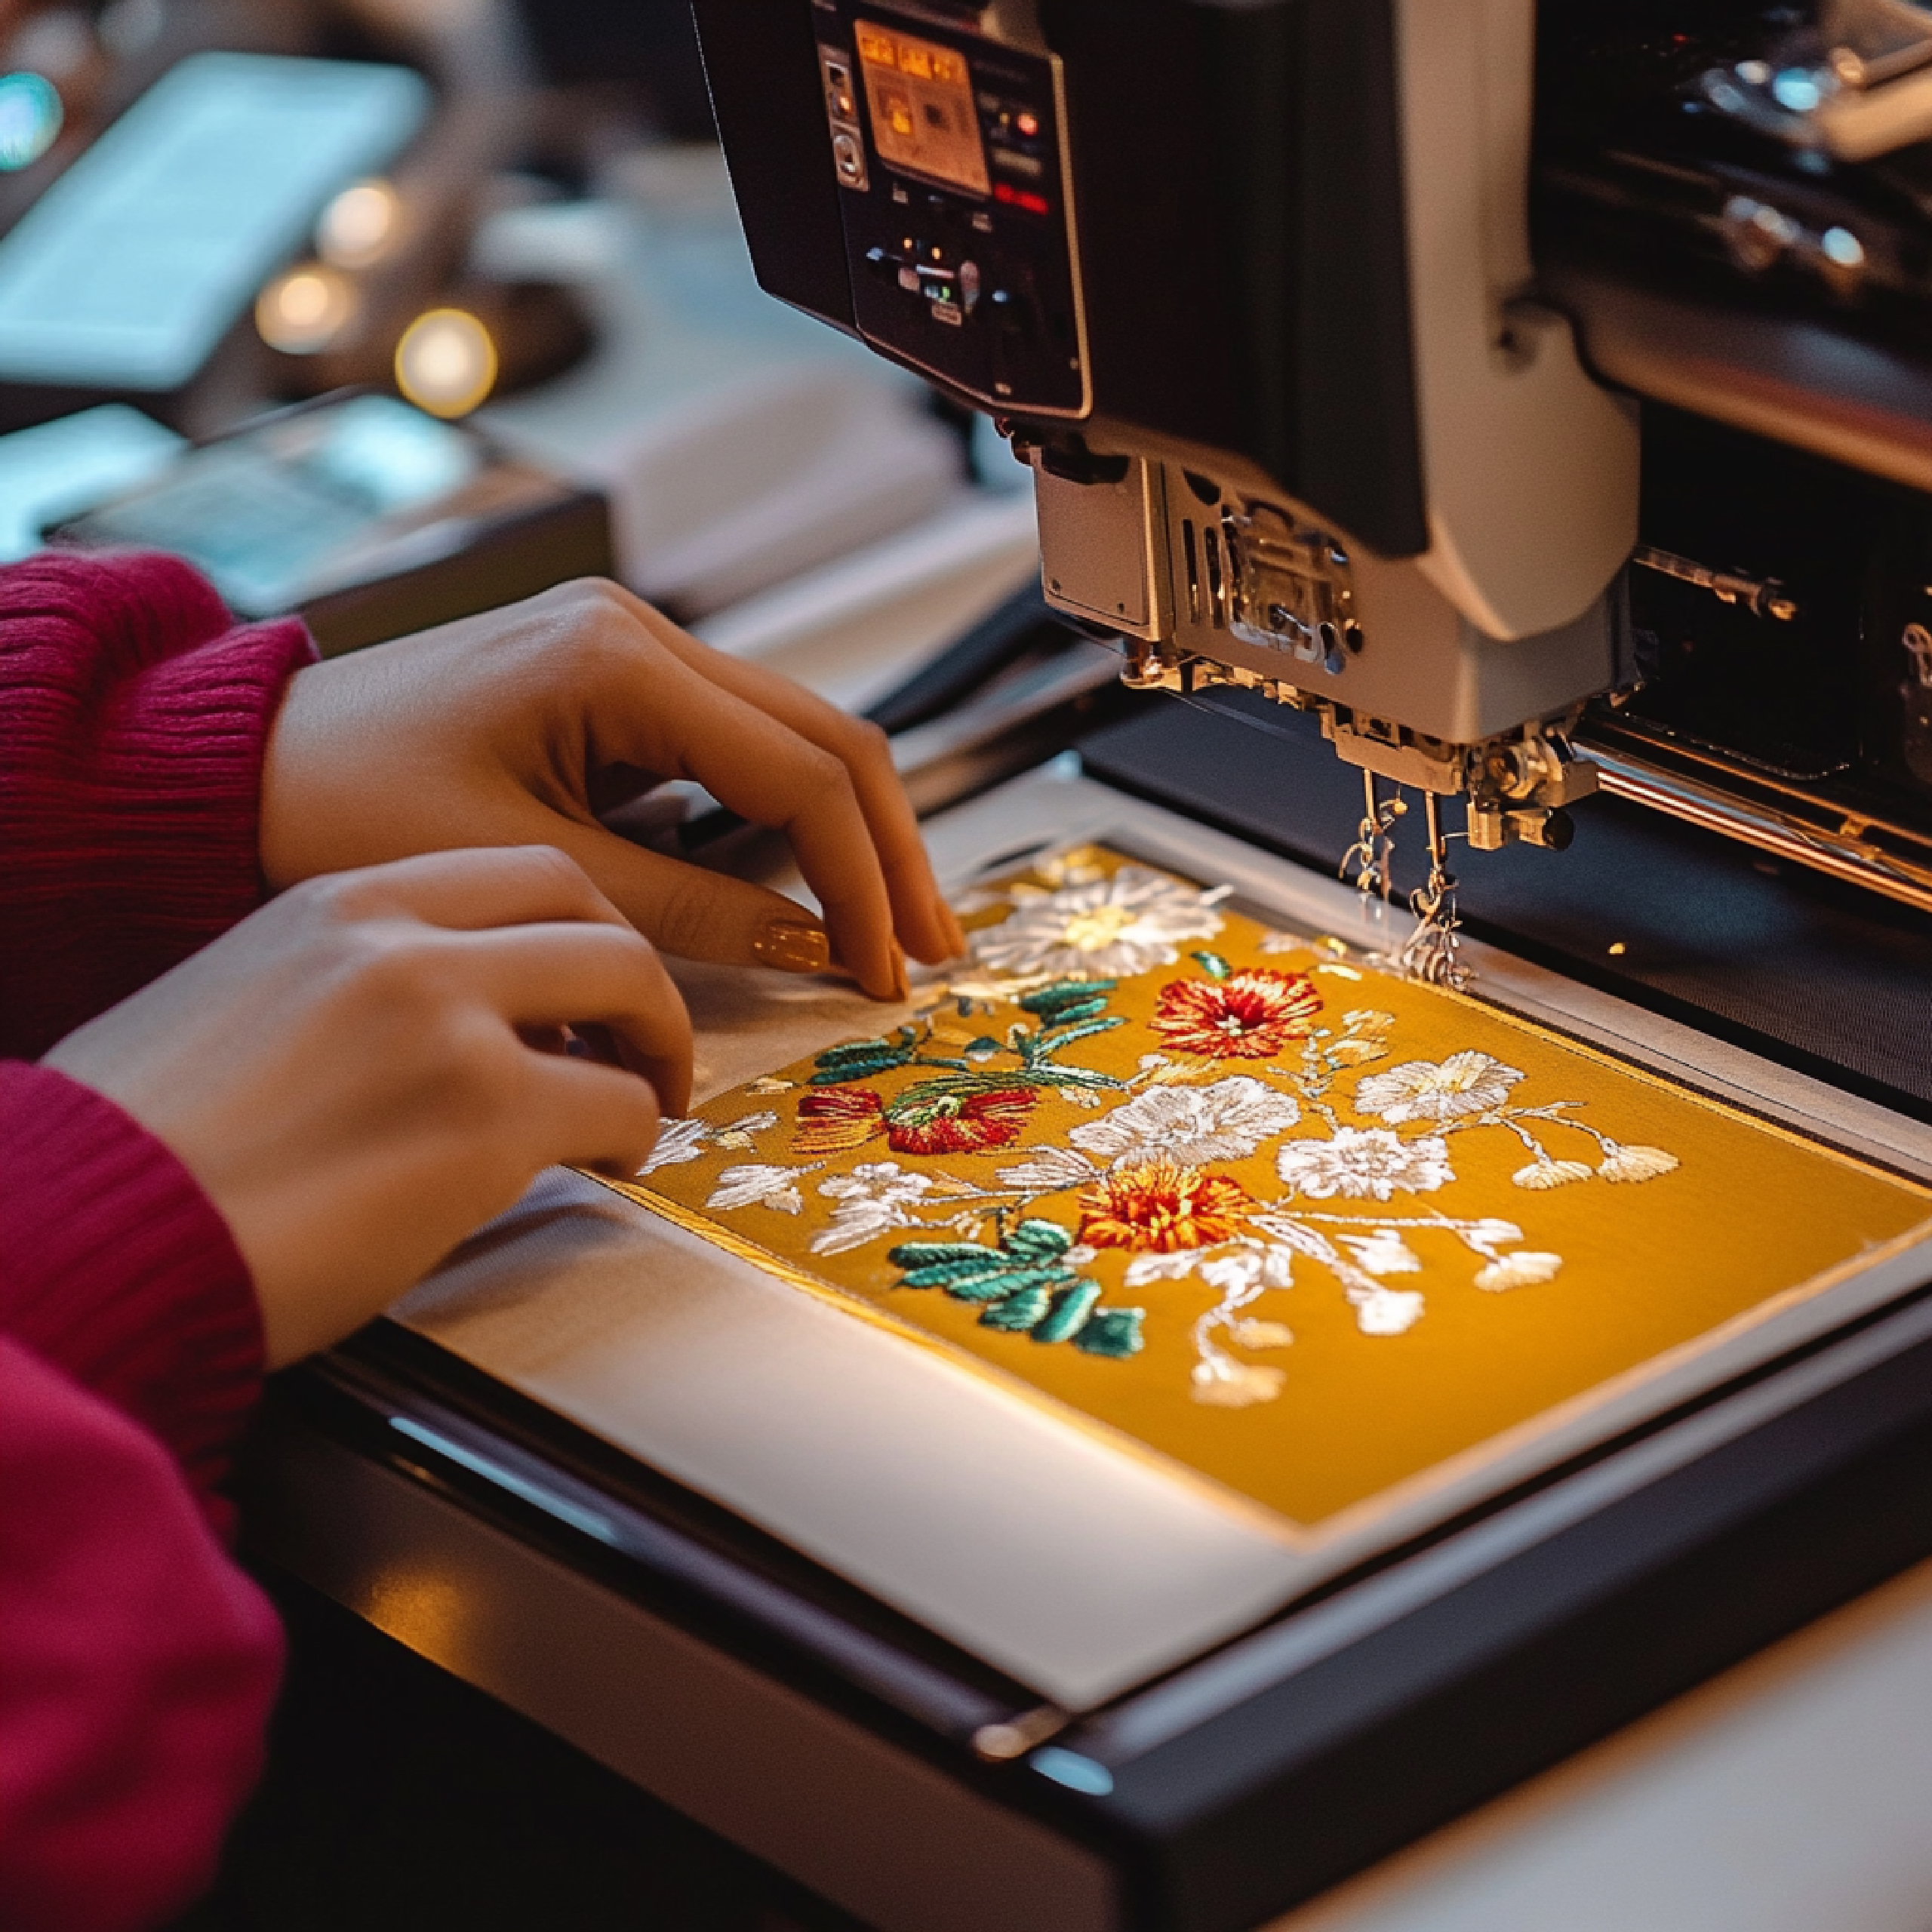
5. Underlay Creation
Underlay stitches act as a foundation for the design:
- Edge walk underlay
- Zig-zag underlay
- Tatami underlay
Underlay prevents fabric puckering and ensures smooth, stable embroidery.
6. Pull Compensation
Fabric stretches during stitching. Pull compensation ensures the design maintains its shape and proportions.
7. Color Assignment
Digitizers assign thread colors to different sections of the design, optimizing machine instructions for efficiency and accuracy.
8. Exporting the File
The final digitized design is exported in machine-readable formats like:
- DST
- PES
- EXP
- JEF
- VP3
Each embroidery machine reads specific file types.
Tools and Software for Digitizing
Understanding what digitizing for embroidery involves also includes the tools used:
- Wilcom – professional industry standard
- Hatch Embroidery – beginner-friendly and versatile
- Embrilliance – simple, efficient, cross-platform
- Pulse Tajima – advanced control for commercial machines
- Brother PE-Design – popular for Brother machines
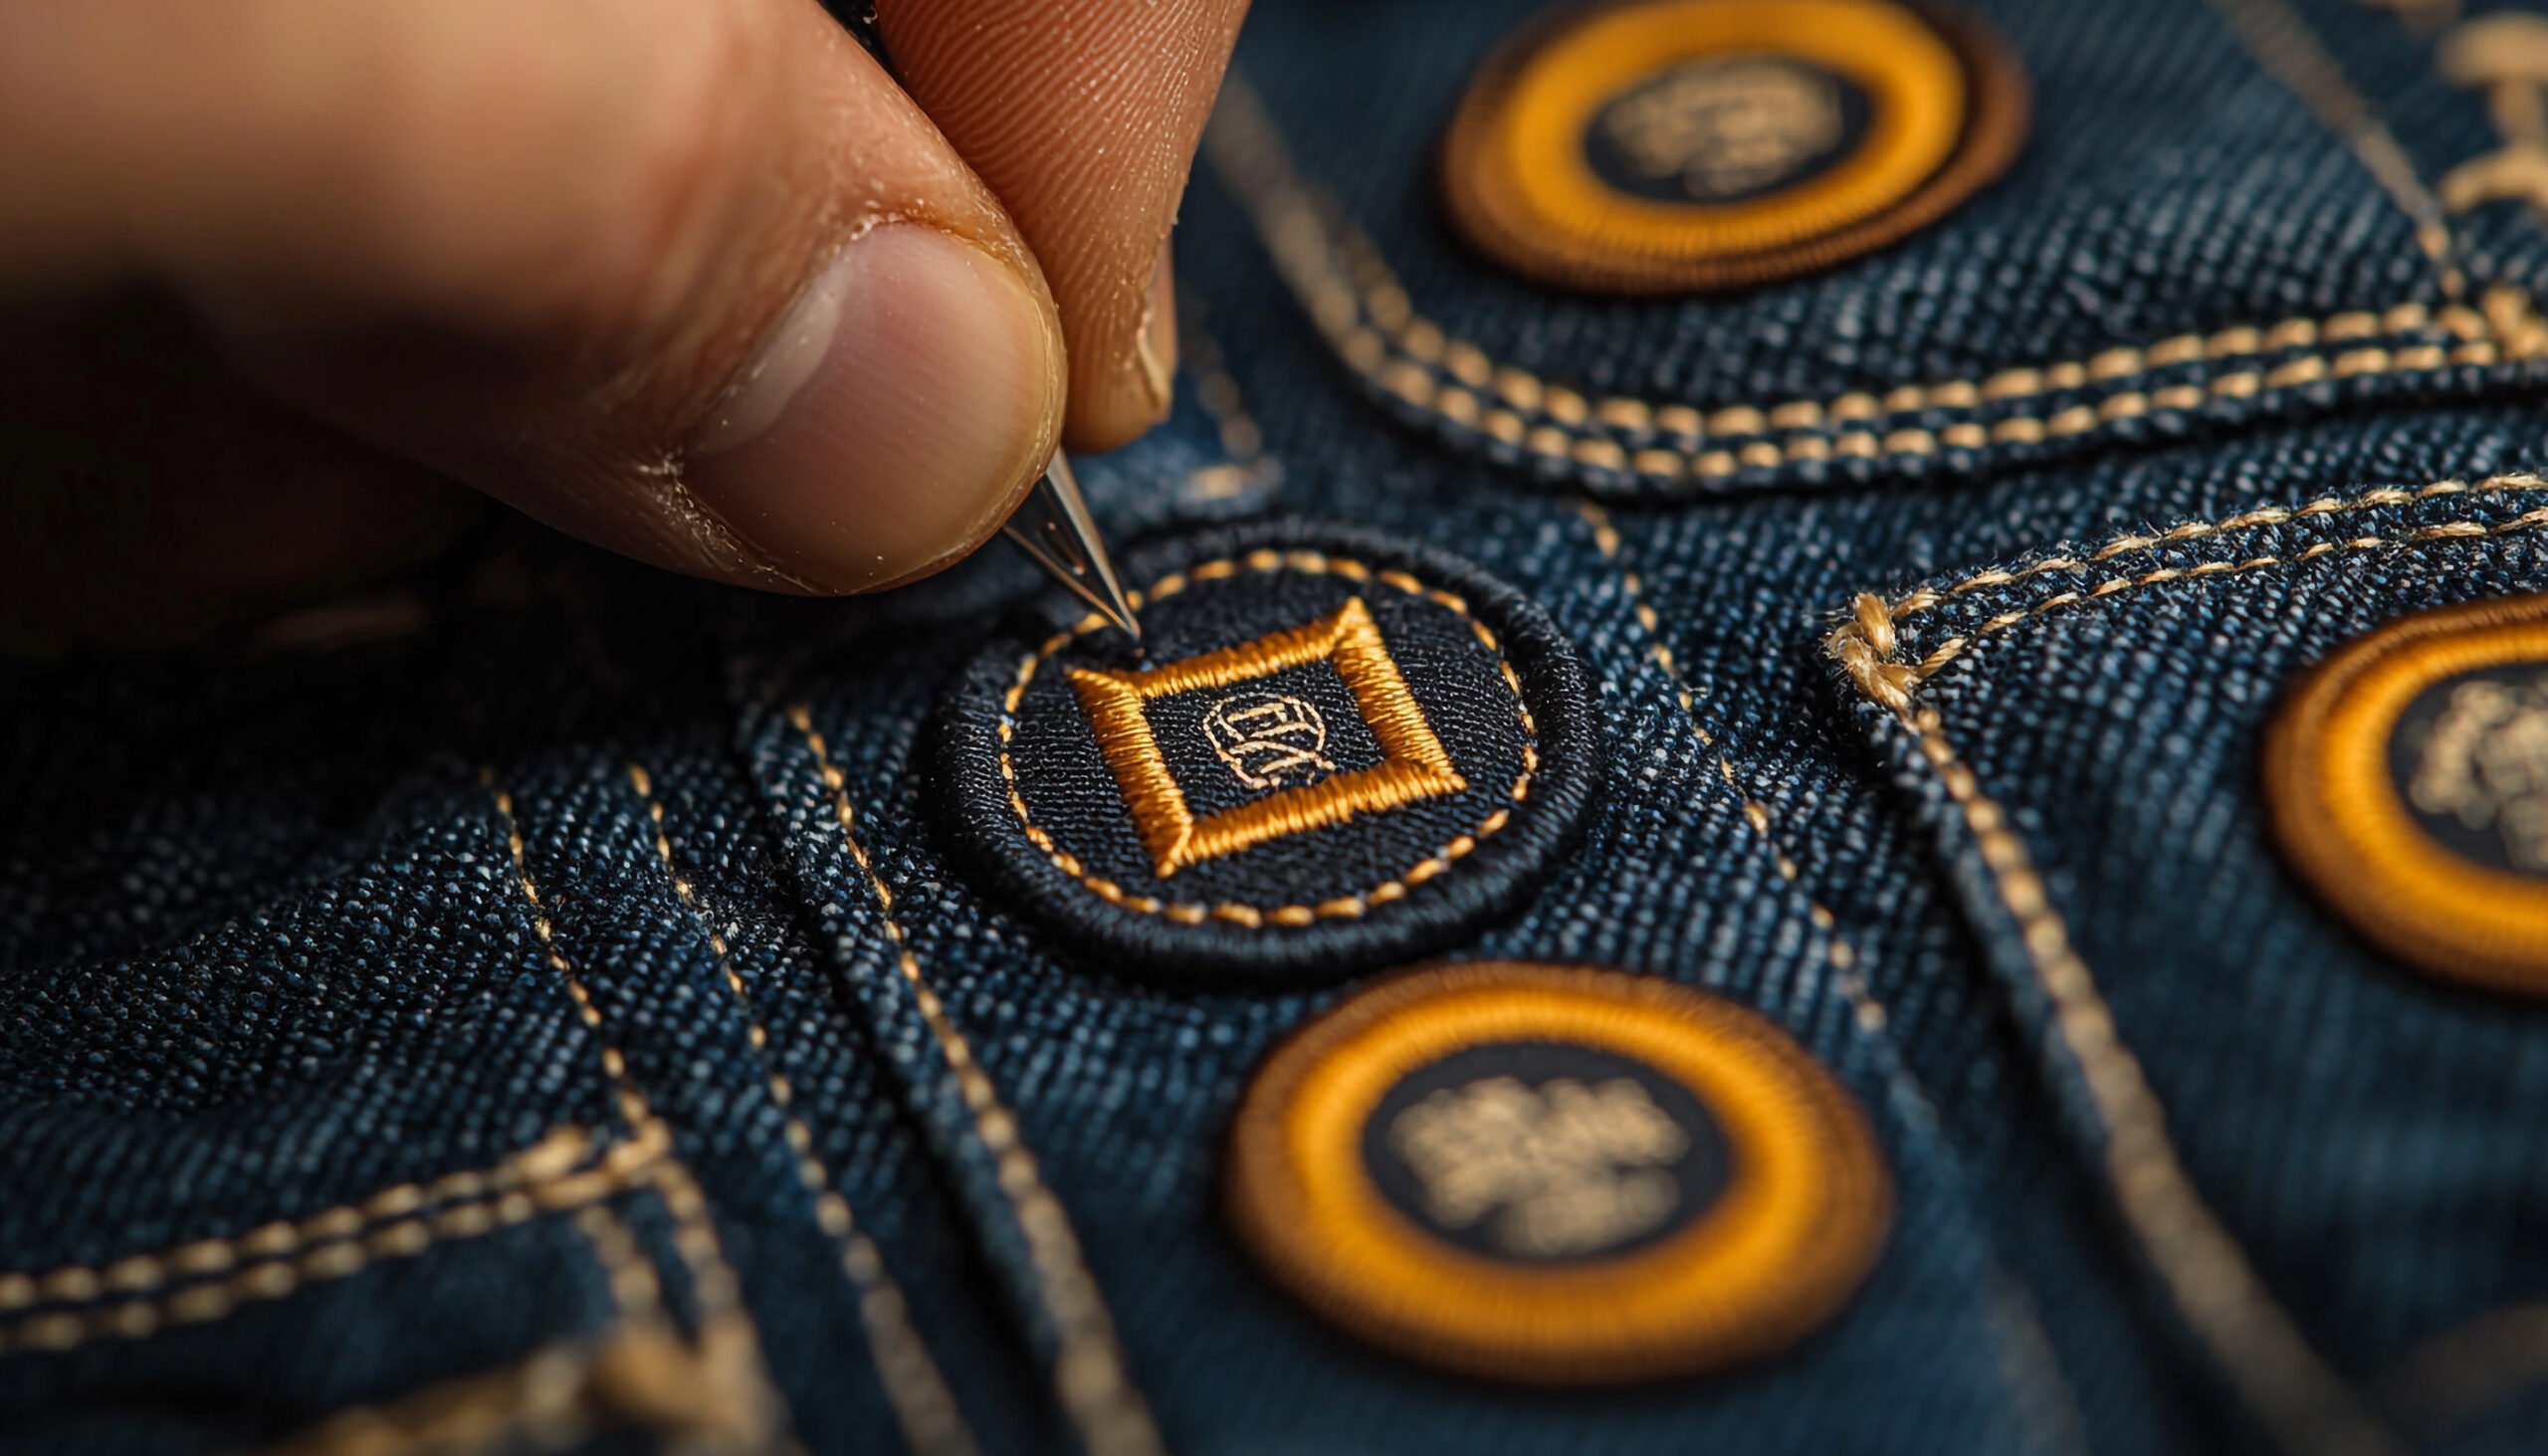
What Makes Good Digitizing?
High-quality digitizing ensures:
Smooth outlines
Proper stitch type selection
Balanced density
Perfect letter sizing
Fabric-specific adjustments
No gaps or overlaps
Accurate thread colors
Poor digitizing can result in:
Thread breaks
Misaligned designs
Fabric puckering
Distorted logos
Who Can Digitize for Embroidery?
Technically, anyone can attempt it with software. But professional digitizing requires:
- Experience with different fabrics
- Knowledge of stitch types and paths
- Understanding of machine behavior
- Attention to detail
This is why businesses hire professional digitizers for clean, efficient results.
Benefits of Understanding What Is Digitizing for Embroidery
1. Professional Output
Proper digitizing guarantees designs are machine-ready and look polished.
2. Consistency Across Products
Every copy of the design is identical, ensuring brand consistency.
3. Fabric Compatibility
Digitized designs adapt to different materials like cotton, leather, or denim.
4. Cost and Time Efficiency
Well-digitized files reduce thread wastage, production errors, and machine downtime.
5. Flexibility
Digitized designs can be resized, recolored, and used across multiple embroidery projects.
Common Misconceptions About Digitizing
Digitizing is just converting a file
It’s more than format conversion — it requires planning every stitch.
Auto-digitizing software is enough
Auto tools help but rarely match manual digitizing quality.
All digitizers give the same quality
Experience, tools, and attention to detail make the difference.
FAQs
1. What is digitizing for embroidery used for?
It converts artwork into machine-readable files so embroidery machines can stitch designs accurately.
2. Can I digitize a logo myself?
Yes, but quality depends on skill. Professionals are recommended for clean, machine-ready results.
3. What file formats do digitized designs use?
Common formats include DST, PES, EXP, JEF, and VP3 — depending on the machine.
Conclusion
Now you know exactly what is digitizing for embroidery and why it’s essential for professional, accurate, and high-quality designs. From understanding stitch types to software selection, proper digitizing ensures that every embroidery project looks flawless and lasts longer.
For affordable, professional, and precise embroidery digitizing, Rise Digitizing provides high-quality files ready for any embroidery machine, saving time and ensuring perfect results every time.