Converting an SVG to embroidery file is a common requirement for designers, apparel brands, and embroidery businesses. While SVG files are vector-based and scalable, embroidery machines cannot read them directly. To stitch a design properly, the file must be converted into a machine-readable embroidery format such as PES, DST, JEF, or EXP.
Many people search for ways to convert SVG to embroidery file free, but the process involves more than just changing the extension. In this guide, we’ll explain how conversion works, what tools are available, common mistakes to avoid, and how professional digitizing compares to automated methods.
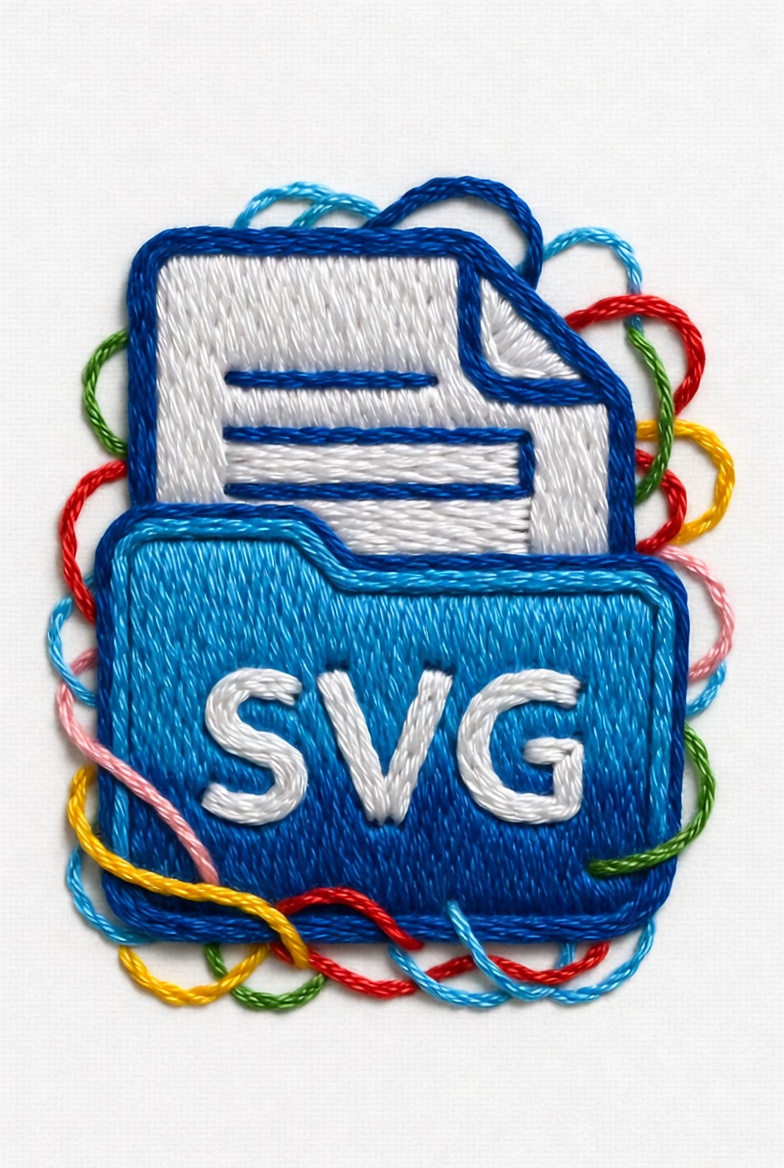
What Is an SVG File in Embroidery?
An SVG (Scalable Vector Graphics) file contains paths, curves, and shapes defined mathematically. It is ideal for printing and graphic design because it can scale without losing quality.
However, embroidery machines don’t understand vector paths. They require stitch instructions — including:
- Stitch type (satin, fill, running stitch)
- Stitch direction
- Stitch density
- Underlay settings
- Thread color sequence
This is why converting SVG to embroidery file format requires digitizing, not just exporting.
Why You Can’t Directly Convert SVG to PES
Many beginners assume they can simply rename .svg to .pes. Unfortunately, that does not work.
A PES file (used by Brother machines) contains stitch coordinates and machine instructions. An SVG file only contains graphic data. Converting properly requires embroidery software that translates vector paths into stitch data.
This is where professional digitizing services and advanced embroidery software make a big difference compared to automatic converters.
Methods to Convert SVG to Embroidery File
1. Using Free Software (Limited Results)
If you want to convert SVG to embroidery file free, some open-source tools can help:
- Ink/Stitch (plugin for Inkscape)
- Trial versions of embroidery software
These tools allow you to import SVG files and manually assign stitch types. However:
- Auto-digitizing may produce uneven stitches
- Complex logos may distort
- Stitch density may not be optimized
Free tools are suitable for simple text or basic shapes but not ideal for professional production.
2. Using Professional Embroidery Software
Advanced software like Wilcom, Hatch, or Pulse offers:
- Manual stitch control
- Density adjustment
- Push & pull compensation
- Clean underlay settings
This results in better stitch quality and less thread breakage. Compared to many basic blog guides that focus mainly on exporting steps, professional conversion emphasizes stitch quality and machine efficiency.
3. Hiring a Digitizing Service
Professional digitizers manually recreate the design in embroidery format. This ensures:
- Clean stitch flow
- Proper underlay
- Balanced density
- Reduced production errors
For businesses, this approach saves time and avoids fabric damage.
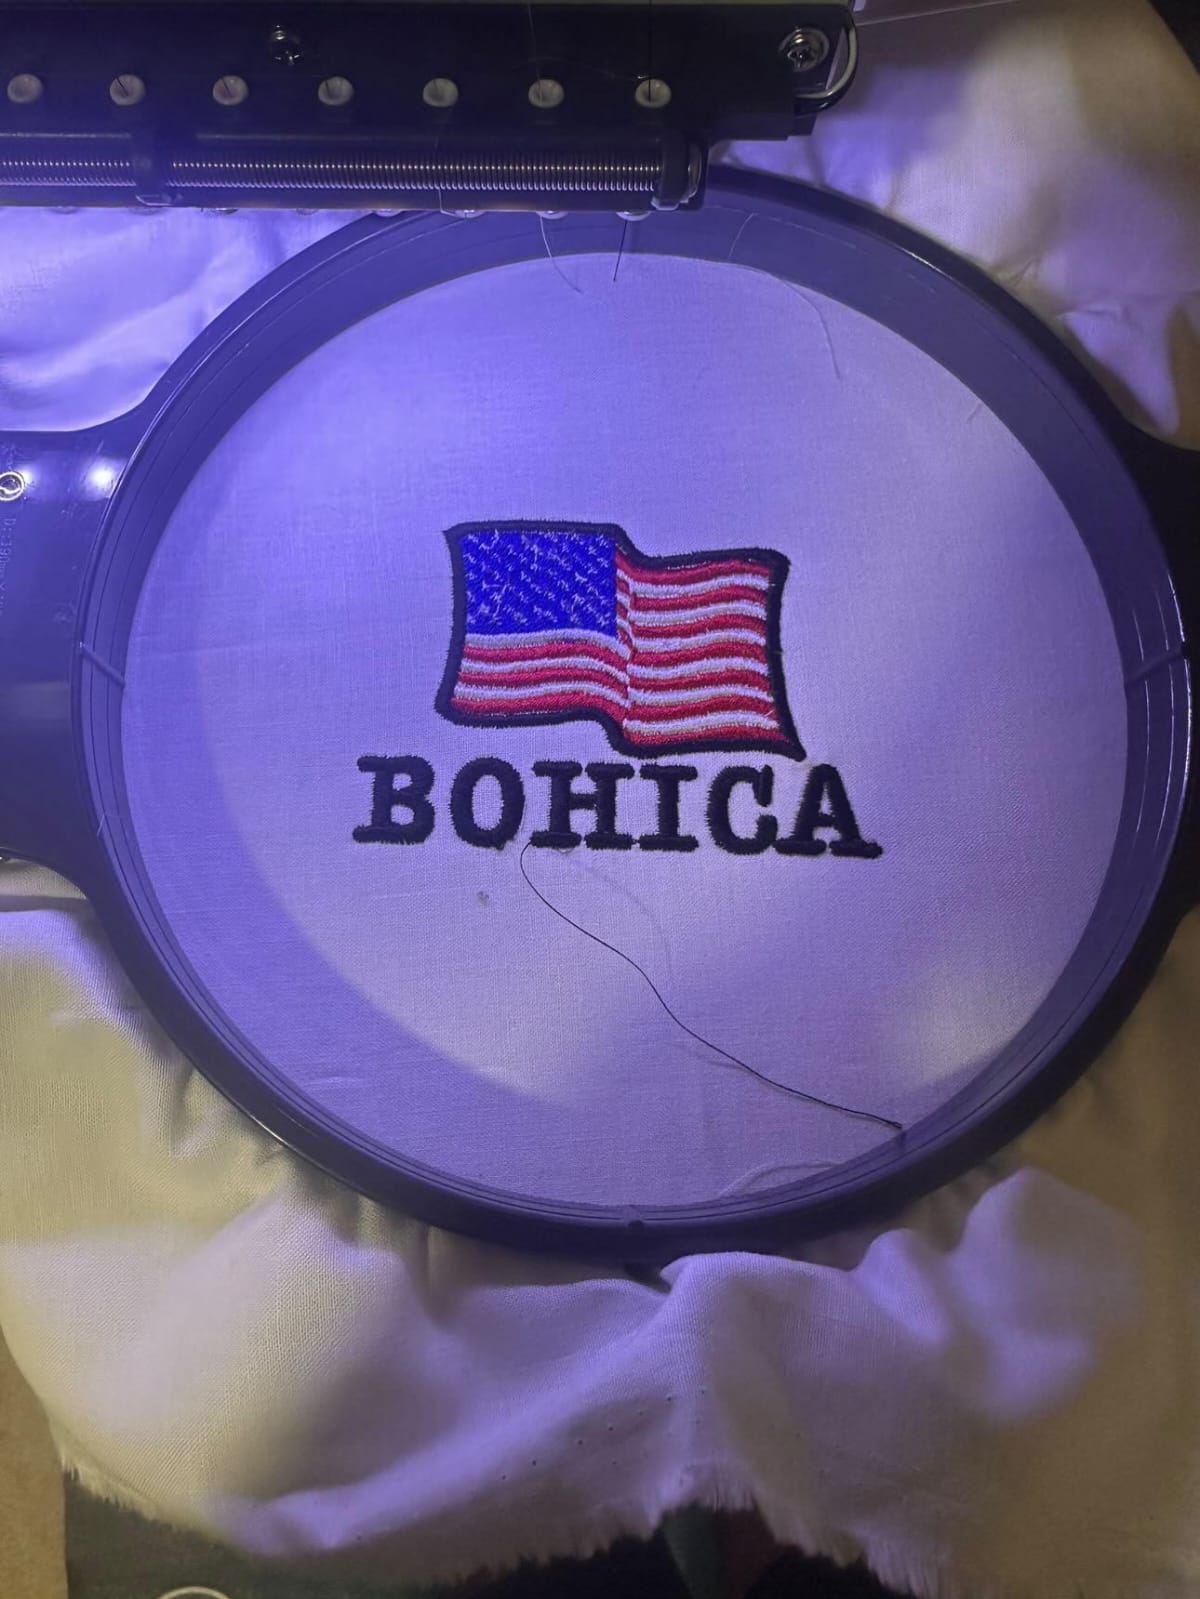
Step-by-Step: How Conversion Works
- Import SVG into embroidery software
- Clean up unnecessary nodes
- Assign stitch types to each object
- Adjust density and direction
- Add underlay stitches
- Set thread sequence
- Export to required format (PES, DST, etc.)
- Test stitch on sample fabric
Unlike basic online tutorials, a professional workflow always includes test stitching. This step prevents costly production mistakes.
Common Problems When Converting SVG
- Too many small details
- Overlapping paths
- Incorrect stitch density
- No underlay support
- Fabric puckering
Automatic tools often fail to adjust stitch compensation properly. That’s why manually digitized files usually perform better on real fabric.
When to Use Free Conversion vs Professional Digitizing
If your design is:
✔ Simple text
✔ Basic shapes
✔ Small project
Then you may try to convert SVG to embroidery file free using open-source tools.
If your design is:
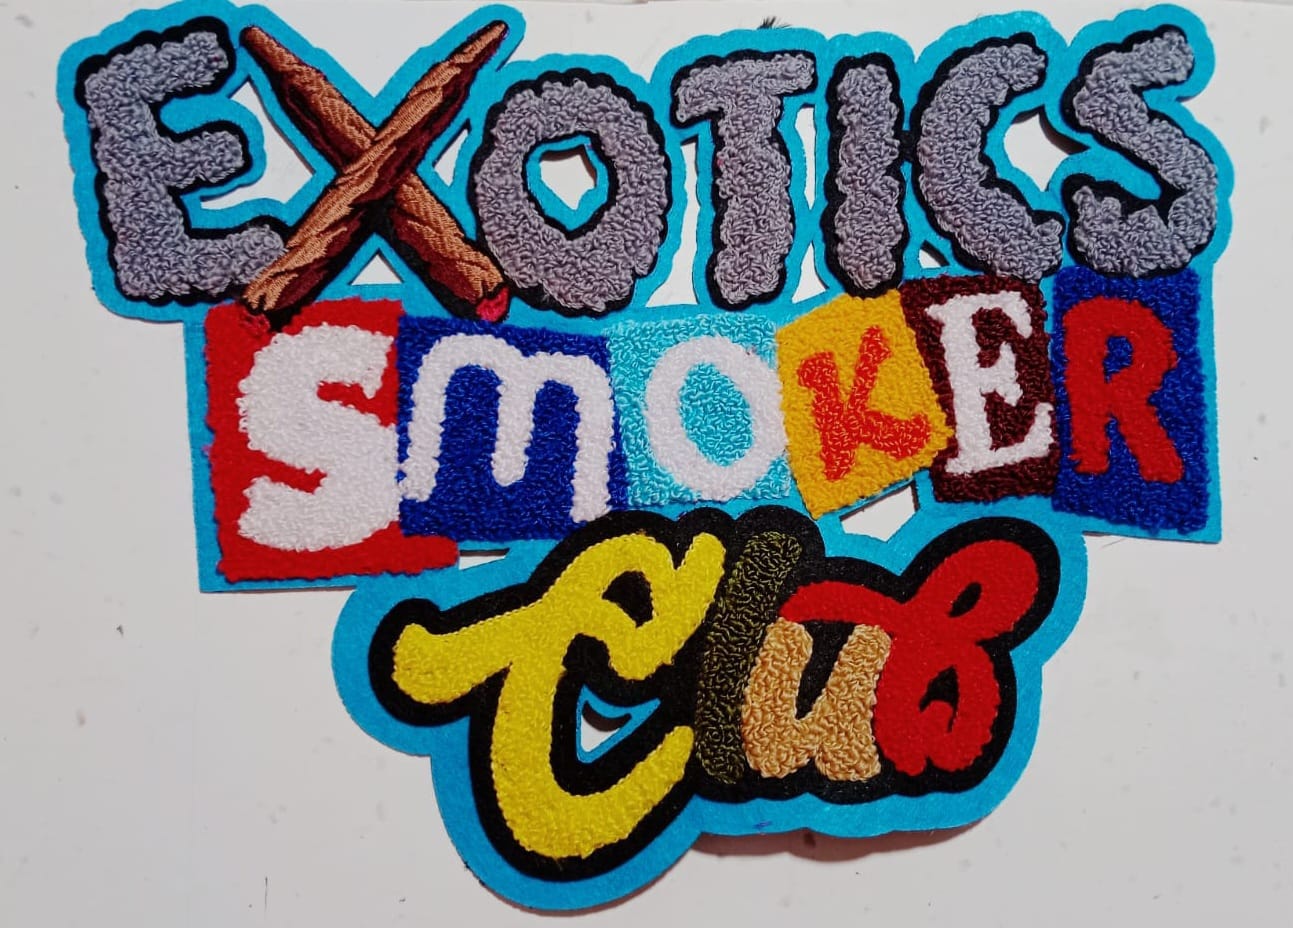
✔ Detailed logo
✔ 3D puff embroidery
✔ Commercial production
✔ Bulk order
Then professional digitizing is strongly recommended.
Benefits of Proper SVG to Embroidery Conversion
- Smooth stitch quality
- Accurate logo reproduction
- Fewer thread breaks
- Faster production time
- Professional finish
A well-digitized embroidery file ensures consistency across multiple garments.
FAQs
1. Can I directly convert SVG to embroidery file without software?
No. You need embroidery digitizing software to convert vector paths into stitch instructions.
2. Is there a way to convert SVG to embroidery file free?
Yes, open-source tools like Ink/Stitch can help. However, results may not be suitable for commercial production.
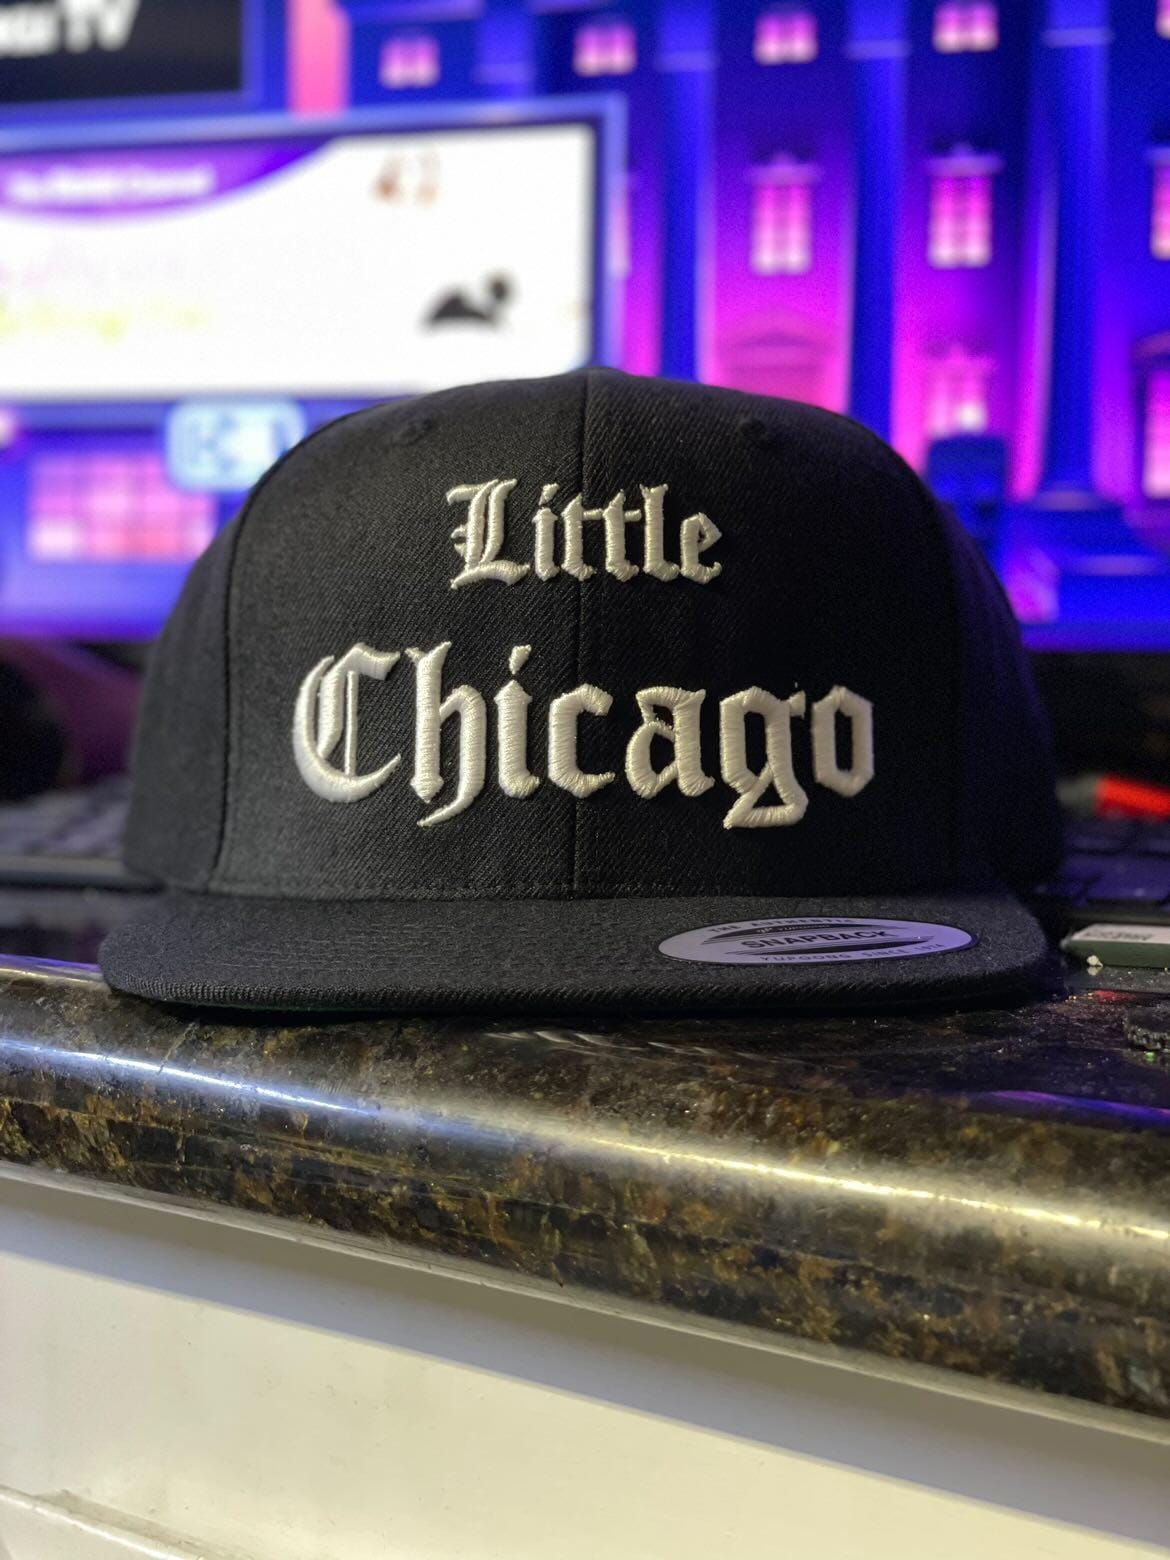
3. What is the best format for Brother embroidery machines?
PES is commonly used for Brother machines.
4. Why does my converted embroidery file look distorted?
Distortion happens due to improper stitch density, missing underlay, or lack of push-pull compensation.
5. Is manual digitizing better than auto conversion?
Yes. Manual digitizing provides better stitch control, cleaner output, and improved durability.
Final Thoughts
Converting an SVG to embroidery file is more than just file transformation — it’s about translating design into stitch logic. While tools exist to convert SVG to embroidery file free, they often lack precision and production reliability.
For simple projects, free tools may work. But for professional branding, detailed logos, and commercial embroidery, proper digitizing ensures the best results. Investing in high-quality conversion saves time, reduces errors, and delivers clean, durable embroidery every time.