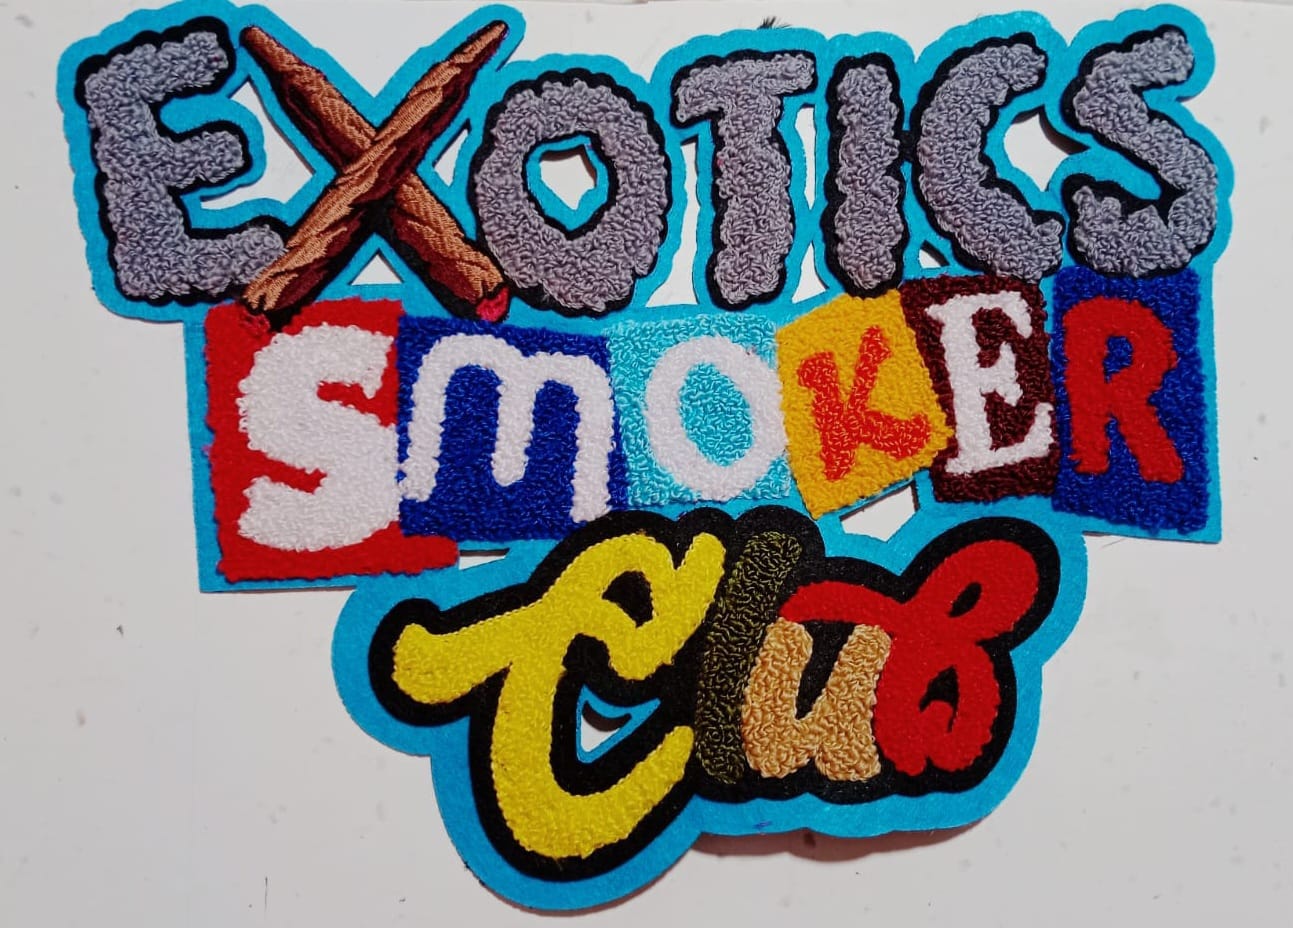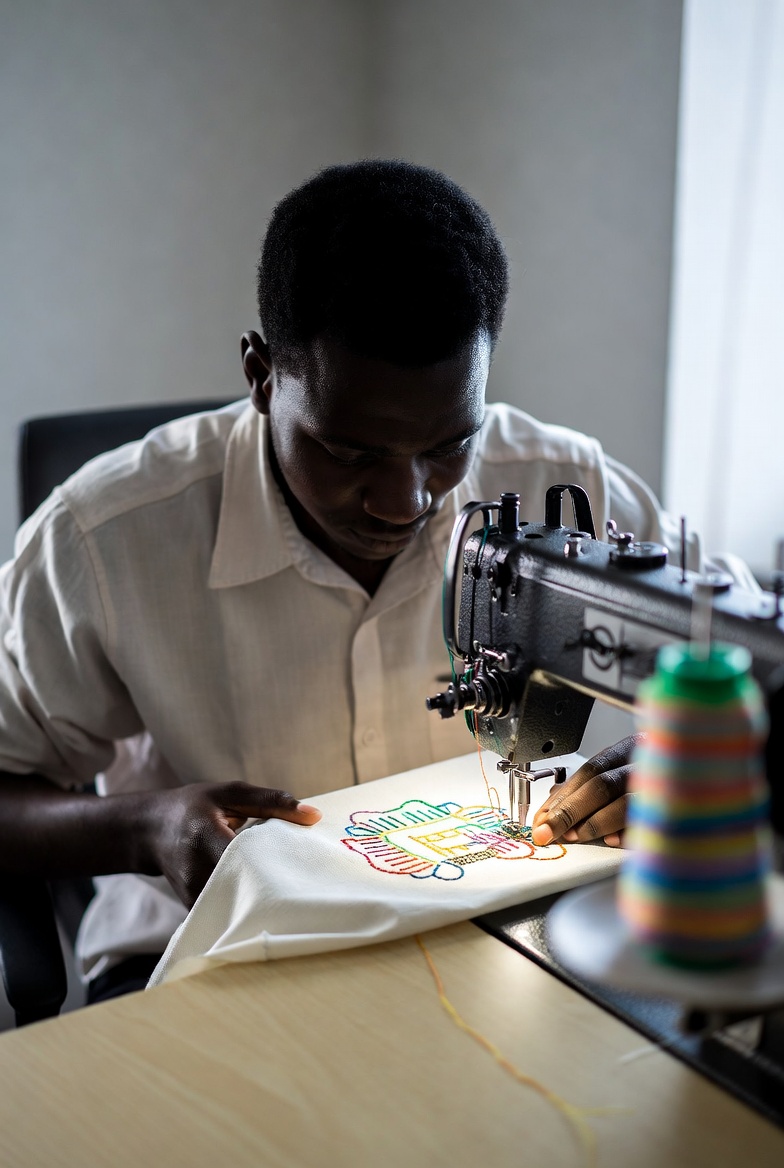
If you want to create PES file embroidery designs for Brother or Babylock machines, you need more than just saving a design in the right format. A PES file is a stitch-based embroidery file, meaning your artwork must be converted into stitch commands that embroidery machines can read.
Many online guides explain the technical steps, but they often skip important practical details like stitch density, underlay settings, and fabric compatibility. In this blog, you’ll learn not just how to create a PES file, but how to create one that stitches cleanly and professionally.
What Is a PES File in Embroidery?
A PES file is a digital embroidery format mainly used by Brother embroidery machines. Unlike JPG or PNG images, a PES file contains stitch data such as:
- Stitch type (satin, fill, running stitch)
- Stitch direction
- Thread color sequence
- Density and pull compensation
This is why you cannot simply rename an image file to .pes. You must use software to create PES files that converts artwork into stitch instructions.
Tools & Software to Create PES Files
Before starting, you need embroidery digitizing software. Some popular options include:
- Brother PE-Design
- Wilcom Embroidery Studio
- Hatch Embroidery Software
- Embrilliance Essentials
- Ink/Stitch (Free plugin for Inkscape)
Free tools are good for beginners, but professional software gives better control over stitch angles, density, and underlay — which makes a big difference in final embroidery quality.
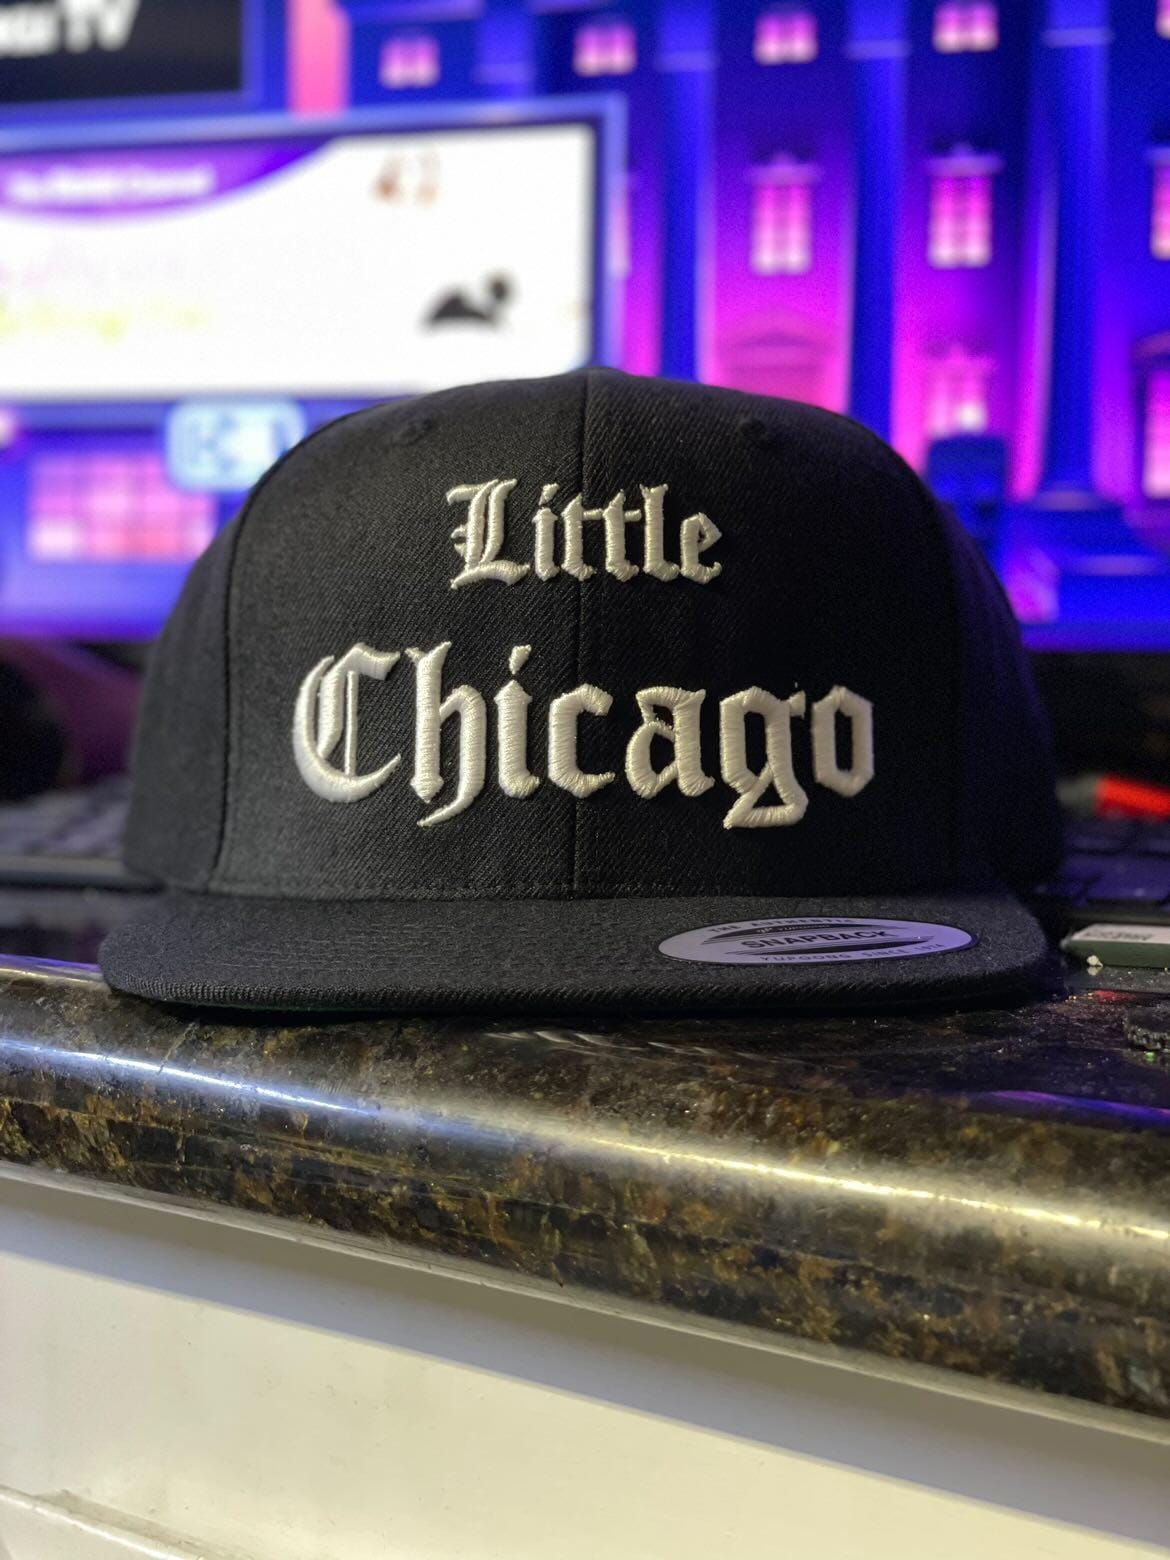
Step-by-Step: How to Create PES File Embroidery Designs
Step 1: Choose or Create Your Artwork
Start with a clean, high-resolution logo or vector file (AI, SVG, EPS preferred). Simple designs work best for beginners.
Step 2: Import into Digitizing Software
Open your chosen software to create PES files and import the artwork.
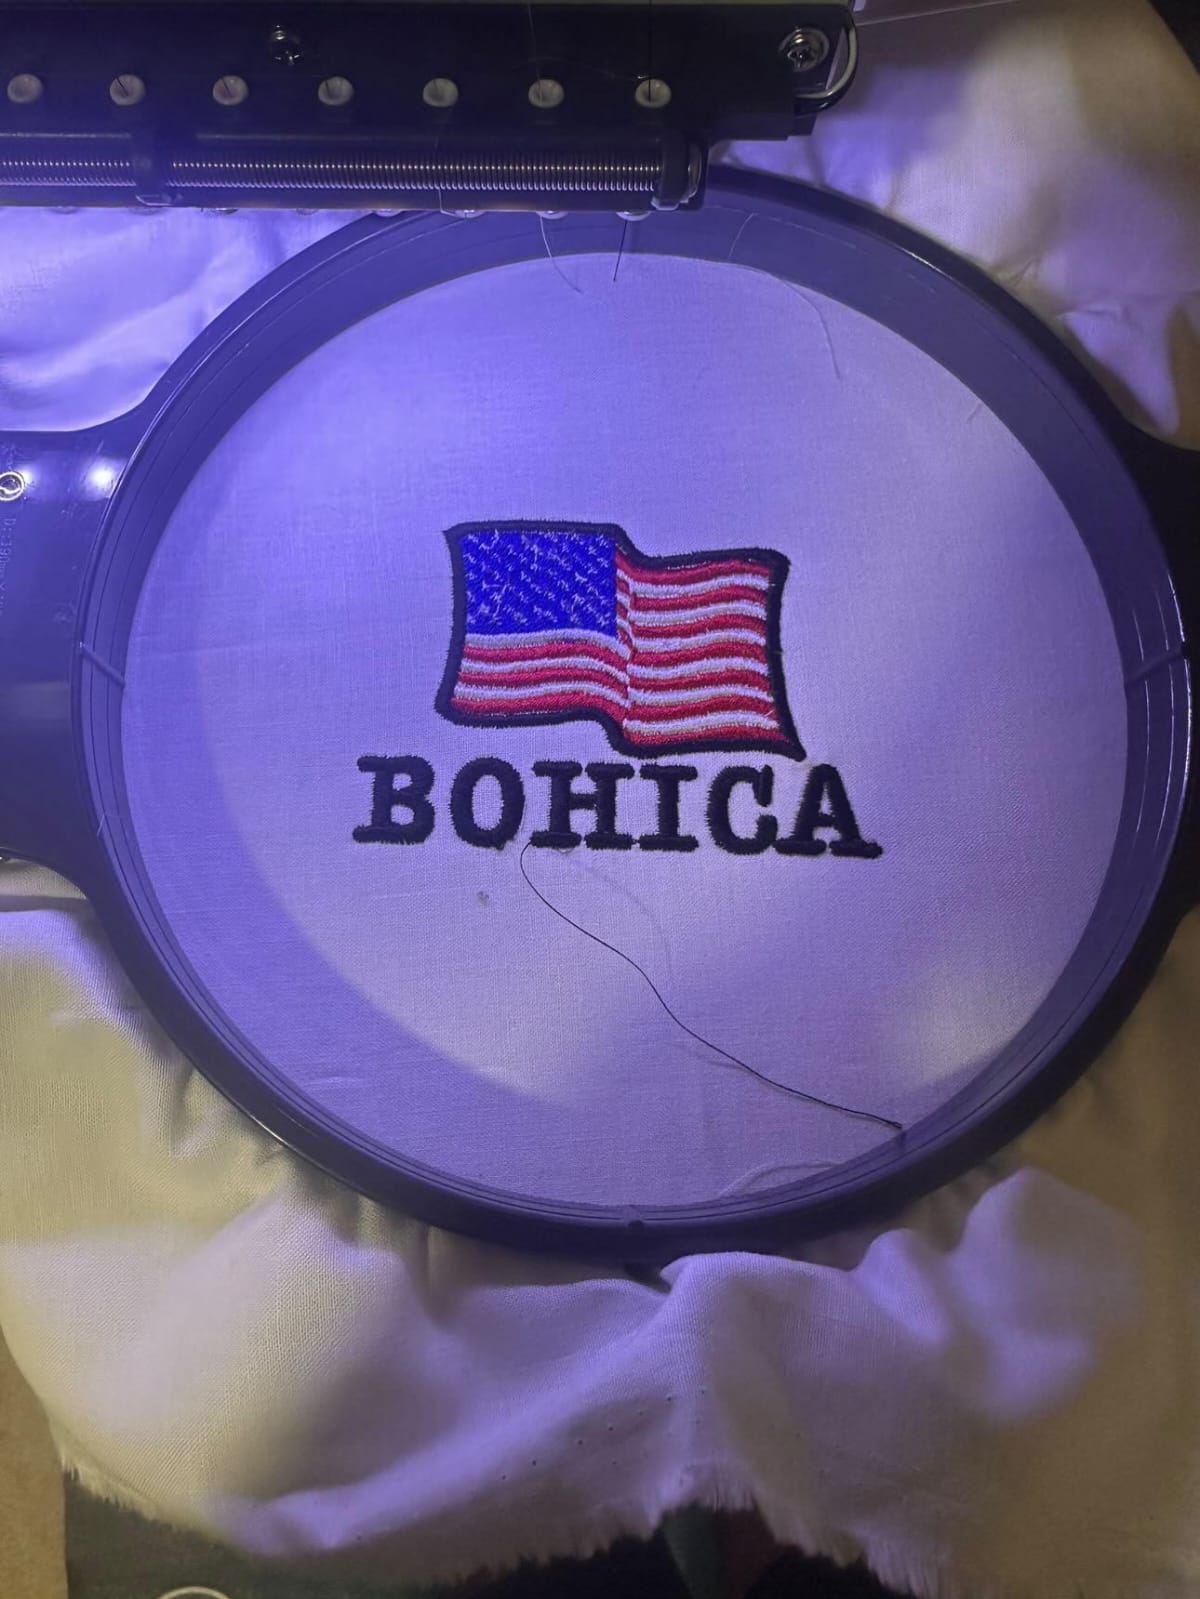
Step 3: Digitize the Design
This is the most important step. Convert shapes into stitch types:
- Satin stitch → Text and borders
- Fill stitch → Larger areas
- Running stitch → Fine details
Adjust stitch density depending on fabric type. For example, caps need different settings than t-shirts.
Step 4: Set Underlay and Pull Compensation
Underlay stabilizes the design. Pull compensation prevents gaps in satin columns. Many basic guides skip this step, but it’s critical for professional results.
Step 5: Assign Thread Colors
Choose thread sequence properly to reduce trims and jumps during stitching.
Step 6: Save or Export as PES
Once digitizing is complete, export the file as .PES format compatible with your embroidery machine.
Step 7: Test Stitch the File
Always run a sample on scrap fabric before production. This step separates hobby results from professional embroidery.
Comparison with Other Online Guides
Some online tutorials focus mainly on using free tools and explain only basic export steps. They often:
- Emphasize free software only
- Skip stitch density explanation
- Do not explain underlay importance
- Avoid discussing fabric adjustments
This guide goes deeper into practical embroidery production. Instead of just showing how to export, it explains how to optimize the PES file for clean stitching and fewer thread breaks.
The difference is simple: exporting is easy — digitizing correctly is the real skill.
Machine Compatibility Guide (PES File Format)
| Machine Brand | Popular Models | Supports PES Files | Notes |
| Brother | PE800, SE600, LB5000, NV Series | ✅ Yes | Native PES format support |
| Babylock | Flourish, Destiny, Altair | ✅ Yes | Fully compatible with PES |
| Bernina | 5 & 7 Series | ⚠️ Partial | May require conversion depending on model |
| Janome | Memory Craft Series | ⚠️ Limited | Some models prefer JEF formatBernina | 5 & 7 Series | ⚠️ Limited Compatibility | PES files may need conversion depending on firmware and model version |
| Singer | Futura Series | ⚠️ Limited | May require software conversion |
| Husqvarna Viking | Designer Series | ❌ No (Direct) | Typically uses VP3 format |
| Pfaff | Creative Series | ❌ No (Direct) | Uses VP3 format primarily |
Common Mistakes When Creating PES Files
- Using low-resolution images
- Ignoring stitch density
- Skipping underlay
- Not adjusting for fabric type
- Failing to test stitch
Avoiding these mistakes will dramatically improve embroidery quality.
Best Practices for Professional Results
- Keep designs clean and simple
- Use vector artwork whenever possible
- Adjust density for different fabrics
- Always preview stitch simulation
- Test before final production
If you’re running a business, investing in professional software to create PES files saves time and reduces production errors.
FAQs
1. Can I create a PES file without software?
No. You need embroidery digitizing software to convert artwork into stitch data.
2. Is there free software to create PES files?
Yes. Ink/Stitch is a free option, but it has limited professional controls compared to paid software.
3. What machines use PES files?
Primarily Brother and Babylock embroidery machines use PES format.
4. Why does my PES file not stitch correctly?
Common reasons include wrong density settings, missing underlay, or incorrect fabric stabilization.
5. How long does it take to digitize a design?
Simple logos may take 20–30 minutes. Complex designs can take several hours.
Final Thoughts
Learning how to create PES file embroidery designs is more than just clicking “export.” It requires understanding stitch types, density, fabric behavior, and machine compatibility. While many tutorials focus only on the technical process, real embroidery quality depends on proper digitizing knowledge.
Whether you’re a hobbyist or running a commercial embroidery business, mastering the right software to create PES files and applying professional settings will help you produce cleaner, sharper, and more reliable embroidery results.