Photo embroidery has transformed the way we preserve memories. Instead of keeping special moments locked inside a phone gallery, you can now stitch portraits, landscapes, and meaningful images directly onto fabric. From personalized gifts to branded apparel, photo embroidery on fabric offers a creative and lasting way to showcase detailed artwork.
While many online guides explain basic steps for embroidering a photo, this article goes deeper. We’ll explore modern techniques, compare manual and digital approaches, and explain how photo embroidery digitizing software and advanced tools improve quality, detail, and durability.
What Is Photo Embroidery?
Photo embroidery is the process of converting a photograph into a stitch pattern that can be embroidered onto fabric. This can be done manually (by tracing and stitching by hand) or digitally using photo embroidery software that converts an image into machine-readable stitch files.
The main goal is to replicate shading, contrast, and fine details through thread patterns.
How Photo Embroidery Works
1. Image Selection
Choose a high-resolution photo with clear contrast. Simple backgrounds work best, especially for portraits.
2. Editing and Enhancement
Before stitching, adjust brightness, contrast, and sharpness. This step is crucial for preserving facial features and depth.
3. Digitizing the Photo
This is where photo embroidery digitizing software plays a key role. The software converts pixels into stitch types such as:
- Satin stitches
- Fill stitches
- Running stitches
Unlike basic tutorials that focus mainly on manual tracing methods, professional digitizing ensures:
- Proper stitch direction
- Thread density control
- Fabric compatibility
- Clean color transitions
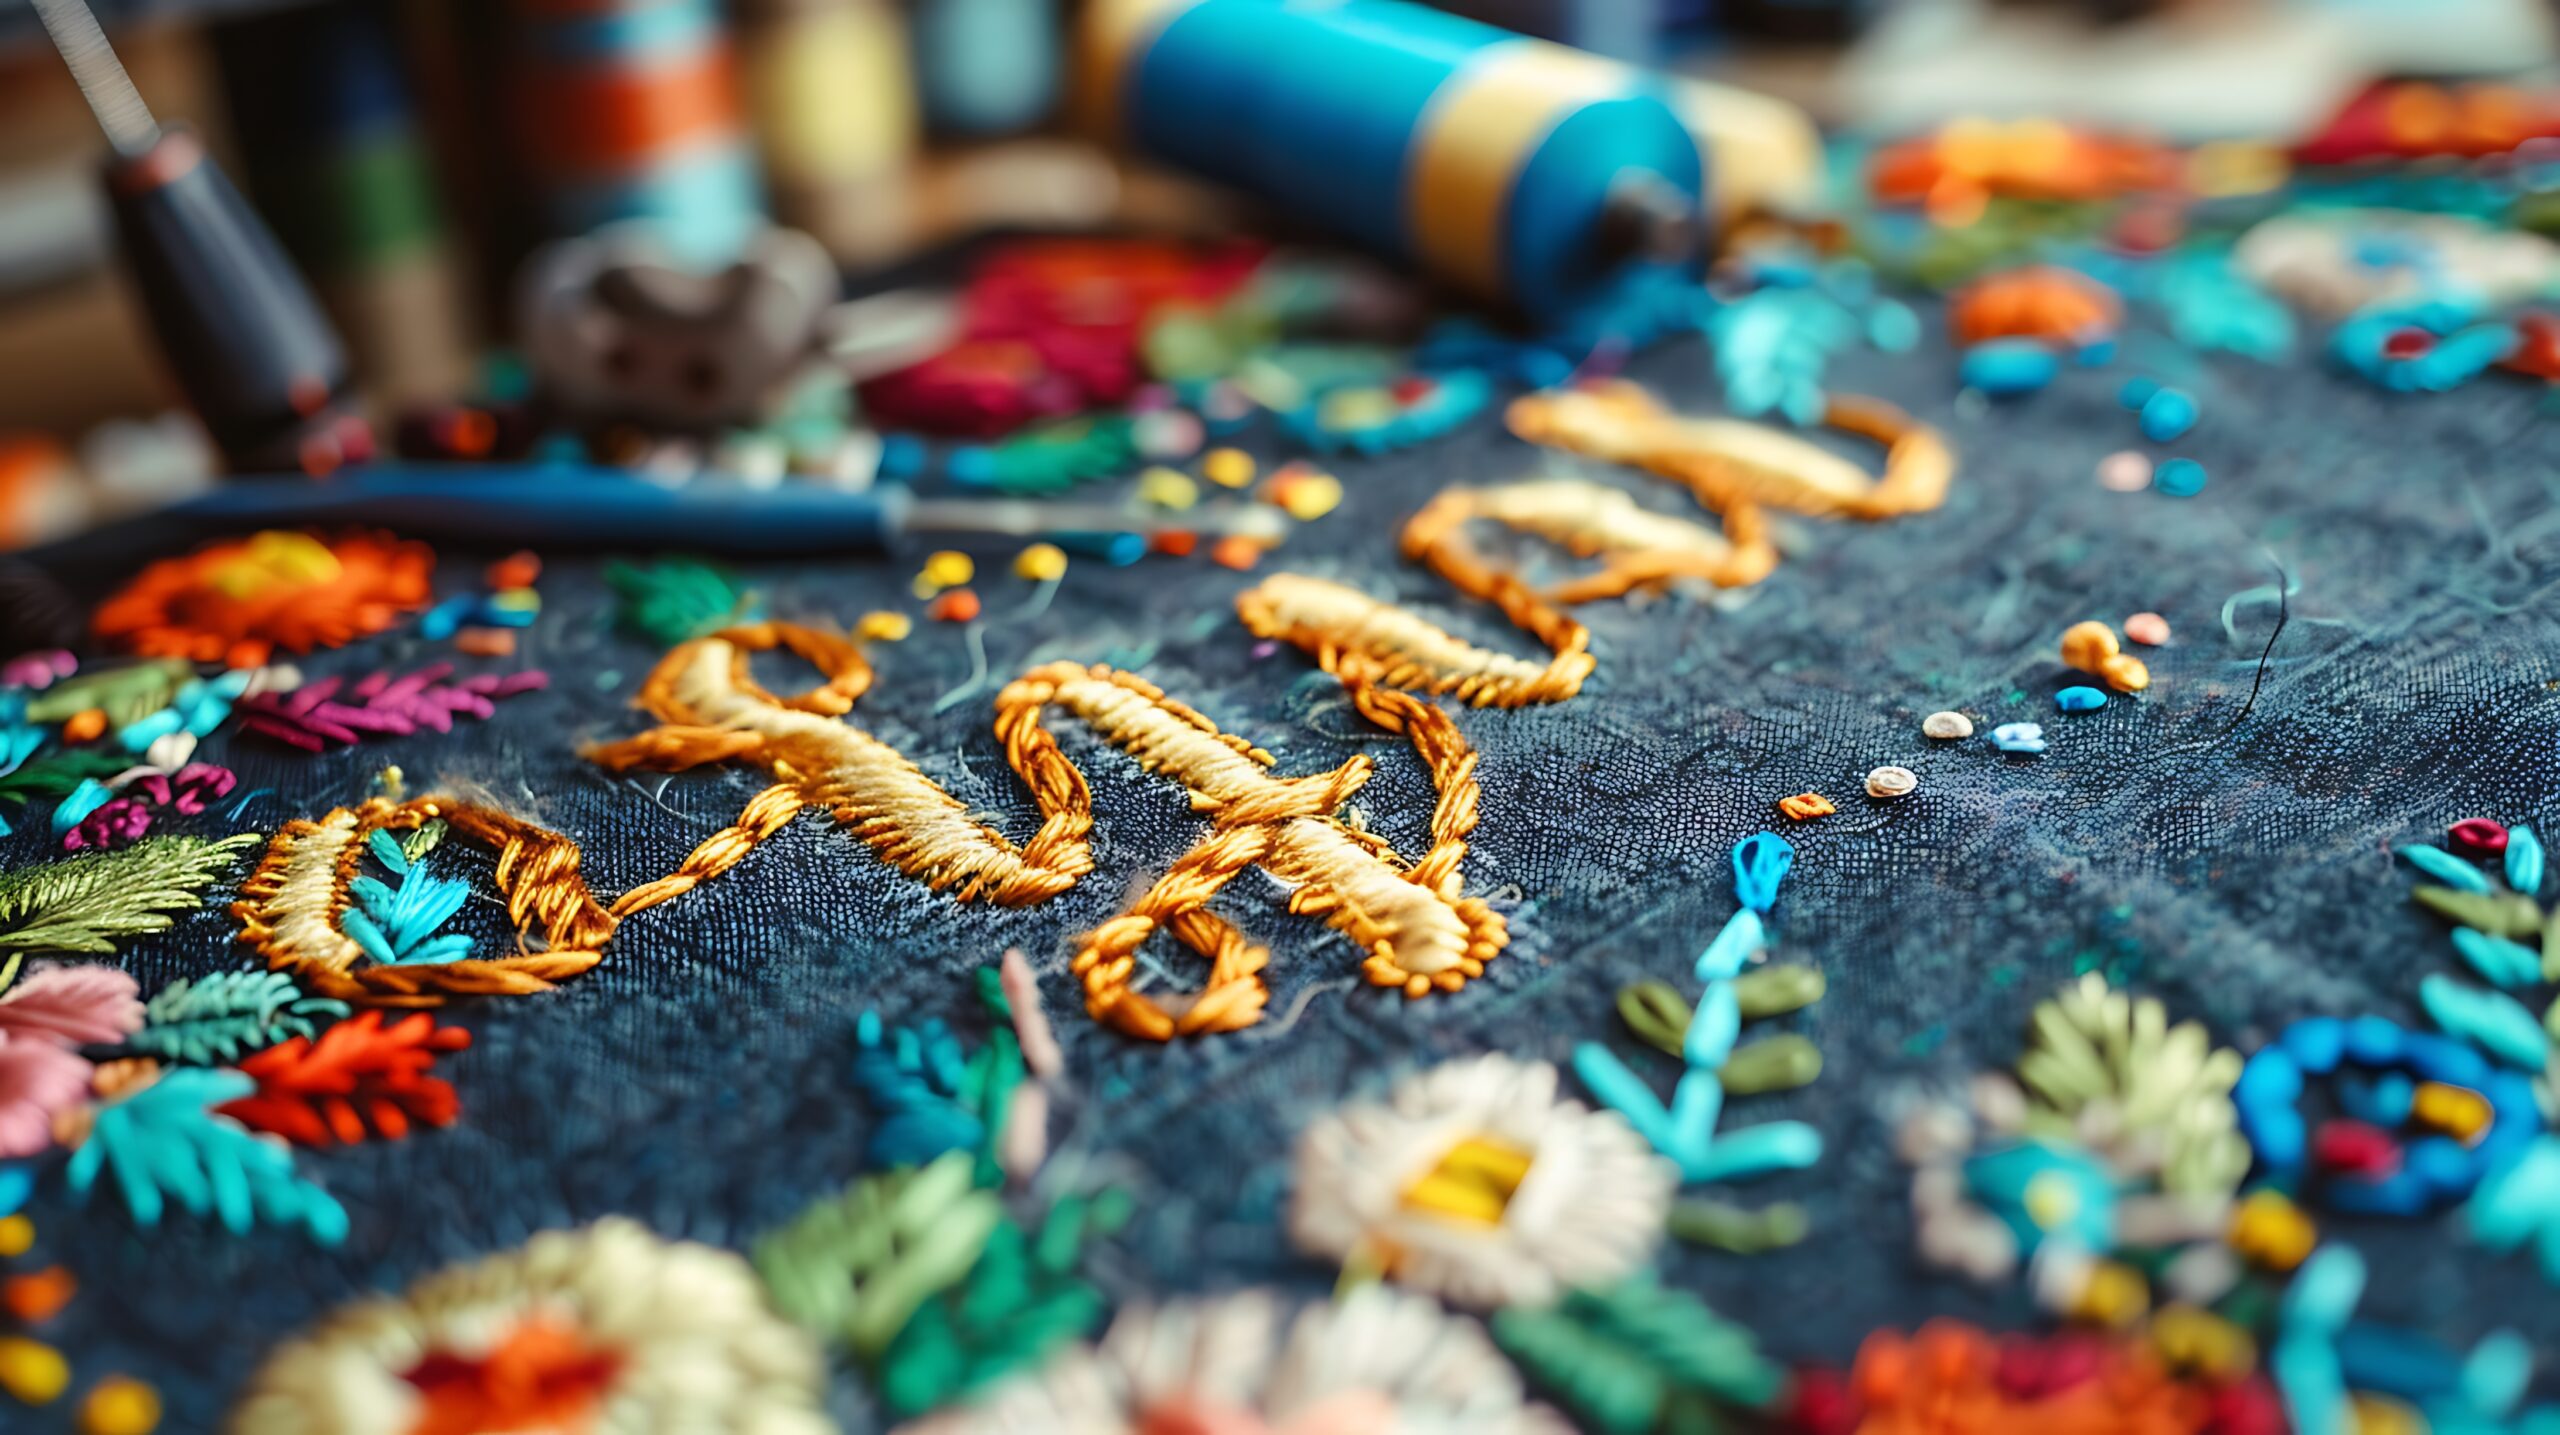
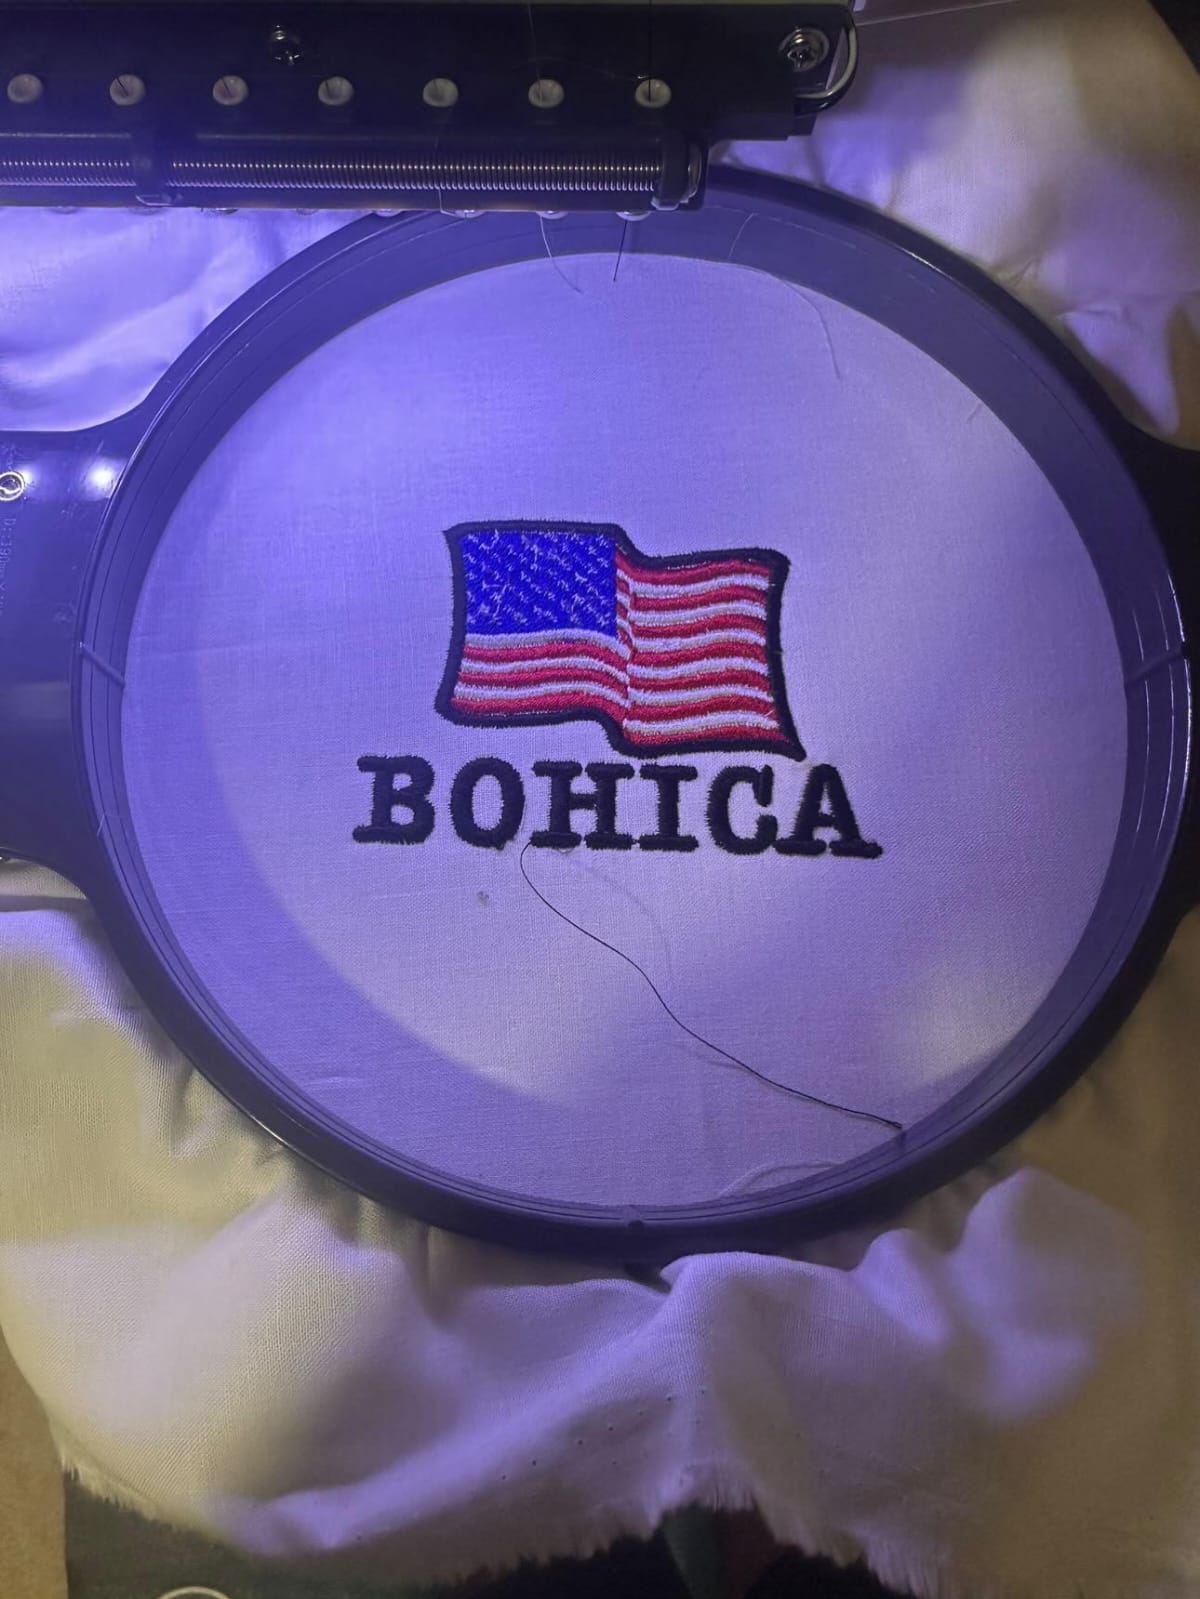
4. Stitching on Fabric
After digitizing, the design is loaded into an embroidery machine and stitched onto fabric. Choosing the right stabilizer prevents puckering and distortion.
Photo Embroidery on Fabric: Best Materials
Different fabrics produce different results. For high-quality outcomes, consider:
- Cotton – Ideal for portraits and detailed work
- Denim – Great for jackets and statement pieces
- Canvas – Suitable for wall art
- Polyester blends – Durable for commercial use
Proper stabilizing is essential when doing photo embroidery on fabric to maintain sharp detail.
Comparing Traditional vs. Digital Methods
Some guides focus heavily on hand-embroidery techniques, which are artistic and expressive. However, digital methods using photo embroidery software provide several advantages:
| Feature | Manual Embroidery | Digital Embroidery |
| Detail Accuracy | Depends on skill | Highly precise |
| Time Required | Long | Faster production |
| Repeatability | Difficult | Easily replicated |
| Commercial Use | Limited | Ideal for business |
Digital embroidery is especially useful for businesses, custom apparel brands, and personalized gift sellers.
Choosing the Right Photo Embroidery Digitizing Software
When selecting software, look for:
- Automatic stitch generation
- Advanced shading controls
- Thread color management
- File format compatibility (DST, PES, etc.)
- Fabric simulation preview
High-quality photo embroidery digitizing software ensures that your image does not lose clarity once stitched.
Tips for Better Results
- Use images with strong lighting contrast.
- Avoid overcrowded backgrounds.
- Reduce color count for cleaner stitching.
- Test stitch on scrap fabric first.
- Use premium embroidery threads for smooth texture.
FAQs
1. Can any photo be used for embroidery?
Not all photos work well. Clear images with strong contrast and minimal background clutter produce better embroidery results.
2. What is the difference between photo embroidery software and digitizing software?
Photo embroidery software may include editing tools, while photo embroidery digitizing software specifically converts images into stitch files for embroidery machines.
3. Is photo embroidery suitable for beginners?
Beginners can try simple designs, but complex portraits often require digitizing expertise for professional results.
4. What fabric is best for photo embroidery on fabric?
Cotton and canvas are highly recommended because they provide stable surfaces for detailed stitching.
5. How long does it take to embroider a photo?
It depends on design complexity and stitch count. A detailed portrait may take several hours.
Final Thoughts
Photo embroidery blends technology with craftsmanship. While traditional hand-stitch methods offer artistic charm, modern photo embroidery digitizing software allows for precision, scalability, and professional results. Whether you are creating custom gifts or launching a branded apparel line, mastering the digitizing process ensures cleaner detail, better shading, and longer-lasting embroidery.
By selecting the right image, optimizing it properly, and using advanced photo embroidery software, you can transform ordinary photographs into stunning embroidered artwork that stands the test of time.