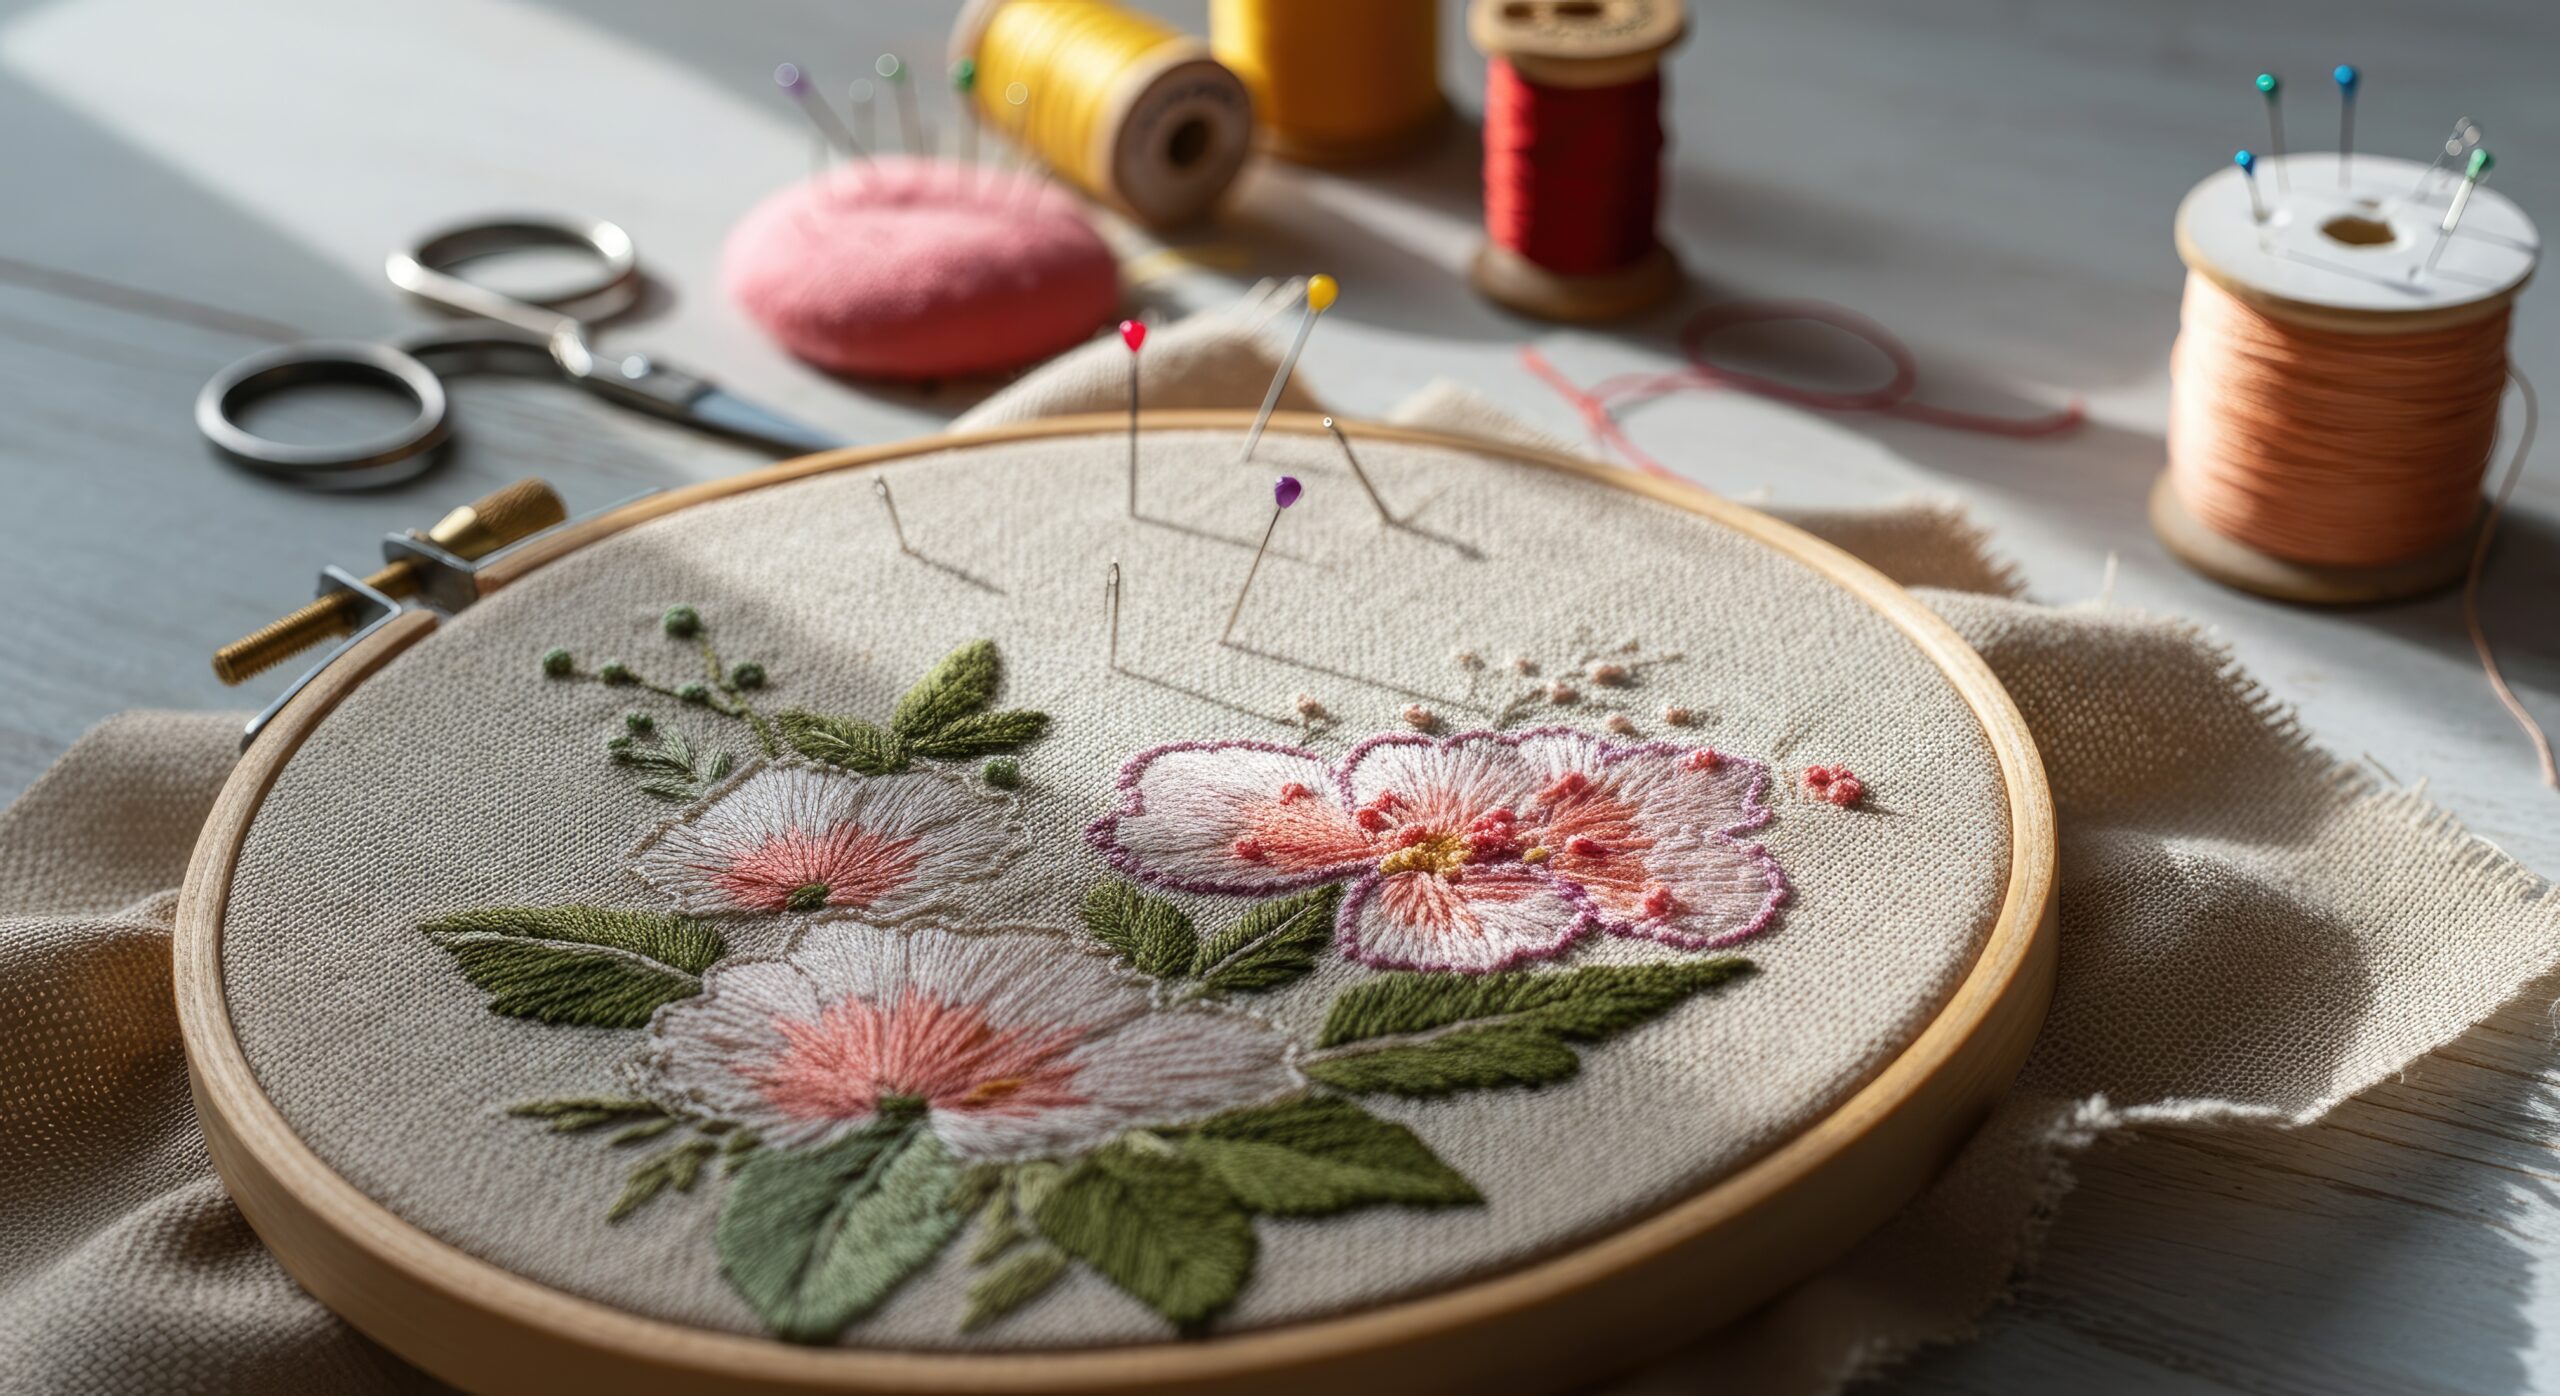
Embroidery has evolved from a traditional handcraft into a modern creative skill powered by digital tools. If you want to make your own embroidery design, you no longer need advanced technical knowledge or expensive studio equipment. With the right approach and the right tools, anyone can transform an idea into a stitched masterpiece.
Many online guides explain the basics of creating embroidery patterns using simple tools. However, most focus only on beginner methods. This guide goes further by comparing traditional approaches with modern digital solutions and helping you choose the best software to make your own embroidery designs while keeping the process practical and easy to follow.
Why Create Your Own Embroidery Design?
Creating your own design gives you:
- Full creative control
- Custom branding opportunities
- Unique gift ideas
- Better understanding of stitch placement
- Cost savings for long-term projects
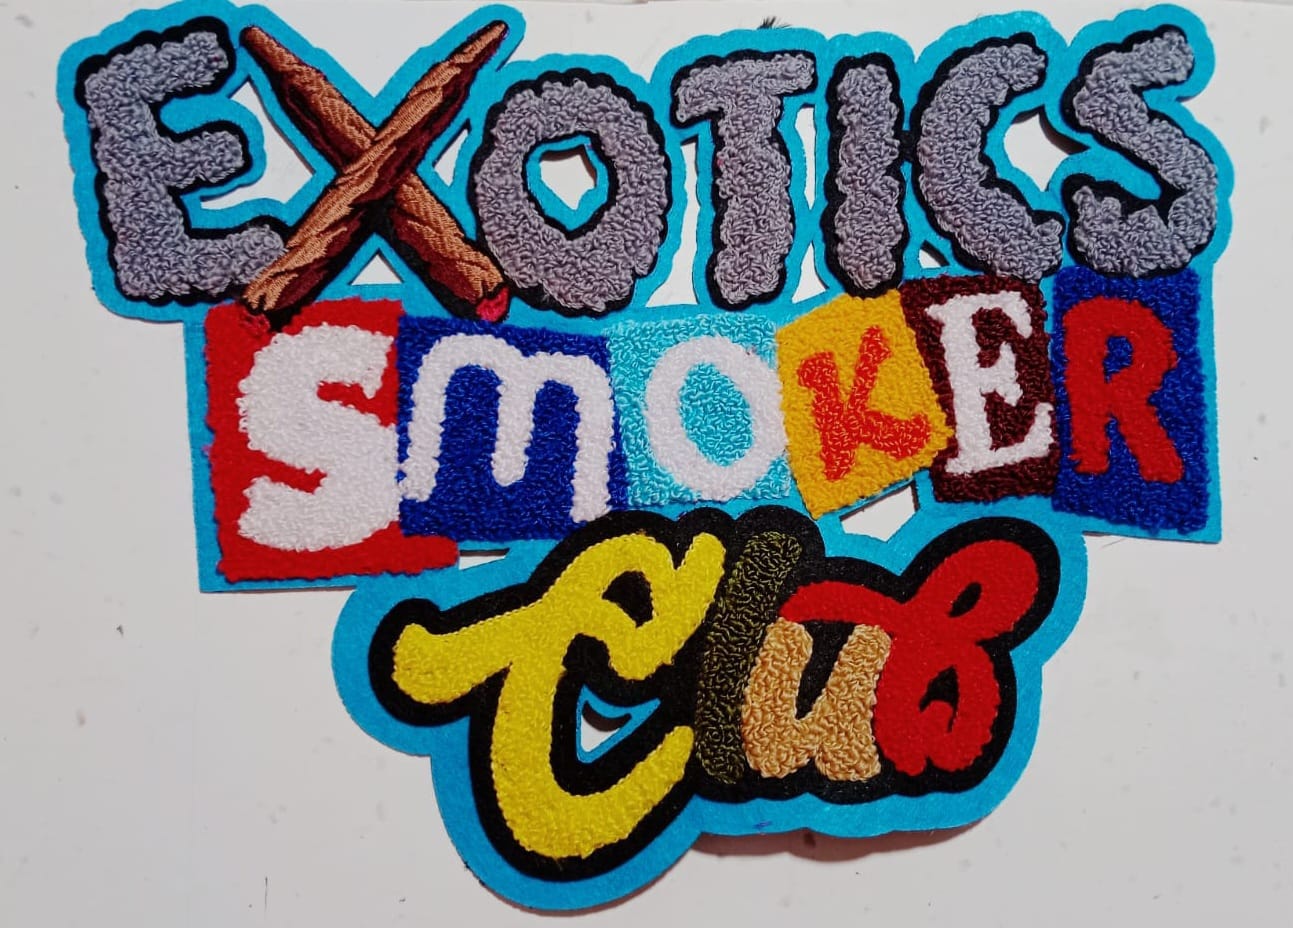
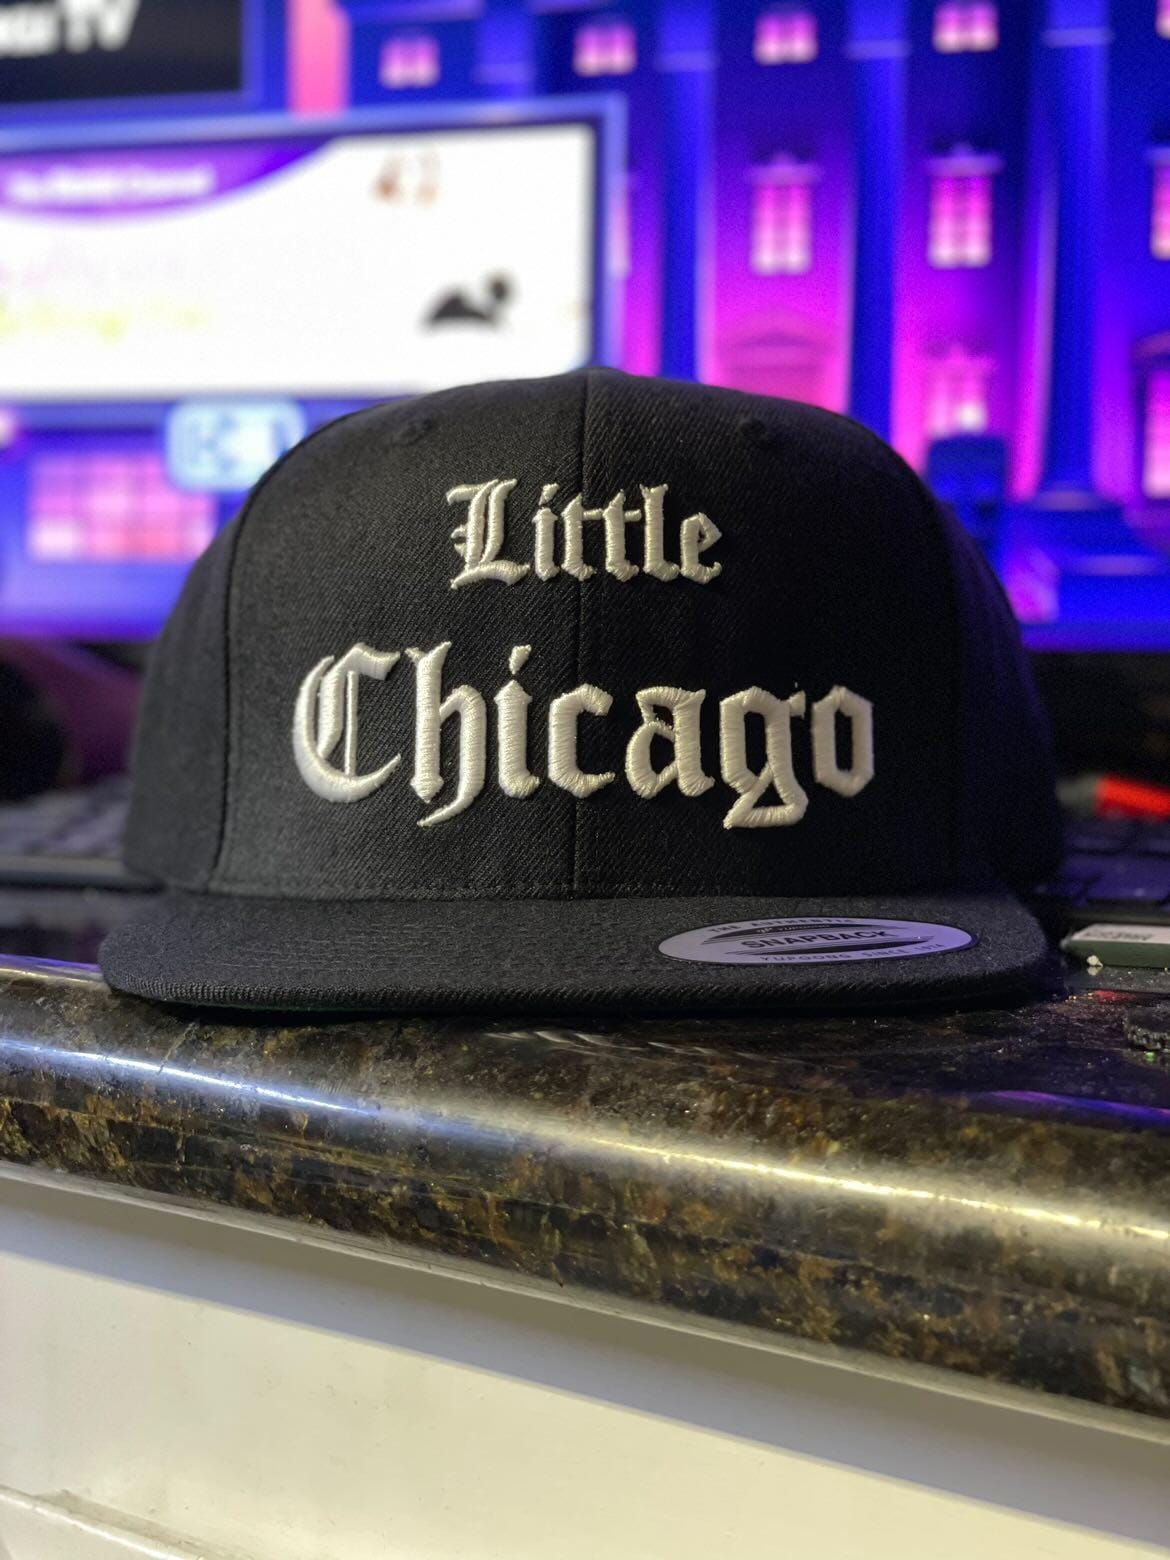
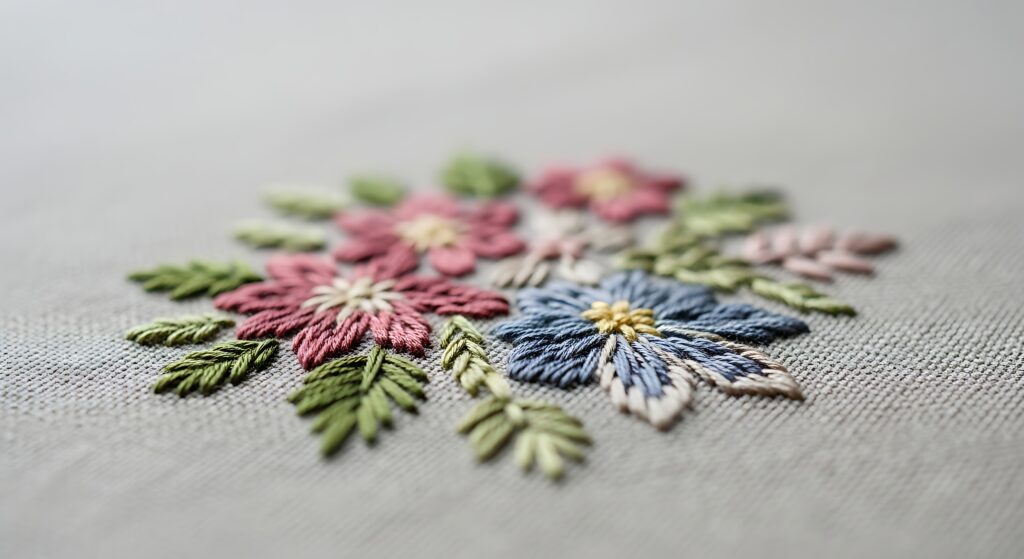
Instead of downloading generic patterns, designing your own artwork allows you to personalize logos, monograms, floral motifs, or even detailed illustrations.
Step-by-Step: How to Make Your Own Embroidery Design
1. Start With a Clear Concept
Before opening any software or picking up a needle, define your idea:
- Is it text, logo, or illustration?
- Will it be stitched on fabric, caps, jackets, or frames?
- Is the design simple or detailed?
Sketching on paper first helps you visualize proportions and layout.
2. Choose Your Design Method
There are two main approaches:
A. Manual (Traditional) Method
- Draw your design on paper.
- Transfer it to fabric using tracing paper or washable pens.
- Select thread colors and stitch types.
- Begin stitching manually.
This method is great for hobbyists but may limit precision, especially for logos or commercial work.
B. Digital Embroidery Design Method
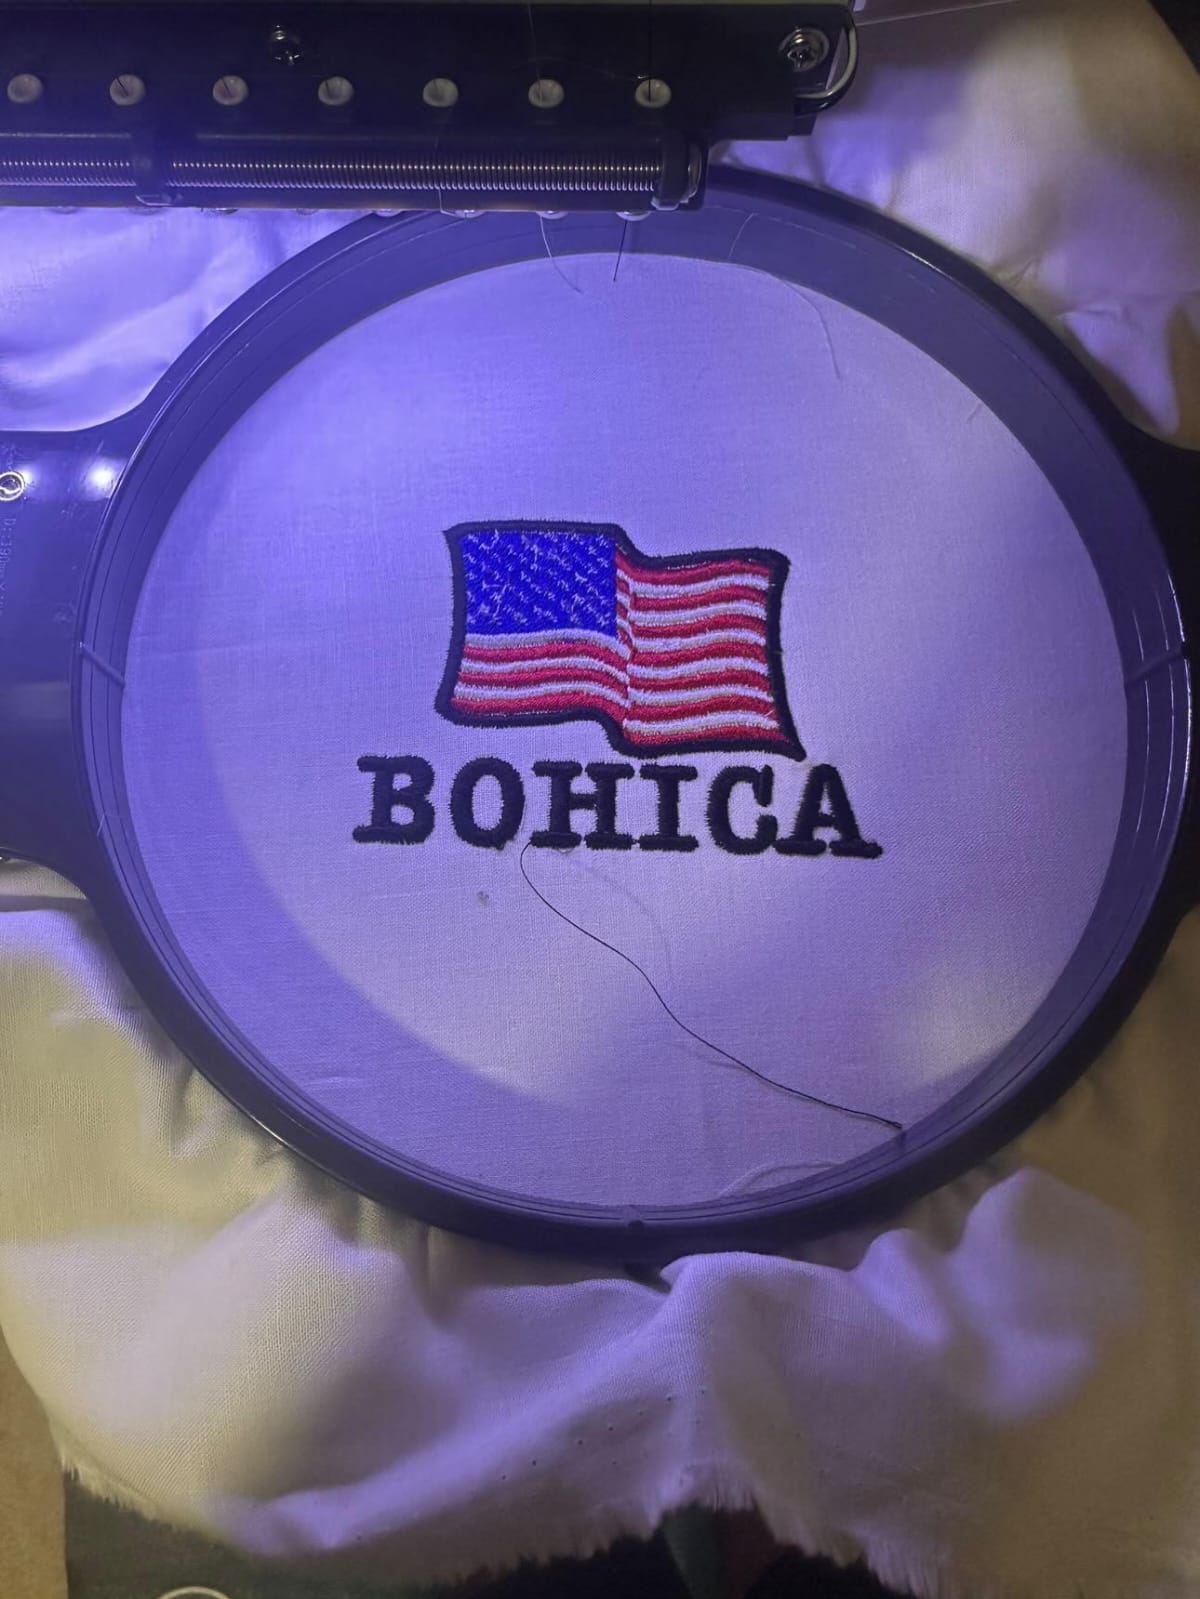
This is where things become more advanced and efficient. Using software to make your own embroidery designs, you can:
- Convert images into stitch files
- Adjust stitch density
- Preview color combinations
- Resize without distortion
- Export files for embroidery machines
Digital design is ideal for business owners, Etsy sellers, and professionals.
Best Software to Make Your Own Embroidery Designs
If you want precision and scalability, embroidery software is essential. Some popular categories include:
- Beginner-friendly embroidery apps
- Professional digitizing software
- Vector-based design tools
- Free online embroidery creators
When selecting software, look for:
- Auto-digitizing features
- Manual stitch editing
- File compatibility (DST, PES, EXP, etc.)
- Font libraries for monograms
- Layer management tools
Beginners often prefer easy drag-and-drop interfaces, while professionals need detailed stitch customization options.
Comparing Traditional Guides vs. Modern Digital Methods
Many embroidery blogs focus heavily on simple drawing techniques and free tools. These are helpful for beginners who want to experiment without investing money.
However, modern embroidery design now leans toward digitization. Compared to basic tutorials, digital workflows offer:
- Greater stitch accuracy
- Faster production
- Better scalability
- Commercial-ready output
- Professional finishing quality
If your goal is personal crafting, traditional methods work fine. But if you want to sell products or build a brand, digital design software provides long-term advantages.
Tips for Professional Results
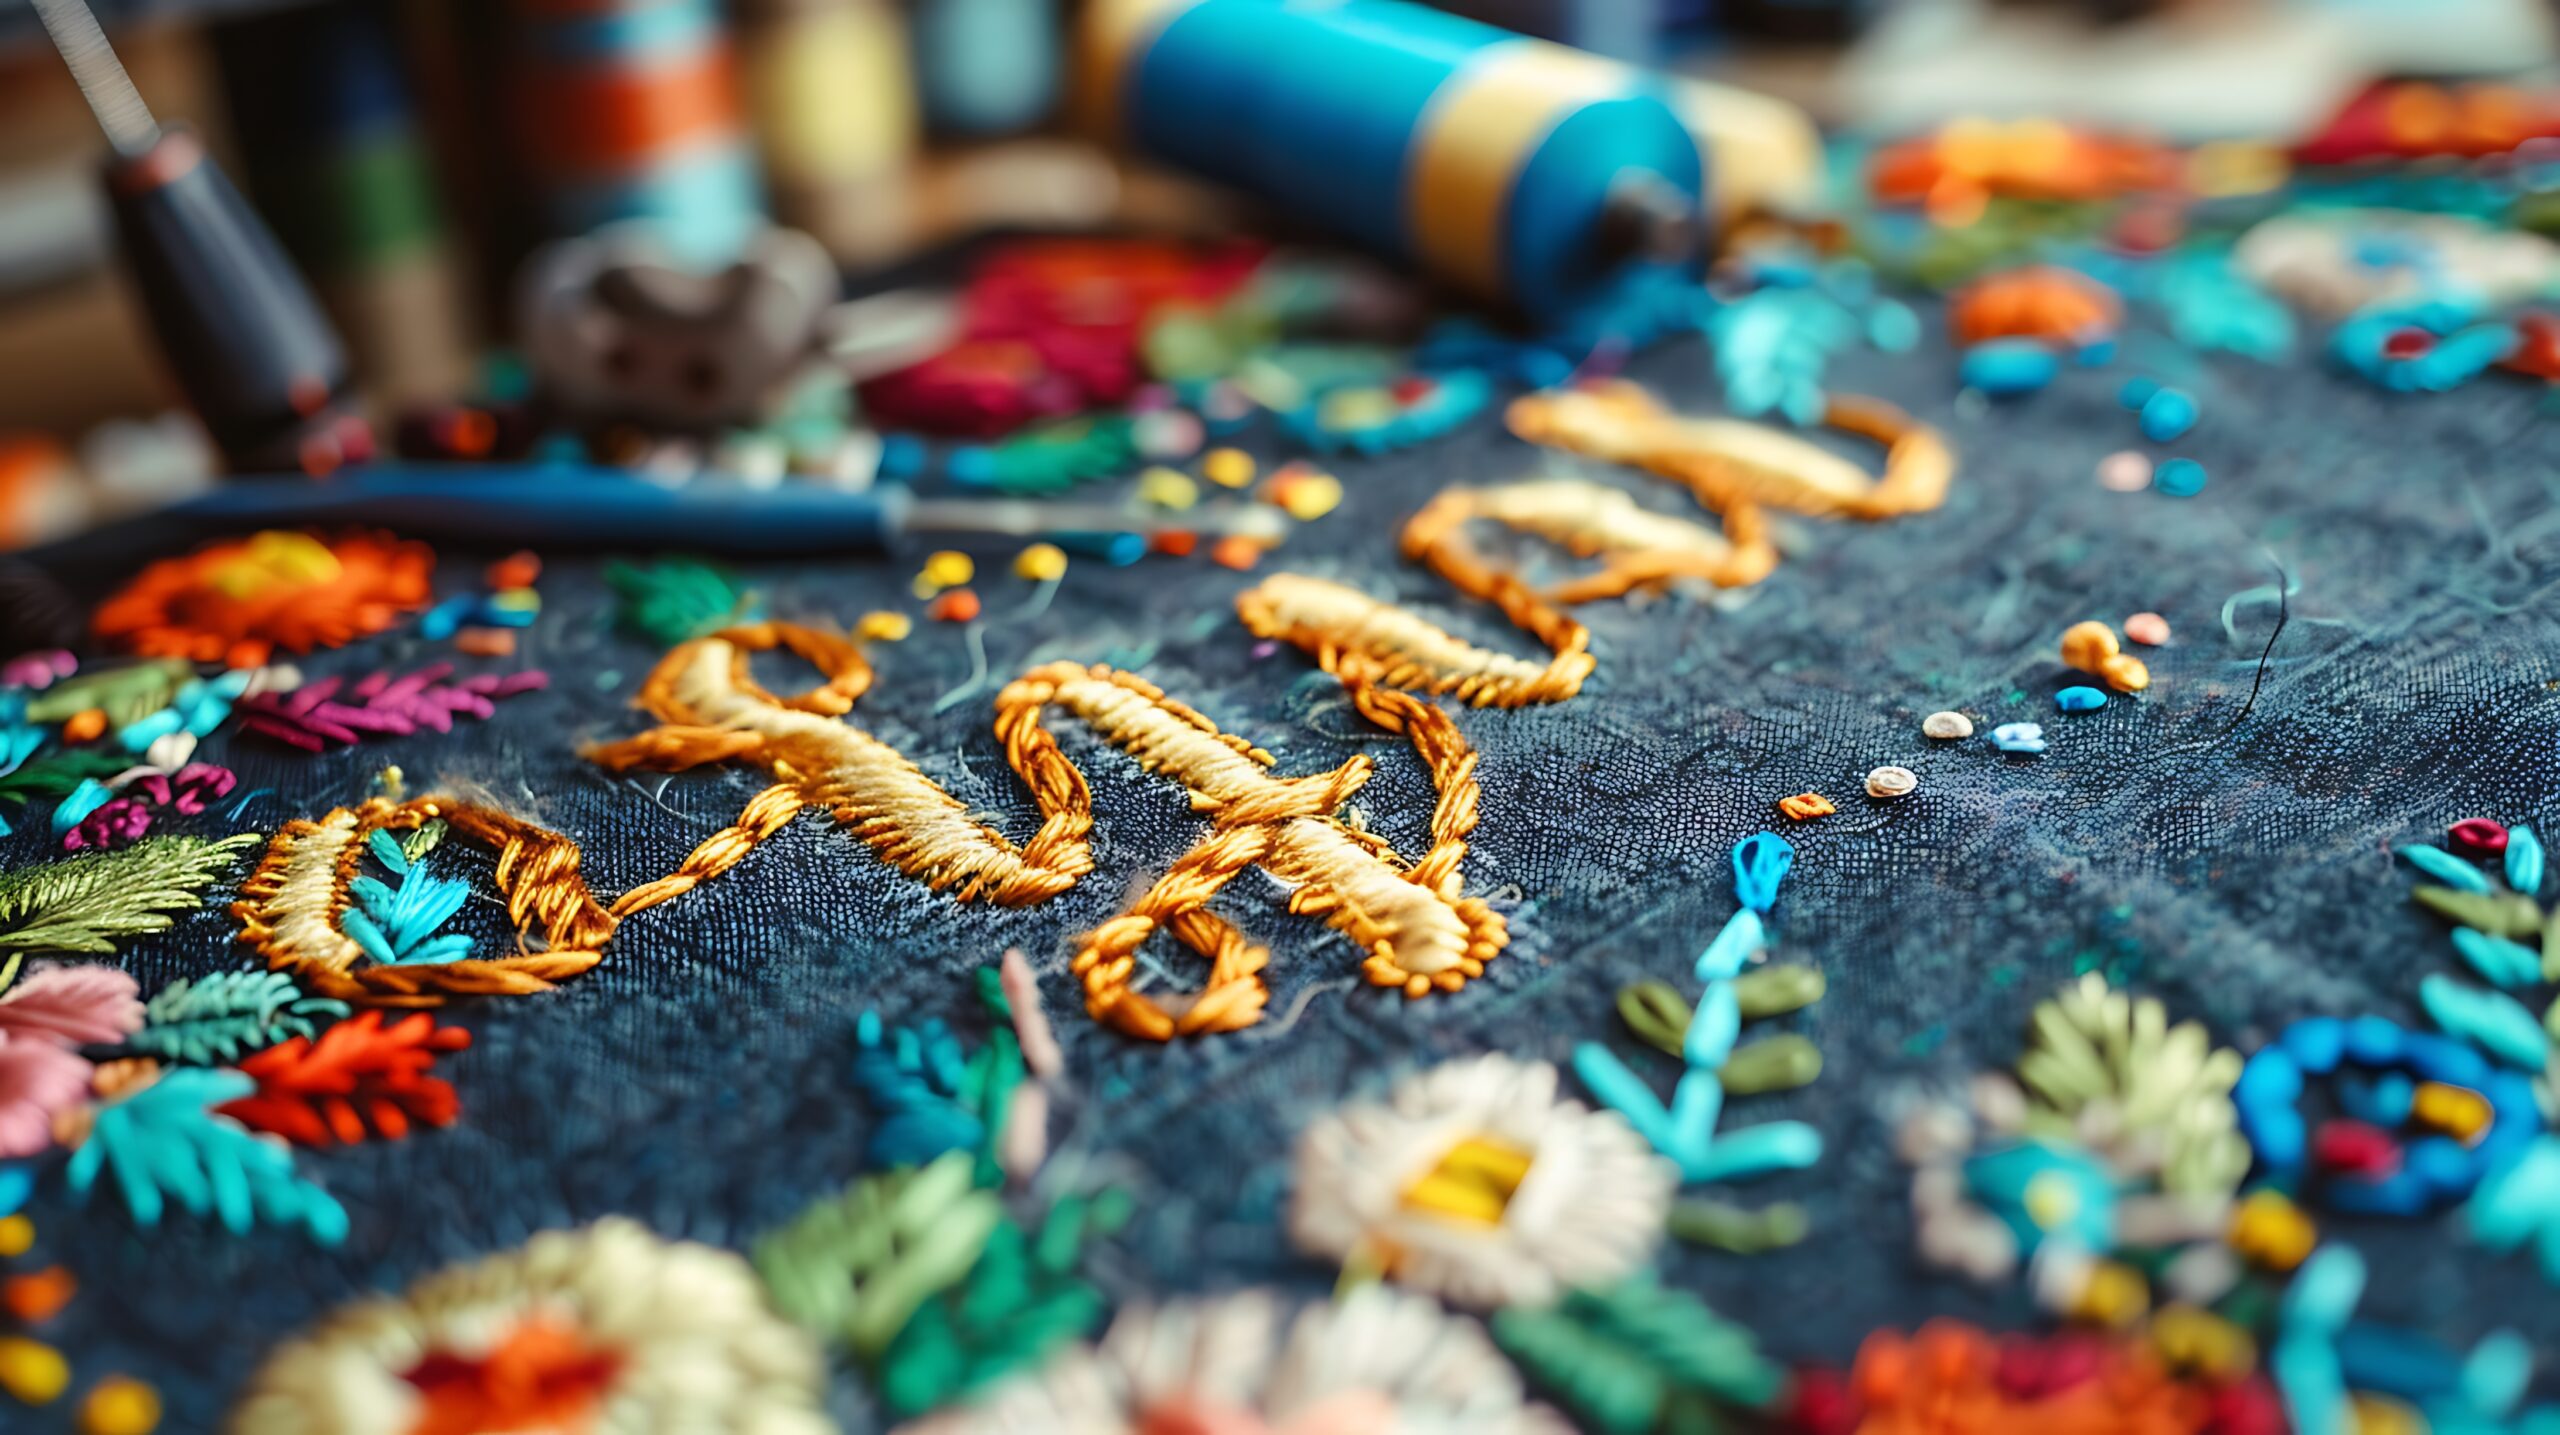
Whether you design manually or digitally, follow these tips:
- Keep designs clean and avoid excessive tiny details
- Use bold lines for small embroidery areas
- Choose thread colors that contrast with fabric
- Test stitch on scrap fabric first
- Maintain balanced stitch density
Overcrowded designs often result in thread breaks and uneven finishes. Simplicity usually delivers better embroidery results.
Common Mistakes to Avoid
- Using low-resolution images for digitizing
- Ignoring fabric type
- Skipping test runs
- Overusing auto-digitizing without manual adjustments
- Choosing fonts that are too thin
Embroidery requires structural planning. A design that looks good on screen may not always stitch well on fabric.
FAQs
1. Can beginners make their own embroidery design?
Yes. Beginners can start with simple sketches or beginner-friendly embroidery software. Start small and gradually learn stitch techniques.
2. What is the best software to make your own embroidery designs?
The best software depends on your skill level. Beginners should choose easy auto-digitizing tools, while professionals prefer advanced editing features.
3. Do I need an embroidery machine to create digital designs?
No, you can design digitally without a machine. However, to stitch the final output automatically, a compatible embroidery machine is required.
4. Can I turn my logo into an embroidery design?
Yes. Logos can be converted into stitch files using embroidery digitizing software. Clean, high-resolution images produce better results.
5. Is free embroidery software good enough?
Free tools are good for practice, but paid software usually provides better accuracy, file compatibility, and professional features.
Final Thoughts
Learning how to make your own embroidery design opens creative and business opportunities. While traditional tutorials focus on drawing and tracing methods, modern digital tools provide more flexibility, precision, and scalability.
If you’re crafting as a hobby, simple tools and manual techniques are perfect. But if your goal is branding, selling products, or professional embroidery, investing time in the right software to make your own embroidery designs will significantly improve your results.