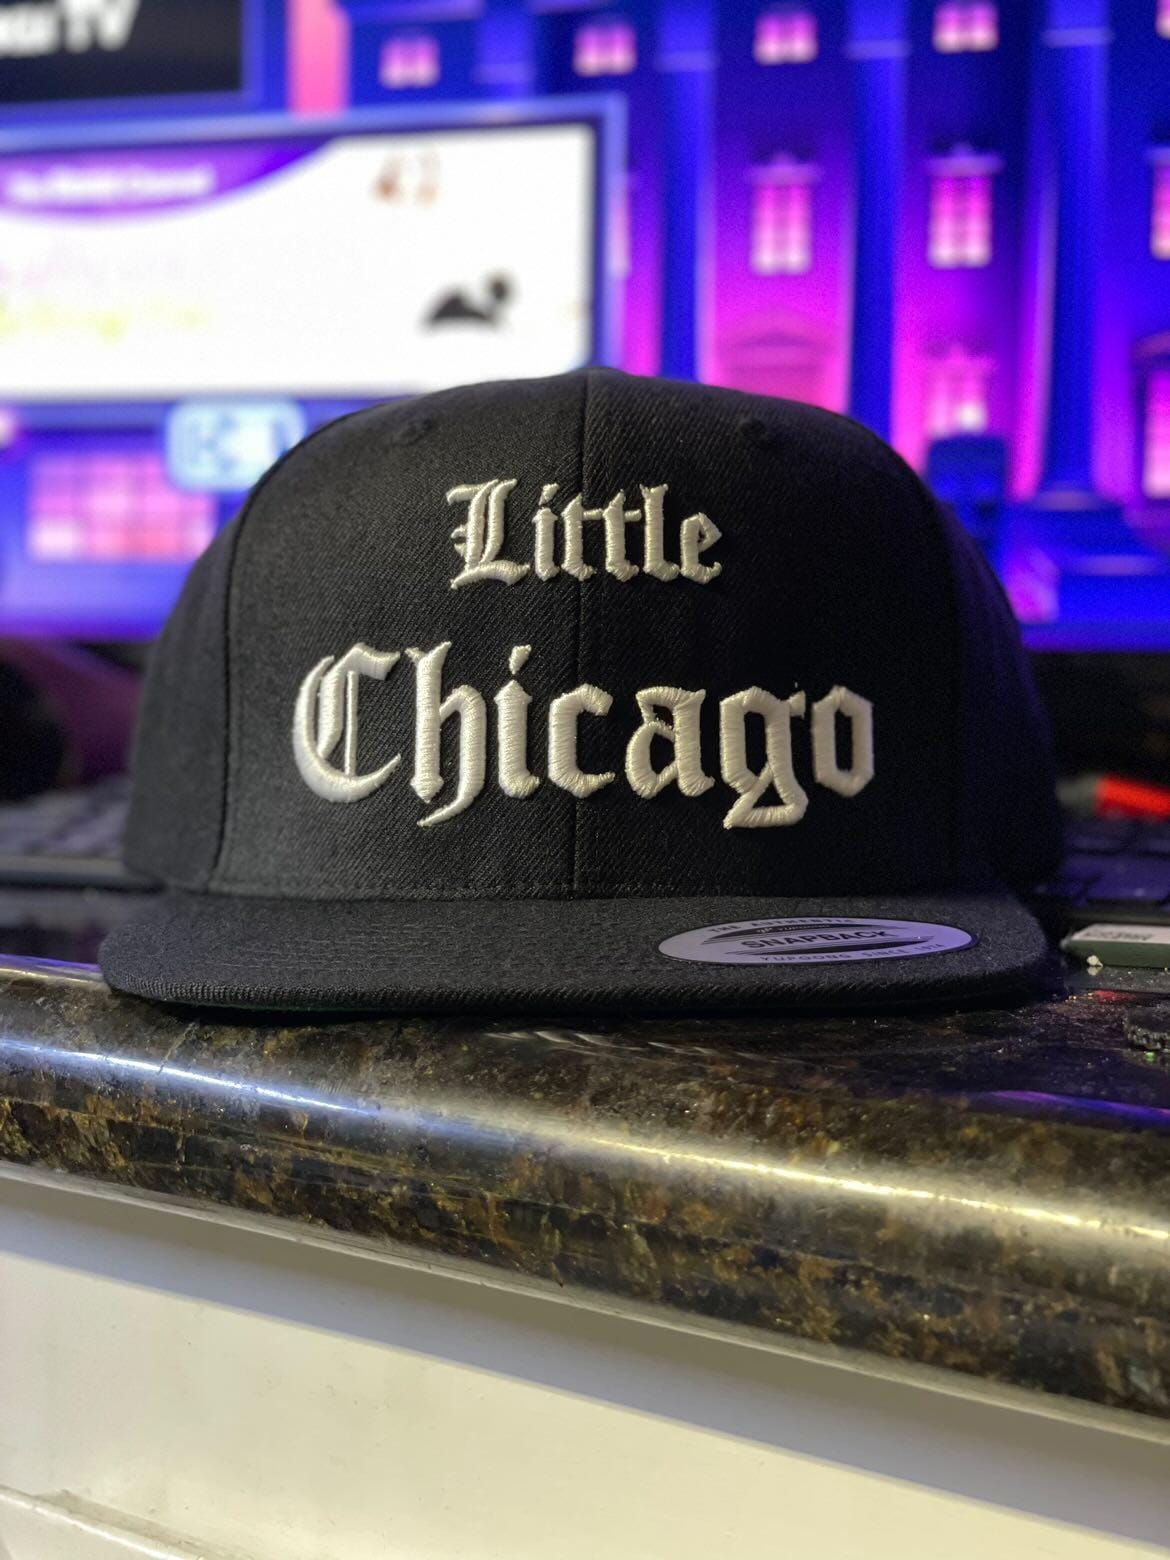
In today’s design and branding industry, embroidering logos has become an enduring method of presenting a company that is elegant and professional. If you’re creating clothing, caps, uniforms, or other promotional clothing, embroidery can add an aesthetic and high-quality touch that printed logos can’t compete with.
Before the embroidery machine brings your brand’s image to life, the logo must first be digitized.
If you’ve ever thought about how to digitize logo for embroidery, this step-by-step tutorial will guide you through the process, required tools, and benefits — plus how professional assistance can make your work easier.
What Does “Digitizing a Logo for Embroidery” Mean?
Before we get into the details, let’s make one thing clear — digitizing is not simply scanning or uploading a logo.
The process of digitizing a logo involves converting your logo into a stitching pattern that an embroidery machine can read. Every part of your logo is mapped using stitch types, directions, and densities. It then becomes a digital embroidery file that instructs the machine where and how to place every stitch.
That’s why learning how to digitize logo for embroidery correctly ensures that the final image looks clean, crisp, and professional.
Why Logo Digitizing Matters
Having your logo digitized for embroidery makes it ready to be stitched on different types of fabric and garments. Without proper digitizing, even a great design might appear rough or distorted when embroidered.
Here’s why digitizing is crucial:
- It ensures precision in every thread and stitch.
- It maintains brand consistency — your logo looks the same on every product.
- It optimizes thread use, reducing breakages and uneven stitching.
If you want your embroidered logo to appear crisp and clear, quality digitizing is key.
Step-by-Step Guide: How to Digitize Logo for Embroidery
Let’s walk through each step of the professional embroidery digitizing process.
Step 1: Prepare Your Logo Design
Start with a high-resolution version of your logo. The higher the quality, the easier it will be to trace and identify stitch lines.
If your logo includes very small text or tiny details, consider simplifying it — embroidery threads can’t always capture fine details perfectly.
Tip: Save your logo in common image formats such as JPG, PNG, or PDF before uploading it to digitizing software.
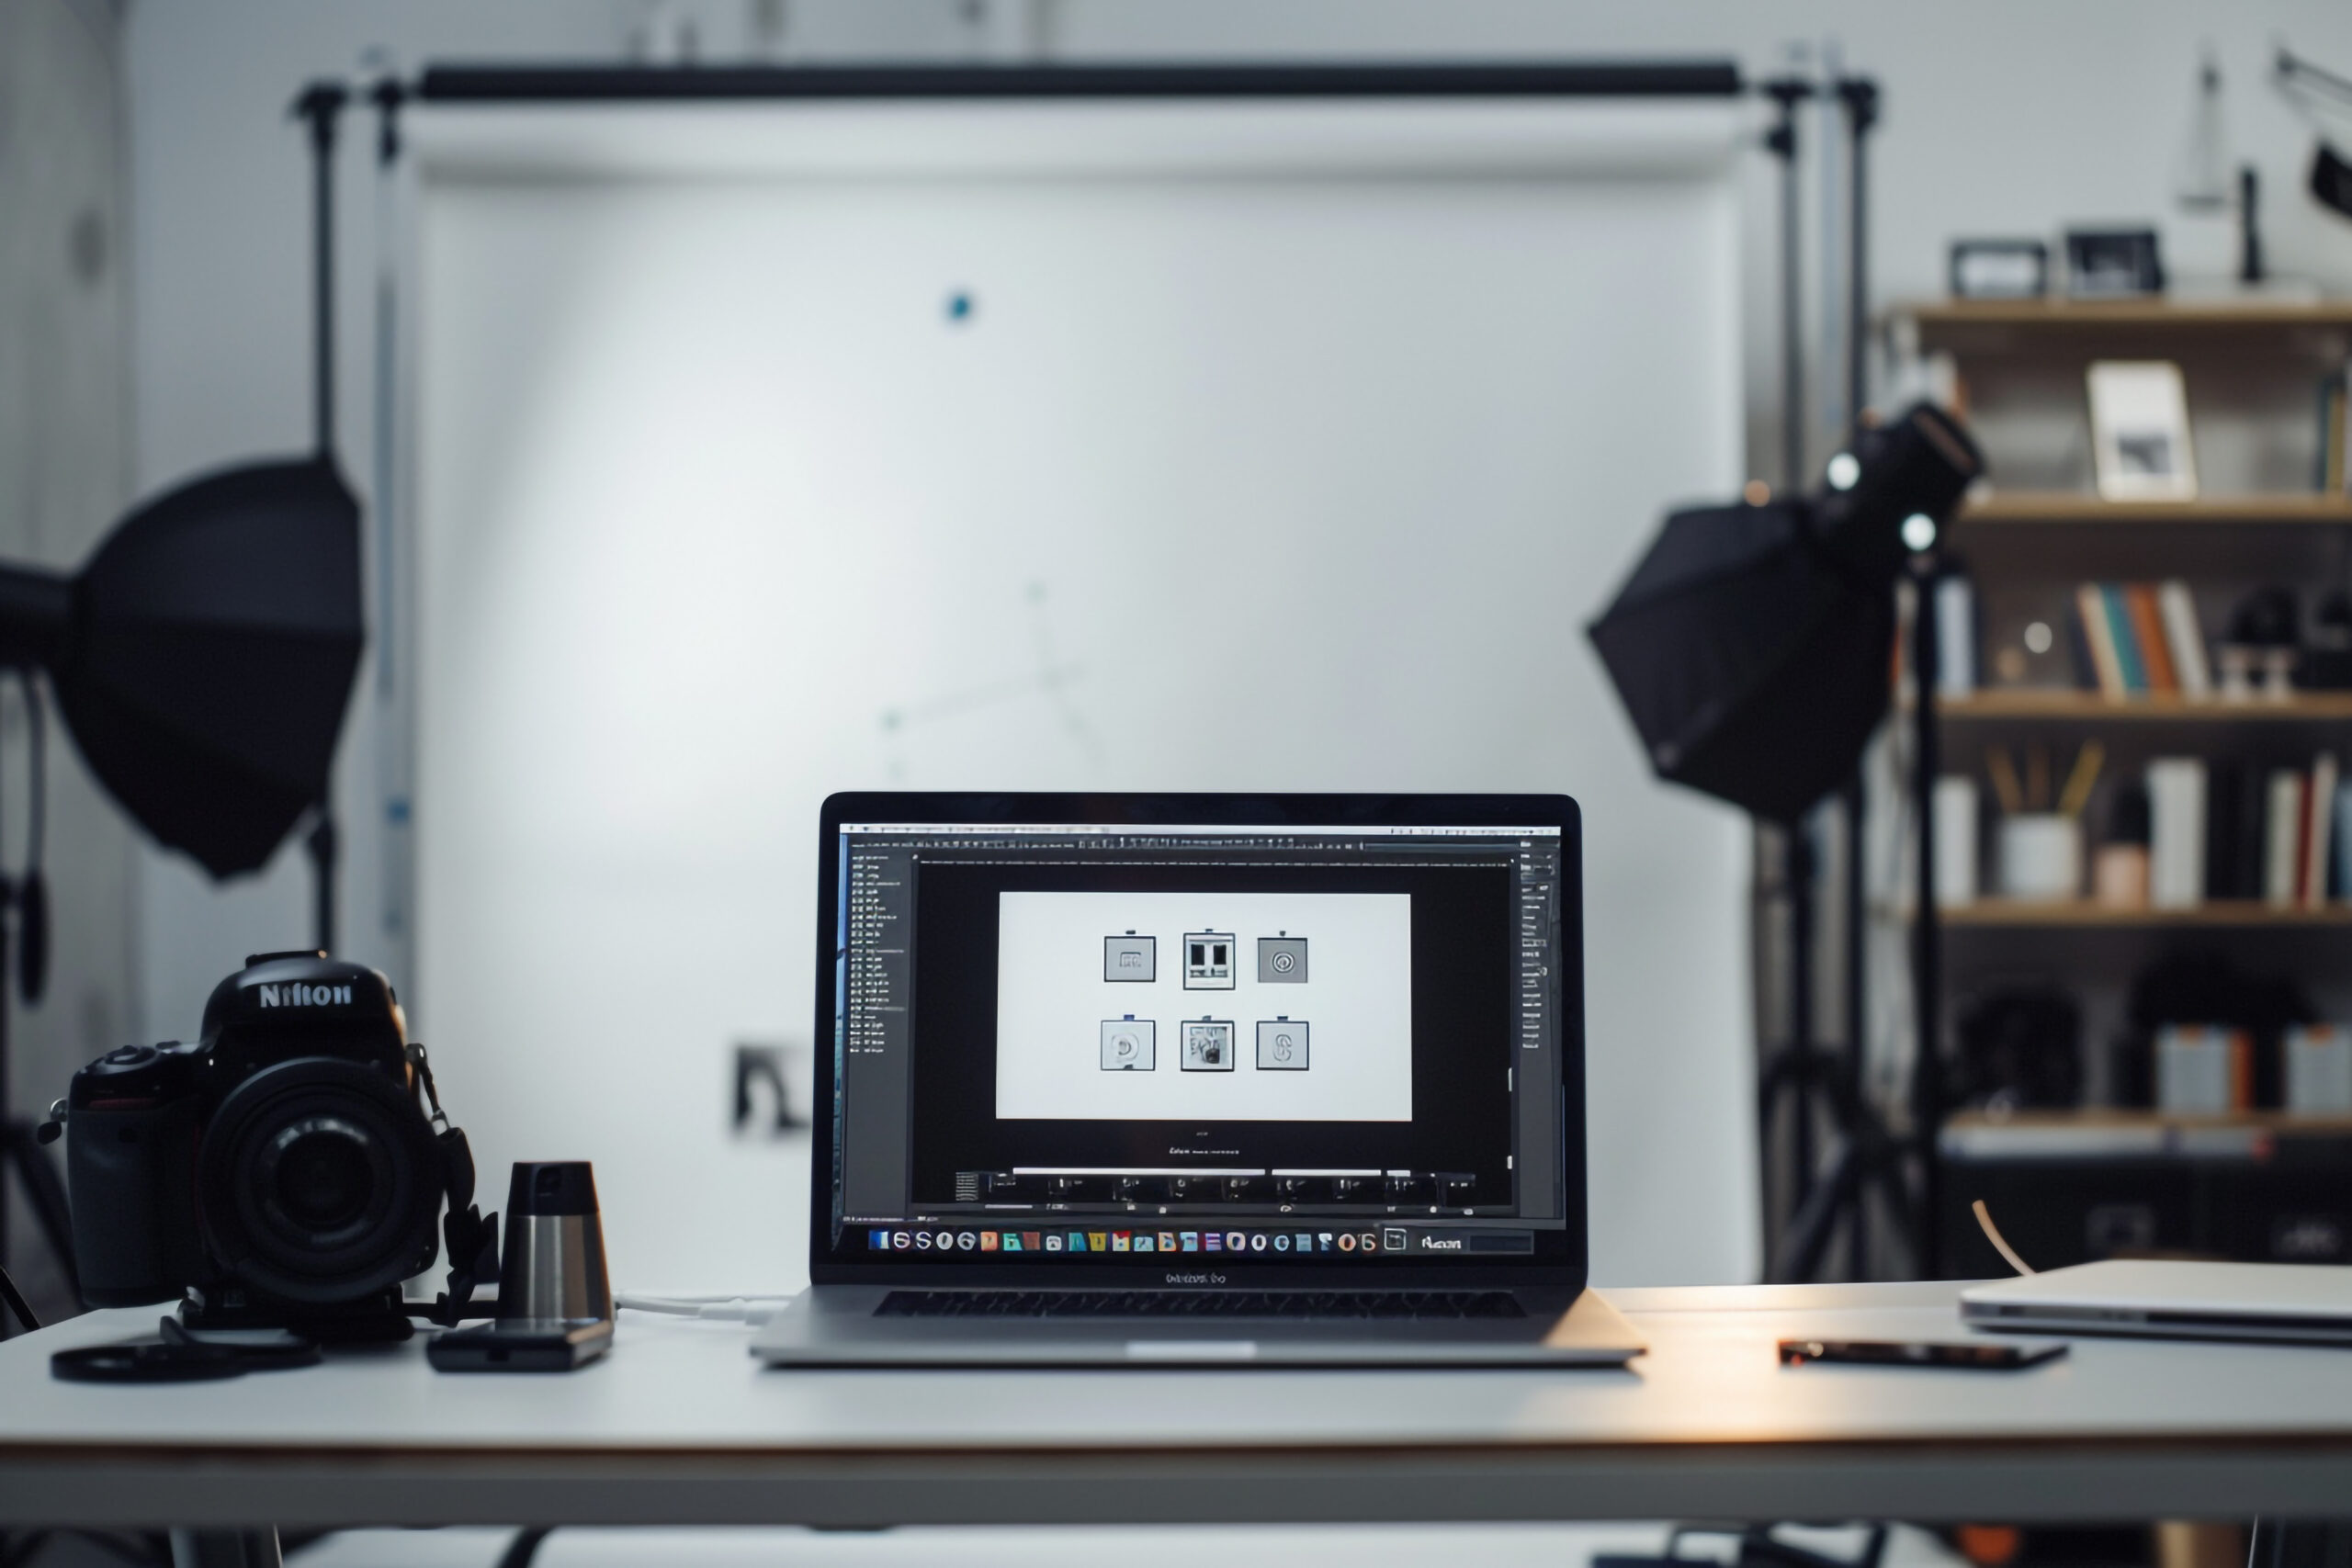
Step 2: Choose the Right Embroidery Digitizing Software
To digitize your logo for embroidery, you’ll need professional software like:
- Wilcom Embroidery Studio
- Embird
- Hatch
- Brother PE-Design
- Pulse DG/ML Tajima
These tools allow you to control stitch type, angle, and density. Beginners might find them complex at first, so tutorials or demo versions can help you practice.
Step 3: Import and Trace Your Logo
Once you open the logo in your chosen software, use the trace tool to outline shapes, borders, and color areas.
Remember — software won’t automatically understand your design; you’ll guide it manually by marking key zones carefully.
Step 4: Assign Stitch Types
After tracing, assign suitable stitch types to each area:
Satin Stitch: Great for text and outlines.
Fill Stitch: Perfect for solid color blocks.
Run Stitch: Ideal for thin lines and fine details.
Each stitch type affects the final texture and look, so choose based on your fabric type and design complexity.
Step 5: Adjust Stitch Direction and Density
Next, adjust the stitch direction — the angle at which stitches run — to create depth and texture. Also, fine-tune the stitch density, which controls how tightly threads are packed.
Too dense can cause puckering; too loose can leave gaps. The right balance ensures clean embroidery and prevents thread breakage.
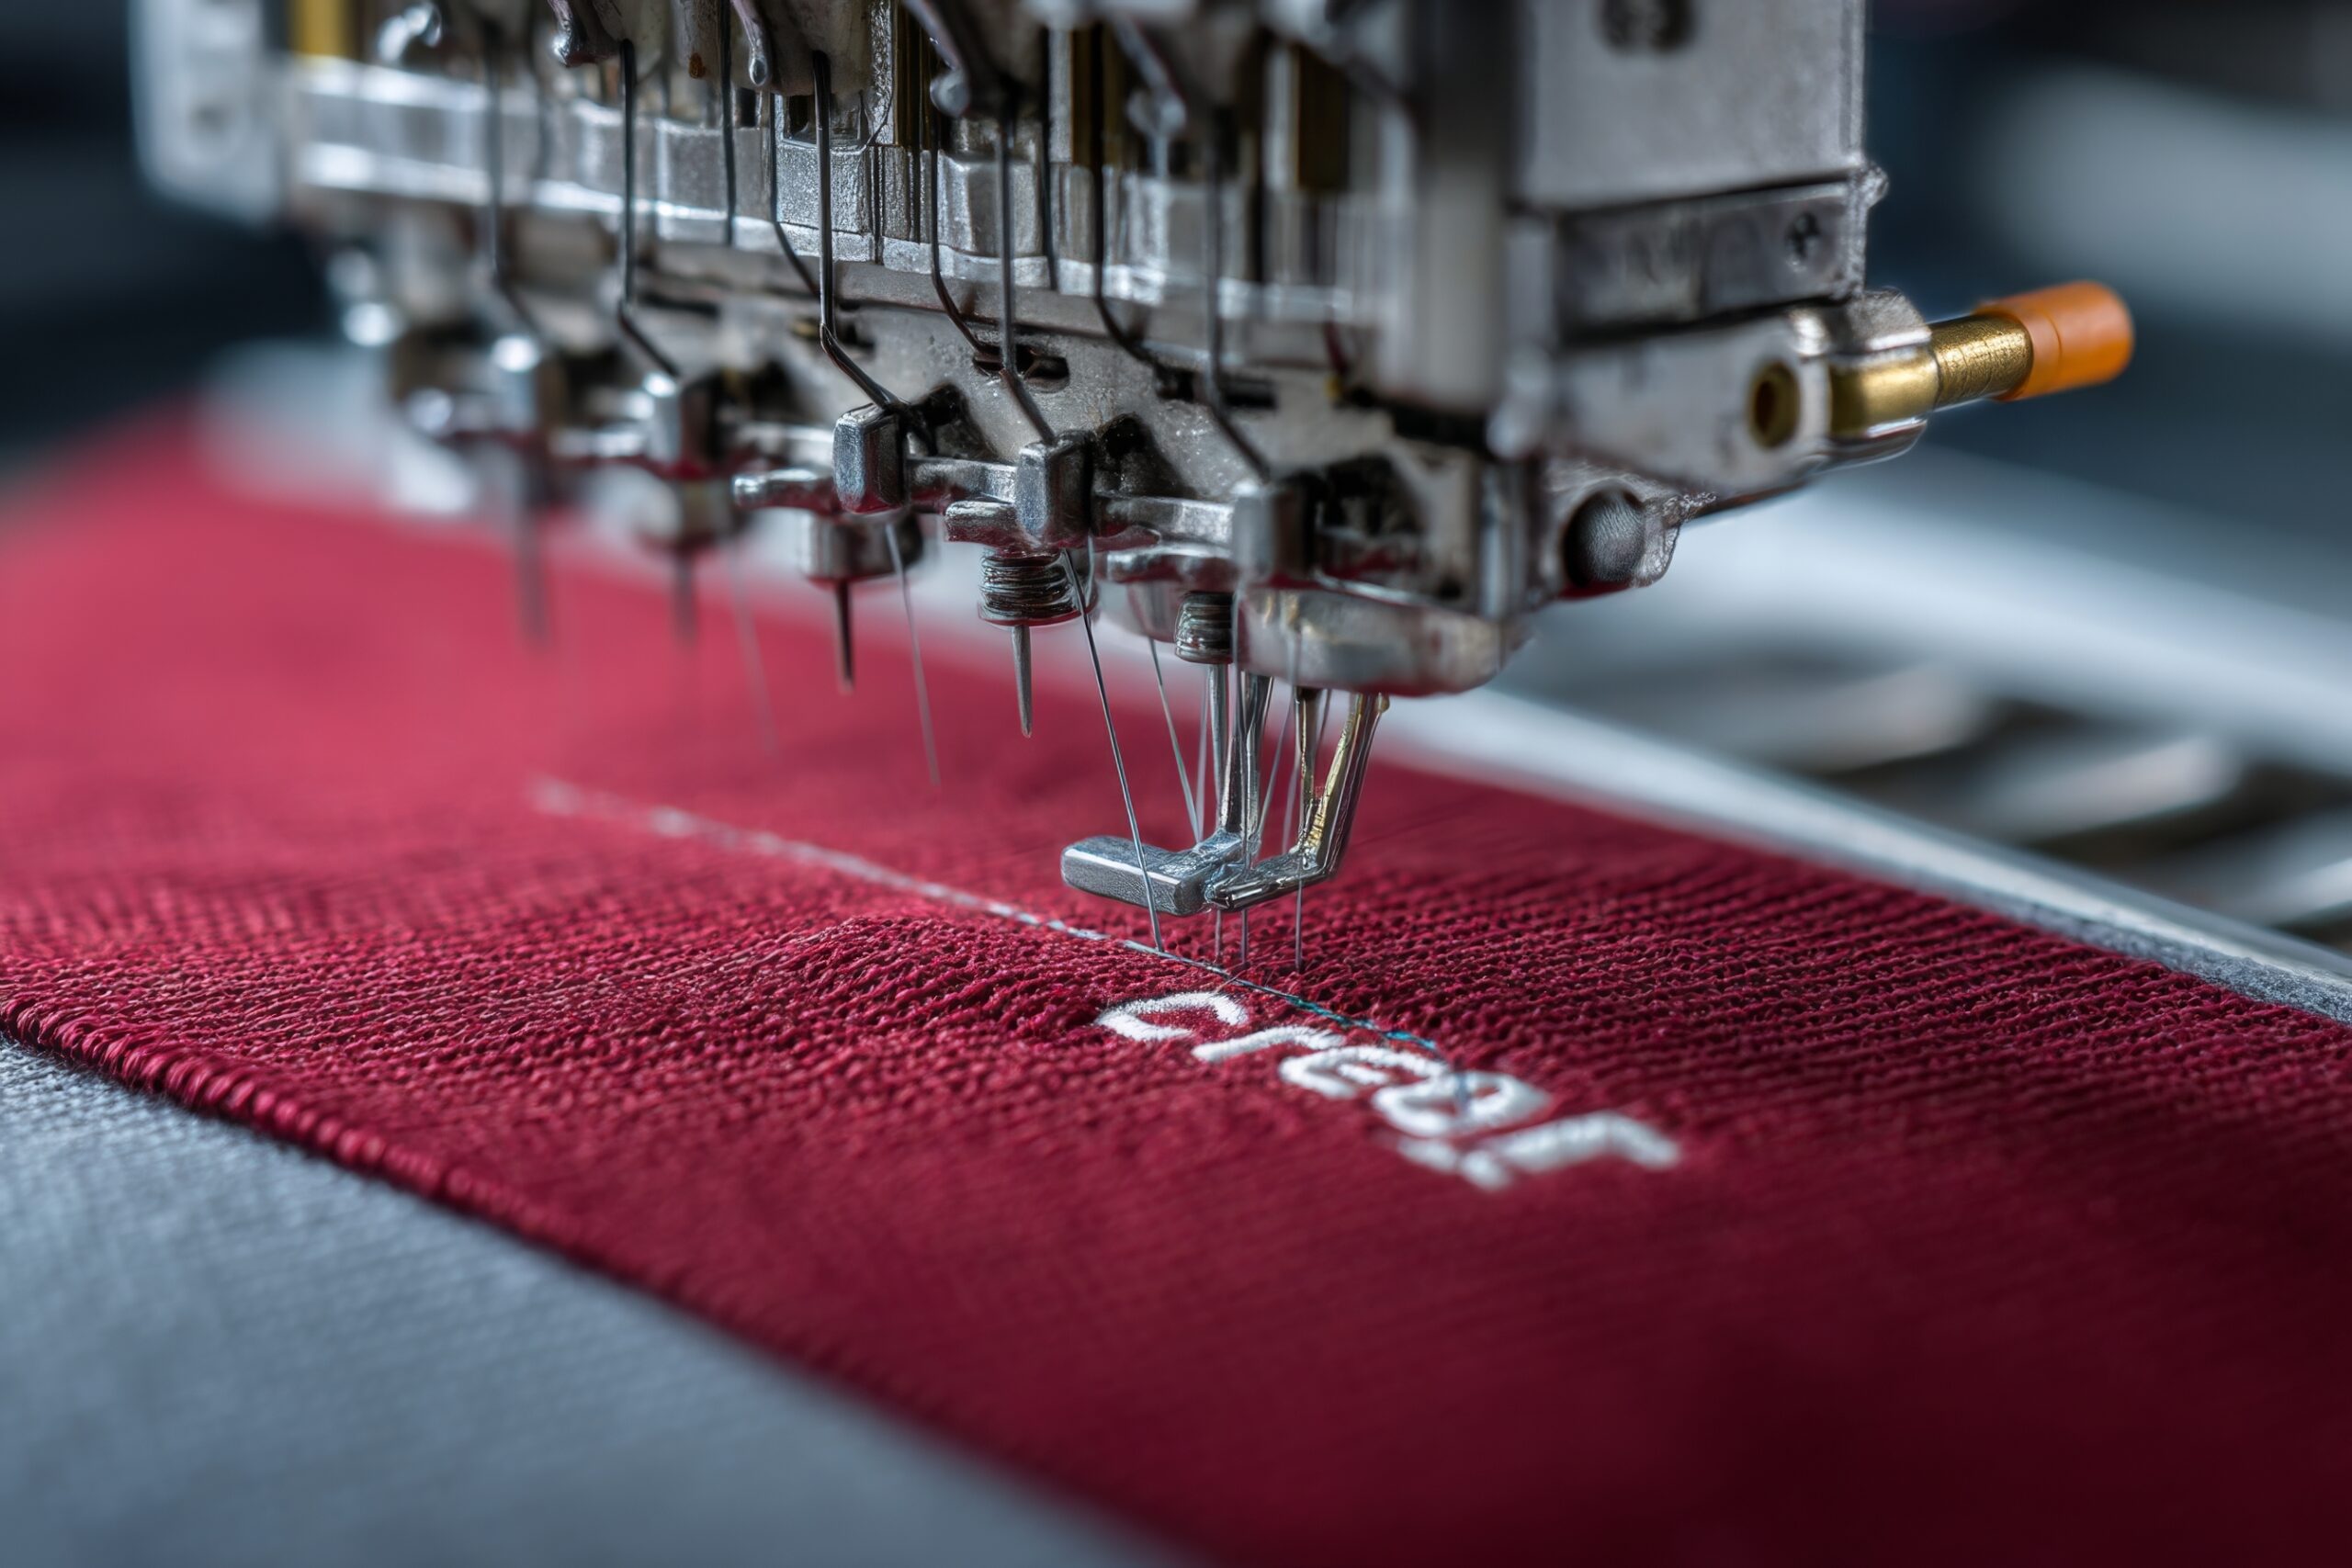
Step 6: Add Underlay Stitches
Underlay stitches form the foundation of embroidery. They stabilize the fabric and provide a base for top stitches.
Most designs use edge-run or zigzag underlay stitches, depending on the fabric’s stretch. Skipping this step may cause distortion, especially on soft fabrics like fleece or cotton.
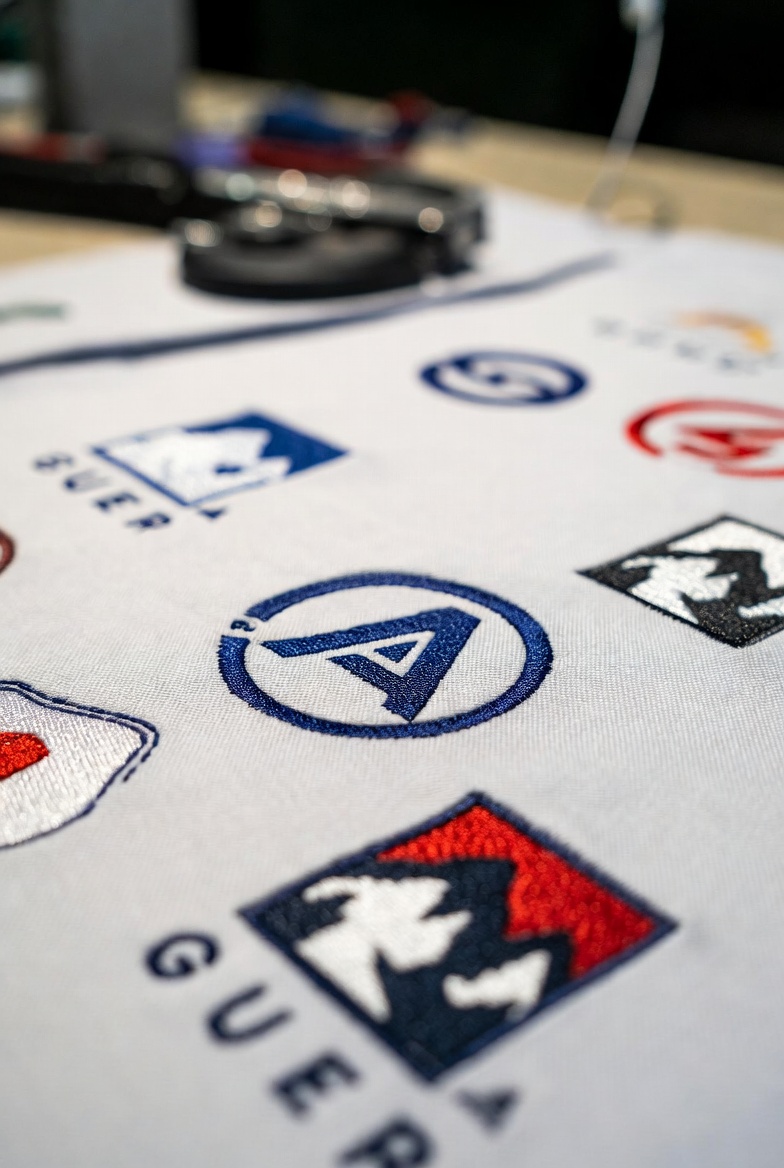
Step 7: Choose the Right Colors and Threads
Your embroidery software lets you match thread colors to your brand. Use standard color charts (like Madeira or Isacord) to maintain consistency across machines and projects.
Choosing the right thread shades ensures that your logo digitized for embroidery reflects your brand identity perfectly.
Step 8: Save and Export the Embroidery File
After completing all adjustments, save your design in the proper machine format:
.DST – Tajima machines
.PES – Brother machines
.EXP – Melco machines
.JEF – Janome machines
Always double-check your machine’s required format before saving.
Step 9: Test Your Design on Fabric
Before production, test-stitch your design on a similar piece of fabric. This lets you spot and fix any issues with alignment, density, or tension before finalizing.
Professional digitizers always test designs to ensure the highest quality before production.
Why Use a Professional Logo Digitizing Service in USA
While it’s possible to learn how to digitize logo for embroidery yourself, mastering it takes time and technical skill.
Many businesses prefer hiring a Professional Logo Digitizing Service in USA for fast, accurate, and affordable results.
Professional digitizers understand fabric behavior, stitch flow, and machine compatibility — saving you time, money, and frustration. You’ll receive ready-to-use, high-quality embroidery files that meet commercial standards.
If you want your logo to look flawless in thread, outsourcing to professionals is a smart investment.
Common Mistakes to Avoid When Digitizing a Logo
Ignoring fabric type: Each fabric reacts differently; always adjust your settings.
Using too much stitch density: Causes puckering and thread breaks.
Including tiny details: Small text and thin lines can disappear.
Skipping test runs: Always test before final stitching to catch any issues early.
FAQs
1. Can I digitize my logo without professional software?
Technically yes, but simple image converters won’t produce true stitch patterns. You’ll still need professional embroidery software or a Professional Logo Digitizing Service in USA for best results.
2. How long does it take to digitize a logo for embroidery?
Simple logos may take just a few hours, while complex ones can take up to 24 hours. Professional services usually provide quick turnarounds.
3. How much does professional logo digitizing cost?
Pricing depends on complexity and stitch count. On average, a Professional Logo Digitizing Service in USA charges between $10 and $40 per design — a worthy investment for precision and quality.
Final Thoughts
Learning how to digitize logo for embroidery gives you control over how your designs appear on apparel and accessories. Whether you do it yourself or hire experts, the goal remains the same — achieving smooth, detailed, and long-lasting embroidery that elevates your brand.
Digitizing isn’t just a technical step — it’s an art that transforms your vision into something tangible and lasting.
For high-quality results and flawless stitching, trust Professional Logo Digitizing Services in USA like Rise Digitizing. We specialize in creating logos digitized for embroidery that align perfectly with your brand and machine requirements.
At Rise Digitizing, we help designers and businesses bring their logos to life with expert embroidery digitizing and vector art conversion services, crafted with precision, creativity, and care.