Sometimes, the finest designs must be removed. Perhaps the embroidery did not turn out exactly as you had hoped, or May you’re looking to revamp an outdated design or reuse the fabric. Whatever the reason, knowing the best ways to get rid of the embroidery stitches safely can allow you to reuse and improve your clothing without damaging the fabric.
So, the question is “How to Remove Embroidery Stitching?“
What’s the good news? There’s no need to be an expert tailor to get it right. With just a couple of tools, an ounce of patience, along with some helpful tricks, you’ll be able to remove embroidery stitching neatly and safely.
Why You Might Need to Remove Embroidery
Before we get into the procedure, let’s take a look at some of the most common reasons why people want or need to remove embroidery:
The design may be outdated or misspelled.
You’re looking to change your logo for your business or team’s name.
The stitches may be uneven or broken.
Fabrics are being reused to make a fresh project.
Whatever the case, removal of embroidery in the correct manner will preserve your fabric and allow you to create new, better designs. If you decide to redo your stitching, finding the best digitizing company in USA is the best way to ensure your next project looks professional and flawless.
What You’ll Need
It doesn’t require expensive equipment. All you need is some basic tools to help make the process easier and more secure.
Seam cutter (an indispensable tool for cutting threads)
Small scissors for embroidery
Tweezers
Lint rollers or fabric brushes
An even hand and good lighting
Step-by-Step: How to Remove Embroidery Stitching
Below is an easy guide you can use to get rid of embroidery without damaging the fabric.
Step 1: Turn the Fabric Inside Out
The first step is to flip your fabric upside down so the reverse of the embroidery is facing upwards. On the reverse, you will see the threads from the bobbin — these are typically easier to cut.
This protects the primary fabric surface and also provides an easier view of stitching patterns.
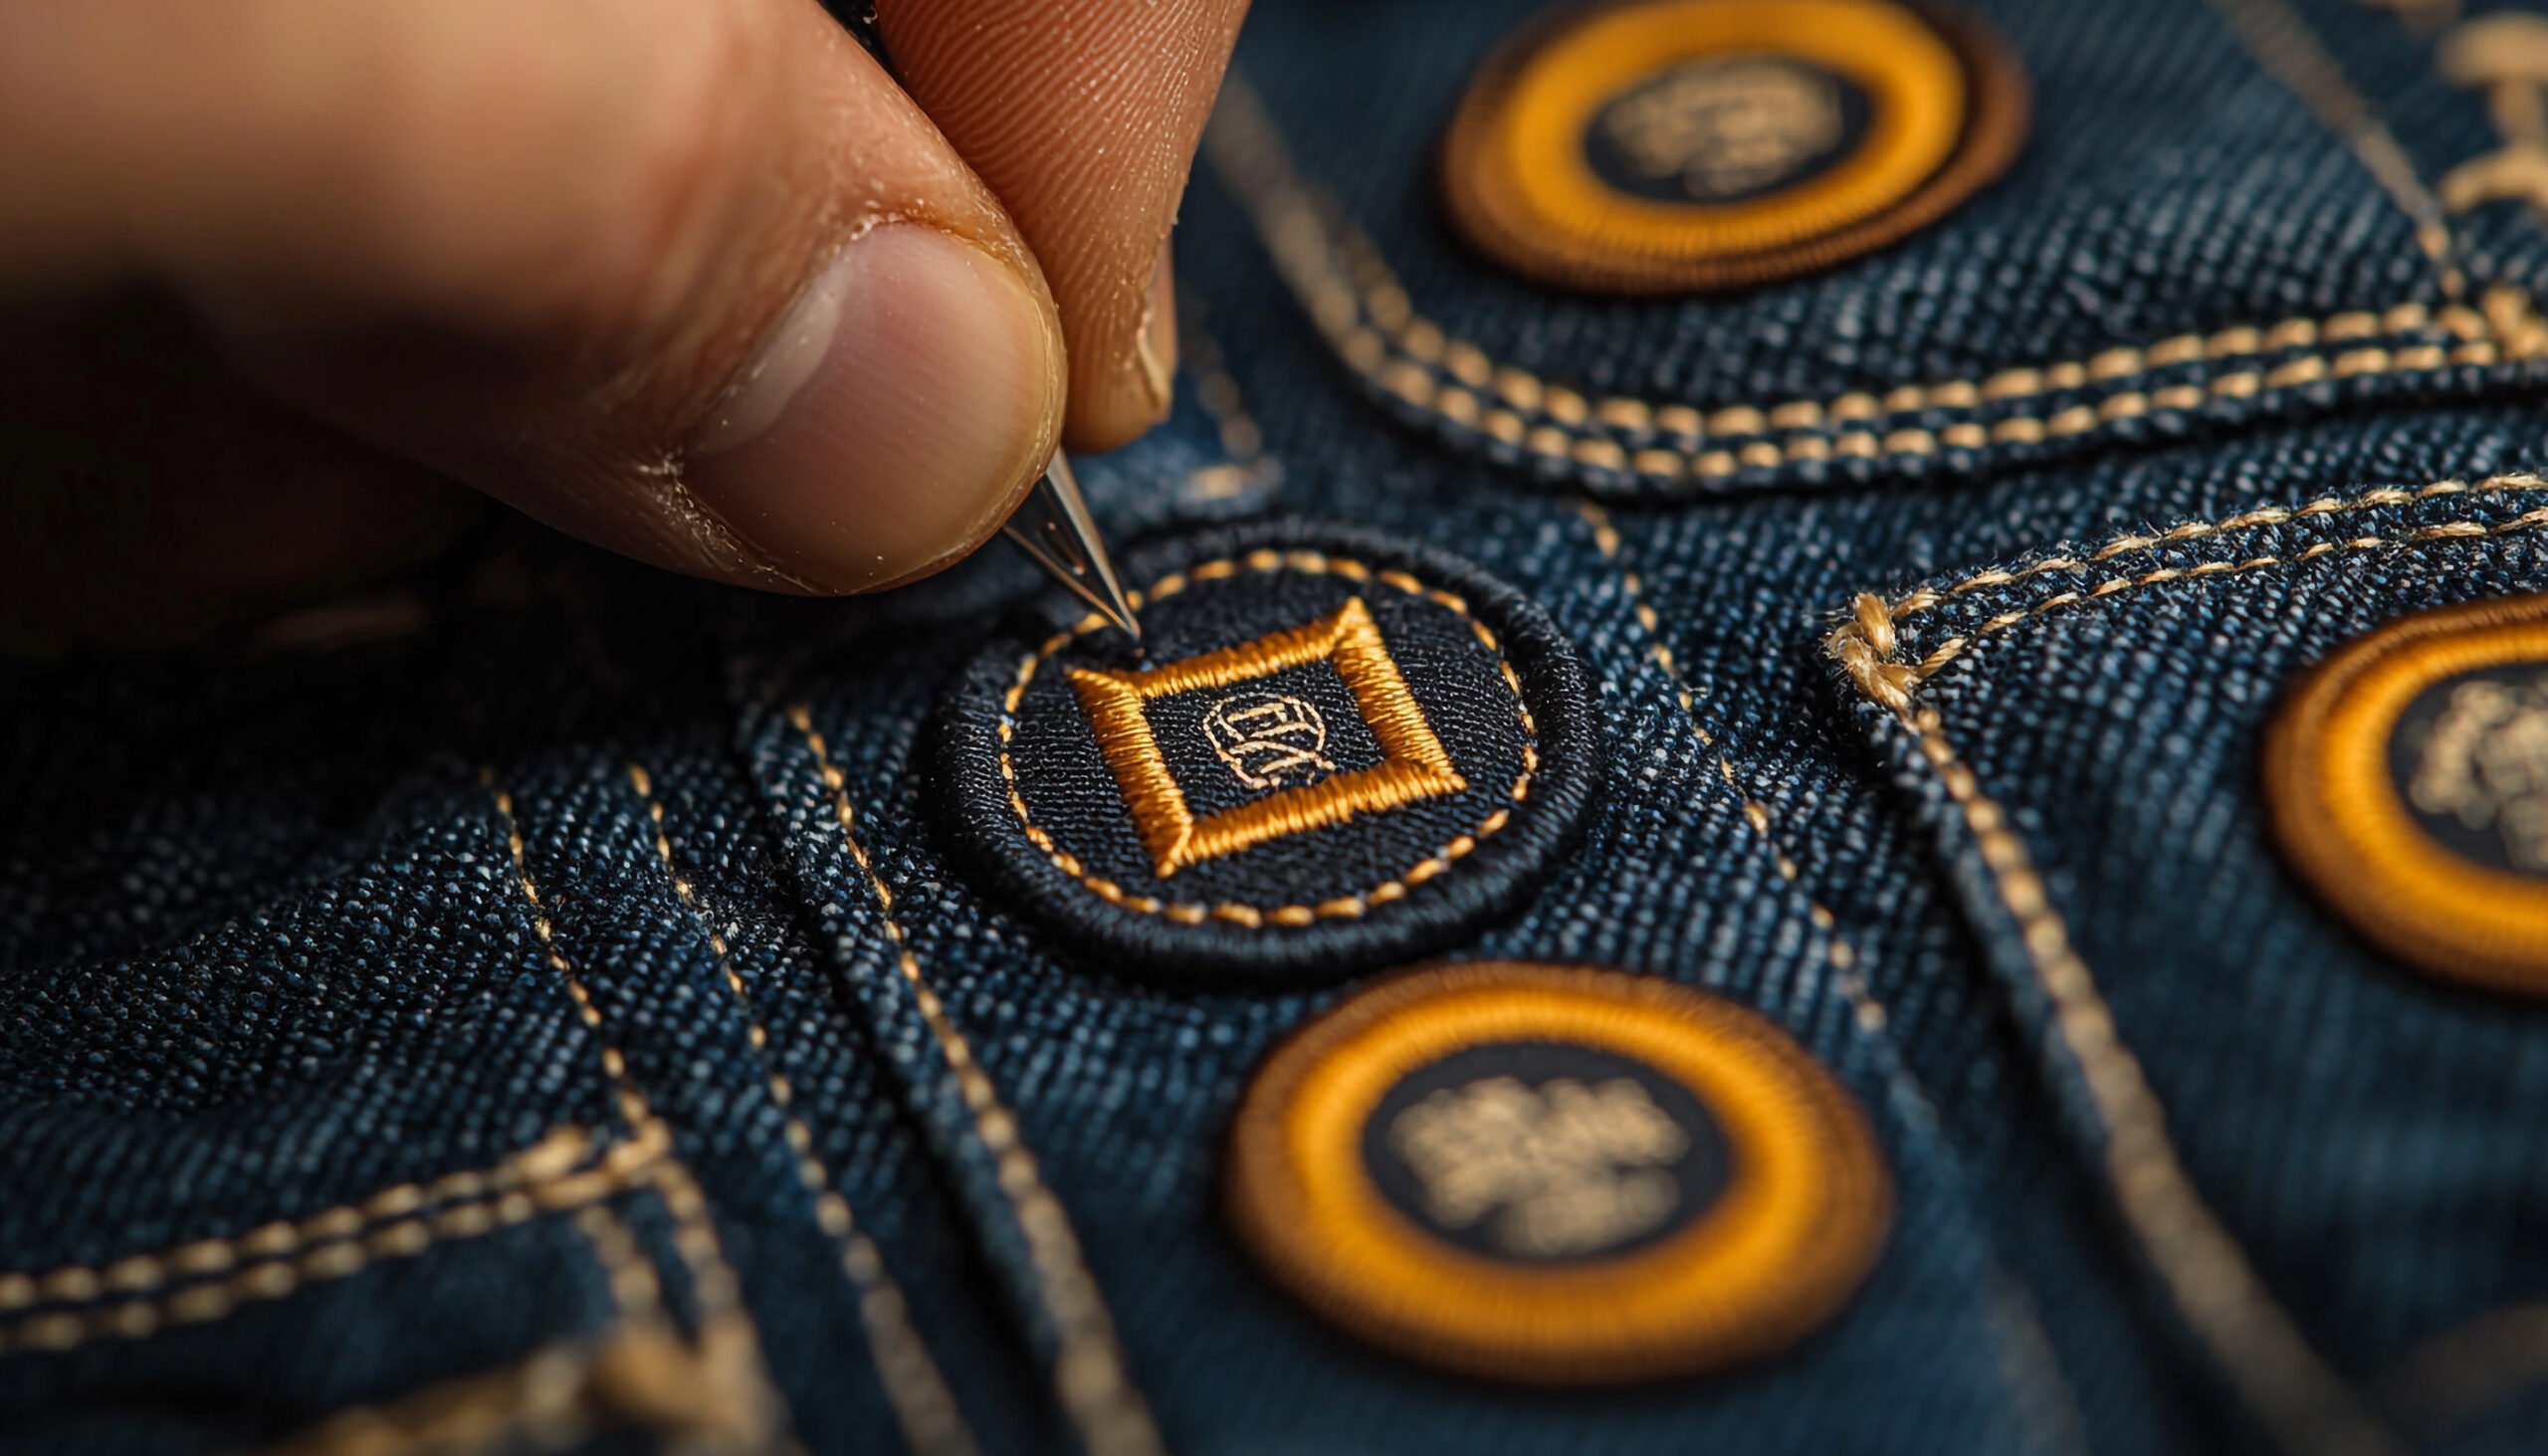
Step 2: Use a Seam Ripper to Cut Threads
Then gently slide the seam ripper underneath those stitches at the back. Take care to pull the threads up and tear the bobbin threads in sequence, one by one.
Pro Tip: Don’t rush. Cuts made too fast could tear the fabric or cause holes. Slow down and take the time to cut with precision.
Step 3: Pull Threads Loose by Using Tweezers
After you’ve made a few stitches, flip the fabric over on its side. You’ll see some loose threads lifting up. Use tweezers to take them off slowly.
Be careful not to pull hard. If a thread isn’t coming out, simply go back and trim a couple more from the rear.
Step 4: Repeat Until All Stitches Are Removed
Continue to pull and cut threads one section at a time. If you are working on large designs, do it in smaller areas rather than trying to do everything in one go.
It could take a while, but this process guarantees that the fabric stays clean and unaffected.
Step 5: Clean Up the Area
Once you’ve taken out all of the stitches, apply the lint roller or soft brush to get rid of the thread remnants.
It’s also possible to use a little steam produced by an iron to loosen the fibers and help restore the material’s texture.
Step 6: Fix Minor Fabric Damage (Optional)
Sometimes, the removal of embroidery might create small holes or marks. Here’s what you can do to fix it:
Denim or cotton: Lightly steam and rub the fabric using your fingertips to seal the fibers.
For delicate fabrics (like silk): Lay a wet cloth on top, then press it with a warm iron.
For thicker fabrics: Use a fabric shaver to smooth away rough patches.
Tips to Avoid Fabric Damage
Do not pull stitching with force. Always cut first, then pull.
Do not use blunt scissors or razor blades as they may tear fabric.
Make sure you work on a smooth, well-lit, flat area.
Stretch your fabric (you may use an embroidery hoop to help keep it upright).
If you’re careful, you’ll ensure that your fabric stays intact and ready for the next embroidery task.
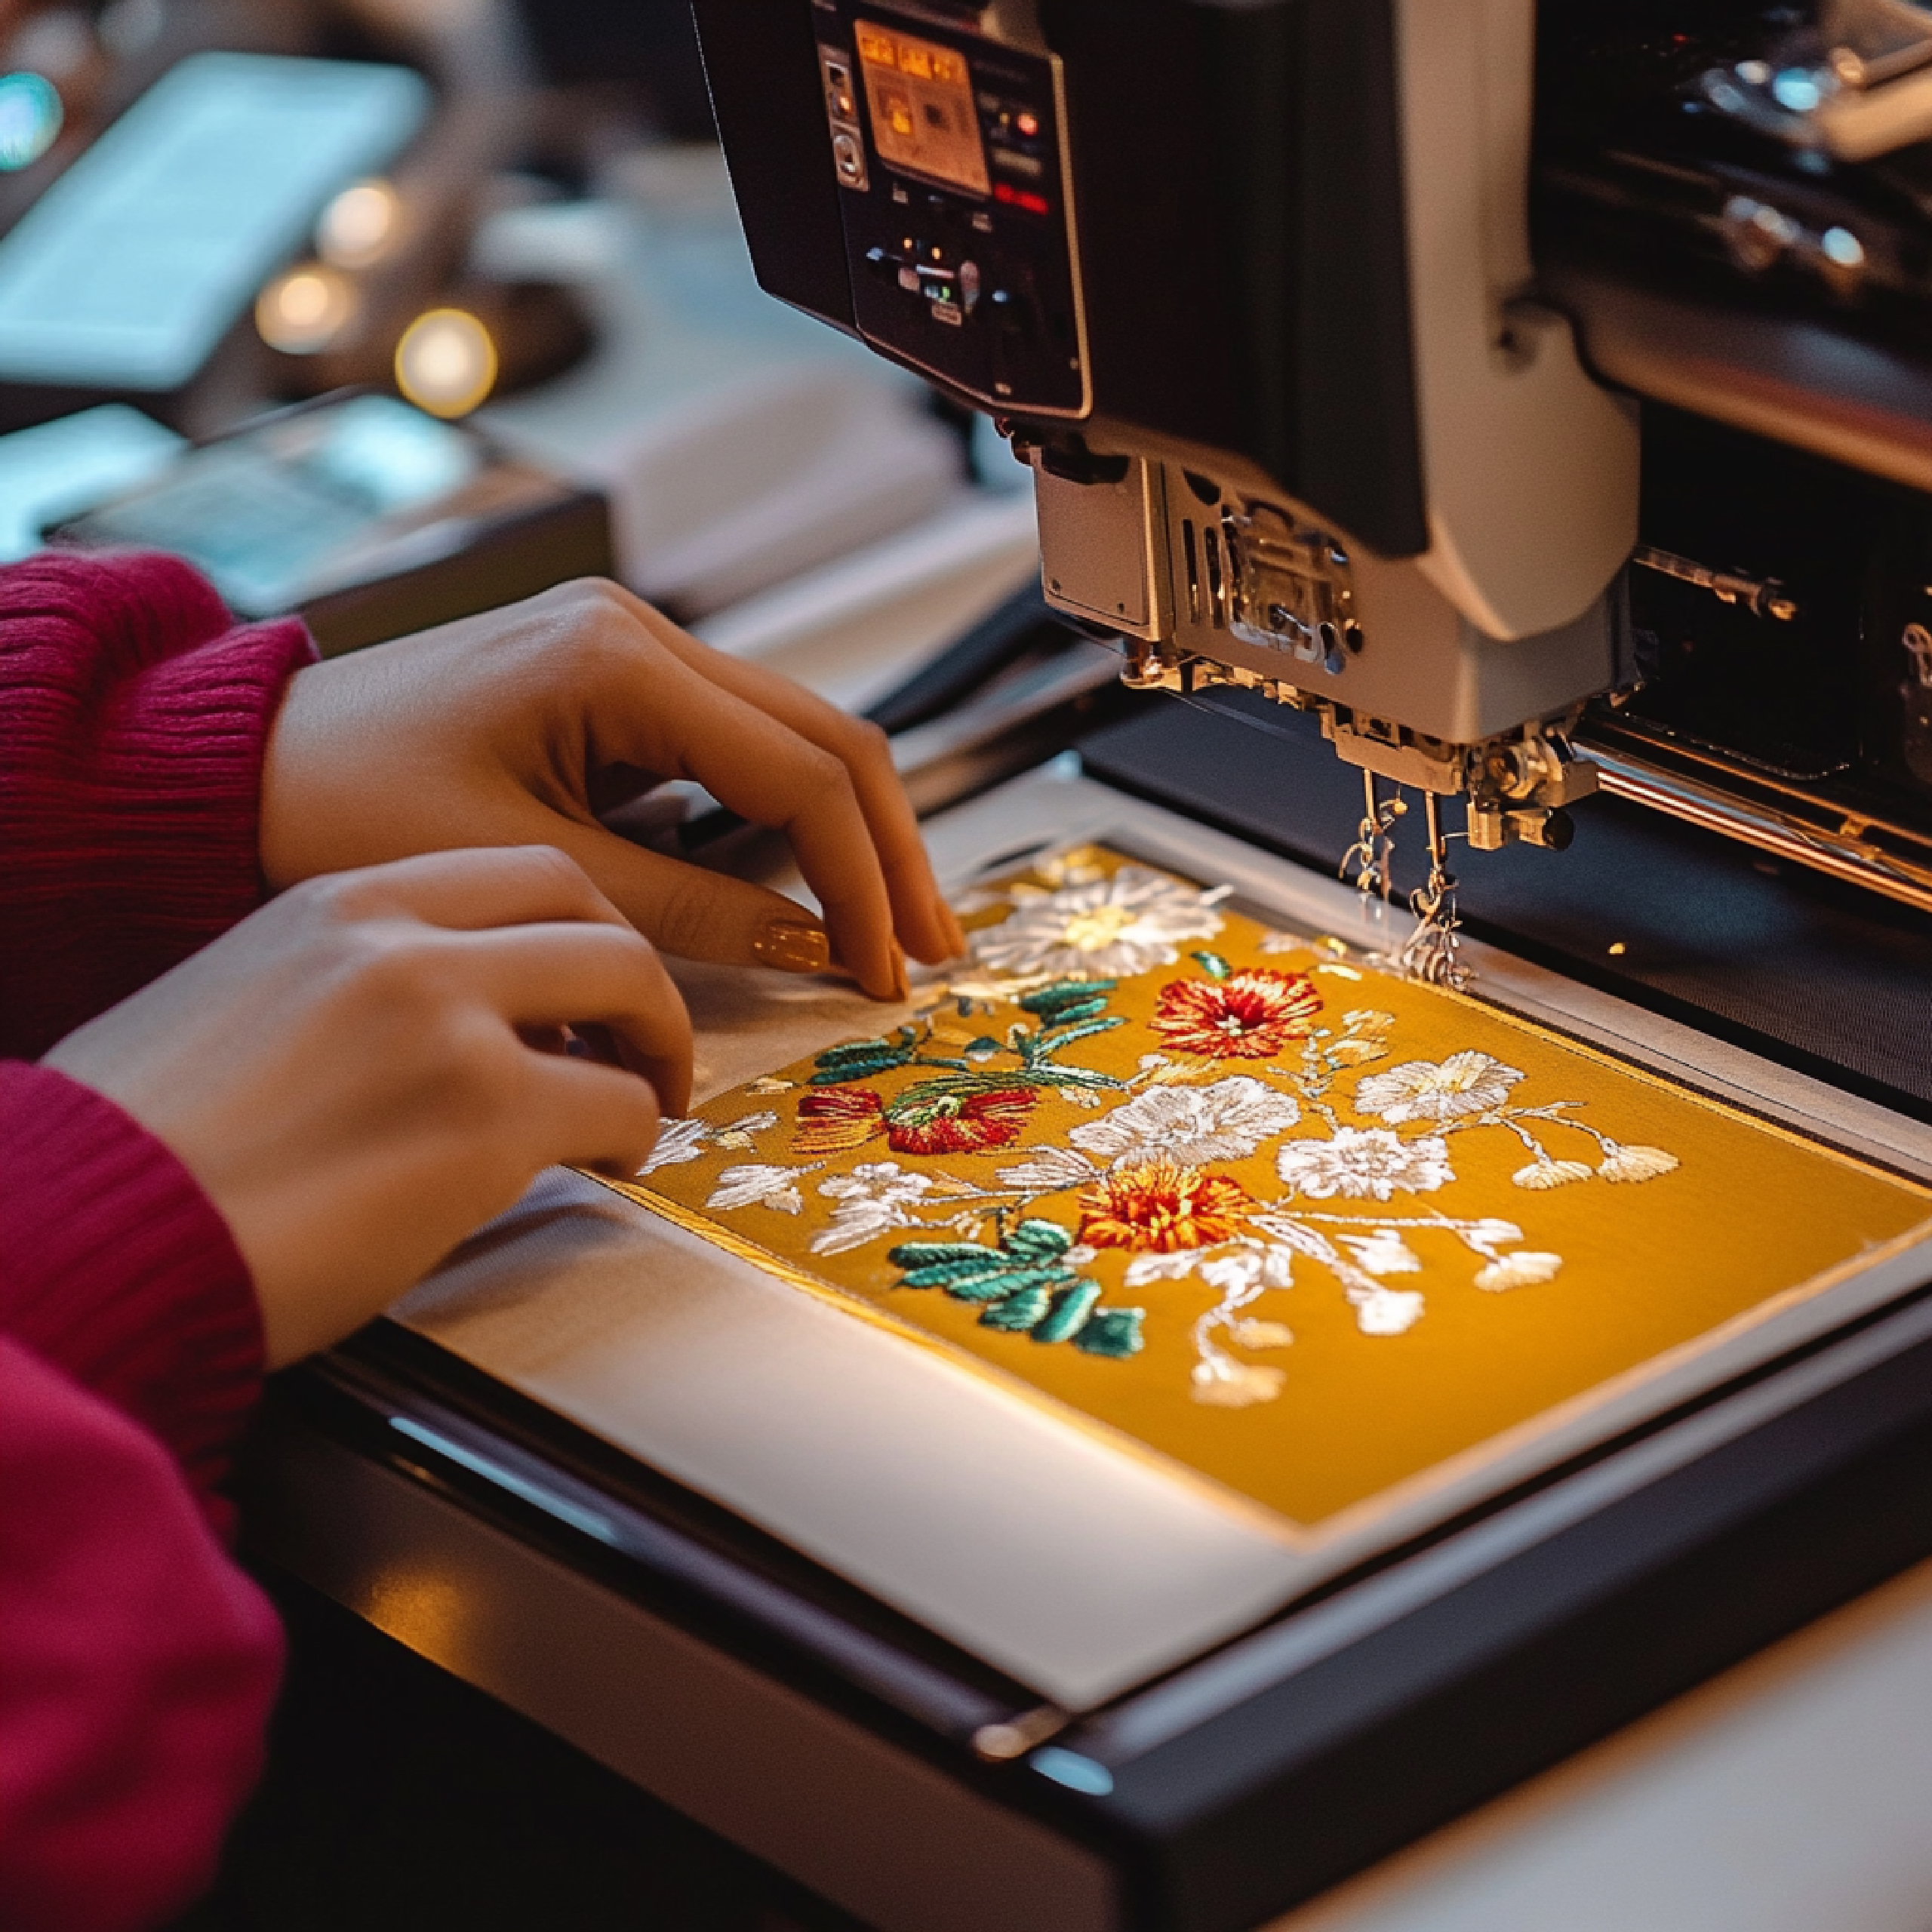
Re-Stitching After Removal
After your fabric has been cleaned and made silky smooth, it’s time to consider your next idea. If the last one did not go as planned, it’s fine — it happens!
The next step is working with experts to help you create your ideal design. This is where the best digitizing company in USA comes in. Skilled digitizing services can convert your logo or design into an exquisite stitch file that appears crisp, clear, and professional on any fabric.
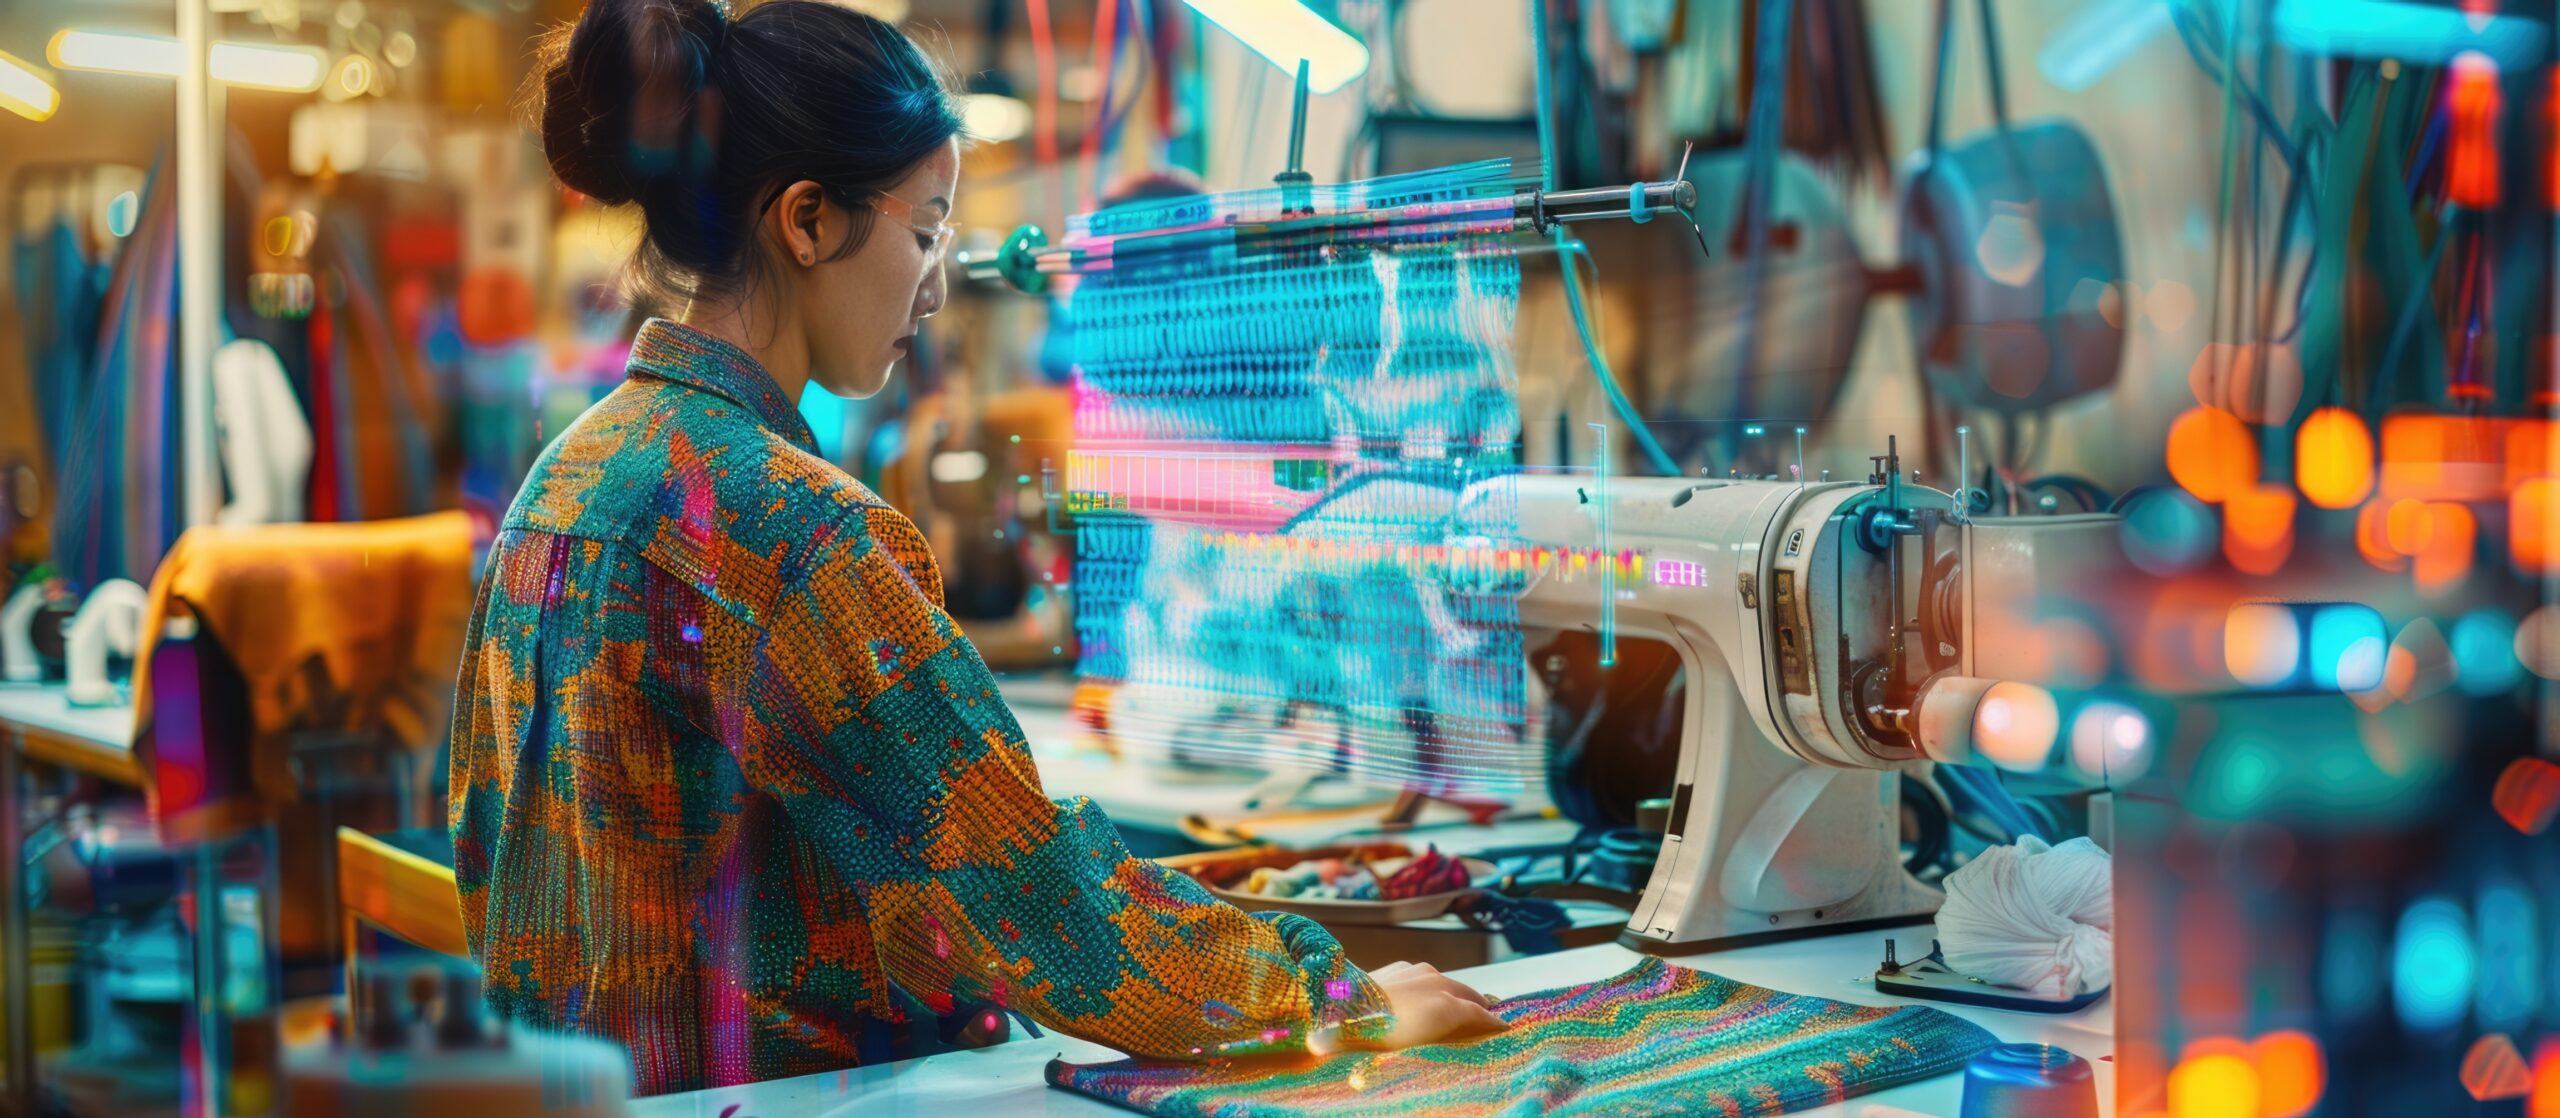
Rise Digitizing is a trusted name that helps individuals, businesses, and brands bring their embroidery dreams to life using accuracy and precision. If you’re looking to update your existing designs or create a new one, you can be sure that the embroidery will be flawless.
FAQs
1. Do I have the ability to remove embroidery from any kind of fabric?
Most of the time, yes. However, fragile fabrics such as silk or chiffon require more attention. Make sure to test a corner first and use the gentlest tools you can.
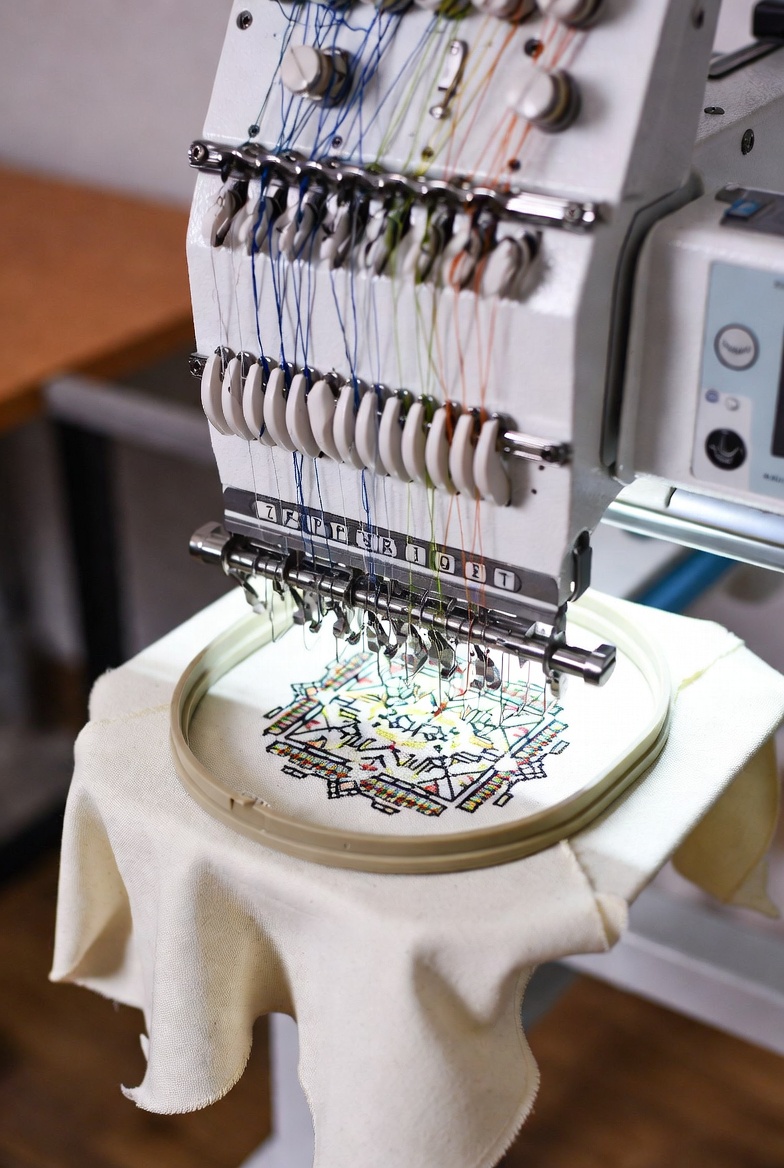
2. What’s the most efficient method to take off machine embroidery?
Machine embroidery is best done from the backside with a seam ripper or an electric stitch remover. Take your time and check both sides as you go. It’s all about patience!
3. Can I reuse the fabric after taking off embroidery?
Definitely! If the fabric hasn’t been stretched or torn, you can reuse it to make other embroidery designs or sewing projects. Simply clean it up, press it, and you’re ready to reuse it.
Final Thoughts
Understanding the techniques to remove embroidery stitching is an important ability that will save you money and fabric. This is a lengthy process, but the end result is worthwhile — a clear, smooth surface ready for a fresh design.
At Rise Digitizing, high quality, precision, and innovation combine to give every design a fresh, flawless look every time.