Embroidered towels add a refined, personal touch to everyday essentials. Whether used in homes, spas, hotels, or given as gifts, a well-stitched embroidery towel reflects quality and craftsmanship. While many blogs explain basic stitching tips, this guide goes deeper by comparing common advice in the market and offering clearer, more practical methods to help you achieve long-lasting and professional results.
Unlike standard fabric embroidery, towels have a thick, looped surface (terry cloth), which creates unique challenges. If the technique isn’t right, stitches can sink into the fabric or look uneven. Mastering towel embroidery requires the right preparation, materials, and design approach.
Understanding the Fabric Before Stitching
Terry towels are made with raised loops that absorb water. These loops can interfere with stitch visibility. Many embroidery guides suggest simply increasing stitch density, but that can make the design stiff. A better method is to balance density with proper stabilizing techniques.
Key Preparation Steps:
- Pre-wash towels to prevent shrinkage after stitching
- Use a cut-away stabilizer for durability
- Add a water-soluble topping to prevent stitches from sinking
- Hoop tightly but avoid stretching the towel
Proper preparation ensures the embroidery towel looks clean and professional even after multiple washes.
Choosing the Right Design for Towels
Not all designs work well on thick fabrics. Large, bold fonts and simple shapes perform better than thin or highly detailed artwork. Many embroidery professionals recommend avoiding extremely small lettering on towels.
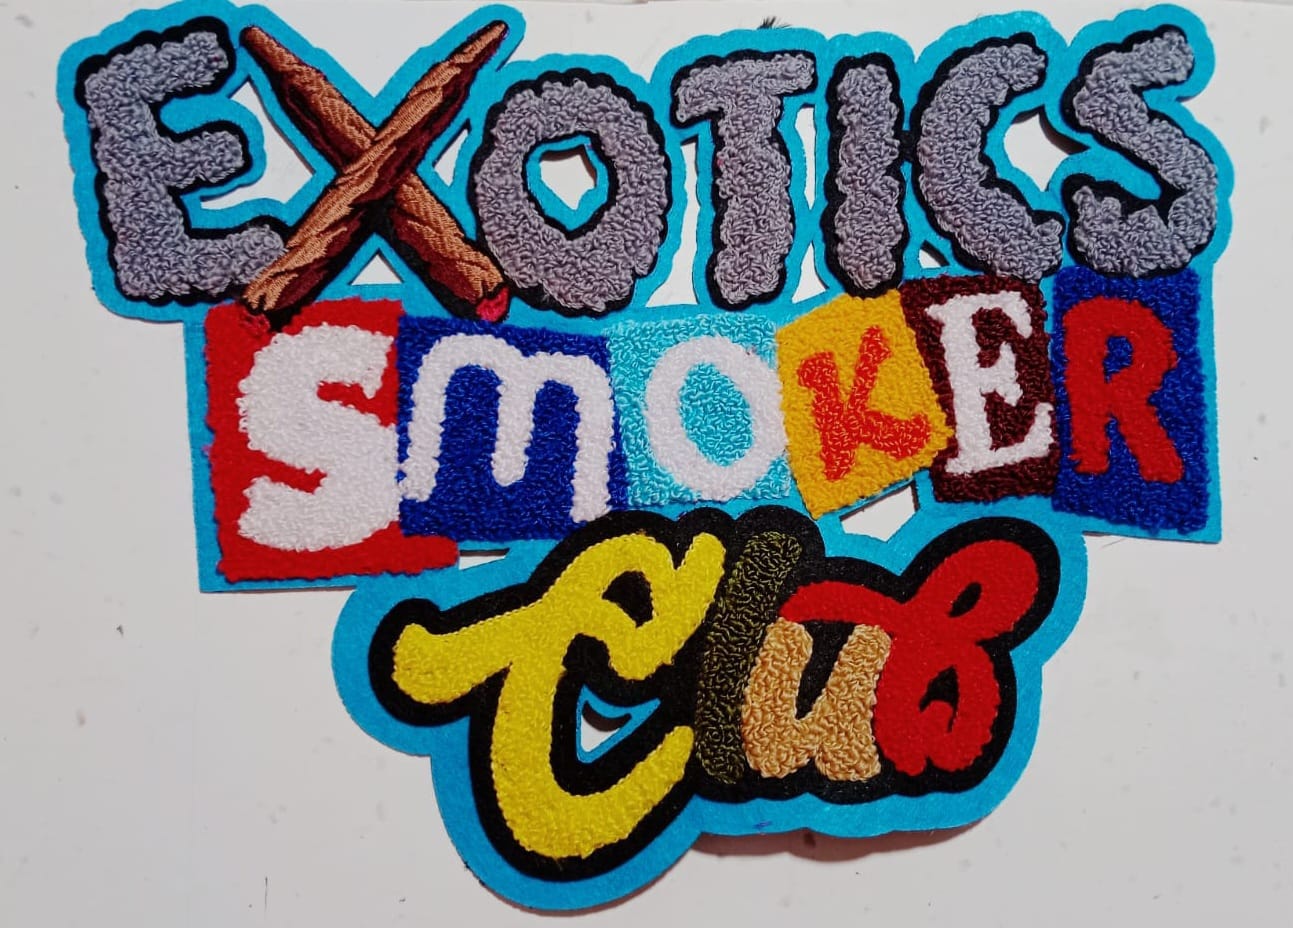
This is where embroidery towel patterns play an important role. Patterns specifically created for textured fabrics maintain clarity and definition.
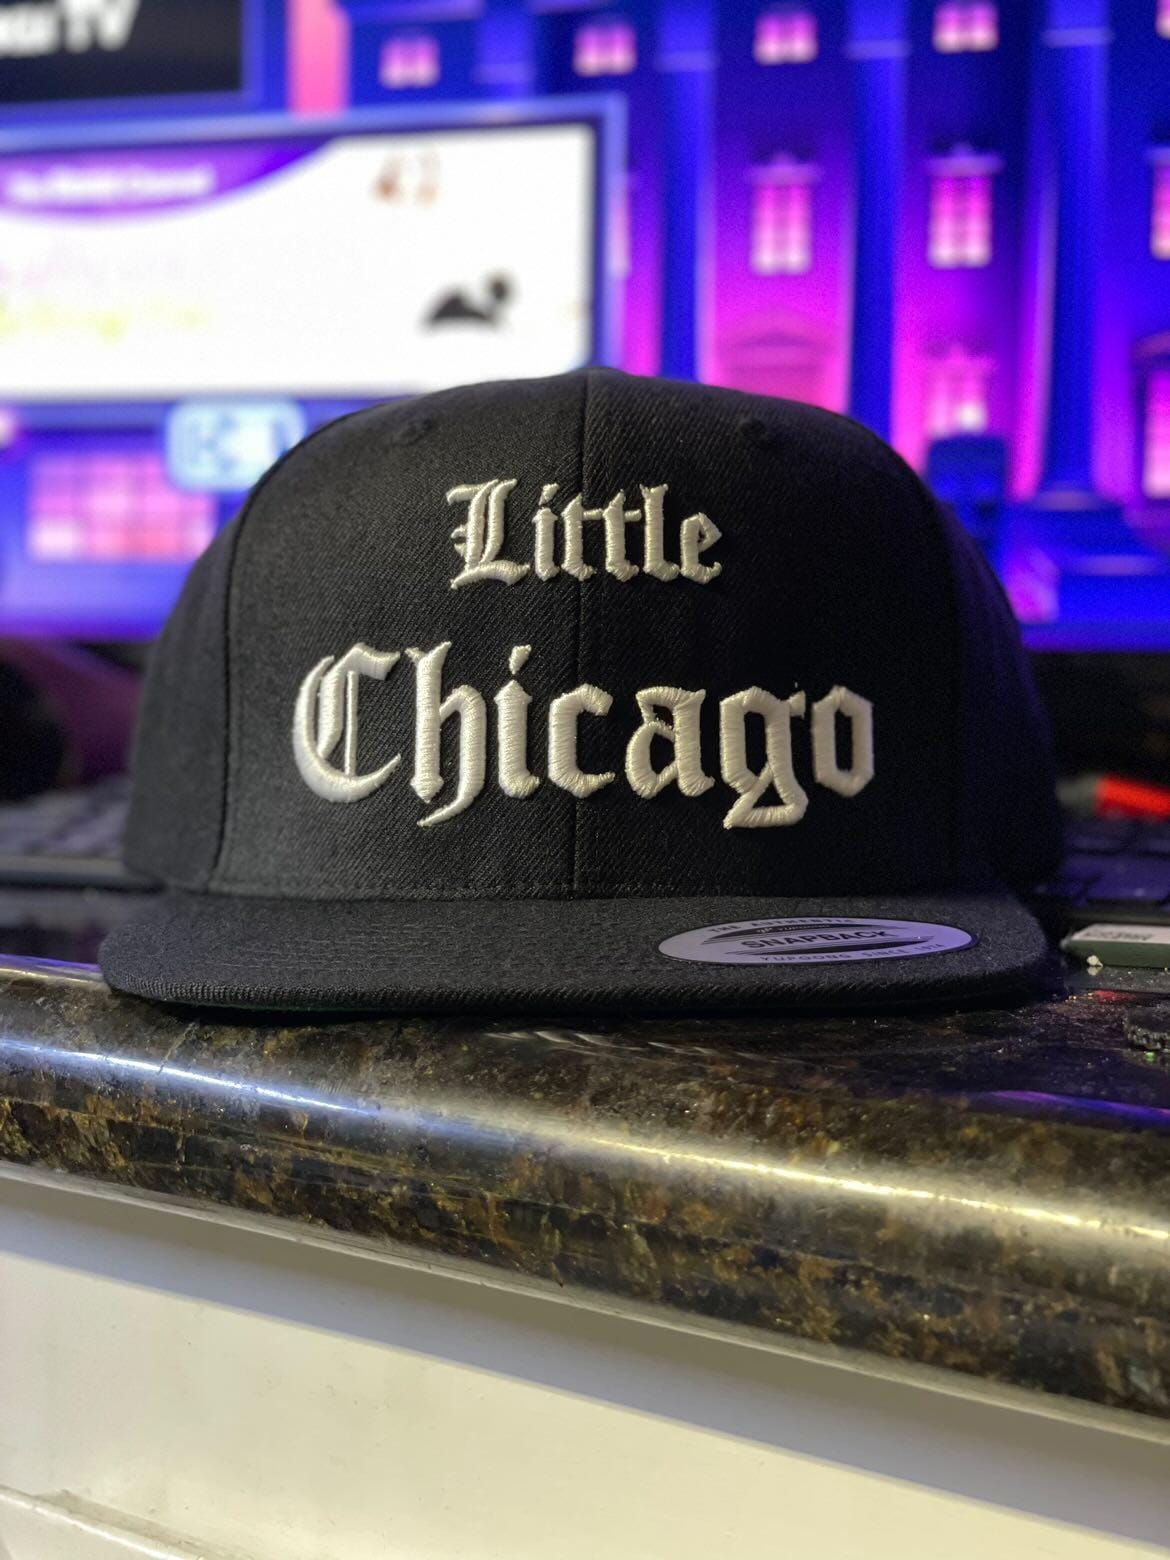
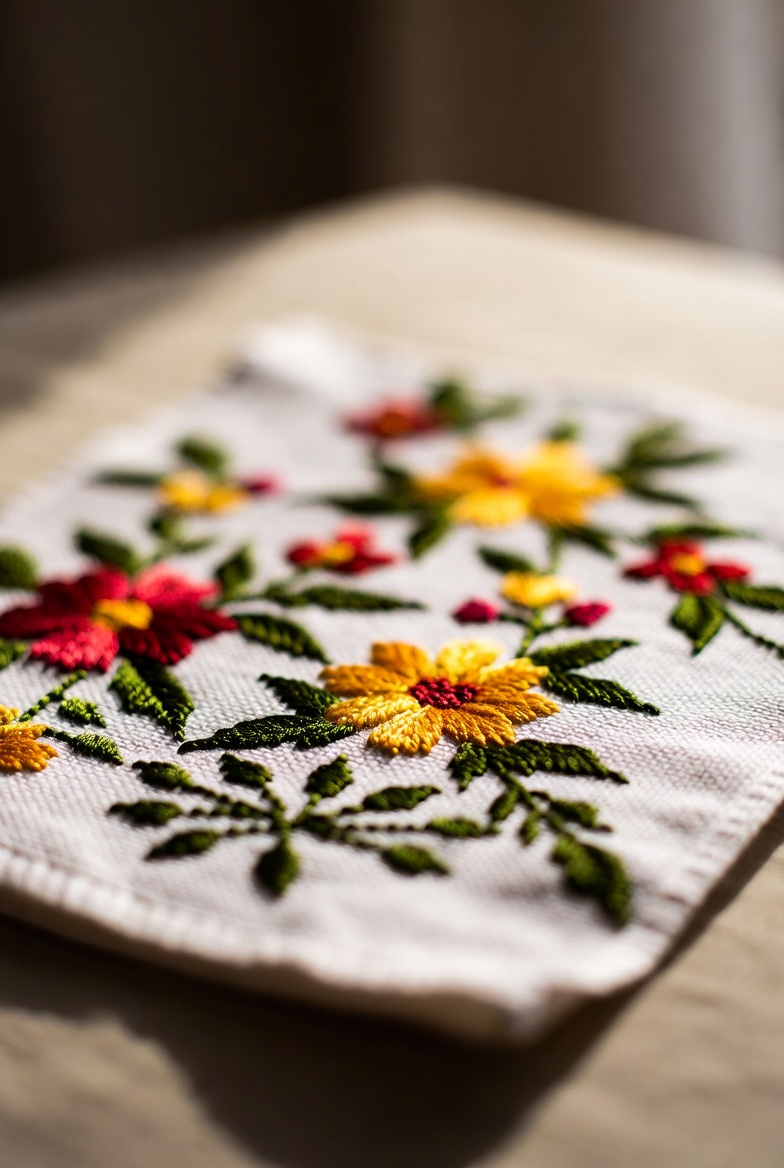
Best Design Types for Towels:
- Monograms
- Simple floral motifs
- Minimal logos
- Block lettering
- Decorative borders
Compared to generic embroidery blogs that focus heavily on artistic complexity, towel embroidery benefits from strategic simplicity.
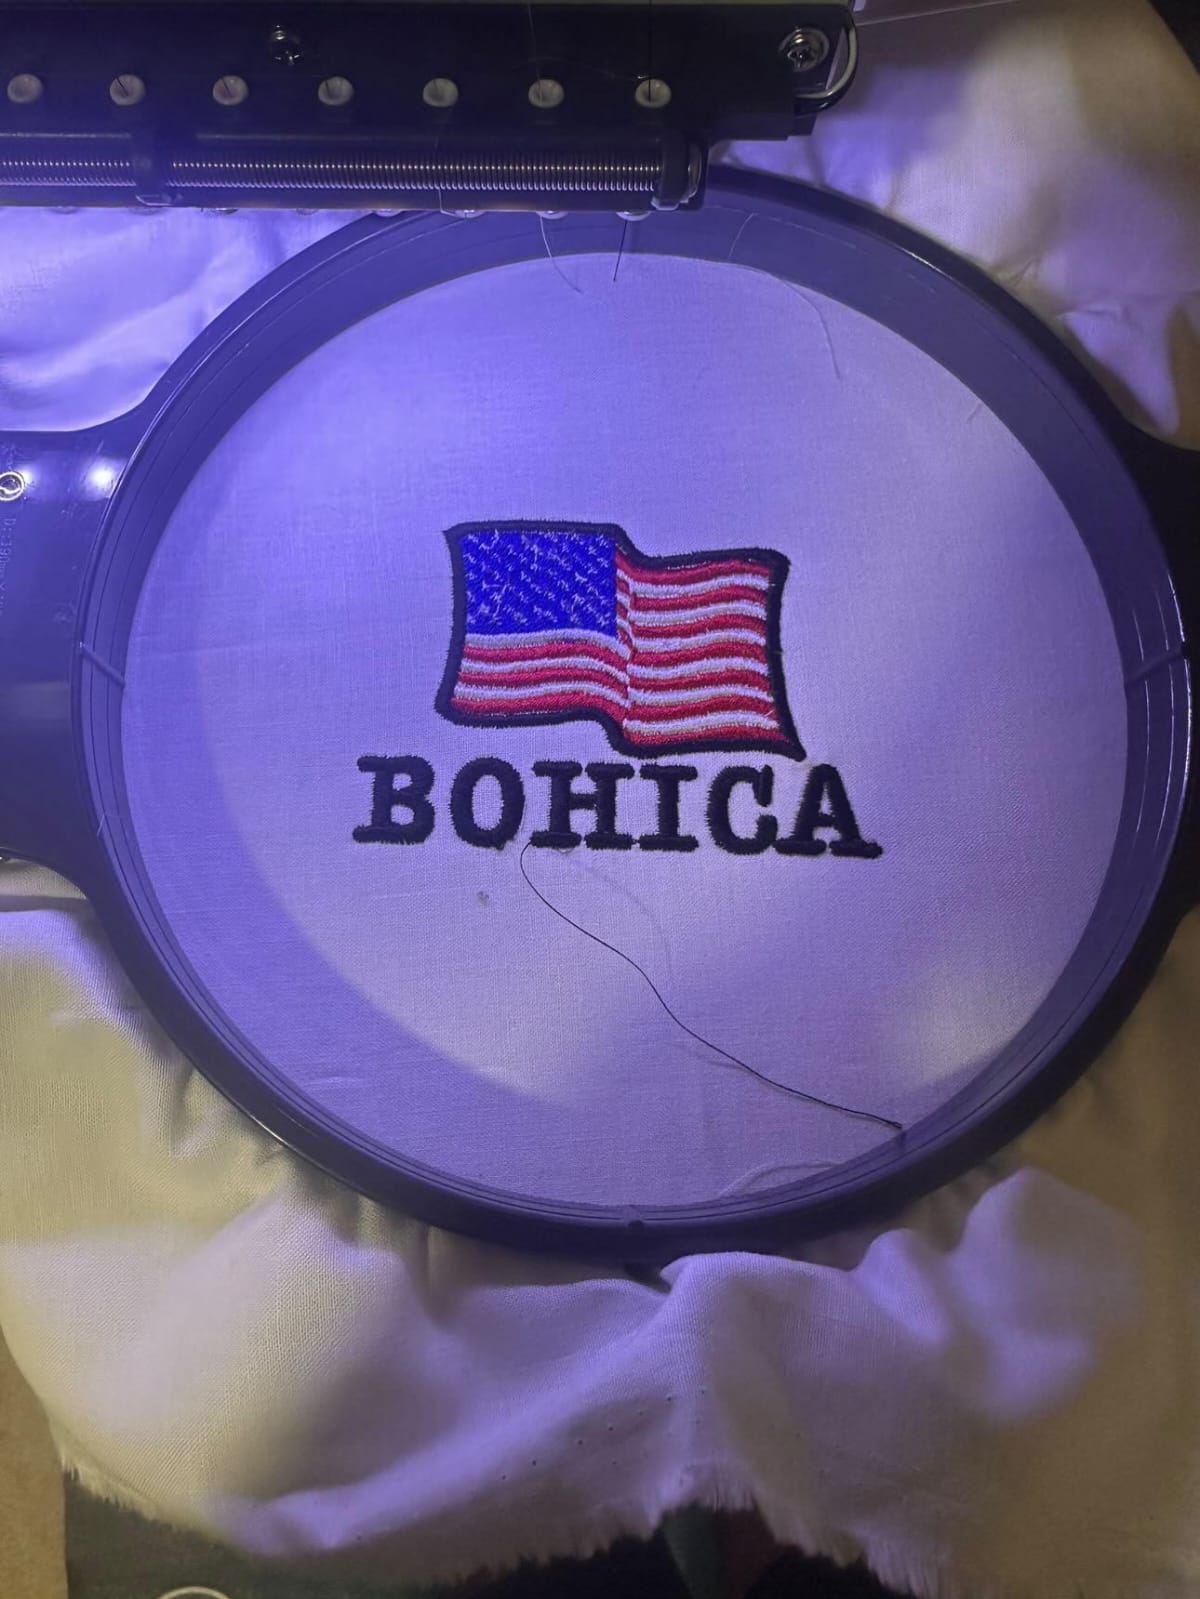
Thread & Needle Selection
Thread quality significantly affects results. Polyester thread is usually preferred because it resists fading and holds up well after frequent washing. Cotton thread offers a softer look but may wear faster.
For needles:
- Use size 75/11 or 80/12 embroidery needles
- Choose sharp needles for tightly woven towels
- Change needles frequently to avoid thread breakage
Many tutorials overlook needle choice, yet it directly impacts stitch precision.
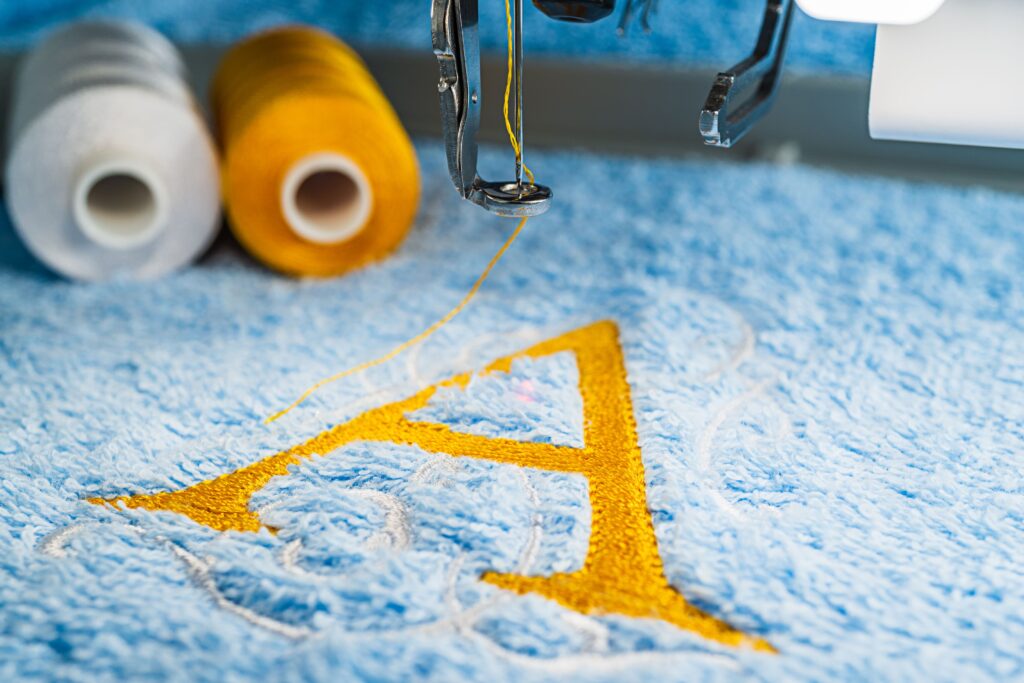
Stitching Techniques That Improve Results
A common mistake in embroidery towel projects is using high stitch density to compensate for texture. Instead, focus on technique:
1. Use Underlay Stitches
Underlay provides a foundation, lifting the top stitches above the towel loops.
2. Adjust Stitch Density Carefully
Too dense → stiff design
Too loose → fabric shows through
3. Control Machine Speed
Slower speeds reduce thread breaks and improve stitch placement.
4. Trim Jump Threads Immediately
This keeps the design neat and prevents tangling.
Compared to general embroidery guides, these adjustments specifically address towel fabric challenges.
Placement Matters
Correct placement enhances the towel’s overall appearance. Standard placement for bath towels is about 4 inches above the hem border. Hand towels usually have embroidery centered near the bottom decorative band.
Consistency in placement is especially important for bulk or commercial orders.
Popular Embroidery Towel Patterns
Patterns designed for towels should balance visibility and durability. Trending styles include:
- Elegant script monograms
- Geometric borders
- Floral corner designs
- Name personalization for gifts
- Spa-style minimalist logos
Using tested embroidery towel patterns ensures the design remains visible even after repeated washing cycles.
Comparing Techniques: What Makes This Approach Better?
Many online embroidery blogs focus on artistic styling but provide limited practical advice for terry fabric. A more effective approach includes:
✔ Fabric-specific stabilizing methods
✔ Realistic stitch density adjustments
✔ Durable thread recommendations
✔ Clear placement guidance
This comparison highlights why technique matters more than design complexity when working on towels.
Common Mistakes to Avoid
- Skipping stabilizer
- Choosing very small fonts
- Ignoring topping film
- Over-tightening the hoop
- Washing immediately without trimming threads
Avoiding these errors improves both durability and appearance.
FAQs
1. What is the best stabilizer for embroidery towel projects?
Cut-away stabilizer works best because it provides long-term support and prevents distortion after washing.
2. Why do my stitches sink into the towel?
This usually happens when you skip water-soluble topping or use low stitch density.
3. Can I embroider on thick bath towels?
Yes, but you must adjust needle size, use proper stabilizer, and choose bold embroidery towel patterns.
4. Is polyester or cotton thread better for towels?
Polyester thread is more durable and resistant to fading, making it ideal for frequently washed items.
5. How do I keep the back of the towel neat?
Trim stabilizer carefully and clip loose threads before final washing.
Final Thoughts
Creating a professional embroidery towel requires more than just choosing a beautiful design. It demands the right stabilizer, thread, needle, and stitch strategy. By focusing on fabric-specific techniques and carefully selected embroidery towel patterns, you can achieve durable, high-quality results that stand out.
Whether you’re working on personalized gifts, business branding, or decorative home pieces, mastering these techniques ensures your embroidery remains vibrant, structured, and elegant for years to come.