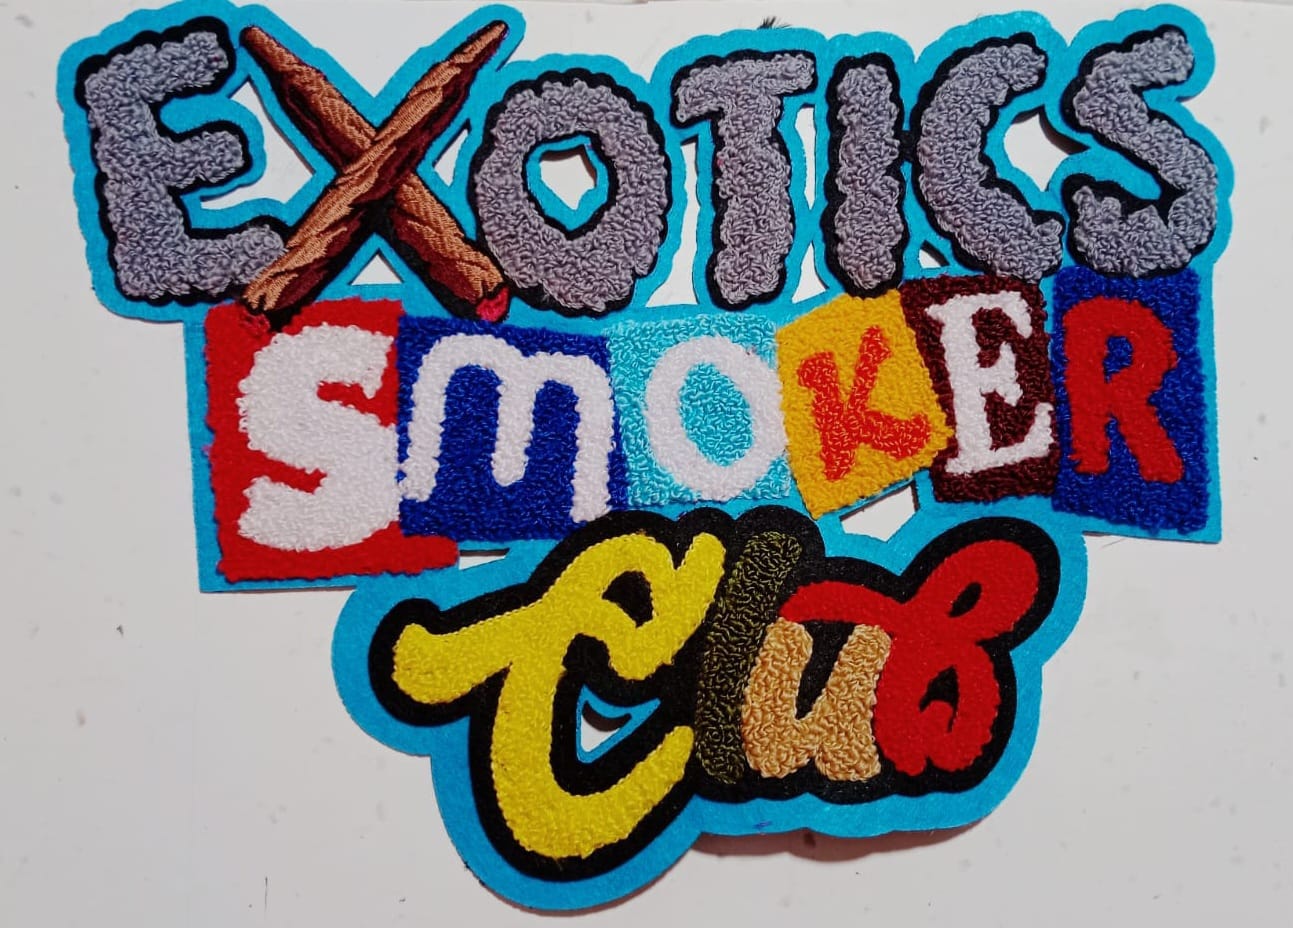
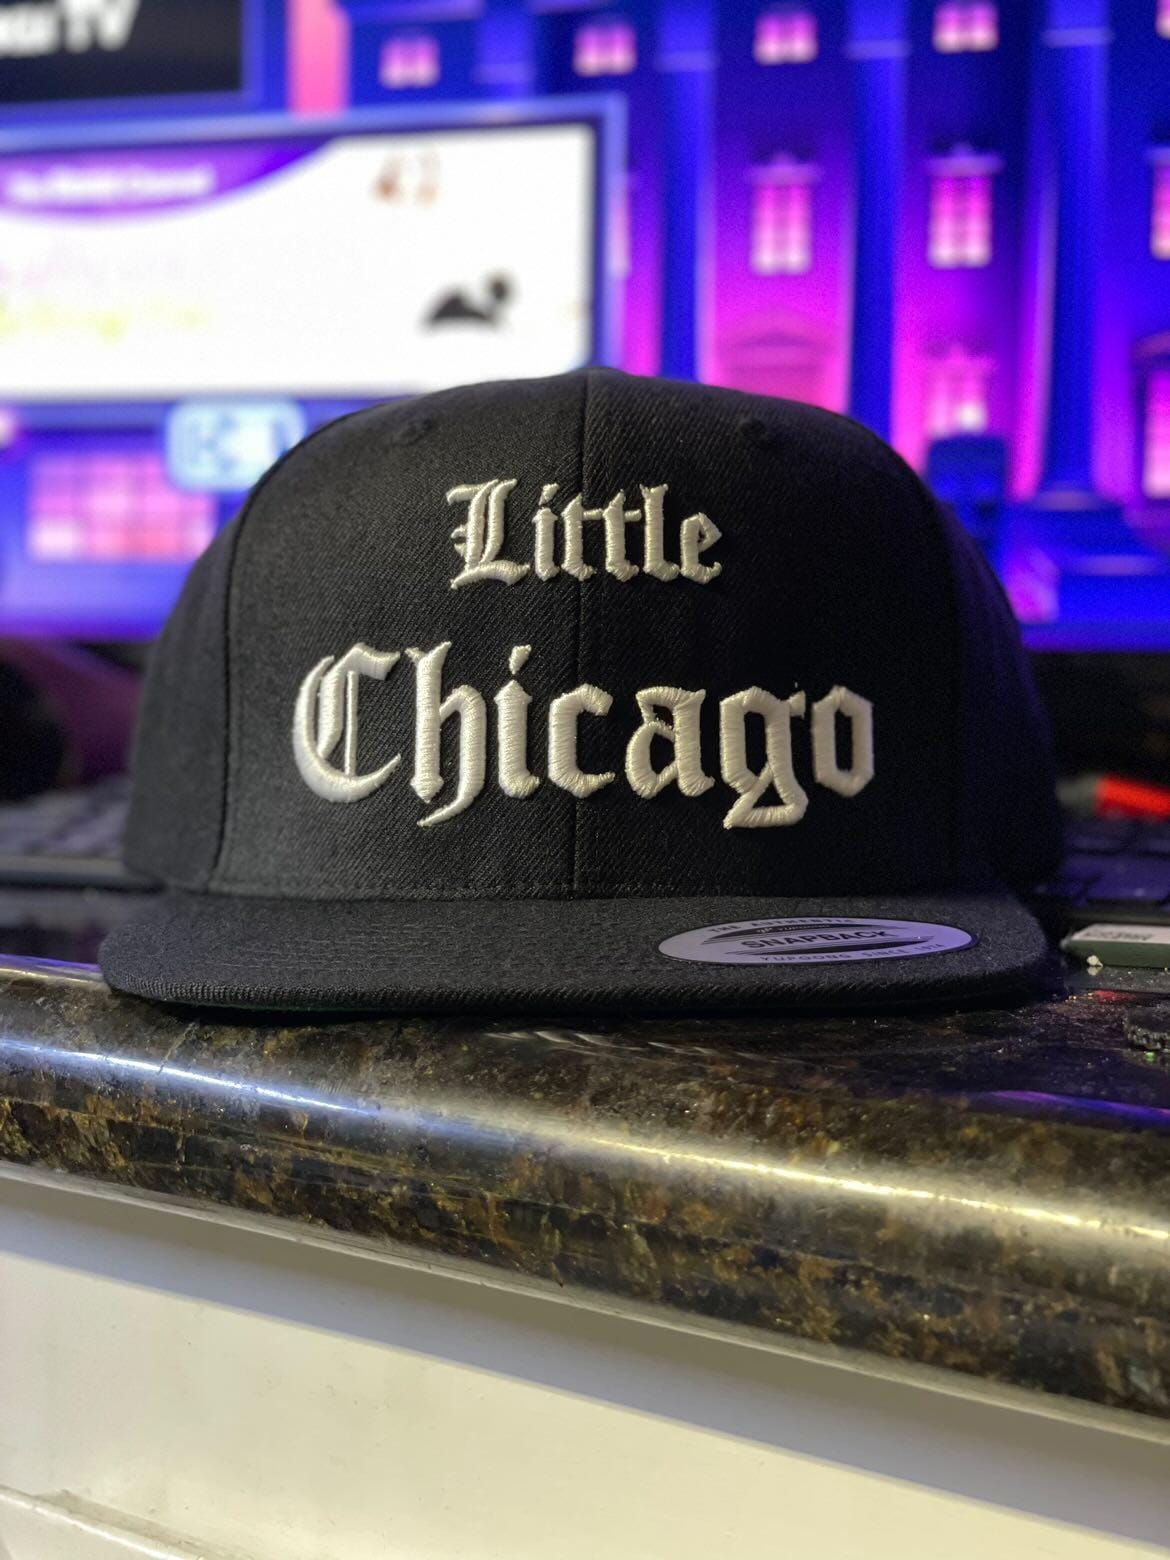
The embroidery industry has grown rapidly in recent years, with more businesses, designers, and hobbyists moving toward custom apparel and personalized stitching. Whether you’re creating logos, monograms, patches, or decorative art, one thing remains essential: choosing the right Digitizing Software for Embroidery. The software you work with determines your design quality, productivity, and the final outcome on fabric.
This guide explains everything you need to know about embroidery digitizing software, including how it works, the best tools in 2025, core features, pricing considerations, and tips for beginners and pros. If you’ve been confused about which software to choose, this Complete Guide will make the decision easier.
What Is Digitizing Software for Embroidery?
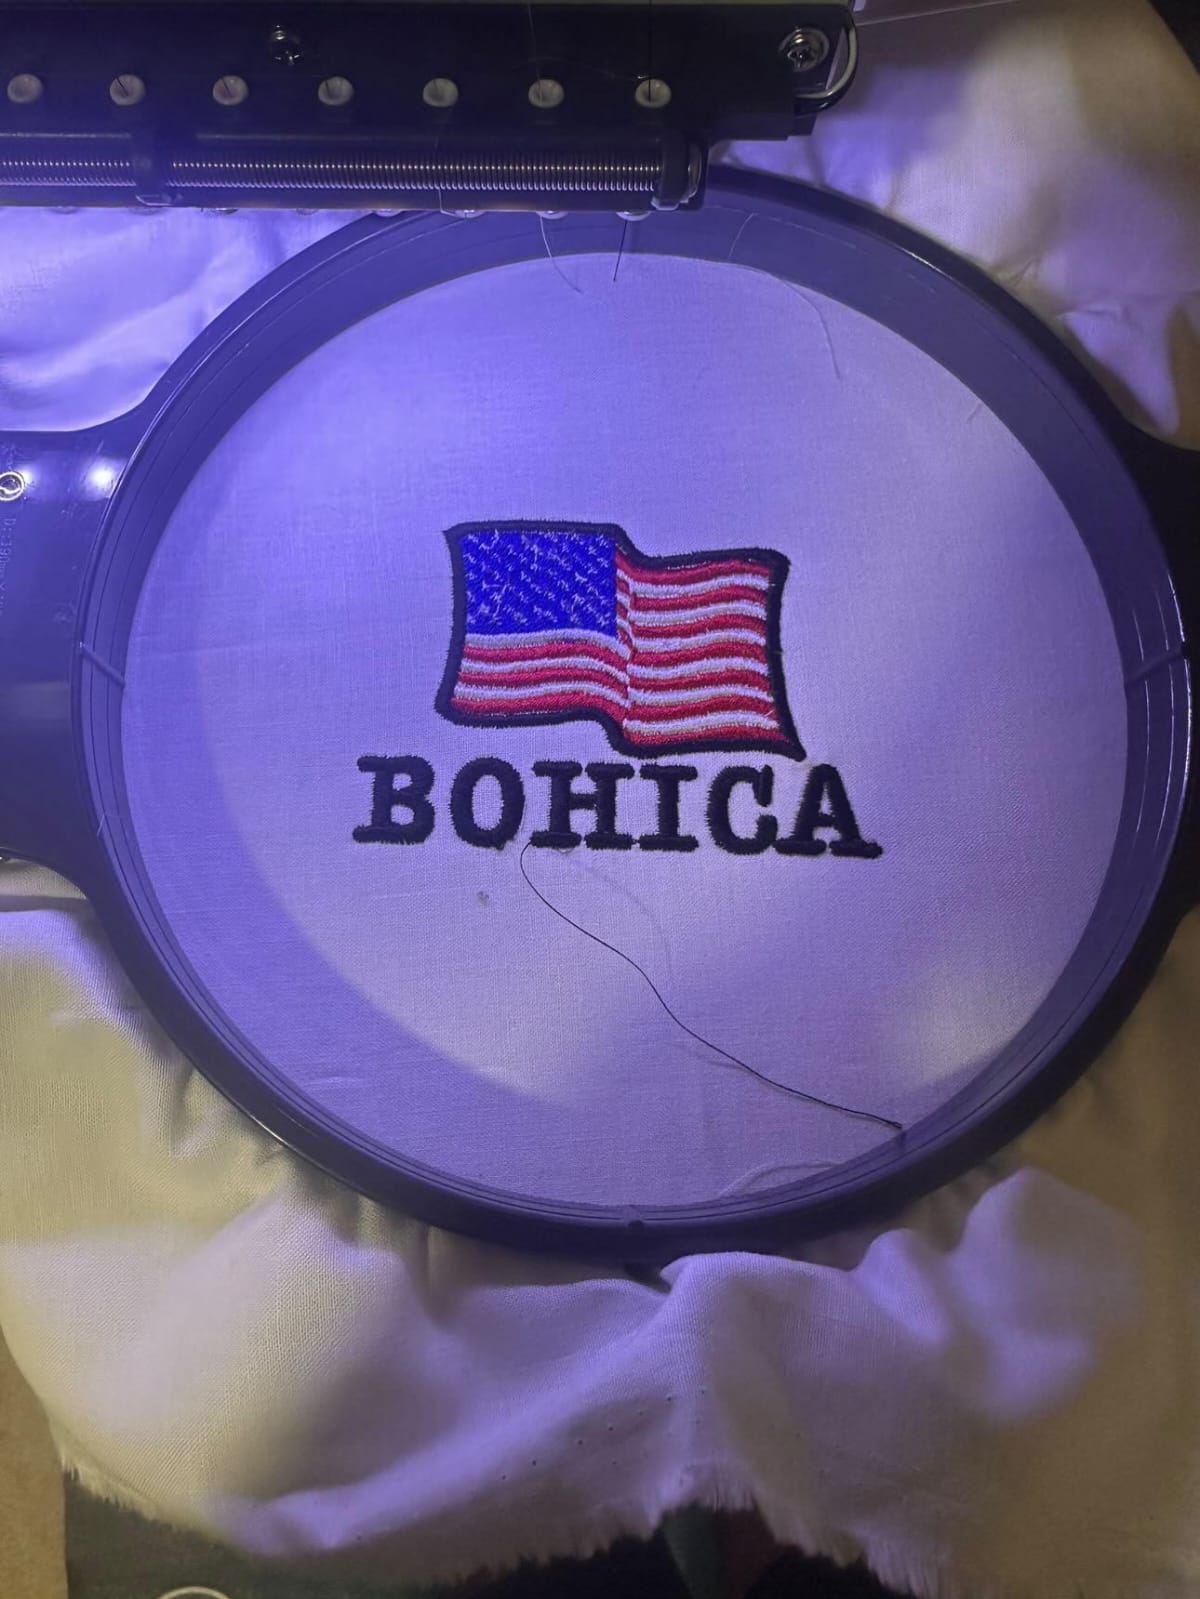
Digitizing software for embroidery is a program used to transform artwork (JPG, PNG, SVG, AI) into embroidery stitch files. These stitch files are read by machines like Brother, Tajima, Janome, Barudan, and Bernina.
The main job of digitizing software is to convert shapes and colors into:
- Satin stitches
- Fill stitches
- Running stitches
- Zig-zag stitches
- Underlay stitching
- Jump and trim commands
When done correctly, the final design stitches smoothly without thread breaks, uneven filling, or bulky outlines.
In short, the software turns your design into a perfectly machine-readable file such as DST, PES, EXP, JEF, VP3, and more.
Why Good Digitizing Software Matters
Choosing the best Digitizing Software for Embroidery is more important than many beginners realize. Here’s why:
✔ Higher Design Quality
Good software ensures clean edges, accurate stitch placement, and professional finishes.
✔ Fewer Machine Errors
Poorly digitized designs cause thread breaks, looping, puckering, and registration issues.
✔ Saves Time & Money
Efficient software reduces editing time and material wastage during test runs.
✔ Improves Business Branding
If you run an embroidery business, high-quality designs help you win more clients and deliver better results.
How Does Embroidery Digitizing Work? (Simple Explanation)
- Upload artwork into the software.
- Trace or auto-digitize shapes into stitch paths.
- Assign stitch types (satin, fill, run).
- Adjust density, pull compensation, underlay, and stitch angles.
- Set color stops, trims, and jumps.
- Simulate the design to remove errors.
- Export the file in your machine’s required format.
This process is known as vector-to-stitch conversion, an essential part of embroidery digitizing.
Key Features to Look For in Digitizing Software
Before choosing any Digitizing Software for Embroidery, make sure it includes the following features:
1. Auto-Digitizing
Great for beginners who want fast results, but works best on simple vector shapes.
2. Manual Digitizing
Essential for pros who want full control over every detail of the design.
3. Stitch Editing Tools
Must include:
- Density adjustments
- Pull compensation
- Underlay selection
- Stitch angle control
- Pathing and sequencing
4. Lettering & Font Tools
Should include:
- TrueType font conversion
- Preloaded embroidery fonts
- Monogramming tools
- Curve and envelope text options
5. Real-Time Simulation
A proper preview window that shows how the design will stitch.
6. File Compatibility
Supports formats like:
DST, PES, EXP, JEF, HUS, VP3, XXX, EMB, ART.
7. User-Friendly Interface
Beginners prefer simple tools; professionals need advanced controls.
8. Vector Support
Importing SVG, AI, EPS makes digitizing cleaner and more accurate.
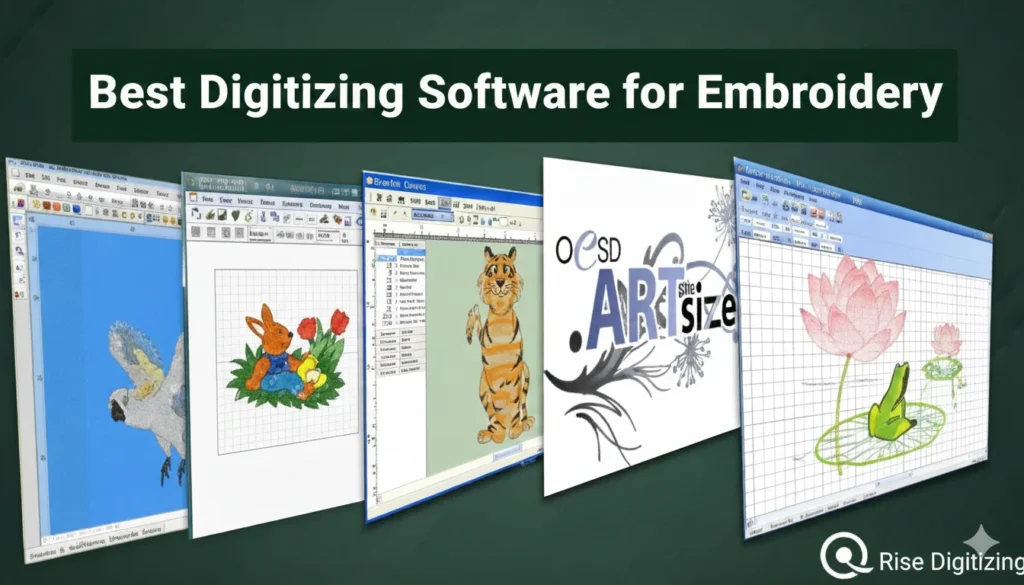
Top Digitizing Software for Embroidery (2025 List)
Below are the most reliable and popular programs used by hobbyists, businesses, and professional digitizers. Each has its strengths.
1. Wilcom Embroidery Studio (Best for Professionals)
Wilcom is the industry leader, trusted by top embroidery studios worldwide. It offers the most accurate stitch engine and unmatched manual digitizing controls.
Best Features:
- Advanced stitch editing
- Auto-fabric adjustments
- Realistic simulation
- Powerful lettering tools
- Perfect for complex logos
Downside:
Expensive, but worth it for serious digitizers.
2. Hatch Embroidery by Wilcom (Best for Beginners to Intermediates)
Hatch includes many of Wilcom’s advanced features but in a simpler interface. It’s ideal for home businesses or beginners who want high-quality results.
Key Features:
- Auto-digitizing
- Monogramming
- Lettering
- Object editing
- Simple learning curve
3. Embrilliance Essentials + StitchArtist (Best for Mac Users)
Embrilliance is extremely popular among home embroiderers and small shops. StitchArtist (Level 1–3) allows you to scale your digitizing skills.
Best Features:
- Works on both Mac & Windows
- Affordable
- Smooth interface
- Great for hobby and professional use
4. Brother PE-Design (Best for Brother Machines)
If you use a Brother embroidery machine, PE-Design offers the best compatibility.
Why It’s Good:
- Great for lettering
- Easy-to-learn tools
- Strong auto-digitizing features
5. Ink/Stitch (Free Option)
A free extension for Inkscape that allows digitizing inside a vector editor.
Good For:
Hobbyists on a budget.
Limitations:
Not ideal for advanced work or business use.
Which Software Should You Choose?
✔ Best for Beginners
- Hatch
- Embrilliance
- Brother PE-Design
✔ Best for Professional Digitizers
- Wilcom Embroidery Studio
- Embrilliance StitchArtist Level 3
✔ Best Free Option
- Ink/Stitch
✔ Best for Mac
- Embrilliance
Tips for Choosing the Right Digitizing Software - Start with beginner-level tools and upgrade later.
- Watch tutorials or YouTube reviews before buying.
- Always check if your machine format is supported.
- Try trial versions before purchasing.
- Look for software that includes auto-underlay and pathing tools.
- If running a business, invest in a professional-level tool early.
These tips help ensure you select the perfect tool for your embroidery needs.
Final Thoughts
Investing in the best Digitizing Software for Embroidery is the biggest step toward achieving clean, professional, and high-quality embroidery designs. Whether you’re running a commercial embroidery shop or are just getting started as a hobbyist, the right software can improve your workflow, reduce errors, and boost your creativity.
Digitizing may seem complex at first, but with the right software and practice, anyone can become a skilled digitizer. Start with beginner-friendly tools, upgrade as you grow, and continue learning new techniques to perfect your art.
FAQs
1. Can I use auto-digitizing for all embroidery designs?
Auto-digitizing works well for simple designs, but professional work always requires manual digitizing for cleaner and more accurate results.
2. Do all embroidery machines use the same file format?
No. Each brand uses its own format (DST, PES, EXP, JEF, etc.). Make sure your software exports in your machine’s required format.
3. Is free digitizing software good enough for business use?
Free tools like Ink/Stitch are great for learning, but paid software offers better control, precision, and features needed for commercial-level work.
For clean, accurate, and machine-ready embroidery files, Rise Digitizing offers professional digitizing services with fast delivery and affordable prices. Perfect for beginners, businesses, and apparel brands looking for high-quality results.