Digitizing has become one of the most important skills for anyone involved in machine embroidery—whether you’re a hobbyist, small business owner, or creative designer. With the rising demand for custom embroidery on clothing, promotional products, and accessories, more people want to learn how to create their own stitch files. But many beginners think digitizing requires expensive tools and software.
Good news, bro: you can absolutely do digitizing for embroidery free using the right programs and simple techniques.
In this detailed guide, you’ll learn how to digitize embroidery designs for free, what tools to use, and how to create professional-quality files without spending a single rupee or dollar. This guide is written with SEO optimization, AEO style (answer-based writing), and user intent in focus.
What Does “Digitizing for Embroidery” Mean?
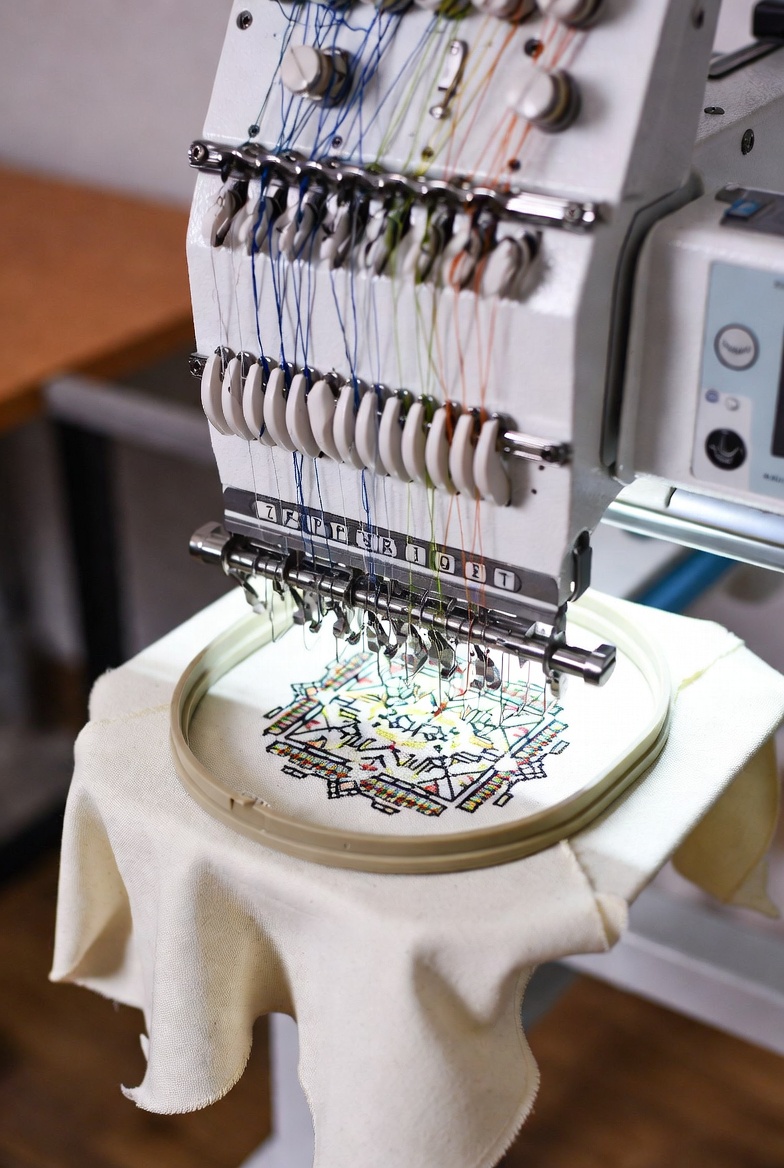
Digitizing for embroidery is the process of converting artwork—like a logo, drawing, or vector file—into a stitch file that an embroidery machine can read. These files include formats like DST, PES, EXP, JEF, VP3, and more.
Digitizing involves:
- Assigning stitch types
- Controlling stitch angles
- Setting density
- Adding underlay
- Sequencing the path
- Ensuring smooth machine operation
It’s not just converting an image—it’s building a stitch map that guides the embroidery machine step-by-step.
This is why many people think digitizing requires paid software. But with today’s tools, you can do digitizing for embroidery free and still achieve amazing results.
Why Choose Digitizing for Embroidery Free?
Many beginners and even professionals look for free digitizing solutions because:
Paid software like Wilcom, Pulse, Hatch, and Embird can cost hundreds or thousands
Not everyone is ready for that investment.
Free software today is powerful
Tools like Inkscape + Ink/Stitch provide full digitizing features.
Great for learning the basics
Beginners can master stitch logic before spending money.
Perfect for small or home embroidery businesses
You can digitize logos, text, and basic designs with free tools easily.
No financial risk
You can practice, experiment, and learn without pressure.
Best Tools for Digitizing for Embroidery Free
Here are the top choices if you want to digitize without paying:
1. Inkscape + Ink/Stitch (The BEST Free Option)
- Completely free and open-source
- Works like a lightweight Wilcom
- Supports satin, fill, run, underlay, density control
- Exports in major machine formats
This is the most recommended method for digitizing for embroidery free in 2025.
2. SophieSew (Free but outdated)
Good for basics but unstable on newer systems.
3. EmbroideryWare (Free demo)
Limited but useful for learning stitch types.
4. SewArt (Free trial)
Good for beginners, simple auto-digitizing.
Among all these, Inkscape + Ink/Stitch beats them completely.
How to Do Digitizing for Embroidery Free – Complete Step-by-Step Guide
Let’s walk through the entire digitizing process using free tools.
Step 1: Prepare or Clean the Artwork
Your artwork needs to be high quality before digitizing.
Use clean shapes
Avoid gradients
Keep colors simple
Make outlines clear
If needed, convert the artwork into vector format using:
- Trace Bitmap in Inkscape
- Vectorize Image tools
Step 2: Convert Artwork to Vector Paths
Digitizing software works best with vector elements.
In Inkscape:
- Go to File → Import your image
- Then go to Path → Trace Bitmap
- Adjust brightness cutoff
- Clean unwanted nodes
- Separate shapes by color
This ensures accuracy when assigning stitches later.
Step 3: Assign Stitch Types
Ink/Stitch gives you full control even though it’s free.
Available stitch types include:
Satin Stitch
Best for small lettering, outlines, borders, initials.
Fill Stitch (Tatami)
Used for larger areas and shapes.
Running Stitch
Perfect for outlines and minimalistic designs.
Underlay Stitches
Strengthens the fabric and keeps threads smooth.
When applying stitches, adjust:
- Density
- Stitch angle
- Pull compensation
- Underlay pattern
This is where the real digitizing skill comes in.
Step 4: Adjust Stitch Direction and Density
Professional results depend heavily on these two settings.
Stitch Direction
Controls how smooth and clean the final result looks.
A wrong direction = uneven stitches + poor texture.
Stitch Density
This controls how tight or loose the stitches will be.
Recommended density:
- Satin: 0.35–0.45 mm
- Fill: 0.4–0.5 mm
When you’re doing digitizing for embroidery free, density control is one of the biggest factors that improves quality.
Step 5: Add Underlay Settings
Underlay prevents the fabric from shifting or puckering.
Types of underlay you can apply:
- Edge Walk – keeps satin borders clean
- Zig-Zag – gives stability
- Tatami Underlay – used for fills
Never skip underlay. It’s the backbone of every good embroidery file.
Step 6: Sequence the Stitching Path
Your design must stitch in a logical order:
- Underlay
- Details
- Small fills
- Larger areas
- Borders and outlines
This prevents thread breaks, jumps, and messy output.
In Ink/Stitch, you can reorder layers to control stitch flow.
Step 7: Run a Stitch Simulation
Before exporting, check your design visually.
Simulation helps you find:
- Gaps
- Overlaps
- Incorrect density
- Wrong angles
- Jump stitches
- Thread trims
Even professional digitizers use simulation every time.
Step 8: Export the Final Embroidery File
Once everything looks correct, export your design in machine formats like:
- DST
- PES
- JEF
- EXP
- VP3
And boom — you’ve completed digitizing for embroidery free without any paid tools!
Pro Tips to Improve Free Embroidery Digitizing Results
Keep your design simple
Free software works best when the shapes are clean.
Avoid very small text
Minimum:
- 4 mm for satin
- 6 mm for fill
Do not use too many colors
More colors = more jumps and trims.
Always stabilize your fabric
No matter how good your digitizing is, poor stabilization ruins everything.
Test stitch on scrap material
This shows real results, not just digital previews.
FAQs
1. Is digitizing for embroidery free really good for business use?
Yes, free digitizing tools like Inkscape + Ink/Stitch can create professional-level files if you understand density, stitch type, and pathing. Many small businesses use free software successfully.
2. Can I convert any image to embroidery design for free?
Yes, as long as the image is clean. Images with gradients, shadows, or complex details may require manual cleanup. But free tools can handle most basic to medium-level designs.
3. What is the best free software for digitizing embroidery designs?
The best option is Inkscape + Ink/Stitch, as it provides full control over stitch types, density, angle, and exporting to machine formats.
Final Thoughts
Learning how to do digitizing for embroidery free is one of the best skills for anyone working in embroidery. Free software gives you the freedom to practice, learn, and create beautiful stitch files without investing money. With proper technique, clean artwork, and good settings, you can achieve results that look almost as good as designs made in premium software.
The most important part is consistency—practice a few designs, test stitch them, adjust your density and angles, and you will improve quickly.
Rise Digitizing provides premium-quality embroidery digitizing for small businesses, brands, shops, and individuals worldwide.
If you ever need quality embroidery digitizing and perfect, clean, and factory-ready stitch files, We always ready to deliver exceptional results.