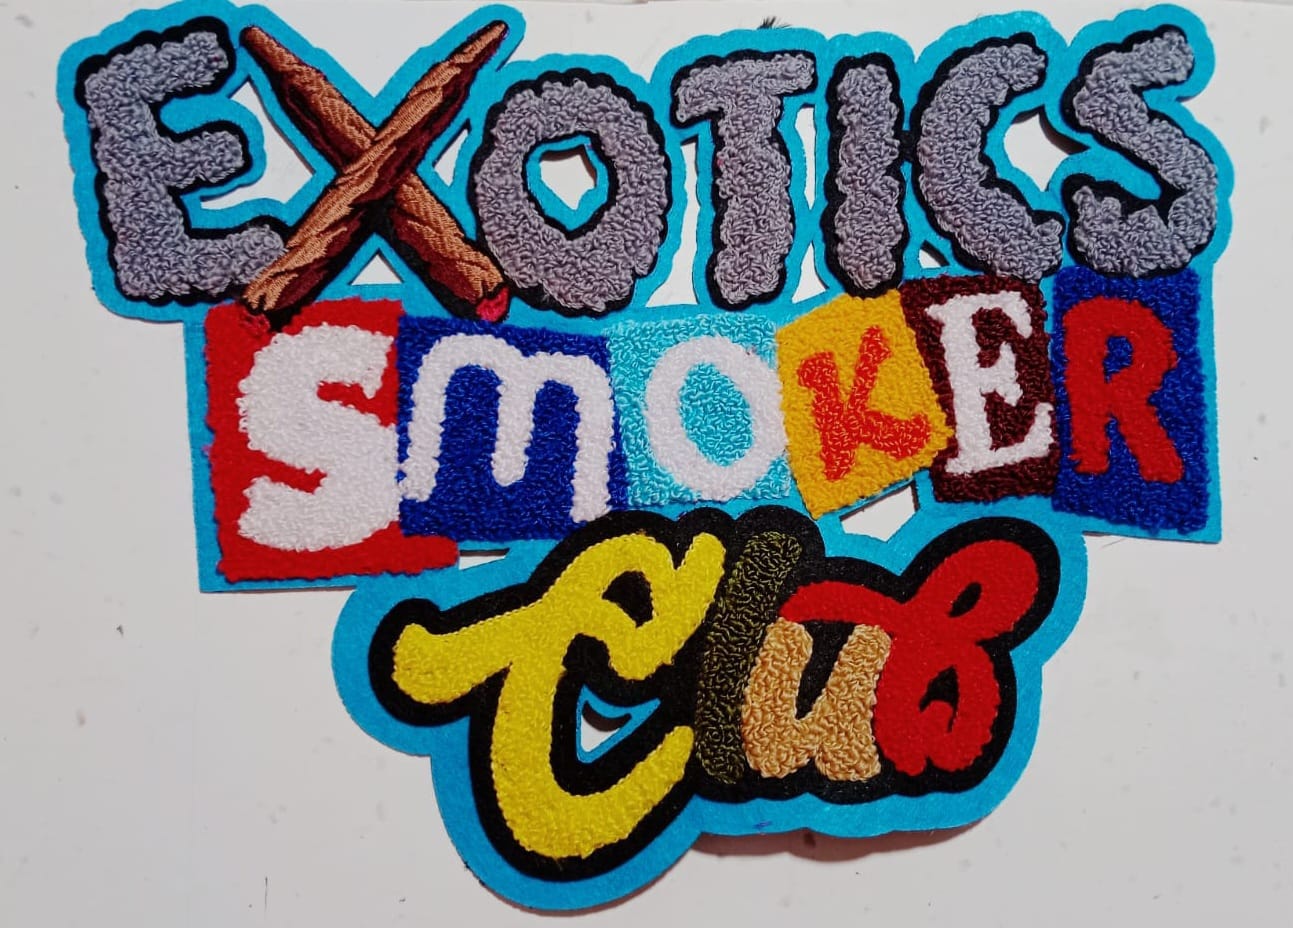
Have you ever looked at a beautifully embroidered patch on a cap or a crisp logo on a company uniform and wondered how it got there? It’s easy to think you just print the design and sew it on. But if you’ve tried turning a simple JPG or PNG into actual stitches, you know it’s not that simple. The magic behind every great embroidery job is a process called digitizing.
Let’s break down what it really means when you digitize file for embroidery, why it’s a skilled craft and not just a push-button task, and how it transforms flat art into textured thread.
The Big Difference: Printing vs. Stitching
To understand digitizing, you first have to understand the limitation of a computer. When you look at a company logo on a screen, you’re looking at pixels. An embroidery machine, however, doesn’t understand pixels. It understands commands: “Move left. Drop the needle. Make a satin stitch here. Stop.”
Digitizing is the process of manually plotting those commands. It’s like giving the machine a GPS map to follow. When you digitize file properly, you tell it exactly where to start sewing, what direction the stitches should run, and where to stop. If you just “auto-digitize” a picture using basic software, you usually end up with a design that puckers the fabric, breaks thread constantly, or just looks messy.
Step 1: Reading the Art Like a Pro
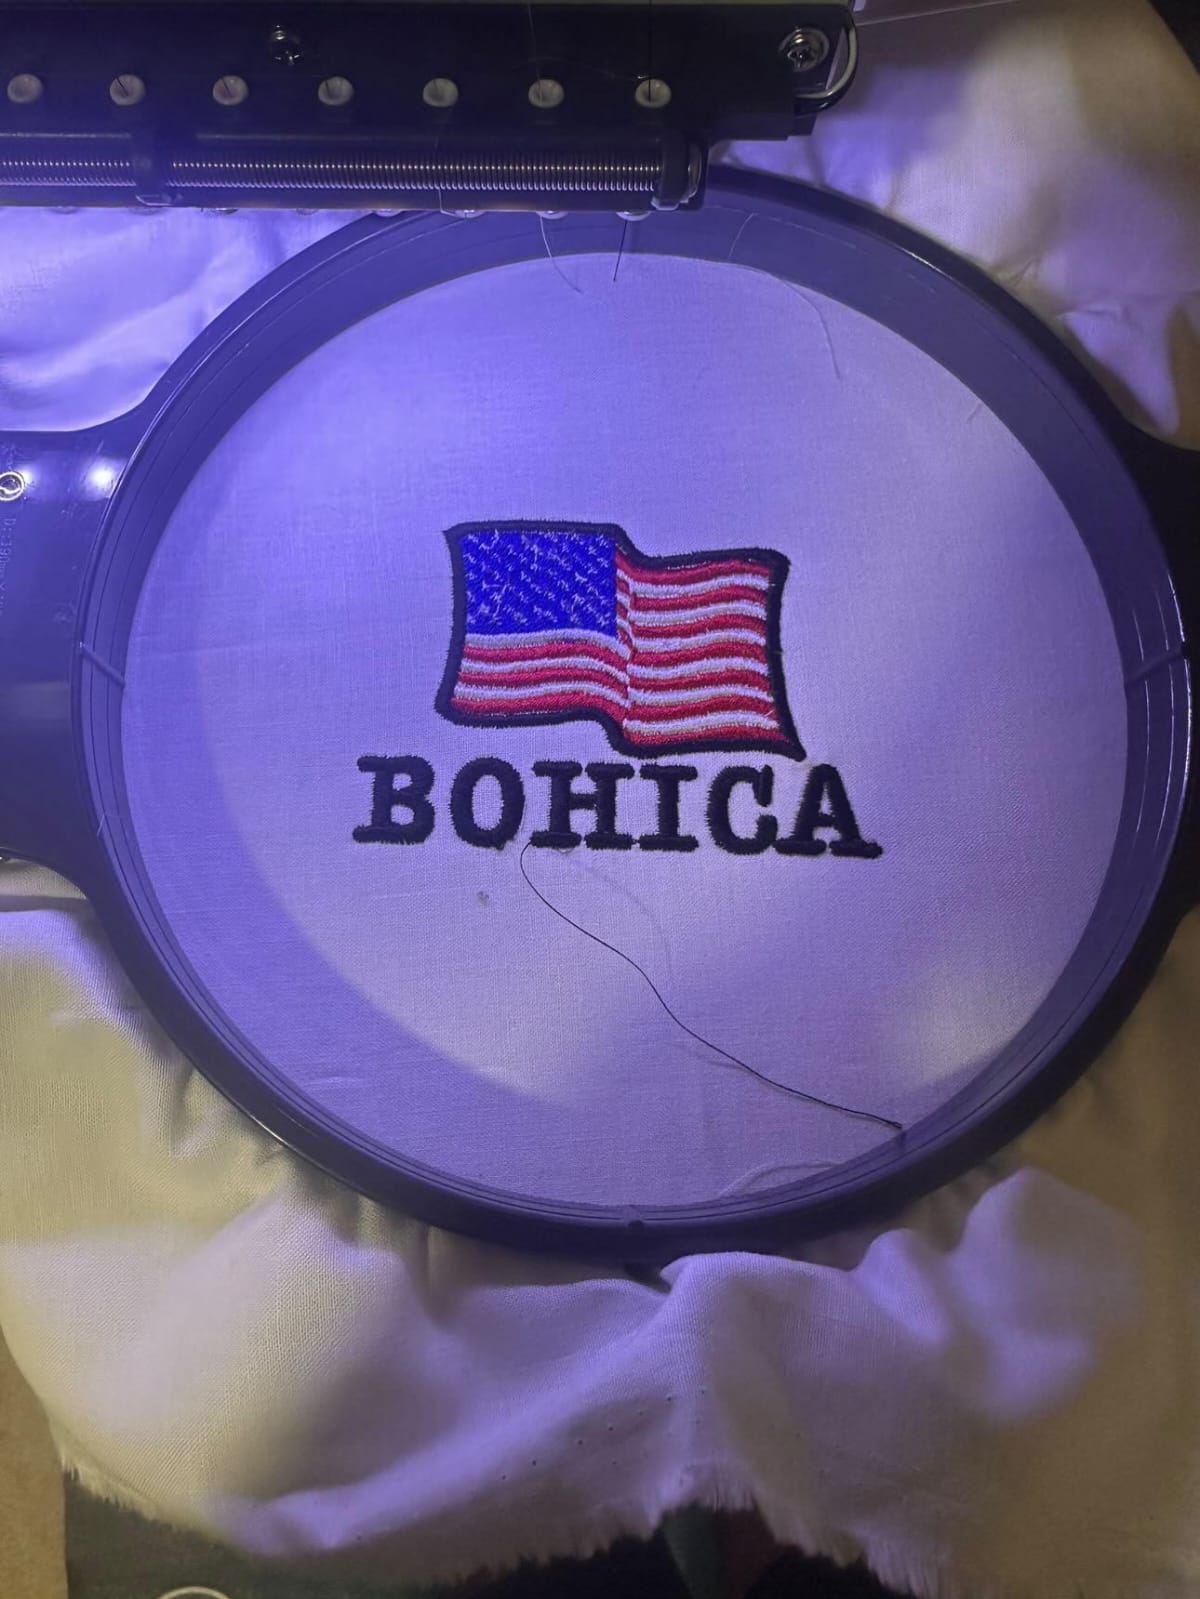
Before a single stitch is plotted, the real work begins. A good digitizer looks at your art file the same way a tailor looks at a piece of fabric. They aren’t just copying the image; they are problem-solving.
They check for the “gotchas.” For example, is there tiny text that will just turn into a blob of thread? Is the design full of super-thin lines that will get lost? This is where we communicate with you. We might suggest simplifying a complex gradient or enlarging small text so it actually sews out cleanly. We also consider the fabric. A thick, fluffy sweatshirt needs a different approach than a stiff cotton twill cap. Every time we digitize file for a client, these factors come into play.
Step 2: Building the Map
Once the plan is set, the digitizer opens specialized software (like Punto, Wilcom, or Pulse) and starts “redrawing” the logo with stitches. This is where art meets engineering. They make critical decisions for every single section of the design:
Stitch Type: Should this area be a smooth satin stitch (like the border of a letter) or a filling tatami stitch (like a large solid color block)?
Stitch Direction: This is crucial. The way light hits the thread changes the color of the design. If the stitches run the wrong way, your solid black logo might look like it has weird light and dark streaks.
Underlay: This is the “hidden” stitching underneath. Think of it as the framework for a building. It stabilizes the fabric and raises the top stitches so they look smooth and don’t sink into the material.
When you digitize file for embroidery, you aren’t just drawing lines; you’re coding for physics. You have to account for thread tension, fabric pull, and how the material will compress. Professional digitizers understand that to digitize file correctly means thinking about these elements before hitting save.
The Final Output: The DST File
Once the digital map is done, it has to be translated into a language the machine understands. The most common language is the DST file format (Data Stitch Tape). This file is tiny in data size, but it contains thousands of instructions. It tells the machine:
- Where to move the hoop.
- When to change thread color.
- Exactly where to place every single puncture in the fabric.
Along with this digital file, we usually print a thread chart. This is a simple guide for the machine operator that shows, “Step 1: Sew the red border. Step 2: Sew the blue fill.” It ensures the right thread colors go in the right places. When you digitize file professionally, this supporting documentation makes the actual sewing process smooth and error-free.
Why Experience Matters
You might see software that claims it can “auto-magically” turn your art into stitches. And it can… sort of. But auto-digitizing is like using text-to-speech instead of hiring a voice actor. It gets the words out, but it has no emotion, no rhythm, and no understanding of context.
A human digitizer brings the craft. They know that a logo needs a certain density to look full but not so dense that it breaks needles or makes the patch hard as a rock. They know how to sequence the design so that elements sewn later don’t push and distort elements sewn earlier.
When you pay for a professional to digitize file for embroidery, you are paying for that expertise. You are paying for a design that runs smoothly on the machine, looks great on the shelf, and holds up in the wash. The difference between an amateur attempt and a professional digitize file service is visible in every stitch.
Conclusion
So, the next time you see a crisp embroidered logo, remember it started as a simple art file. It was then deconstructed, analyzed, and rebuilt by a digitizer who understands both art and machinery. It’s a blend of creative vision and technical precision—taking a flat idea and giving it texture, dimension, and life through the simple, powerful medium of thread.
Frequently Asked Questions
1. What is the best file format to give a digitizer?
Vector files like .AI (Adobe Illustrator) or .EPS are ideal because they are based on math, not pixels, giving us clean, sharp lines.
2. Can you digitize a photo for embroidery?
Yes, but with limits; a photo must be heavily simplified into blocks of color and texture because embroidery thread colors are limited.
3. Why does my digitizing file look different on the screen than on the hat?
Fabric is not paper; thread has thickness and reacts differently on curved surfaces, so a good digitizer adjusts the file specifically for the final garment.
4. How much does it cost to digitize file for embroidery?
Pricing varies based on complexity and stitch count, and it is a one-time setup cost for the design file.