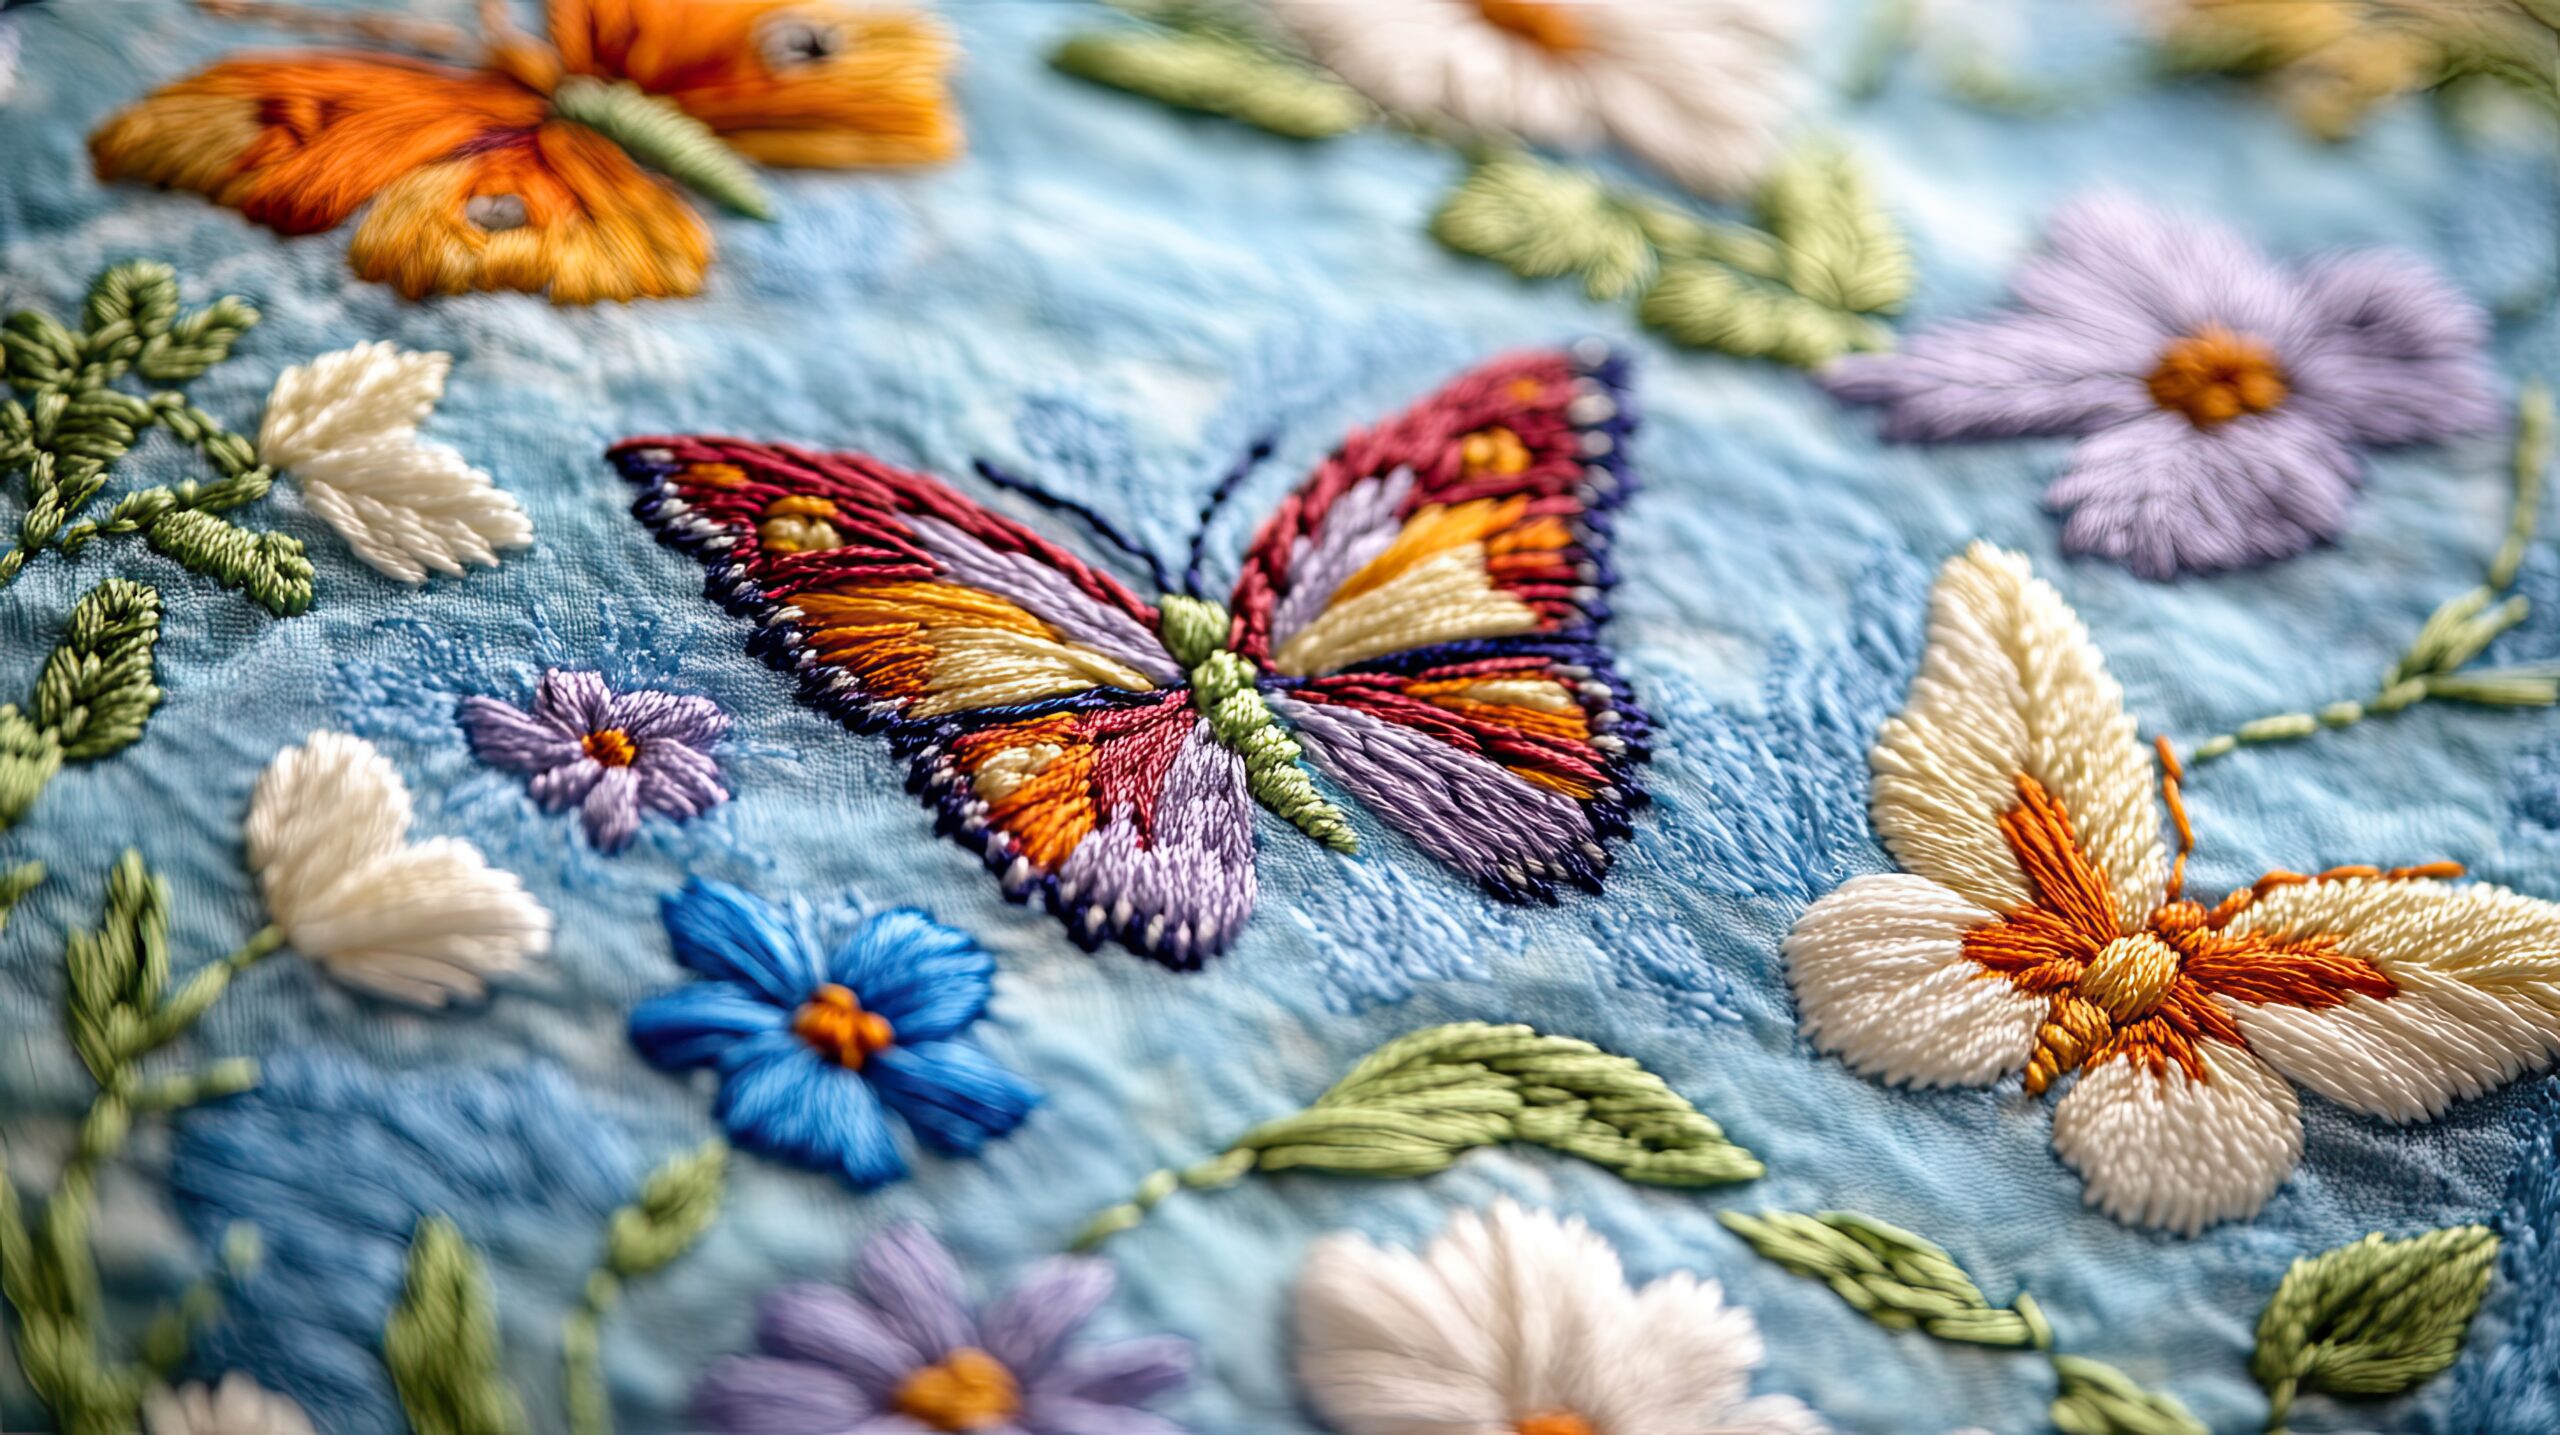
Embroidery has evolved from a traditional handcraft into a powerful way to express identity, promote brands, and create personalized fashion. Today, more people want to design your own embroidery instead of choosing ready-made patterns. Whether you’re a business owner, artist, or hobbyist, creating custom embroidery gives you full creative control.
Many online resources explain embroidery basics, but most focus heavily on technical steps. In this guide, we’ll take a broader, more practical approach—covering planning, digitizing, patch creation, and professional tips—so you can confidently design your own embroidery patch with better results.
Why Design Your Own Embroidery?
Creating your own embroidery design offers several advantages:
- Full creative freedom
- Unique branding opportunities
- Personalized gifts or fashion pieces
- Higher perceived value
- Better control over thread colors and fabric choice
Instead of adapting to pre-made templates, custom embroidery lets you bring your exact vision to life.
Step 1: Start With a Clear Concept
Before opening any software or picking thread colors, define your idea clearly.
Ask yourself:
- Is this for personal use or branding?
- Will it be stitched on caps, jackets, uniforms, or bags?
- Do you need a logo, text-based design, or illustration?
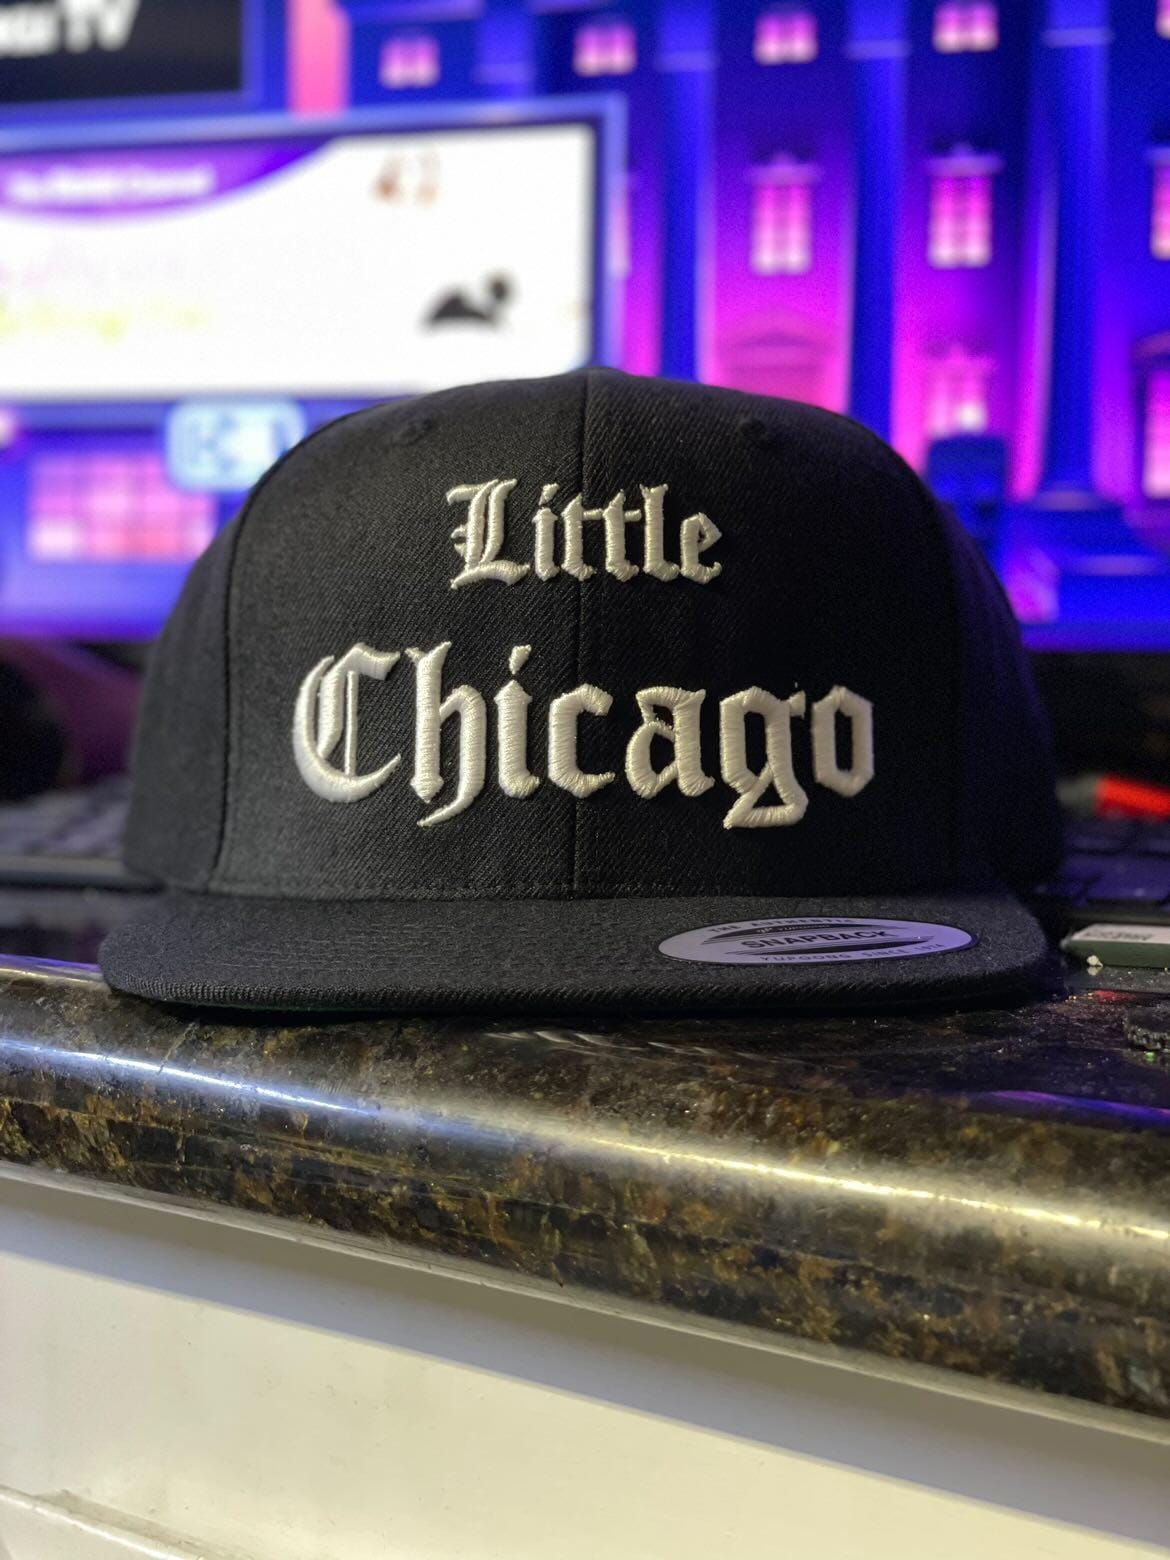
Simple, bold designs work best for embroidery. Overly detailed artwork may lose clarity once stitched. Clean lines and strong shapes produce professional results.
Step 2: Choose the Right Design Format
If you’re creating digital artwork, use vector-based software. Vector files maintain quality and are easier to convert into embroidery stitch files.
Common embroidery file formats include:
- DST
- PES
- EXP
- JEF
If you’re unsure about file formats, professional digitizing services can convert your artwork into machine-ready embroidery files.
Step 3: Keep Stitch Types in Mind
When you design your own embroidery, remember that embroidery isn’t printing—it’s stitching. That means your design must consider stitch types:
- Satin stitch – Ideal for text and borders
- Fill stitch – Best for larger areas
- Running stitch – Good for outlines and fine details
Designing with stitch logic in mind helps prevent thread breaks and messy finishes.
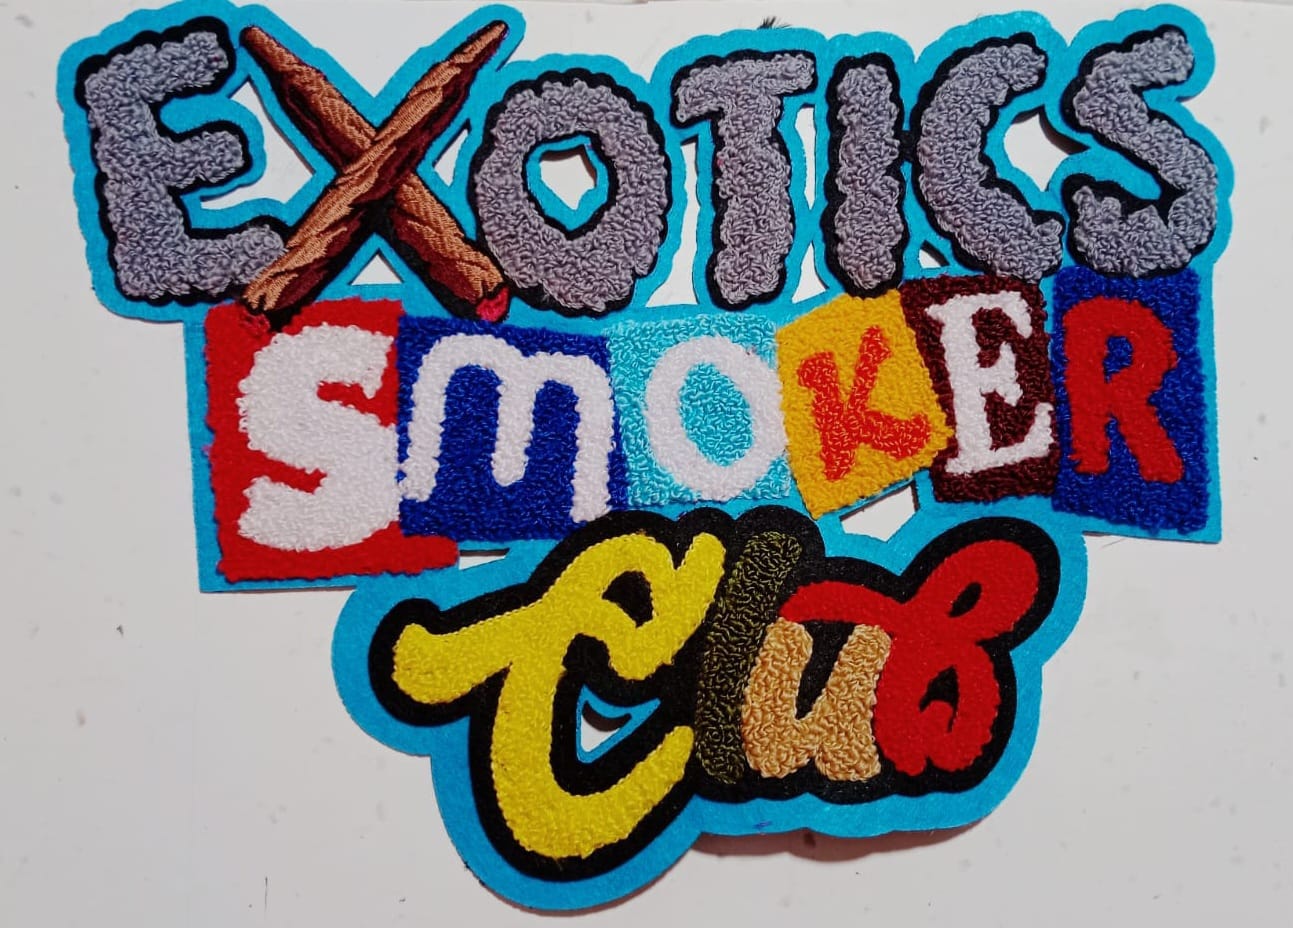
Step 4: Designing Your Own Embroidery Patch
If you want to design your own embroidery patch, there are additional elements to consider:
Patch Shape
- Circle
- Rectangle
- Custom die-cut
Border Type
- Merrowed edge
- Heat-cut edge
- Laser-cut edge
Backing Options
- Iron-on
- Velcro
- Sew-on
- Adhesive backing
Patch designs should have strong borders to maintain structure. Avoid tiny text or extremely thin lines, as they may not stitch clearly.
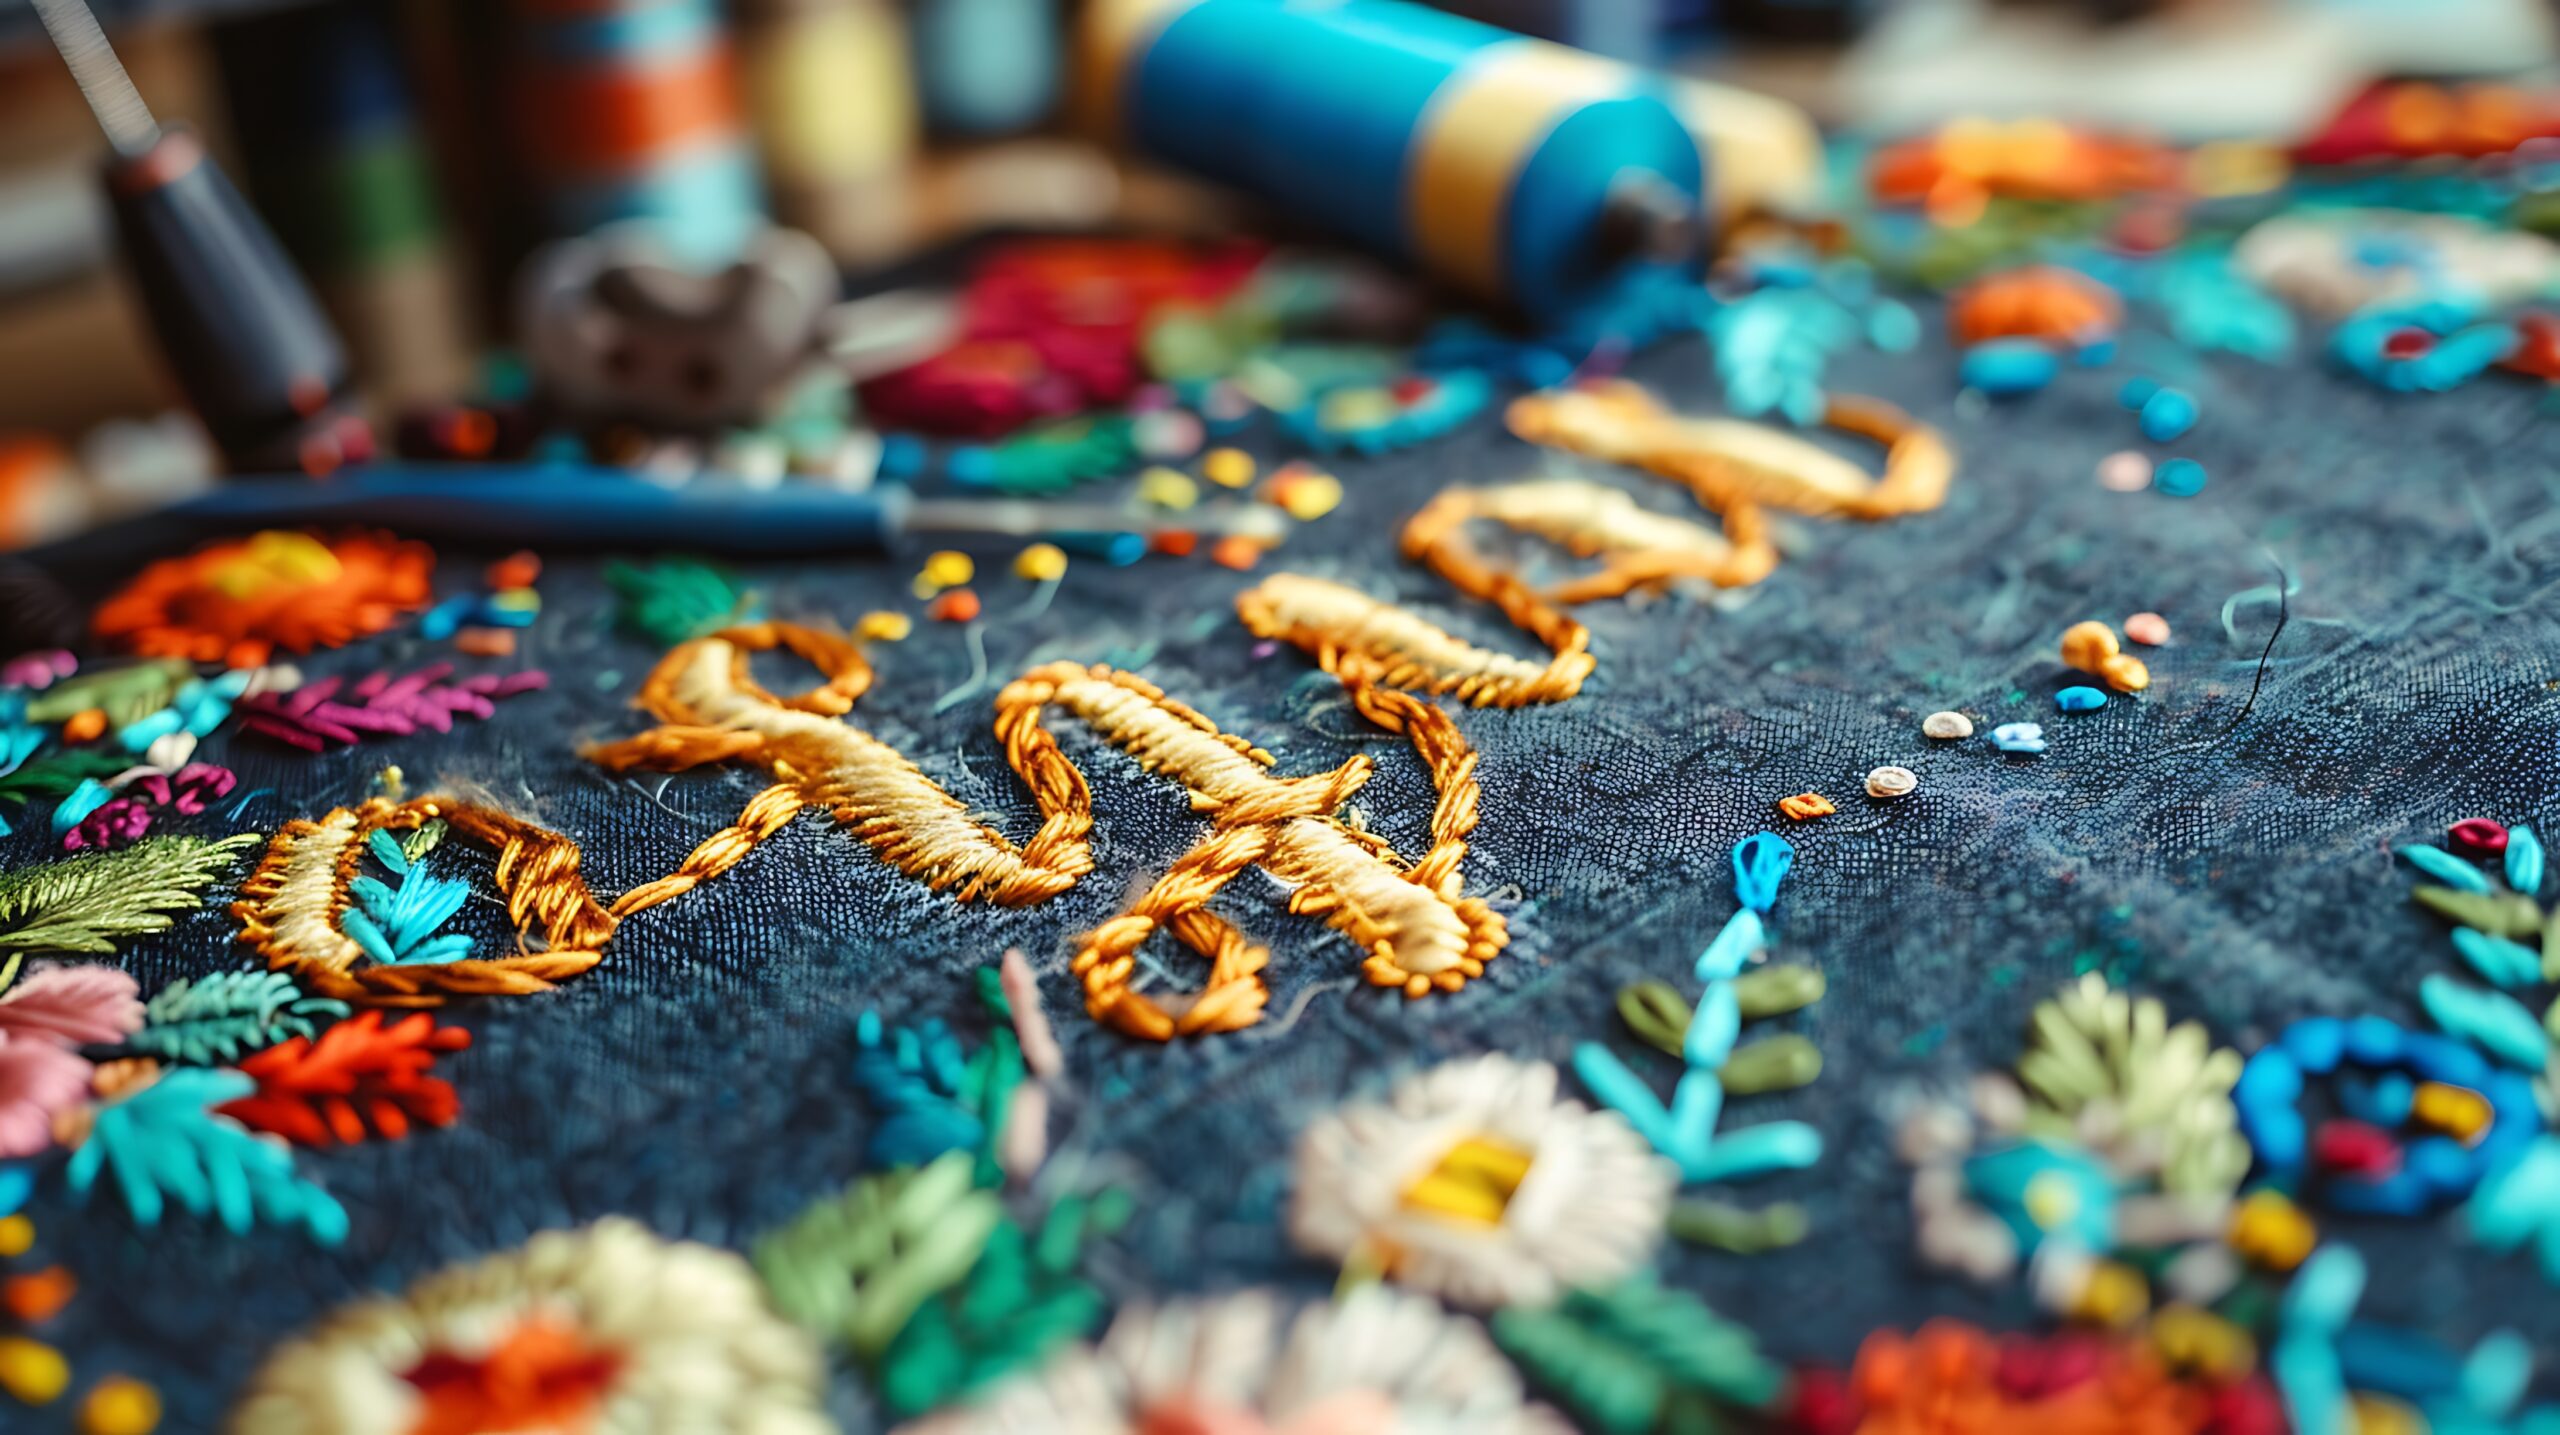
Step 5: Select the Right Thread Colors
Thread color selection impacts the final look dramatically. Use high-contrast color combinations for better visibility. Metallic and specialty threads add texture but require proper digitizing adjustments.
If you’re designing for branding, match Pantone shades closely to maintain brand consistency.
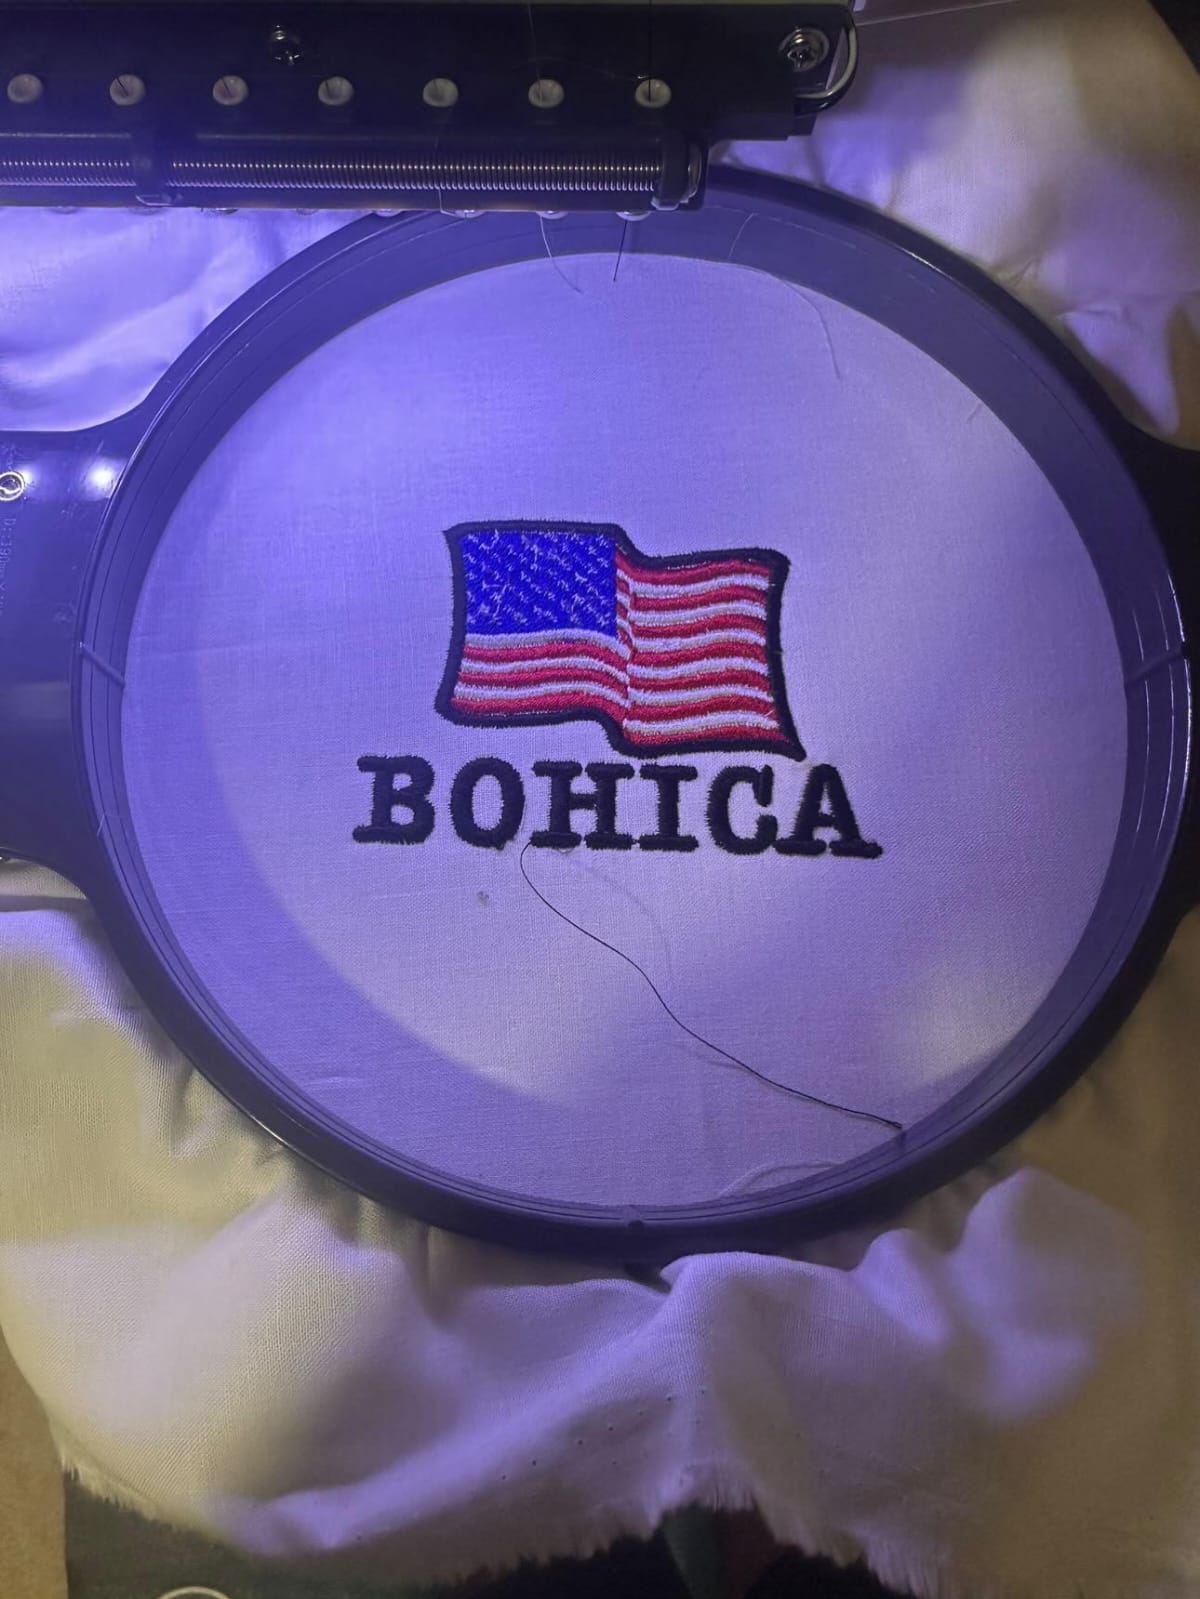
Step 6: Test Before Final Production
Before bulk production:
- Request a sample stitch-out
- Check thread tension
- Inspect color accuracy
- Review design alignment
Testing prevents costly mistakes and ensures your custom embroidery looks professional.
Comparison: Practical Approach vs. Basic Tutorials
Many embroidery guides focus mainly on software steps and technical drawing. While helpful, they often overlook real-world production considerations like:
- Fabric compatibility
- Thread density adjustments
- Patch border durability
- Scaling designs for different garments
This guide emphasizes practical planning, material compatibility, and production quality—making it more suitable for businesses and serious creators.
Common Mistakes to Avoid
- Overcomplicating the design
- Using very small fonts
- Ignoring stitch density
- Not considering fabric stretch
- Skipping sample testing
Keeping designs simple and production-friendly ensures better final results.
Benefits of Professional Digitizing Support
Even if you create the artwork yourself, professional digitizing ensures:
- Proper stitch sequencing
- Balanced density
- Clean edges
- Machine compatibility
This is especially important when you design your own embroidery patch for commercial use.
FAQs
1. Can I design my own embroidery without software?
Yes, you can sketch by hand, but it must be digitized into a stitch file before machine embroidery.
2. What is the best format for embroidery machines?
DST and PES are widely supported formats, but it depends on your machine model.
3. How much does it cost to design your own embroidery patch?
Costs vary depending on complexity, size, stitch count, and backing options.
4. Can I use any image for embroidery?
Not all images work well. Simple, high-contrast designs convert better than detailed photographs.
5. How long does custom embroidery production take?
Typically 3–7 days depending on design complexity and order quantity.
Final Thoughts
Learning to design your own embroidery opens creative and business opportunities. Whether you’re crafting a personal piece or building a brand identity, thoughtful planning makes all the difference.
Focus on clarity, proper digitizing, strong borders, and production testing. When you design your own embroidery patch with the right approach, you achieve cleaner stitches, longer-lasting results, and a more professional finish.