Turning a favorite picture into a beautiful embroidered design is one of the most exciting parts of machine embroidery. Whether it’s a company logo, family photo, pet portrait, or custom artwork, embroidery digitizing transforms ordinary images into stitch-ready files that embroidery machines can read.
Many beginners assume embroidery machines can simply read JPG or PNG images. Unfortunately, that’s not how embroidery works. Before your machine can stitch any design, the image must be converted into a specialized embroidery file through a process called embroidery digitizing.
At RiseDigitizing, we’ve professionally digitized thousands of embroidery designs for customers worldwide. This guide explains everything you need to know about digitizing pictures for embroidery, from choosing the right image to creating a production-ready embroidery file.
Embroidery digitizing is the process of converting a digital image into a stitch file that embroidery machines understand.
Unlike printing, embroidery machines don’t recognize colors or pixels. Instead, they follow instructions telling the machine:
The final output becomes an embroidery file such as:
These formats contain stitch data—not image data.
Many users ask:
“Can I upload a JPG directly into my embroidery machine?”
The answer is No.
Image files contain pixels, while embroidery machines require stitch coordinates.
For example:
| Image File | Embroidery File |
|---|---|
| JPG | DST |
| PNG | PES |
| SVG | JEF |
| BMP | EXP |
A digitizer manually converts artwork into stitch paths.
The quality of your embroidery starts with the quality of your image.
Good images include:
Avoid:
Simple artwork always digitizes better than overly detailed photographs.
Before digitizing, edit the picture using software such as:
During cleanup:
This dramatically improves embroidery quality.
Photos often contain thousands of color variations.
Embroidery works best with simplified artwork.
Instead of stitching every pixel, convert the image into:
This reduces stitch count while maintaining visual quality.
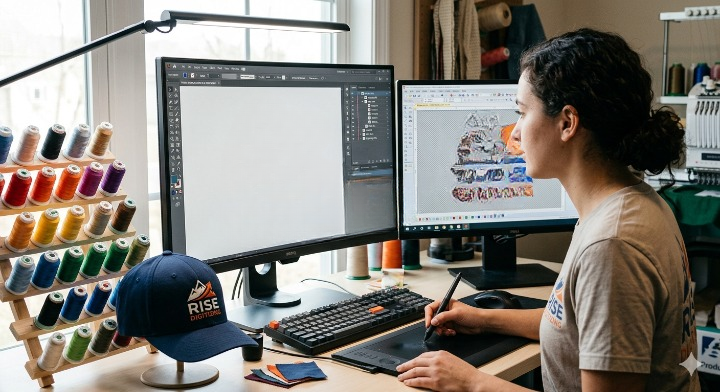
Professional digitizers use specialized embroidery software.
Popular software includes:
Import your artwork and begin tracing every section.
If you’re new to Brother software, read our complete guide:
Related Article: Brother PE-Design 11 Embroidery and Sewing Digitizing Software
Digitizing is not automatic.
Each object must be recreated using embroidery tools.
Examples include:
Each area becomes an embroidery object.
Different parts of the picture require different stitches.
Perfect for:
Best for:
Ideal for:
Professional digitizers combine these stitch types for realistic embroidery.
One of the biggest secrets of quality embroidery is stitch direction.
Changing stitch angles creates:
Without proper stitch direction, designs appear flat.
Underlay stabilizes fabric before visible stitches begin.
Benefits include:
Skipping underlay often causes poor embroidery results.
Too many stitches can cause:
Too few stitches leave gaps.
Professional digitizers balance stitch density based on:
Assign thread colors in the correct stitching order.
Most software lets you choose:
Proper sequencing minimizes unnecessary trims and thread changes.
Jump stitches waste production time.
Professional digitizers optimize:
This produces cleaner embroidery and faster machine operation.
Never deliver embroidery without testing.
Stitch a sample on similar fabric.
Check:
Adjust the design until the embroidery is perfect.
Here are some of the industry’s leading embroidery digitizing programs:
| Software | Best For |
|---|---|
| Brother PE-Design 11 | Home users |
| Wilcom Embroidery Studio | Professionals |
| Hatch Embroidery | Small businesses |
| Embrilliance | Hobbyists |
| Bernina DesignerPlus | Bernina users |
Each program offers different automation and editing tools, but manual digitizing skills remain essential.
Yes—but automatic digitizing has limitations.
Auto-digitizing software often struggles with:
Professional manual digitizing consistently delivers better embroidery quality.
Avoid these common errors:
Learning to recognize these issues will greatly improve your embroidery projects.
Excellent options include:
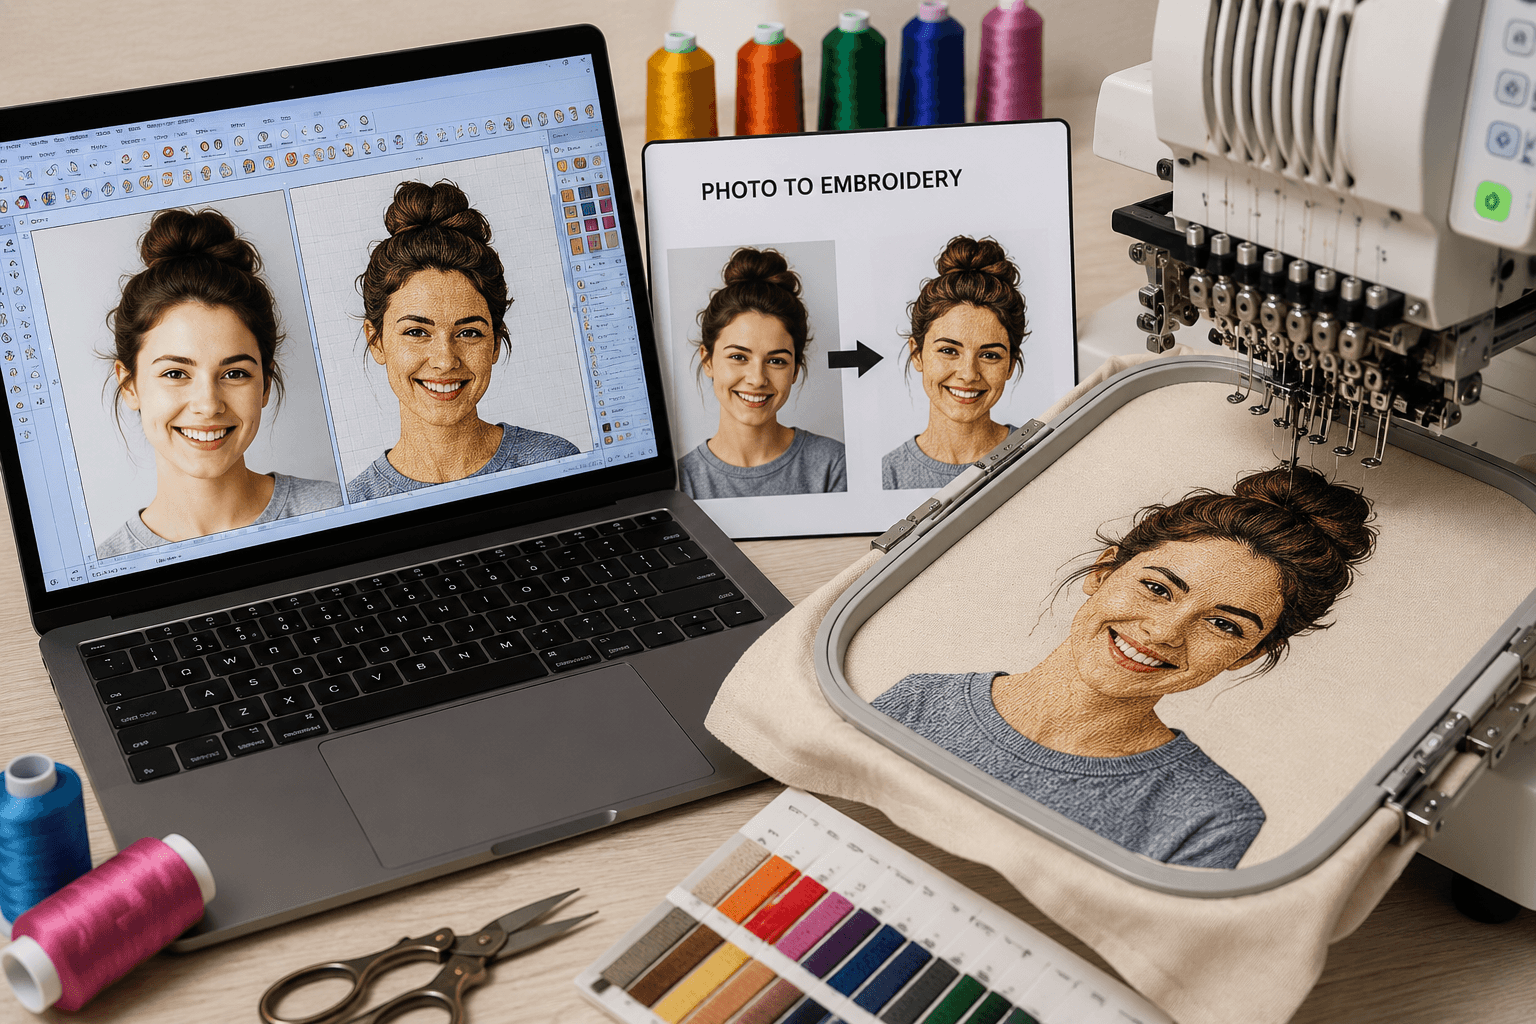
Photos can also be digitized, but they usually require artistic interpretation rather than exact pixel-for-pixel reproduction.
Different embroidery machines require different formats.
| Machine Brand | Format |
|---|---|
| Brother | PES |
| Tajima | DST |
| Janome | JEF |
| Melco | EXP |
| Husqvarna | VP3 |
| Singer | XXX |
Always export the correct format for your embroidery machine.
High-quality embroidery depends on skilled digitizing—not just software.
Professional digitizers understand:
This expertise leads to cleaner designs, fewer machine issues, and more professional results.
At RiseDigitizing, we specialize in creating premium embroidery files for businesses, apparel brands, promotional products, and hobbyists around the world.
Our services include:
Every design is manually digitized to ensure clean stitching, optimized stitch paths, and excellent production quality.
Some embroidery software offers basic auto-digitizing tools, but professional-quality results typically require paid software or an experienced digitizer.
Brother PE-Design 11 and Hatch Embroidery are among the most beginner-friendly options due to their intuitive interfaces and learning resources.
Yes, but detailed photos often need to be simplified into embroidery-friendly artwork before digitizing.
Simple logos can take 15–30 minutes, while complex images or portraits may require several hours depending on detail and stitch optimization.
It depends on your embroidery machine. For example, Brother machines commonly use PES files, while Tajima machines use DST files.
To learn more about embroidery digitizing, explore these helpful guides on the RiseDigitizing blog:
These articles provide deeper insights into embroidery software, choosing professional services, and understanding embroidery techniques.
Learning how to digitize a picture for embroidery is an essential skill for anyone working with embroidery machines. While modern software offers automated features, creating a clean, professional embroidery file still requires knowledge of stitch types, density, underlay, sequencing, and fabric behavior.
Whether you’re digitizing a business logo, custom artwork, or a cherished photo, investing time in proper digitizing techniques will produce cleaner stitches, reduce production problems, and deliver superior embroidery results.
If you’d rather leave the technical work to experts, RiseDigitizing provides professional manual embroidery digitizing services with fast turnaround times, machine-ready files, and quality you can trust for every project.