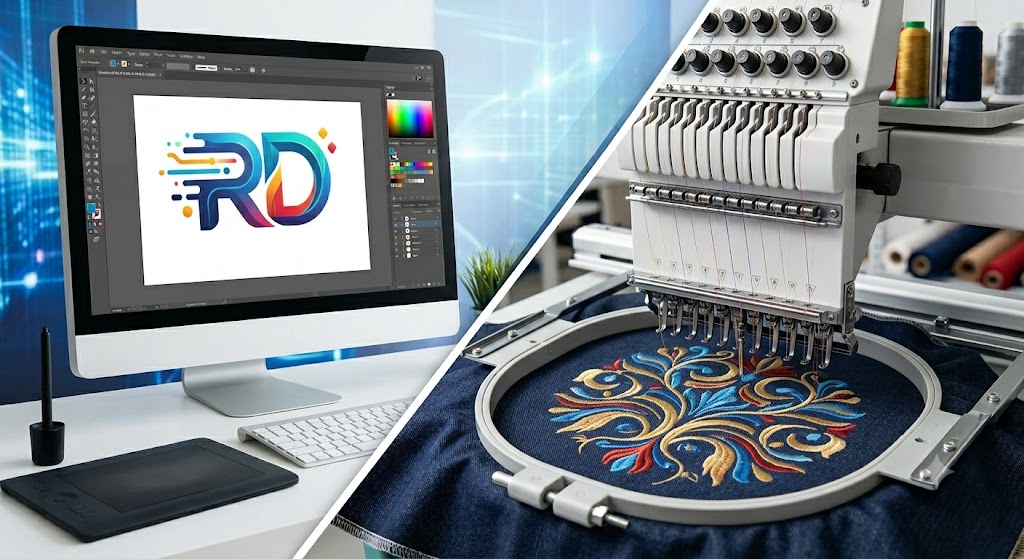
In the world of custom apparel and branding, the transition from a digital image to a physical masterpiece is a journey of precision. For businesses and hobbyists alike, the most common hurdle is transforming a standard web image—like a PNG—into a format that an embroidery machine can actually read, specifically a DST file.
At RiseDigitizing, we understand that high-quality results start with high-quality files. This guide will walk you through the essential steps to ensure your designs move seamlessly from screen to stitch.
Understanding the Formats: Why Can’t Machines Read PNGs?
Before diving into the “how,” it is crucial to understand the “why.”
- PNG (Portable Network Graphics): This is a raster image made of pixels. It’s perfect for websites and screens because it supports transparency and millions of colors. However, it contains no information about stitch direction, density, or needle movement.
- DST (Data Stitch Tajima): This is a vector-based embroidery format. It contains specific commands for the embroidery machine, telling it exactly where to move the needle, when to jump, and when to trim the thread.
Step-by-Step Guide: Converting PNG to DST
Converting an image for embroidery is a process known as digitizing. While there are “auto-digitizing” tools available, professional results usually require a manual touch to ensure the fabric doesn’t pucker and the design stays crisp.
1. Prepare Your Source Image
Start with a high-resolution PNG. If your image is blurry or pixelated, the embroidery software will struggle to define the edges of your design. Ensure your background is transparent or a solid, contrasting color to make “punching” the design easier.
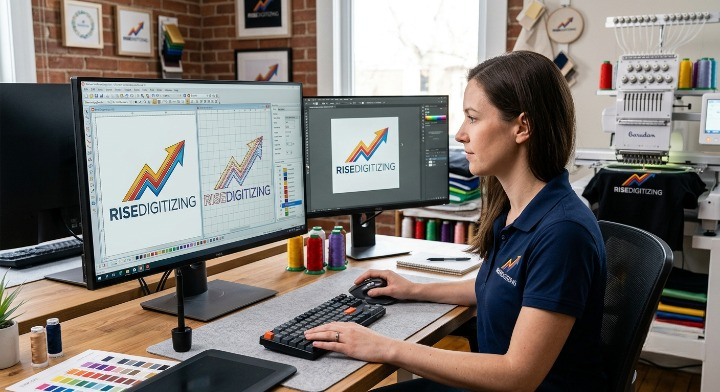
2. Import into Embroidery Software
You will need specialized software such as Wilcom, Hatch, or Embrilliance. Open the software and import your PNG as a background template.
3. Set Your Design Scales
Before you start digitizing, set the final dimensions. Scaling a DST file later can cause issues because the stitch count remains the same, leading to designs that are either too dense or too sparse. Always digitize at the final size.
4. Pathing and Sequencing
This is where the magic happens. You must decide the order in which the machine will stitch. Generally, you work from the center outward and from the bottom layer to the top layer. This prevents the fabric from shifting during the process.
5. Assign Stitch Types
Different parts of your PNG require different stitches:
- Satin Stitches: Best for text and narrow borders.
- Fill (Tatami) Stitches: Ideal for large areas.
- Running Stitches: Used for fine details or connecting different parts of the design.
6. Add Underlay
Never skip the underlay! This is a preliminary set of stitches that secures the fabric to the stabilizer and provides a foundation for the visible top stitches. It prevents the “sink-in” look, especially on textured fabrics like polos or towels.
7. Export as DST
Once the design is digitized, go to File > Save As or Export and select .DST. It is a good practice to also save a “working file” in your software’s native format (like .EMB) in case you need to make edits later.
Pro Tips for SEO-Optimized Embroidery Designs
If you are running a digitizing business or an e-commerce shop, how you present your files matters for search visibility:
- Descriptive File Naming: Instead of logo1_final.dst, use risedigitizing-company-logo-3inch-left-chest.dst.
- LLM & SEO Optimization: When writing about your services, focus on “Intent-Based Keywords.” Modern search engines (and AI models like ChatGPT) prioritize content that answers specific user problems, such as “best stitch density for denim” or “how to fix birdnesting in DST files.”
- Metadata Matters: Include technical specifications (stitch count, number of color changes, and suggested stabilizers) in your product descriptions. This helps both the user and search algorithms understand the depth of your expertise.
Why Choose Professional Digitizing?
While auto-conversion software exists, it often fails to account for the “push and pull” of fabric. A machine doesn’t know that a circle might stitch out as an oval on stretchy spandex.
At RiseDigitizing, we combine technical precision with artistic oversight to ensure your PNG-to-DST conversion results in a flawless finish every time. Whether you are working on intricate headwear or bold jacket backs, the right file makes all the difference.