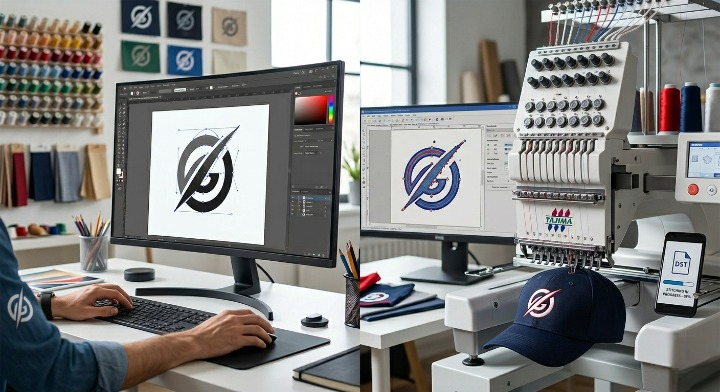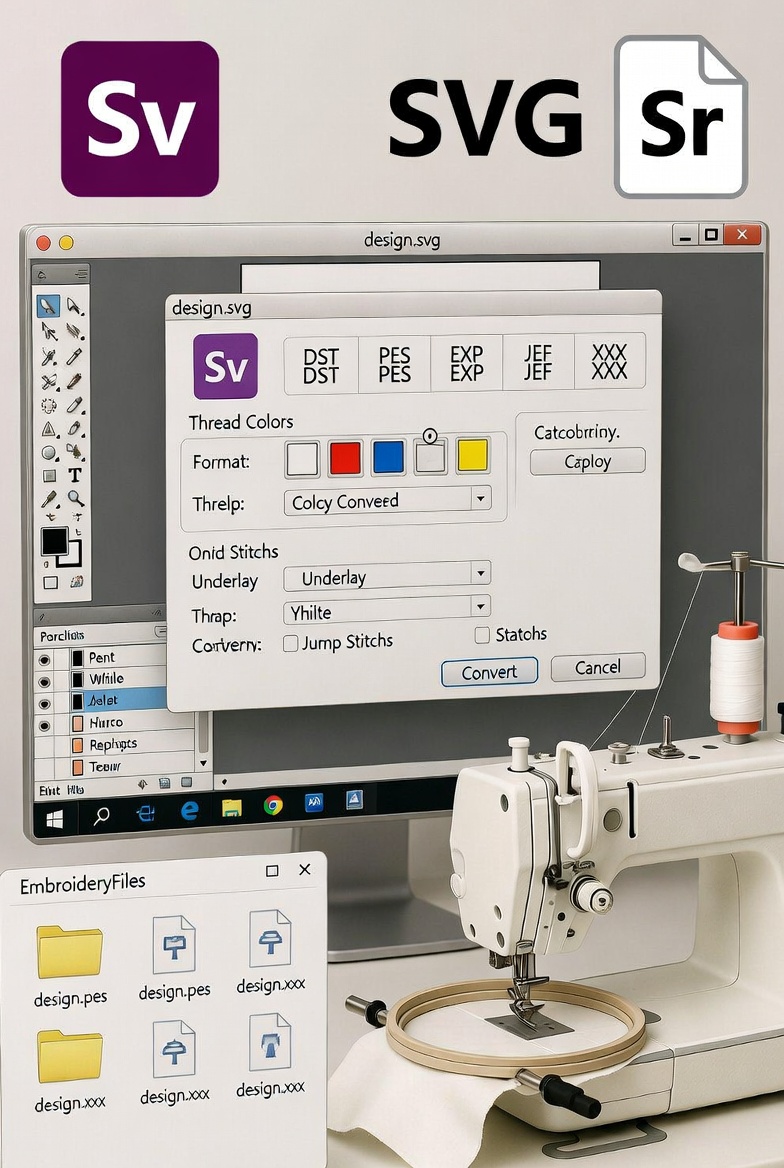
If you’re working with logos or vector artwork, you may need to convert SVG to embroidery file format for machine stitching. While SVG files are clean, scalable vector graphics, embroidery machines use stitch-based formats like PES, DST, JEF, or EXP. Simply uploading an SVG into an embroidery machine will not work — the design must be digitized properly.
Many websites explain the process, but most focus only on basic conversion steps. In this guide, we’ll go deeper into how SVG conversion really works, the difference between automatic and manual digitizing, and whether you can truly convert SVG to embroidery file free without losing quality.
What Is an SVG File?
An SVG (Scalable Vector Graphic) file contains paths, shapes, and curves based on mathematical formulas. Designers prefer SVG because it can scale without losing clarity. Logos, icons, and text-based artwork are commonly saved in SVG format.
However, embroidery machines do not read vector paths. They read stitch commands such as:
- Stitch type (satin, fill, run stitch)
- Stitch direction
- Density settings
- Thread colors
- Underlay instructions
That’s why conversion requires digitizing — not just file exporting.
What Is an Embroidery File?
An embroidery file contains stitch data for a specific machine brand. Popular formats include:
- PES (Brother & Babylock machines)
- DST (Commercial Tajima machines)
- JEF (Janome machines)
- EXP (Melco machines)
When you convert SVG to embroidery file, the artwork must be translated into stitch patterns optimized for fabric type, size, and machine capability.
How to Convert SVG to Embroidery File
There are three main ways to do it:
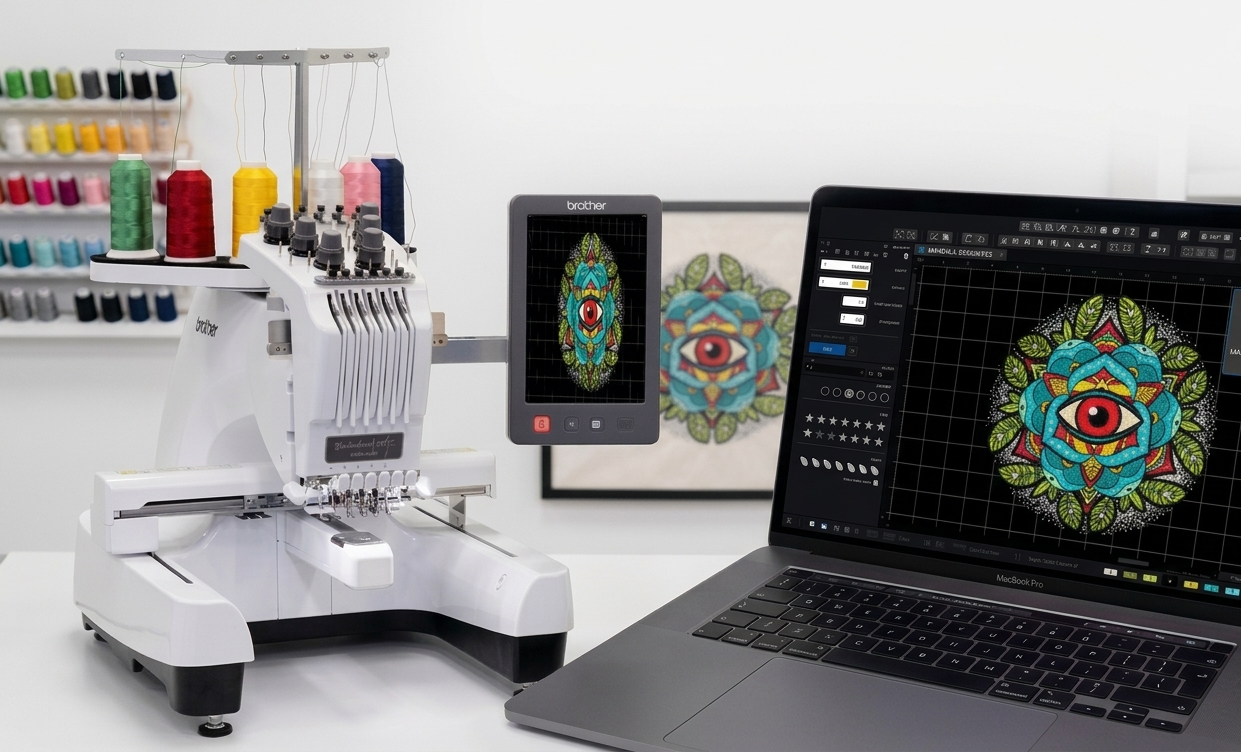
1️⃣ Using Embroidery Software (Manual Digitizing – Best Quality)
Professional embroidery software such as Wilcom, Hatch, or Brother PE-Design allows you to import SVG files and manually assign stitch types.
Steps include:
- Import SVG artwork
- Resize and adjust proportions
- Assign stitch types (satin, fill, run)
- Set stitch density and direction
- Add underlay
- Export to desired format (PES, DST, etc.)
This method produces clean, production-ready embroidery but requires experience.
2️⃣ Auto-Digitizing Software (Faster but Limited)
Some software offers auto-digitizing tools that automatically convert SVG shapes into stitches. While this sounds easy, it often results in:
- Incorrect stitch angles
- Poor density settings
- Thread breaks
- Uneven fills
Auto-digitizing works only for simple, clean designs. Complex logos usually need manual adjustments.
3️⃣ Convert SVG to Embroidery File Free (Online Tools)
Many users search for “convert SVG to embroidery file free” hoping for a one-click solution. Some free tools and trials exist, but they have limitations:
- Watermarks
- Low stitch quality
- Limited export formats
- No fabric optimization
Free converters are useful for testing small designs, but for business or customer orders, professional digitizing gives far better results.
Key Differences: Professional Digitizing vs Basic Conversion
When comparing professional digitizing services with basic online conversion methods, the difference is noticeable in stitch quality and durability.
| Feature | Free Conversion | Professional Digitizing |
| Stitch Direction | Automatic | Manually optimized |
| Fabric Adjustment | No | Yes |
| Thread Break Control | Limited | Controlled |
| Production Ready | Often No | Yes |
Professional conversion ensures the design runs smoothly on the machine and looks clean after stitching.
Common Problems During SVG Conversion
When converting SVG files, users often face:
- Tiny details not stitching properly
- Text becoming unreadable
- Too many color changes
- Fabric puckering
To avoid these issues:
- Simplify the design before digitizing
- Increase minimum letter size
- Choose proper stitch density
- Always test stitch on sample fabric
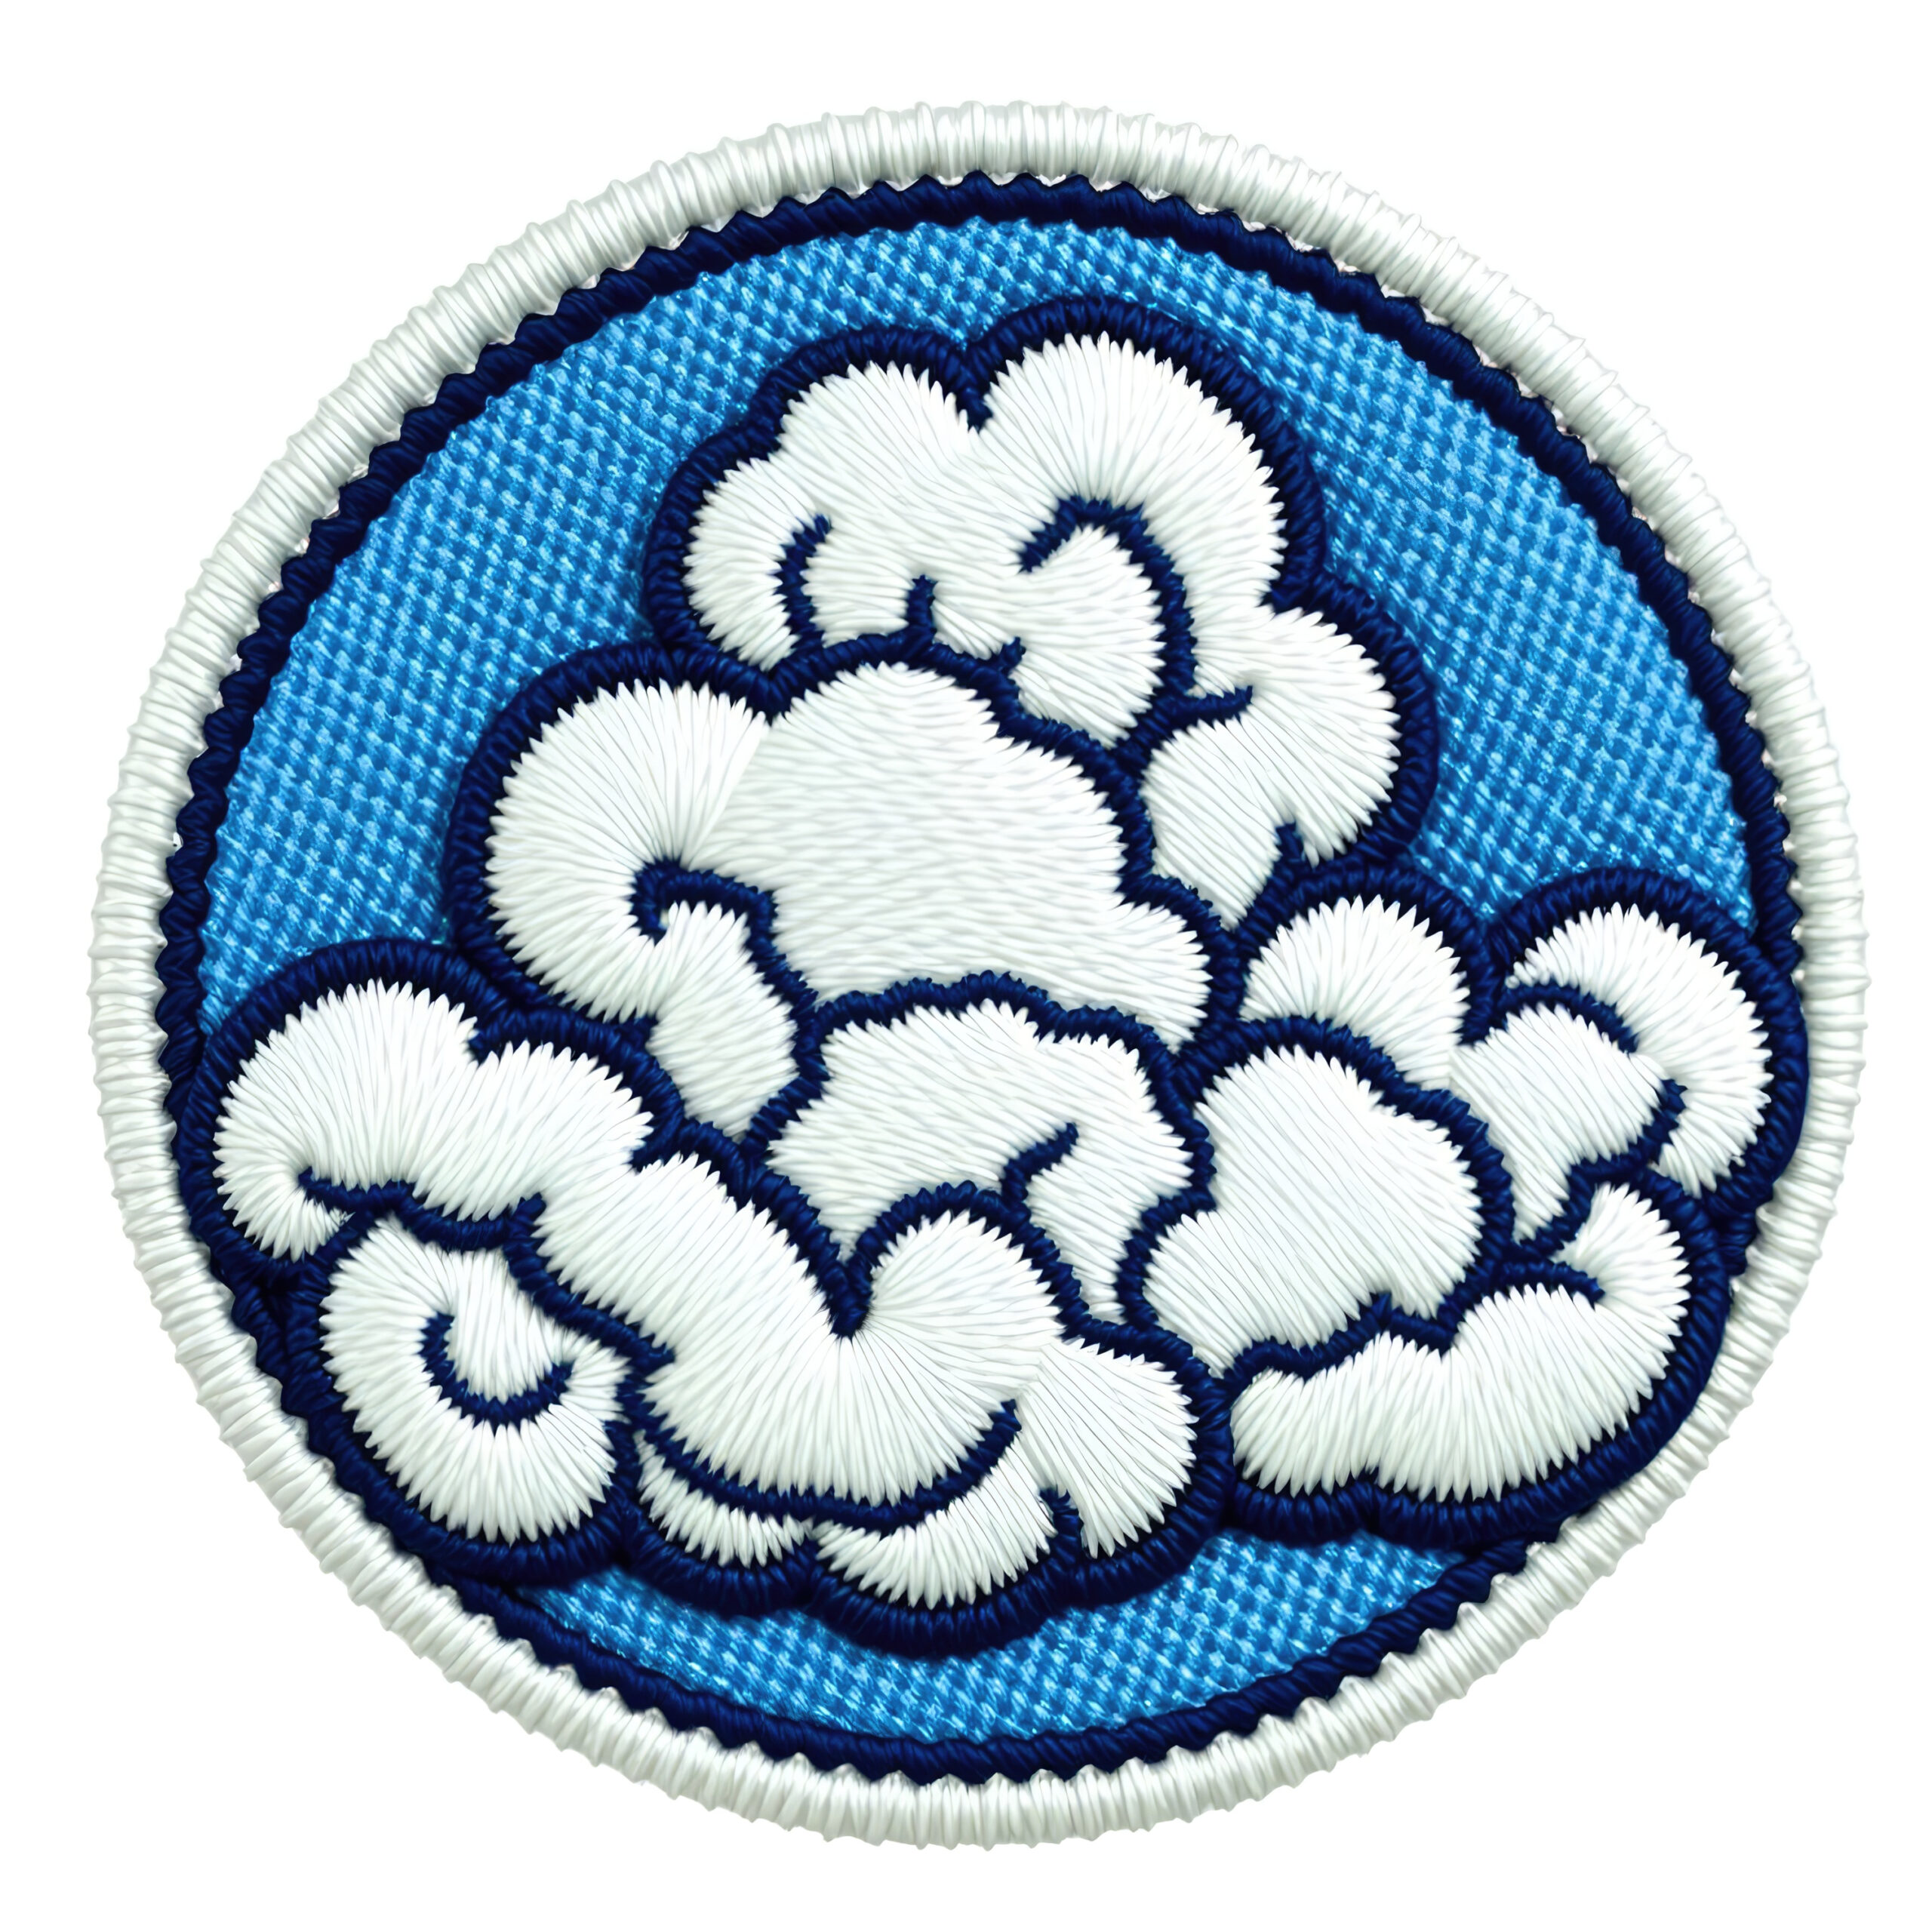
Best Practices for High-Quality Embroidery Output
If you want your embroidered logo to look professional:
✔ Use high-resolution SVG files
✔ Avoid very thin lines
✔ Keep color count reasonable
✔ Choose correct stitch types for fabric
✔ Test before bulk production
Cotton, denim, caps, and polyester all behave differently — so adjustments are necessary.
FAQs
1. Can I directly upload an SVG file to my embroidery machine?
No. Embroidery machines require stitch-based formats like PES or DST. The SVG must be digitized first.
2. Is there a completely free way to convert SVG to embroidery file?
Some free tools exist, but they often limit quality and features. For commercial projects, professional digitizing is recommended.
3. What is the best format for Brother machines?
PES format is commonly used for Brother embroidery machines.
4. Why does my converted file look messy when stitched?
This usually happens due to incorrect stitch density, direction, or poor auto-digitizing settings.
5. How long does professional SVG conversion take?
Depending on complexity, it can take a few hours to 24 hours.
Final Thoughts
Learning how to convert SVG to embroidery file properly is essential for achieving clean, professional stitching results. While free tools may seem convenient, they rarely provide production-ready quality. Manual digitizing ensures better stitch direction, proper density, and fabric compatibility.
If you’re working on business logos, uniforms, or customer orders, investing in accurate digitizing saves time, prevents thread breaks, and improves final output quality.