If you work with commercial embroidery machines, you’ve likely come across the DST embroidery file format. It is one of the most widely used machine file types in the embroidery industry. Whether you are a beginner learning digitizing or a professional running multi-head machines, understanding how DST files work can save time, reduce errors, and improve stitch quality.
This guide explains everything clearly — what a DST embroidery file is, how it works, how to open it, and how to convert to DST embroidery file properly. We’ll also compare common practices used in the industry and highlight important differences that many online guides miss.
What Is a DST Embroidery File?
A DST embroidery file format (Data Stitch Tajima) was originally developed for Tajima embroidery machines. Over time, it became the industry standard and is now supported by most commercial embroidery machines.
Unlike image files such as JPG or PNG, a DST file does not store a picture. Instead, it stores:
- Stitch coordinates
- Stitch direction
- Jump stitches
- Trim commands
- Basic machine instructions
It does not store color information in detail, which means thread colors must often be assigned manually in the machine or software.
Why DST Is Still the Industry Standard
Even though newer embroidery formats exist, the DST embroidery file format remains dominant because:
- It is compatible with most commercial machines
- It produces reliable stitch output
- It works well for logos and text
- It is lightweight and easy to transfer
Compared to other formats like PES or EXP, DST is more universal. Many embroidery businesses prefer receiving DST files from digitizers because they reduce compatibility issues.
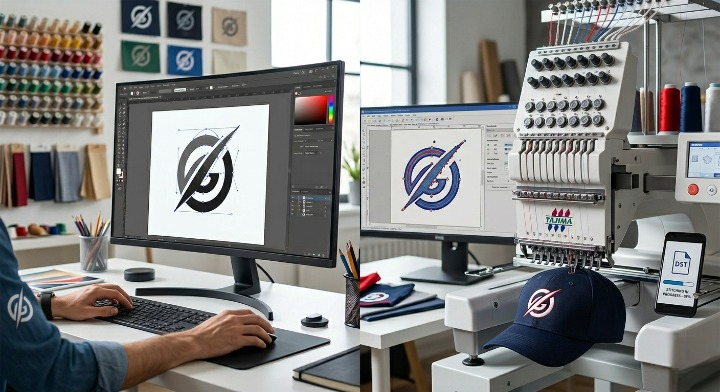
How to Convert to DST Embroidery File
One of the most searched topics is how to convert to DST embroidery file correctly. A common mistake is assuming you can simply rename a file extension. That does not work.
To convert properly, you must use embroidery digitizing software such as:
- Wilcom
- Hatch
- Brother PE-Design
- Embird
Step-by-Step Process:
- Import your artwork (PNG, JPG, AI, EPS, etc.)
- Digitize the design (assign stitch types, directions, density)
- Adjust pull compensation and underlay
- Preview stitch simulation
- Export as DST format
Proper digitizing is essential. If you skip stitch adjustments, the design may look good on screen but stitch poorly on fabric.
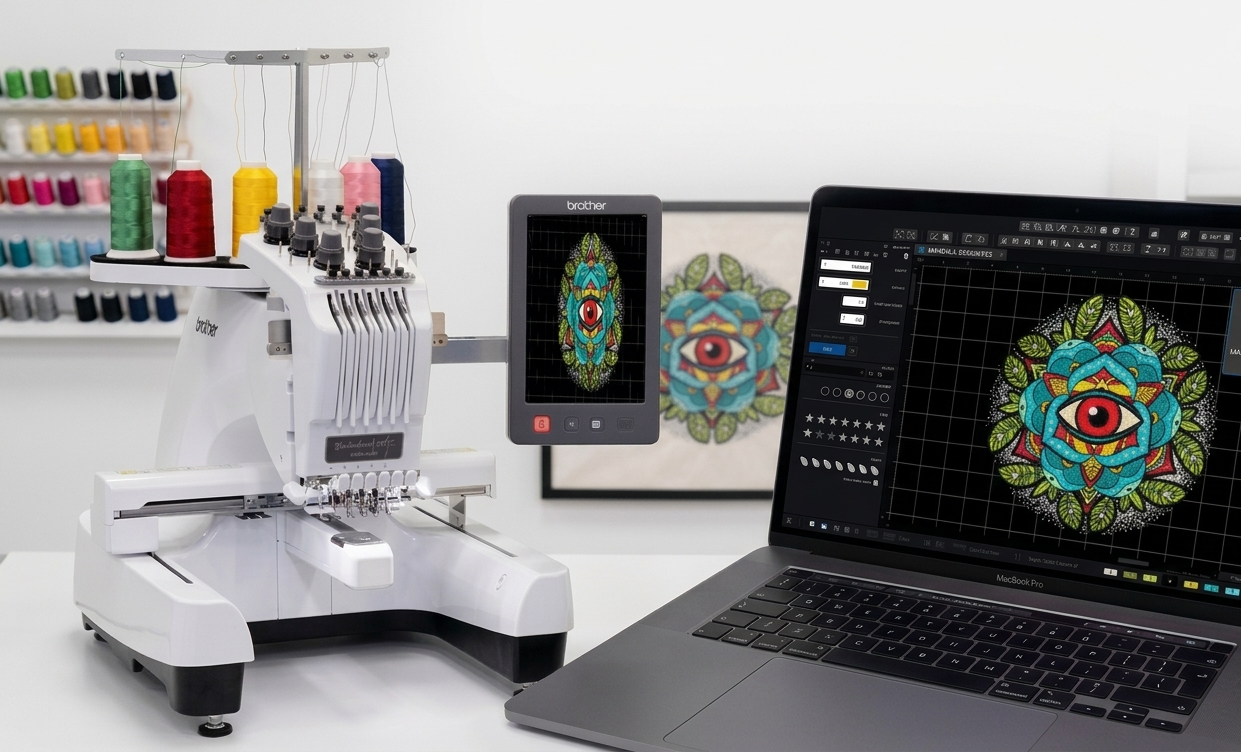
Using a DST Embroidery File Viewer
Before sending a file to production, it’s smart to use a DST embroidery file viewer. This allows you to:
- Preview stitch paths
- Detect jump stitches
- Check design size
- Review stitch count
Free and paid viewers are available online. A viewer helps prevent costly production mistakes and ensures the file runs smoothly on your machine.
Where to Find Free DST Embroidery Files
Many beginners search for free DST embroidery files to practice. These can be useful for learning machine operation and stitch behavior.
However, keep in mind:
- Free files may not be optimized
- Stitch density may be incorrect
- Some designs lack proper underlay
- Quality varies significantly
For commercial projects, professionally digitized files are strongly recommended to ensure clean results and avoid thread breaks.
Comparing Common Online Guides vs Professional Workflow
Many blogs explain how to convert images into DST files by focusing mainly on file conversion tools. However, experienced digitizers know that the real process is not simple “conversion” — it is digitizing.
Some online tutorials emphasize automatic conversion features. While auto-digitizing tools exist, they often:
- Produce heavy stitch counts
- Ignore fabric type
- Miss pull compensation
- Create poor stitch sequencing
A professional workflow includes manual stitch planning, underlay setup, path optimization, and testing. This produces better embroidery quality and fewer machine issues.
The difference between basic conversion and professional digitizing can significantly impact final embroidery results.
Feature Comparison Table: Methods to Create a DST Embroidery File
| Feature | Auto Conversion Tools | Professional Digitizing Software | Free Online Converters |
| Ease of Use | Very Easy | Moderate (requires skill) | Easy |
| Stitch Quality | Basic / Inconsistent | High & Optimized | Low to Medium |
| Fabric Optimization | ❌ No | ✅ Yes | ❌ No |
| Underlay Control | ❌ Limited | ✅ Full Control | ❌ No |
| Pull Compensation | ❌ Not Available | ✅ Adjustable | ❌ No |
| File Editing Options | Limited | Advanced | Very Limited |
| Best For | Simple logos | Commercial production | Practice use |
| Error Risk | Medium | Low | High |
| Machine Compatibility | Usually Compatible | Fully Compatible | May vary |
| Cost | Low / Subscription | Paid Software | Free |
Common Problems with DST Embroidery Files
Even experienced users face issues. Here are common problems and solutions:
1. Thread Breaks
Usually caused by high stitch density or sharp angles.
Solution: Reduce density and smooth stitch paths.
2. Design Distortion
Occurs due to fabric stretch and lack of compensation.
Solution: Add pull compensation and proper underlay.
3. Excess Jump Stitches
Poor sequencing can increase machine time.
Solution: Optimize stitch path before exporting.
Best Practices for High-Quality DST Files
- Always digitize according to fabric type
- Keep stitch density balanced
- Use proper underlay
- Check final stitch count
- Preview in a DST embroidery file viewer
- Run a test stitch before production
These steps reduce waste and improve embroidery quality.
FAQs
1. What is the difference between DST and other embroidery formats?
DST is more universal and widely accepted by commercial machines, but it stores limited color information compared to formats like PES.
2. Can I directly convert a JPG to DST embroidery file?
No. You must digitize the image using embroidery software before exporting it as DST.
3. Are free DST embroidery files safe to use?
They are fine for practice, but quality may vary. For commercial work, professionally digitized files are recommended.
4. How do I open a DST file?
You need embroidery software or a DST embroidery file viewer to preview and edit the design.
5. Why does my DST file look different when stitched?
Fabric type, tension, and digitizing quality affect the final result.
Final Thoughts
The DST embroidery file remains a cornerstone of the embroidery industry. While many guides focus on simple conversion methods, true quality comes from proper digitizing — not just changing file formats.
Understanding the DST embroidery file format, using a reliable DST embroidery file viewer, learning how to properly convert to DST embroidery file, and being cautious with free DST embroidery files can significantly improve your embroidery results.