The badges with embroidery are an excellent method to display your creative side and personalize clothes, as well as to promote your business. If you’re looking to design unique patches for your clothing, uniforms, bags, or for collectibles, designing your own custom embroidered badge is a rewarding and satisfying undertaking.
This guide will show you how to make an embroidered badge completely from scratch. It’s a great project for those who are new to the craft.
Materials You’ll Need
Before beginning, you should gather the required materials:
Fabric: Choose a sturdy fabric, such as felt or twill to make your badge. They hold stitches with ease.
Embroidery Hoop: Keeps your fabric in place and steady while sewing.
Thread for Embroidery: Top-quality threads that match the colours of your designs.
Needles: Needles for embroidery. Choose needles appropriate to your material’s thickness.
Stabilizer: Helps to prevent your fabric from puckering when embroidery.
Scissors: Small, sharp scissors to trim threads and fabrics.
Transfer Tools: Water-soluble pen or pencil to trace your design.
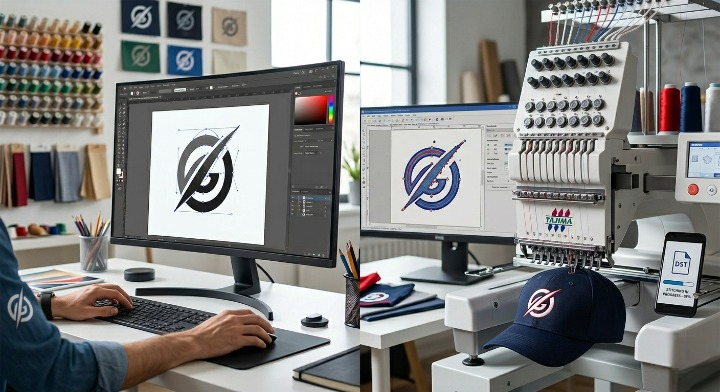
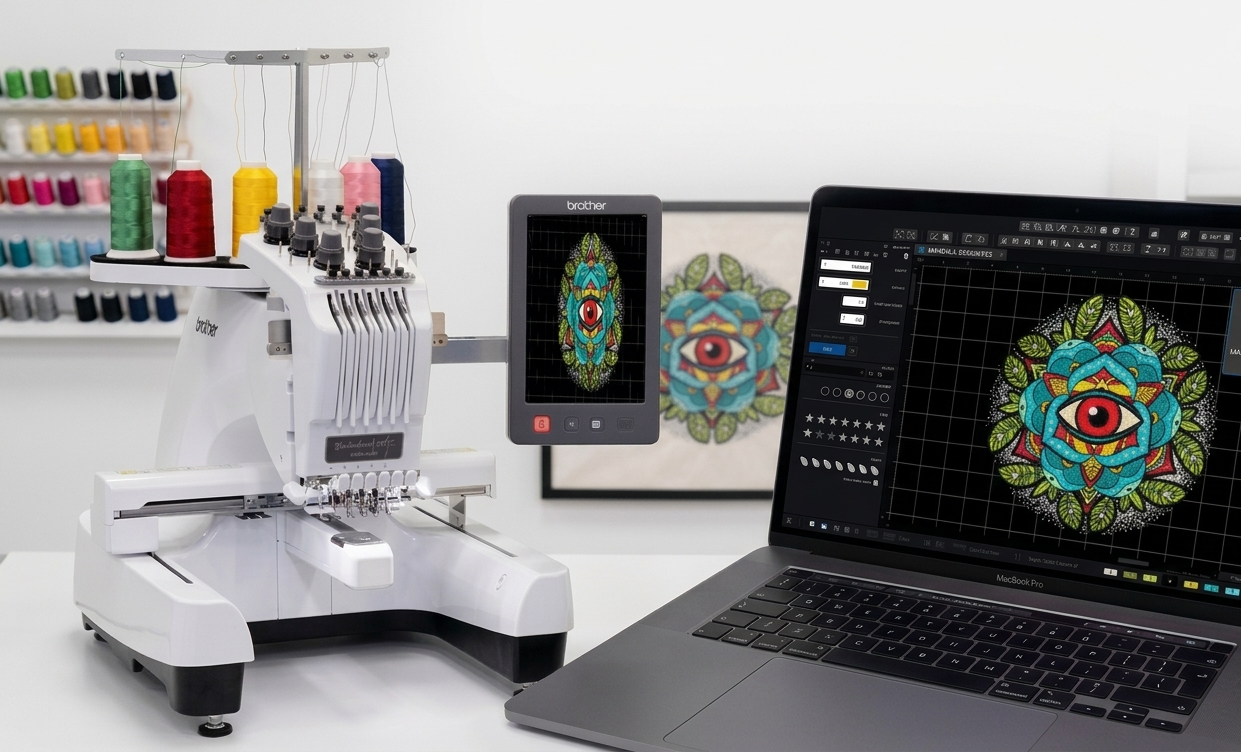
Step 1: Design Your Badge
Get a good idea of the design you’d like the badge to look like. Make it as simple as possible. Create your sketch on paper, then work out the design’s details. After you’re satisfied, transfer the image onto the fabric with a water-soluble pen or transfer sheet.
Step 2: Prepare Your Fabric
Place the fabric in an embroidery hoop, keeping it in place while stitching. If the fabric you are using is very thin, it may be beneficial to add a stabilizer beneath to help support your stitches and avoid distortion. Check that your fabric is clean and wrinkle-free before you begin.
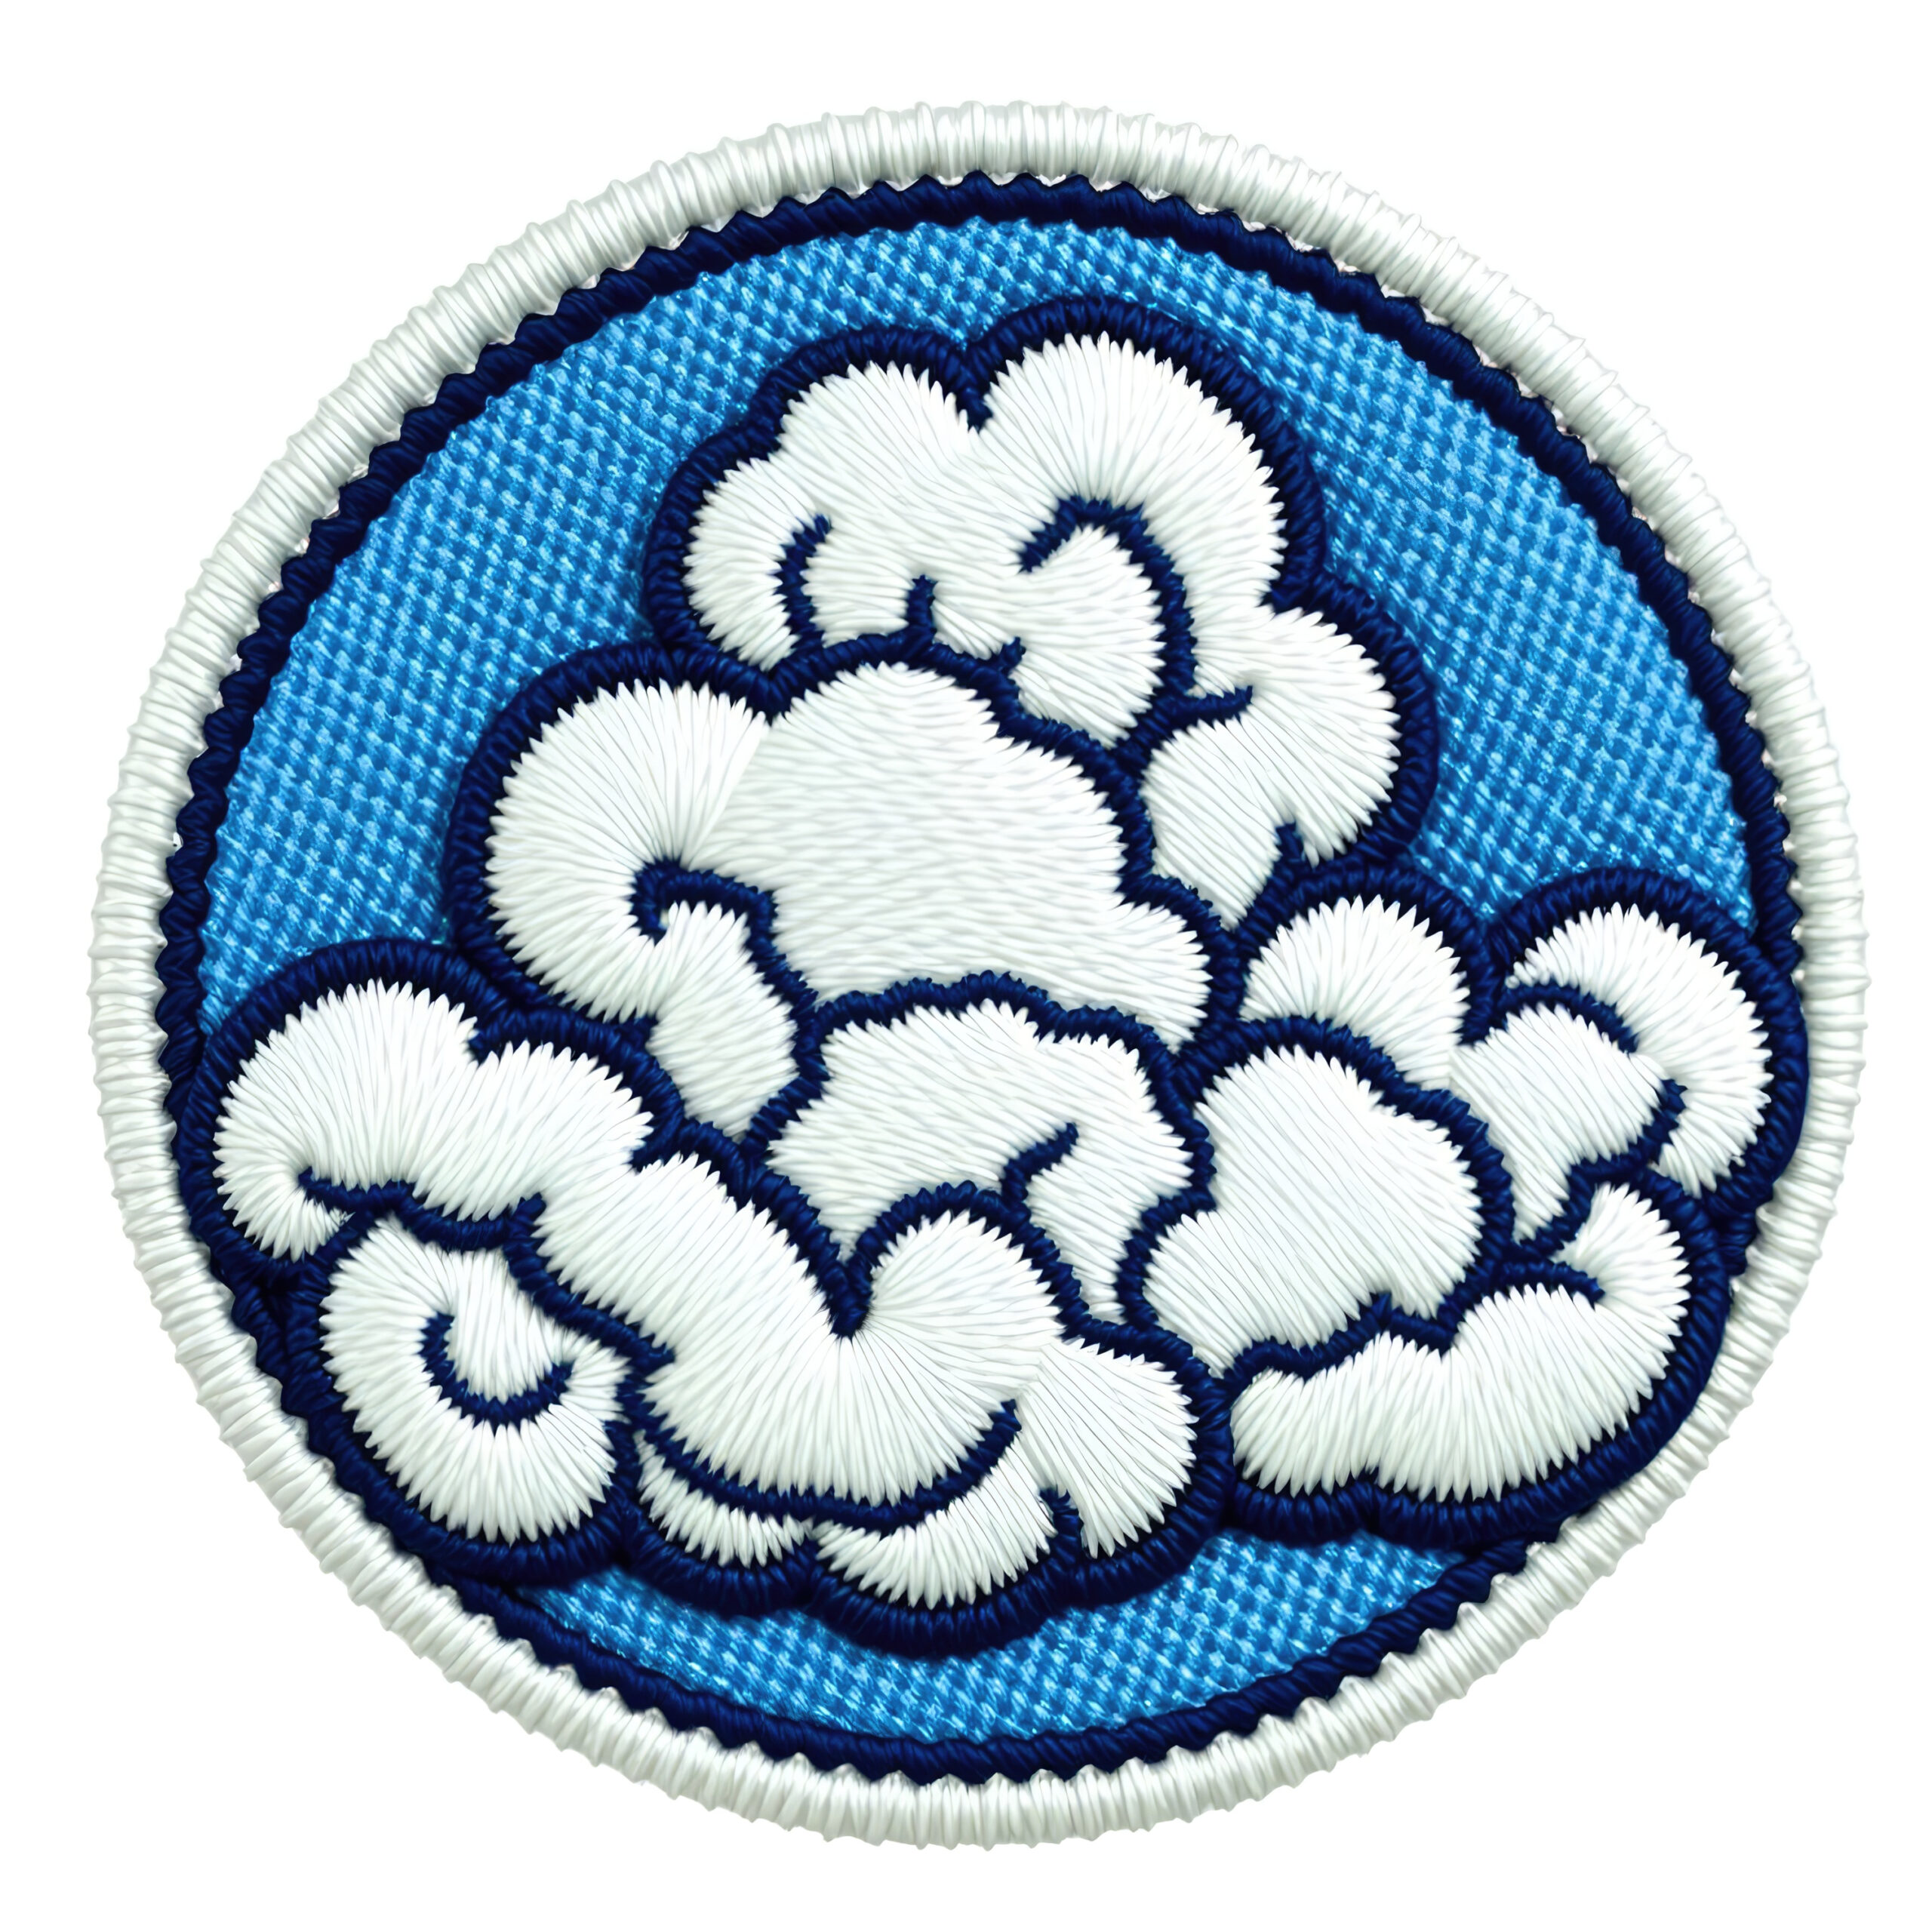
Step 3: Choose Your Stitches
The different stitches used in embroidery can produce various appearances and textures. For beginners, it is common to employ:
Backstitch: Great for drawing outline and lettering.
Satin Stitch: Perfect to fill in shapes using solid color.
French Knots: Adds small dot-like raised dots for more details.
Run Stitch: Useful for basic lines as well as border lines.
Make sure you practice your selected stitches on a piece of fabric before you become comfortable.
Step 4: Start Embroidering
Use the lines of your design before beginning stitching. Do it with caution. Make sure the tension of your thread is consistent to prevent puckering. Take your time, particularly when working around corners or curves. If you’re using a variety of shades, be sure to keep the thread’s ends secure on the reverse of the fabric.
Step 5: Finish Your Badge
After the embroidery is complete, cut off any excess fabric surrounding the badge, leaving some space to finish. If you’d like the badge to be iron-on, you can attach the adhesive backing now. For a smooth edge, stitch a border around the badge with blanket stitches.
Step 6: Attach Your Badge
Your embroidered badge is now ready to attach to clothes, bags, or other items. If you’ve used an iron-on backing, make sure you follow the directions for applying adhesive. If not, you may sew it directly onto the fabric with the appropriate thread and needle.
Tips for Beginners
Start small and simple concepts to help build confidence.
Make sure your hands are relaxed to prevent hand fatigue.
Choose threads with different colors to ensure more visibility for your design.
Keep scissors nearby to ensure a neat trim.
The process of creating badges with embroidery is a source of unlimited imagination. After you have mastered the fundamentals, you’ll be able to play using different textures, shapes, and even colors to create individual badges that you can give as gifts.
Rise Digitizing will help bring your unique badge designs to life using high-end digitizing solutions. Whether you’re making designs for personal or professional use, the Custom Embroidered Patches in USA service will provide top-quality results in embroidery.