Applique flowers are now an increasingly sought-after method of embroidery to add appearance, depth, and elegance to projects made of fabric. If you’re a casual or an expert embroiderer, understanding how to make applique flowers is a great way to enhance your designs and add a unique touch to sewing projects. This blog will discuss everything from the basics of embroidery to more advanced 3D designs. We will also cover the steps to create how to make 3D applique flowers and how to use 3D puff embroidery digitizing.
What Are Applique Flowers?
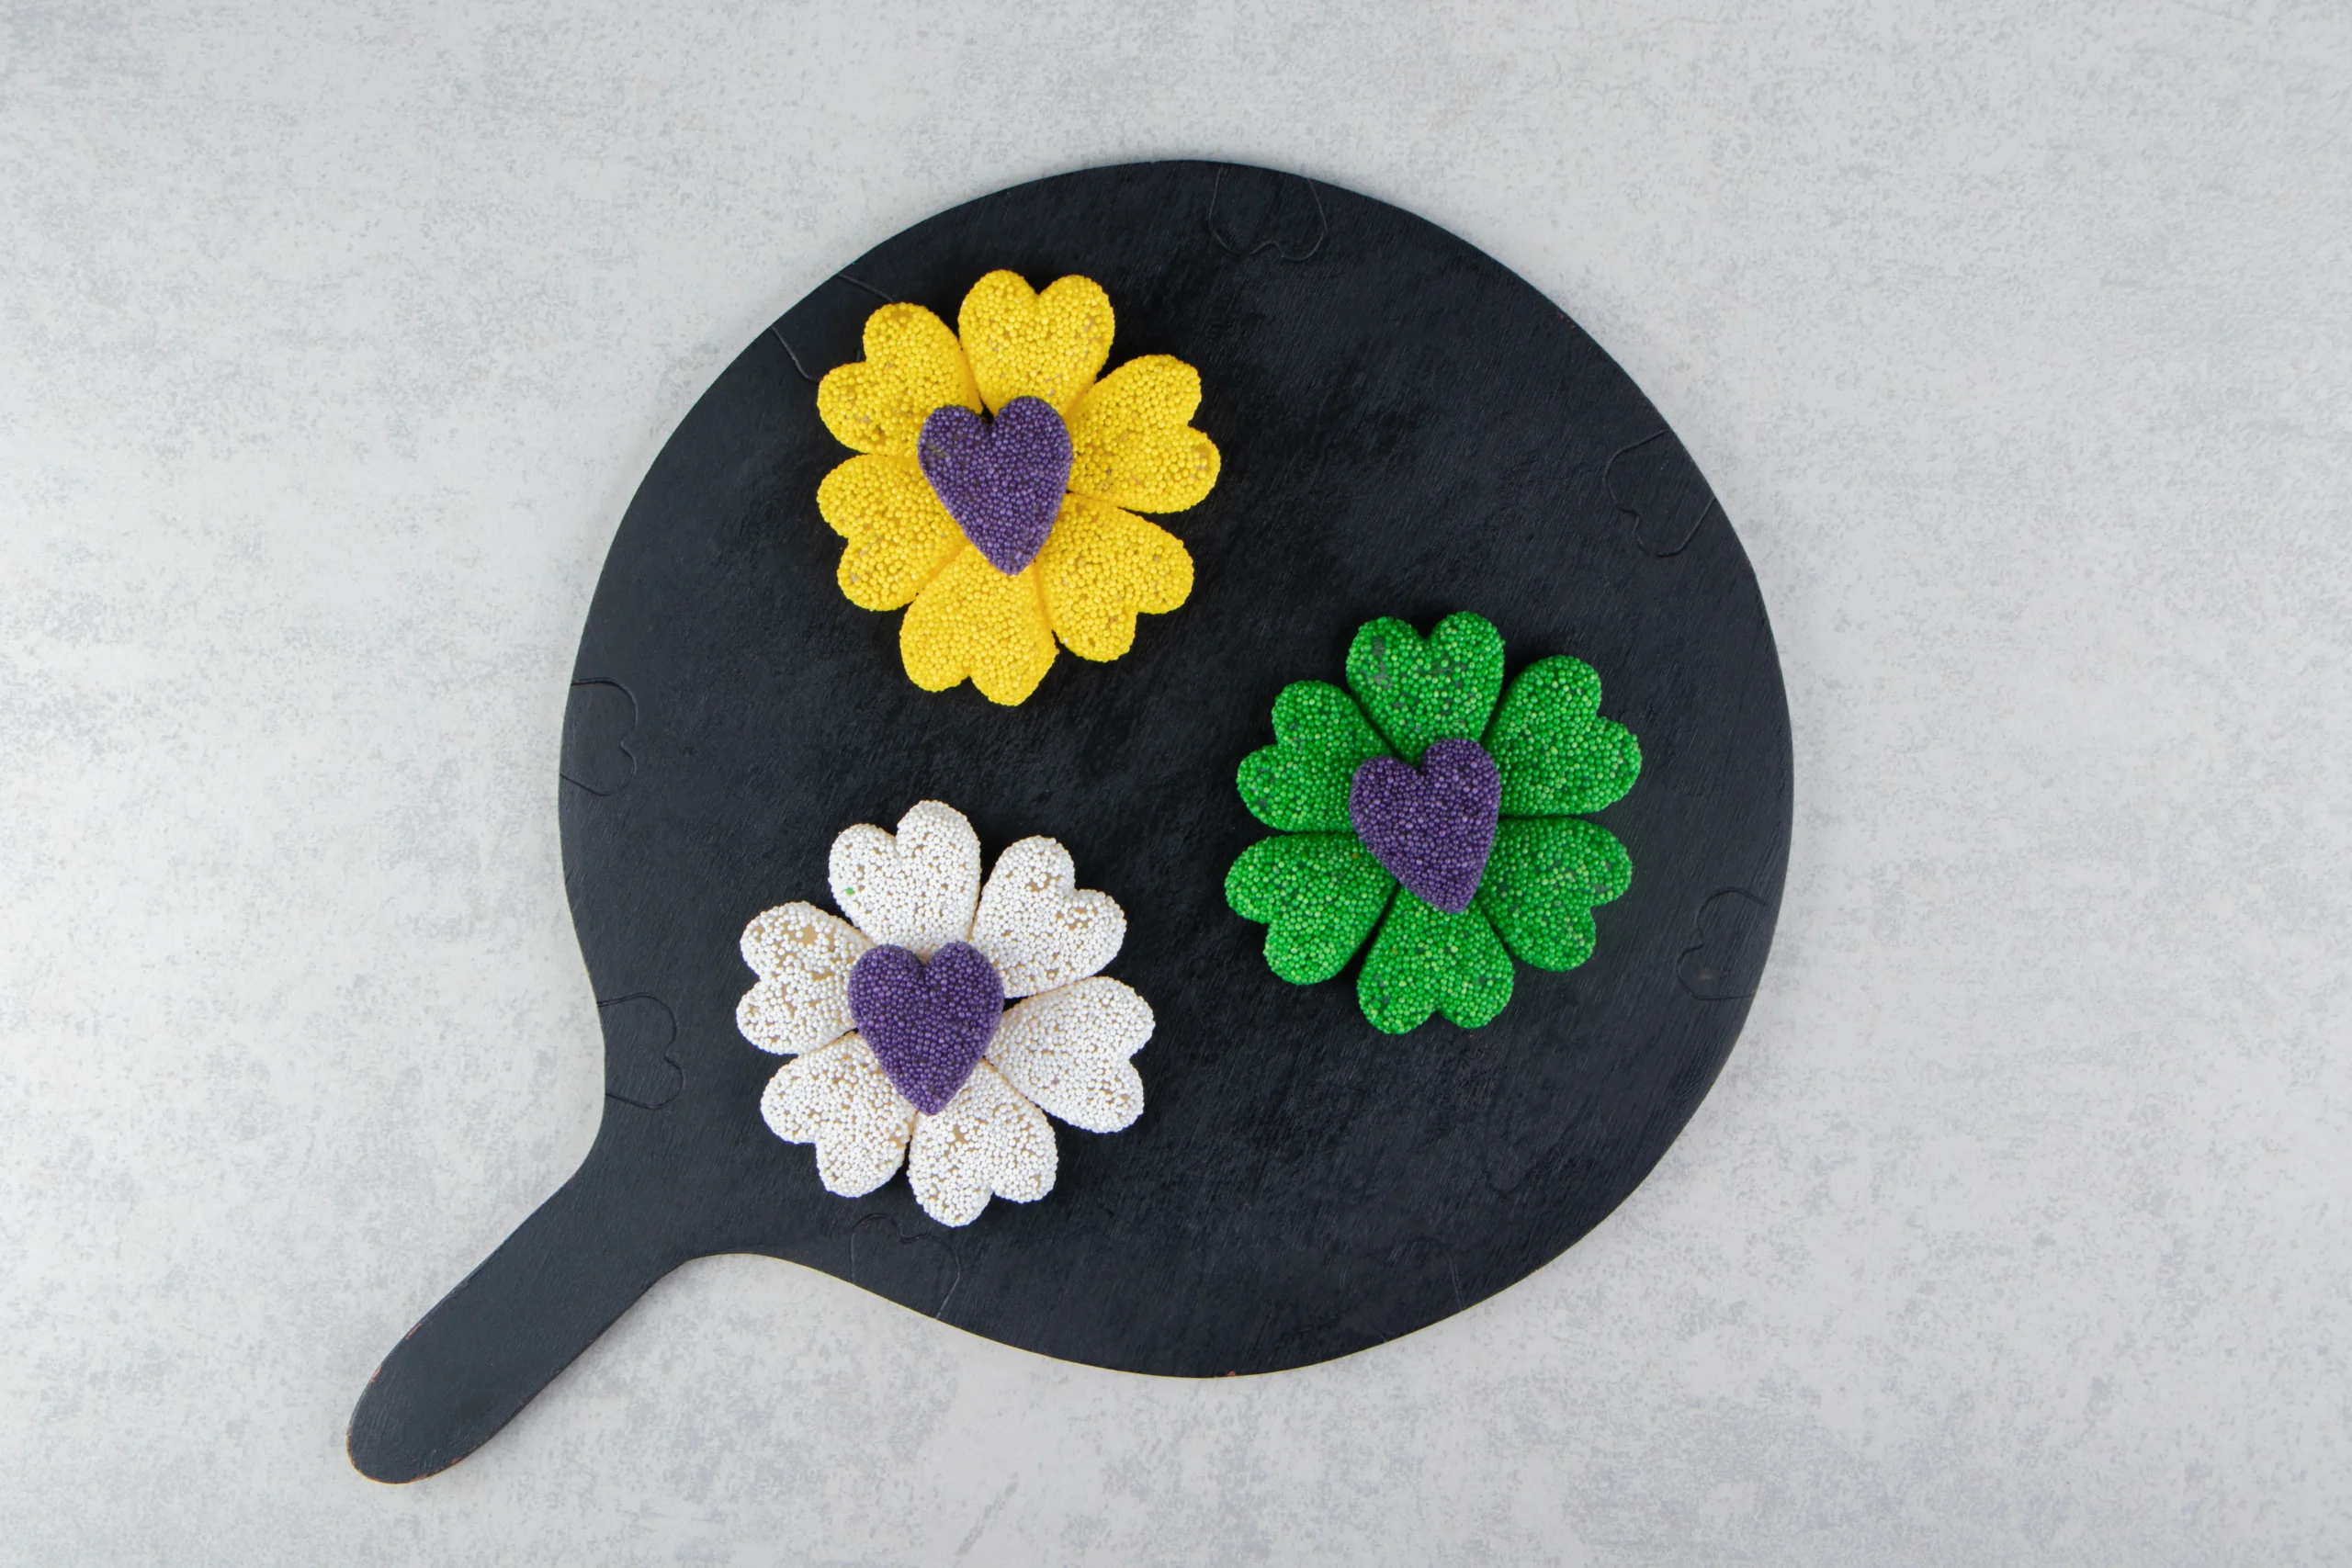
Applique is a method where fabric parts are stitched onto a base fabric to produce patterns. In the case of floral designs, the applique flowers create a stunning, multi-layered appearance that transforms ordinary embroidery into a professional piece of art. The flowers can be used in a variety of ways and are suitable for garments, fabrics, home decoration, bags, and hats.
The appeal of appliqued flowers lies in the way they appear in dimensions. By layering fabrics of different types, adjusting stitching patterns, or even using puff stitching techniques, they can look almost lifelike.
Tools and Materials Needed
Before you can learn how to make applique flowers, it is important to have the proper equipment:
Base fabric (cotton, linen, denim, or canvas)
Fabric scraps with floral hues
Hand embroidery or embroidery machine
Stabilizer or fusible web to secure applique pieces
Embroidery thread in matching or contrasting colors
Rotary cutter or scissors for precise cutting
Needles (hand stitching) and machine needles
Fabric pen or water-soluble marker to trace patterns
With the right material, the applique flowers you create are not just beautiful, but also long-lasting and properly stitched.
Step-by-Step Guide on How to Make Applique Flowers
1. Choose Your Design
Choose the style of flower you wish to design. Basic designs such as daisies or roses work well for novices, while layered flowers such as lotus or peonies can be used for more sophisticated designs. You can find pre-made floral templates or create your own design on paper.
2. Prepare the Base Fabric
Iron the base fabric and attach a stabilizer if required. This stops puckering and ensures your applique remains in place.
3. Cut Fabric Pieces
Using your template, cut fabrics for each leaf and petal. Precision is crucial, as uneven cuts can make the flower look messy. Use a rotary cutter or scissors based on your preference.
4. Apply Fusible Web
Affix a fusible web on the back of every fabric piece. This temporarily attaches the fabric to the base fabric prior to stitching and reduces shifting during sewing.
5. Arrange the Flower
Place the fabric pieces onto the base fabric according to your design. Overlap layers and petals to create depth. Once satisfied, gently press to hold them in place.
6. Stitch the Applique
With a sewing machine or hand stitching, secure the edges of each fabric piece. Zigzag or satin stitches are commonly used to cover raw edges and prevent fraying.
7. Add Details
Enhance the look of your flowers with additional stitching for texture, such as French knots for flower centers or decorative stitches to create petal veins.
How to Make 3D Applique Flowers
For more dimensional designs, understanding how to make 3D applique flowers is essential. This method involves layering fabrics with padding beneath petals to create a raised effect.
Use different layers: Stack smaller petals on top of larger ones.
Add batting or foam: Place a thin layer under petals for volume.
Fold and tuck fabric: Slightly fold petals or curl edges for natural-looking blooms.
3D applique flowers are perfect for statement pieces on bags, jackets, or cushions, providing a tactile, luxurious design.
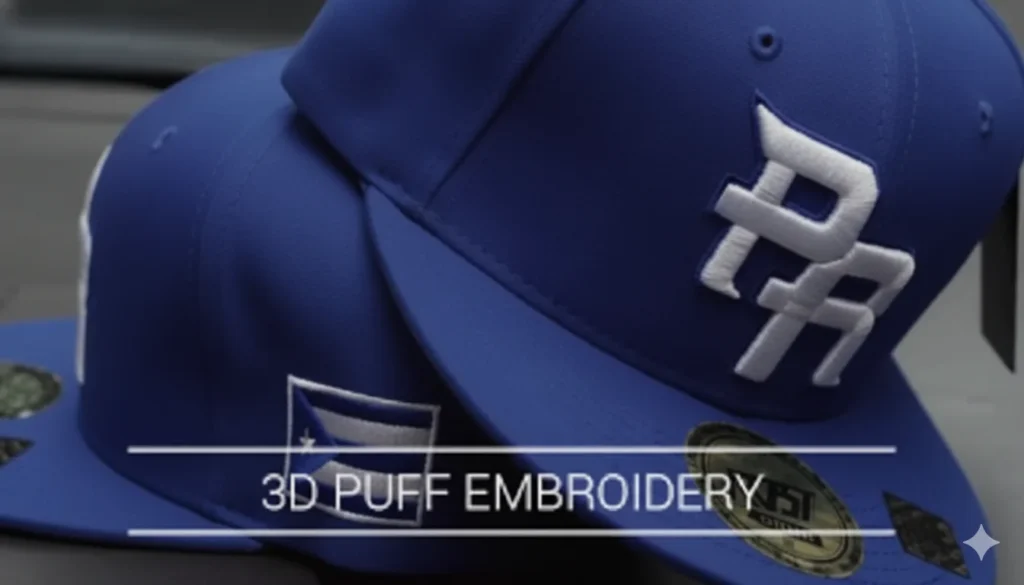
3D Puff Embroidery Digitizing
For machine embroiderers, combining puff embroidery with applique enhances the 3D effect. 3D puff embroidery digitizing uses specialized embroidery software and foam to create designs that rise above the fabric.
Digitize the design carefully to ensure even stitches over the foam.
Adjust stitch density to prevent thread breakage or uneven puff.
Use stabilizers to support both foam and fabric for lasting results.
This technique is ideal for professional embroidery and commercial projects, giving your appliqued flowers a realistic and high-end appearance.
Tips for Perfect Applique Flowers
Pre-wash fabrics to avoid shrinkage.
Use contrasting threads for decorative stitching or matching threads for subtle edges.
Experiment with fabric textures like velvet, satin, or felt.
Arrange petals strategically to enhance depth.
Press carefully after stitching to set the design without flattening the 3D effect.
Frequently Asked Questions (FAQs)
1. Can I make applique flowers by hand?
Yes! Hand-applique can be done using embroidery thread or a needle. Blanket stitches, satin stitches, or whip stitches work well for securing fabric pieces.
2. What fabrics are best for applique flowers?
Cotton and felt are ideal for beginners because they are easy to cut and handle. For 3D applique, thicker fabrics like velvet or double layers provide more volume.
3. How does 3D puff embroidery digitizing work?
3D puff embroidery digitizing uses embroidery software to create stitch patterns over foam, raising the design above the fabric. Precise digitizing is essential to prevent uneven stitches or thread breakage.
Final Thoughts
Learning how to make applique flowers opens up endless creative possibilities for your embroidery projects. Whether you use traditional flat applique or experiment with how to make 3D applique flowers and 3D puff embroidery digitizing, mastering these techniques can elevate your embroidery to professional levels.
For more tips about embroidery, sewing machines, and high-quality stitching techniques, visit Rise Digitizing, We helps to bring your creative ideas to life with flawless applique and embroidery designs for both hobbyists and professionals.