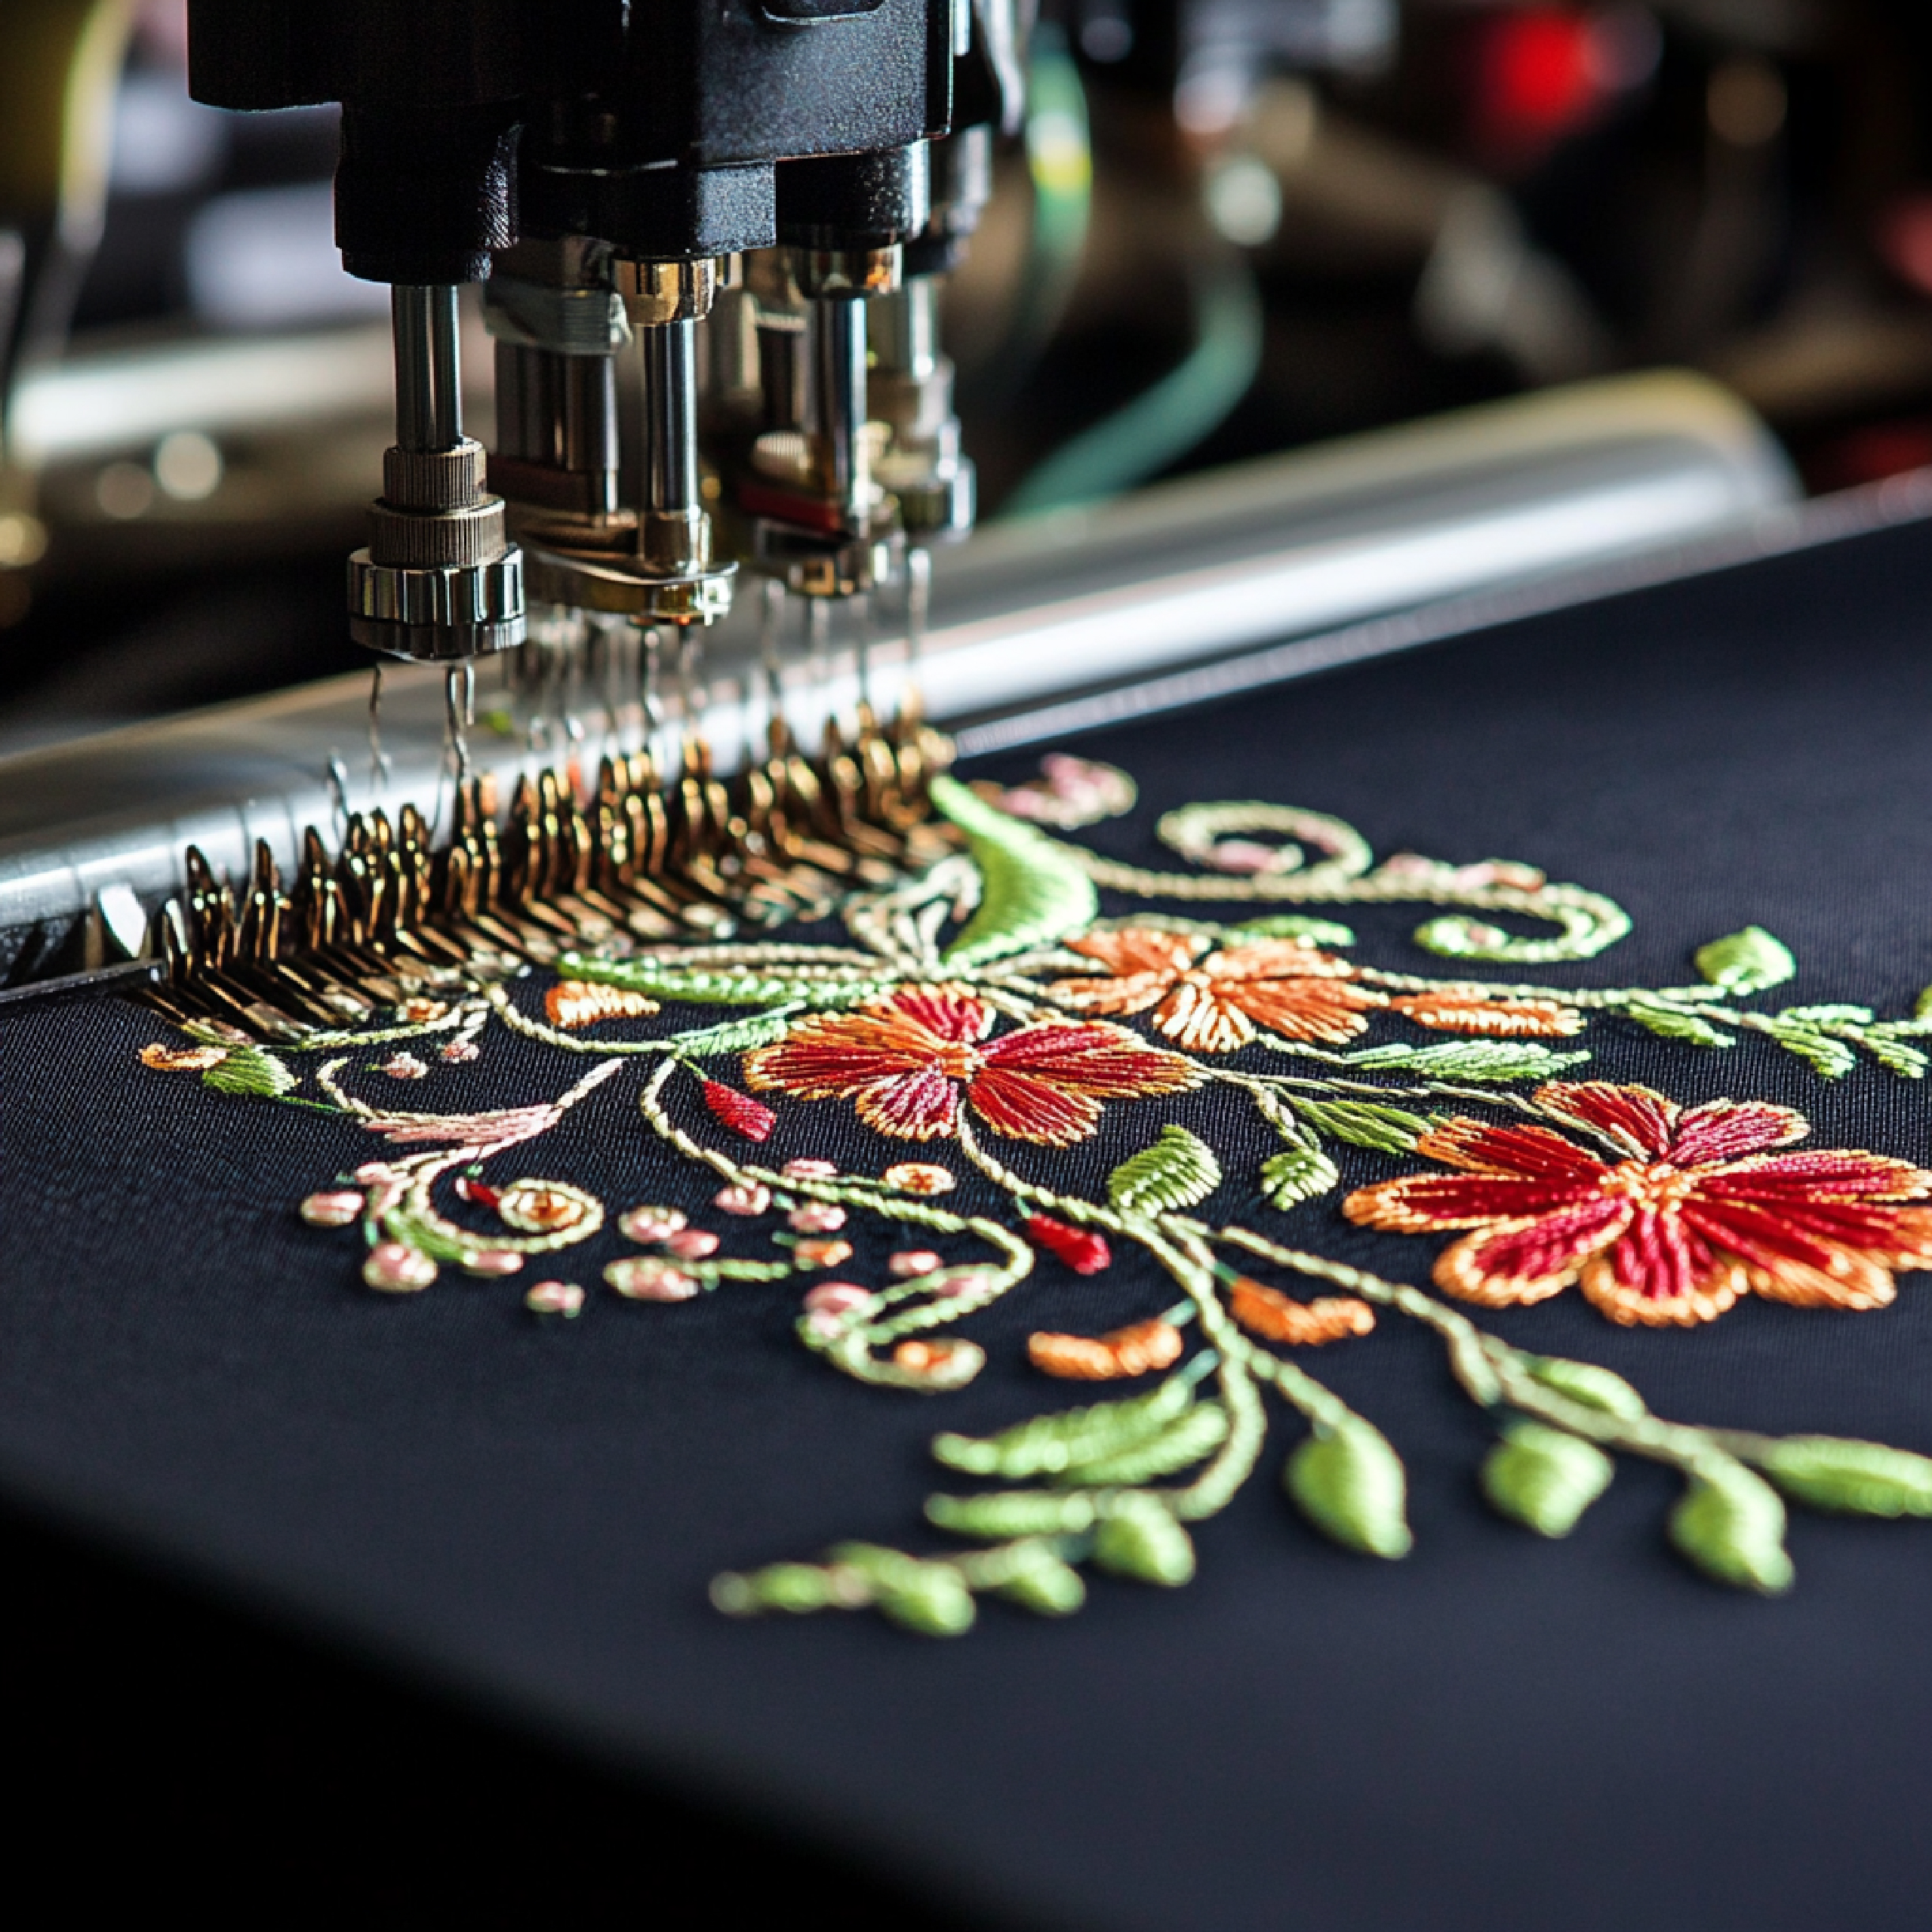
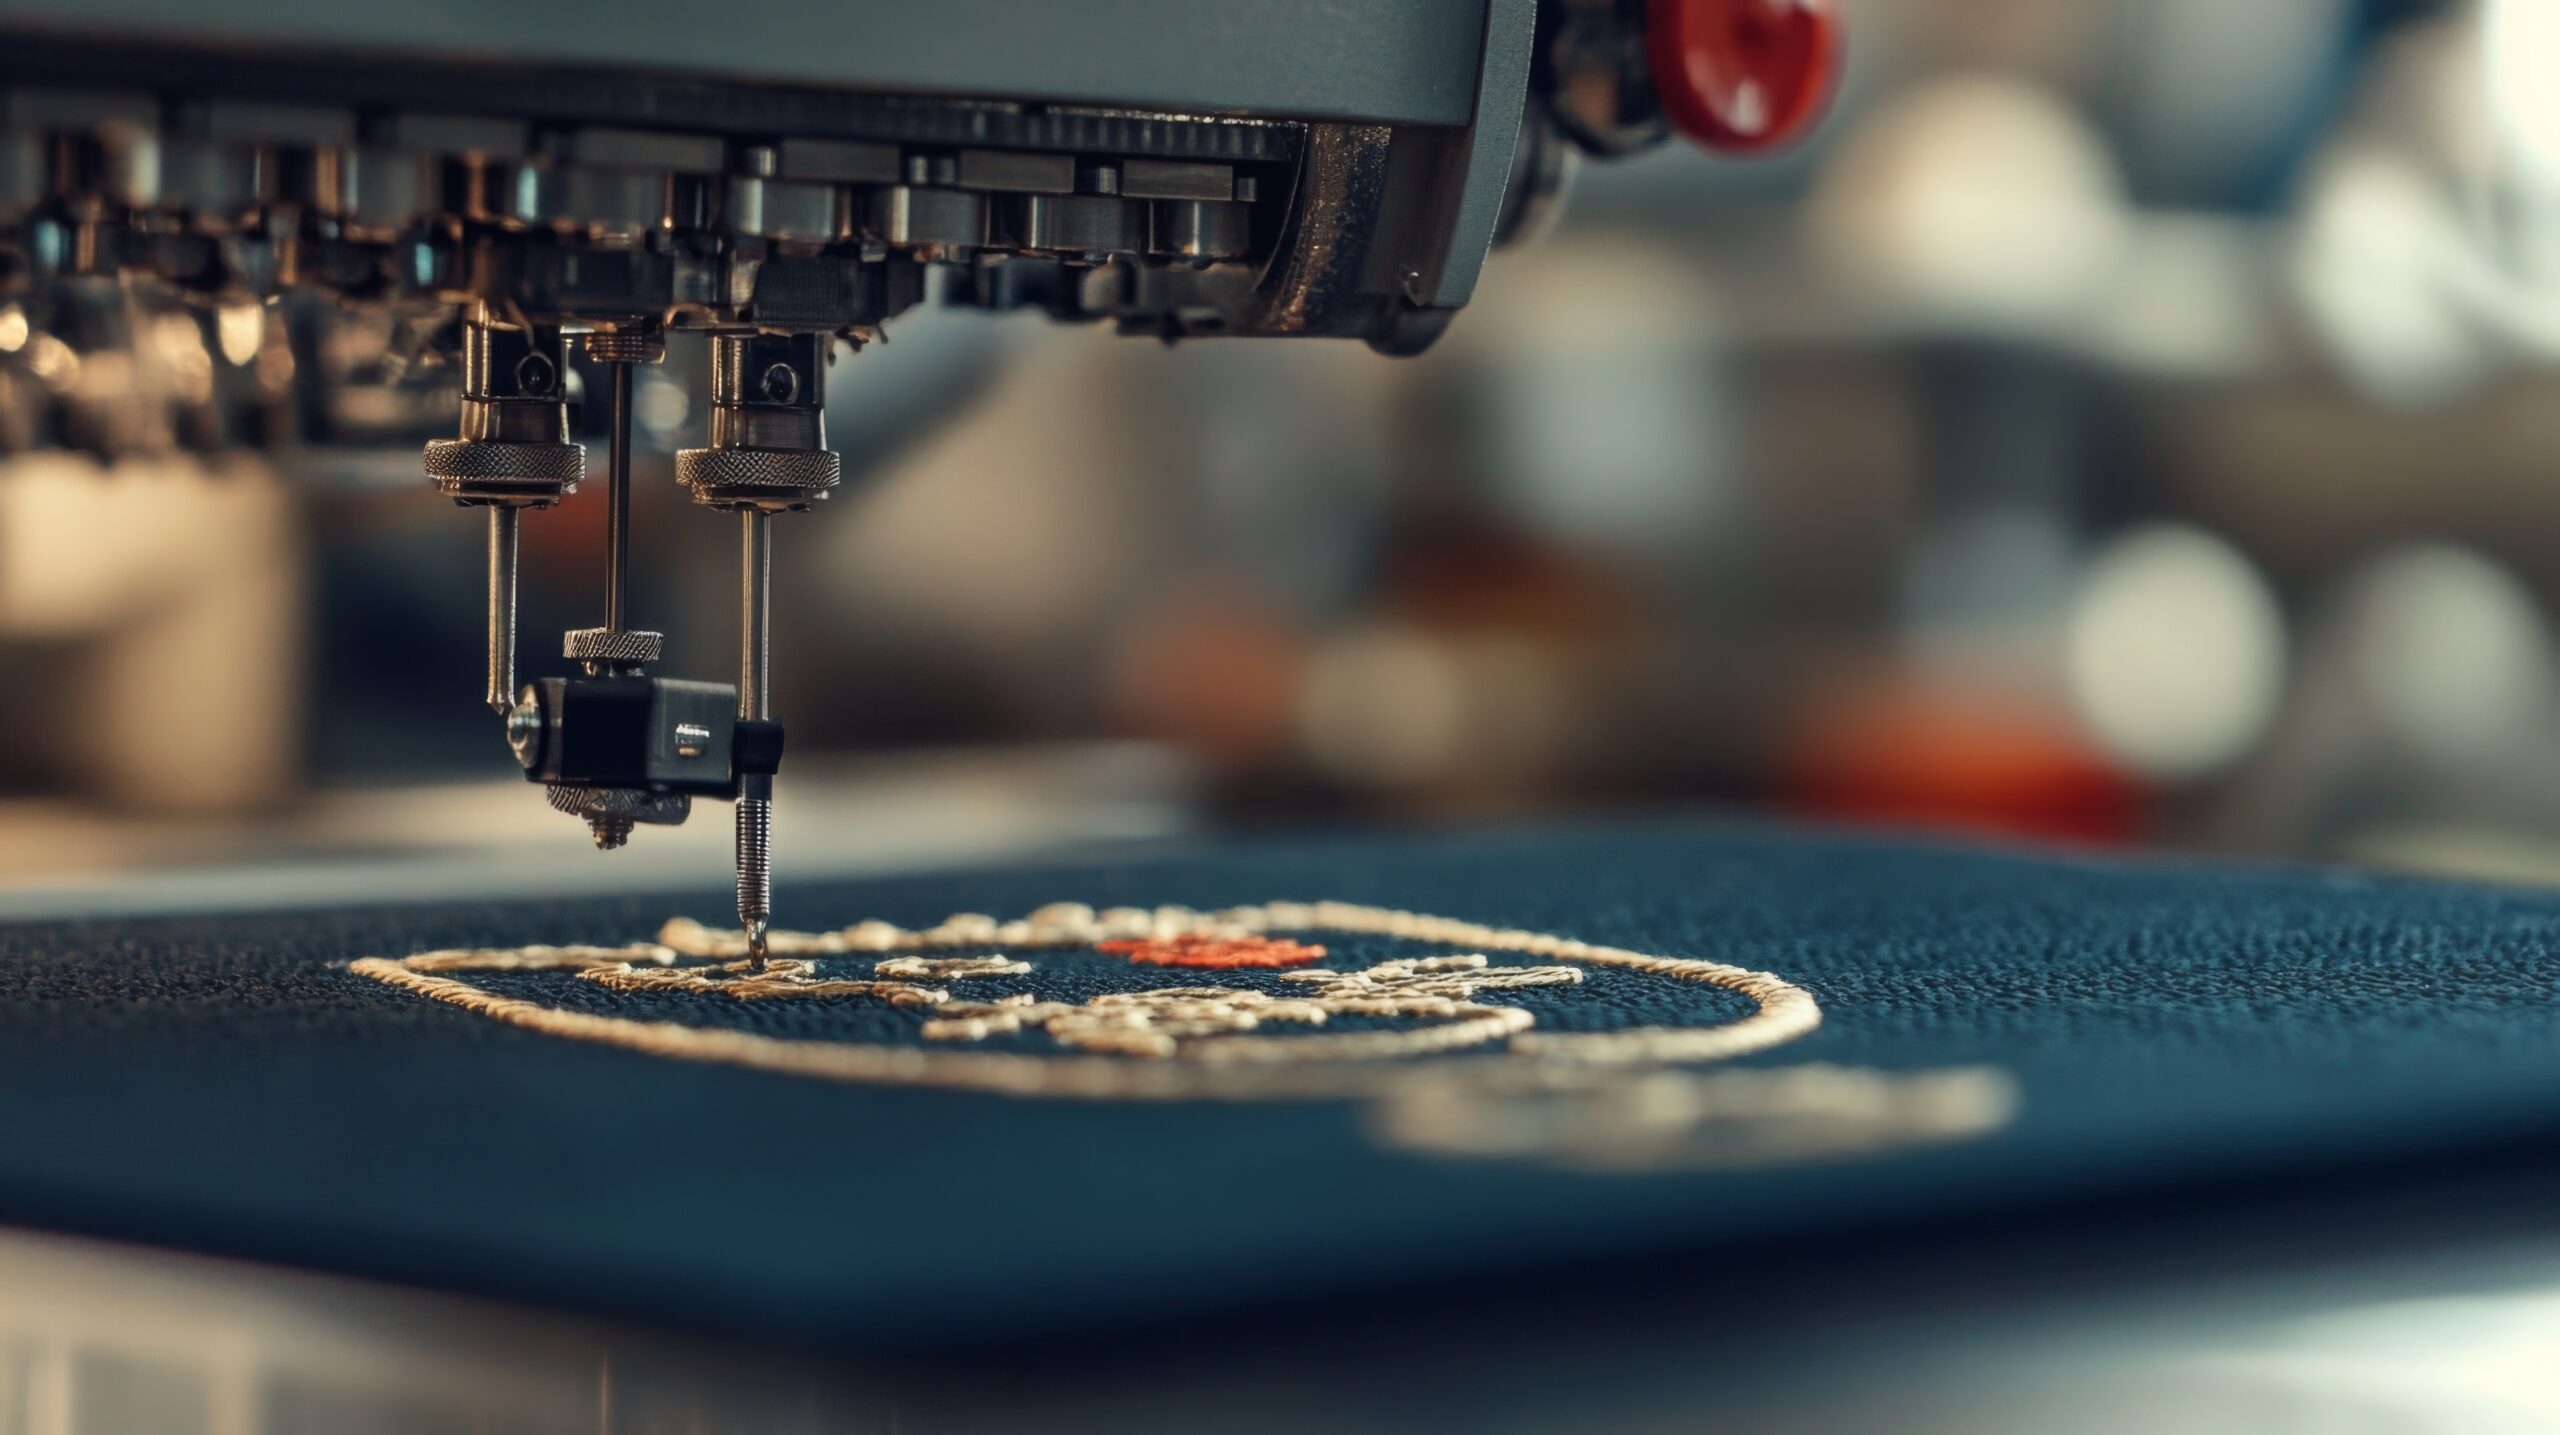
Embroidery has gone way beyond the traditional needle and thread. With the aid of computer-generated tools, anyone is able to transform your favorite images into beautiful embroidery designs. You may be a casual user looking to customize clothing, or a small-scale company owner providing custom embroidery or embroidery services, the Picture to Embroidery Converter could be your most reliable all-around partner. In this tutorial, we’ll look at everything you should learn about converting images to designs that are ready for embroidery.
What Is a Picture to Embroidery Converter?
The Picture to Embroidery Converter is a program or an online platform that permits users to convert digital images into embroidery files. The files are then used by embroidery machines which include popular brands such as Brother, Janome, Singer, and Baby Lock. The software analyzes the image, detects the colors, outlines, and patterns, and converts them into instructions for stitching.
In contrast to manual digitizing that involves advanced knowledge and a lot of labor, the use of a converter can speed up the process and lets you make digital embroidery designs within just a few minutes.
Why You Need a Picture to Embroidery Converter
Below are a few reasons why a Picture to Embroidery Conversion is vital for today’s embroiderers:
Reduce Time: Manual digitizing could be time-consuming and take days. Automated conversion will reduce the time spent on your workflow to just a few minutes.
Consistency: This software guarantees exact machine embroidery designs on every occasion.
Creative Creativity: Make photographs, logos, or hand-drawn images into ready-to-use digital embroidery designs.
Easy-to-Use for Beginners: The user does not require any prior knowledge of embroidery digitizing software.
Multi-Machine Compatibility: The majority of converters export to formats like PES, DST, EXP, and JEF that work on different machines.
How Does a Picture to Embroidery Converter Work?
It’s easier than you think. Here’s how a common Picture to Embroidery Converter functions:
Upload Your Photo: Start with a clear photo or digital image. Higher resolution images produce better results.
Choose the File Format: Select the PES file generator format or other formats compatible with your device. The majority of Brother users employ PES files.
Adjust Settings: Numerous converters allow you to adjust stitch density, color palette, and design style.
Preview the Design: The program can simulate stitching and let you view the finished result before embroidery.
Transfer and Export: The embroidery pattern from the photograph can be saved and transferred to your machine via USB or wireless connections.
Best Practices for Converting Pictures to Embroidery Designs
To ensure that your machine embroidery design comes out flawlessly, follow these guidelines:
Use High-Quality Pictures: Avoid blurry or low-resolution photos. Simple images with crisp lines work best.
Reduce Colors: Most embroidery machines handle a limited number of thread colors. Reducing colors improves stitching.
Utilize Contrast: High contrast between elements makes the details pop.
Verify Size: Ensure the image fits your embroidery hoop.
Test on Fabric: Always test on a scrap piece of fabric to ensure the design works perfectly.
Top Picture to Embroidery Converter Tools
Here are some of the most popular software to convert images into embroidery designs:
1. Ink/Stitch
Free, open-source extension for Inkscape.
Converts images into machine embroidery images, including PES files for Brother machines.
Provides stitch simulation and manual digitizing options.
2. Embrilliance Essentials
Beginner-friendly software for Windows and Mac.
Merge multiple images, add text, or resize designs.
Supports Brother PES .
3. Brother Artspira
Mobile-friendly app for Brother machines.
Allows easy uploading, editing, and converting of images into digital embroidery designs.
Free library of designs with additional premium features.
4. TurtleStitch
Web-based platform for creative and educational embroidery projects.
Produces stitch patterns from images or code-based designs.
Ideal for experimental and generative embroidery.
Free vs Paid Picture to Embroidery Converters
Free Software: Excellent for beginners or hobbyists. Tools such as Ink/Stitch and Turtle Stitch are free.
Paid Software: Paid alternatives like Embrilliance Premium offer advanced features, including auto-color selection, complex pattern creation, and commercial licensing.
Tips to Optimize Your Picture to Embroidery Designs
Pick the Right Fabric: Different fabrics behave differently when stitched. Cotton, denim, and felt are ideal for beginners.
Choose Compatible Threads: Match thread color and type to your design for professional results.
Check Machine Settings: Ensure correct stitch density, speed, and tension.
Refine the Design: Sometimes manually simplifying the image before conversion yields cleaner results.
Conclusion
A Picture to Embroidery Converter opens doors to endless creative opportunities. By converting images, logos, or hand-drawn designs into digital embroidery designs, you can personalize clothing, create unique gifts, and even start your own embroidery business. Tools like Ink/Stitch, Embrilliance, and Brother Artspira make transforming any image into beautiful stitch designs easy and enjoyable.
Start today, apply these best practices, and experience the satisfaction of bringing digital images to life with needles and thread.
Related Recommendations
For beginners, explore embroidery design tutorials and free design libraries. Using a combination of software and practice, you can quickly master digital embroidery designs and machine embroidery techniques.


