
Embroidery digitizing has transformed how designs are brought to life on fabric. Whether you’re a business owner, designer, or hobbyist, knowing how to convert an image to an embroidery file can help you create professional-quality embroidered logos, artwork, and patterns. In this guide, RiseDigitizing, a trusted name in embroidery digitizing services in USA, explains everything you need to know.
What Is an Embroidery File?
An embroidery file is a digital format that your embroidery machine can read to stitch a design onto fabric. These files contain stitch commands, color changes, thread paths, and other essential details. Common embroidery file formats include:
- .DST (Tajima)
- .PES (Brother, Babylock)
- .EXP (Melco)
- .JEF (Janome)
- .VP3 (Husqvarna Viking)
When you convert an image like JPG, PNG, or PDF into one of these formats, your embroidery machine can interpret it and replicate the design through precise stitches.
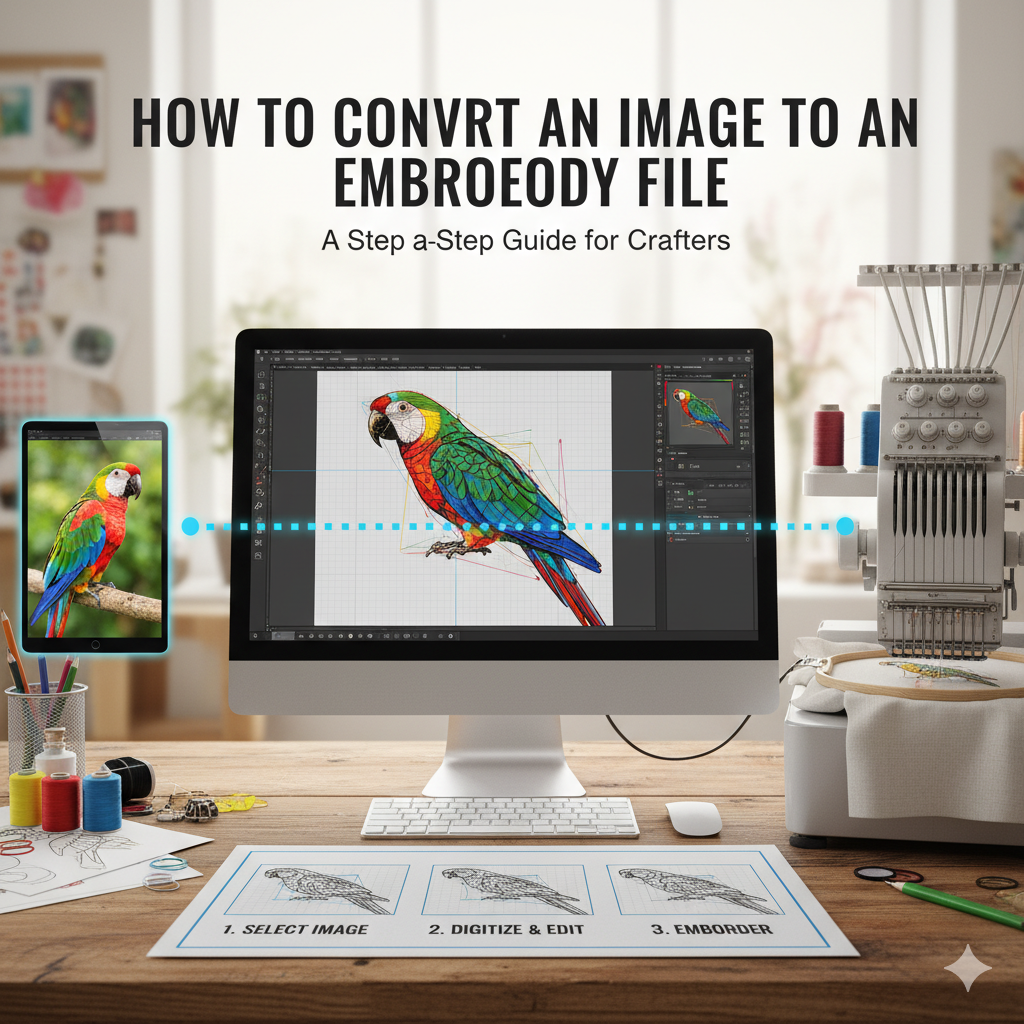
Step-by-Step: How to Convert an Image to an Embroidery File
Here’s a simple process to help you understand the conversion workflow:
Step 1: Choose the Right Image
Start with a high-quality, clear image. Simple designs with bold lines and fewer colors work best for embroidery. Avoid overly detailed photos or gradients, as they’re difficult to stitch accurately.
If you’re unsure how to prepare your artwork, our custom vector art services in USA can help you clean and simplify your design for perfect embroidery results.
Step 2: Clean and Simplify the Image
Before digitizing, edit the image to remove unnecessary background details, text, or shadows. You can use tools like Adobe Illustrator or CorelDRAW to make the image cleaner and vector-friendly.
Step 3: Use Embroidery Digitizing Software
Specialized software is used to convert images into stitch data. Popular programs include:
- Wilcom Embroidery Studio
- Brother PE-Design
- Hatch Embroidery
- Embird
These tools allow you to trace outlines, assign stitch types (like satin or fill stitch), and adjust density and directions.
Step 4: Set Stitch Types and Parameters
Each part of your design requires different stitch styles for the best visual outcome. For example:
- Satin stitch for text and outlines
- Fill stitch for large areas
- Run stitch for thin lines or detailing
Step 5: Save and Export in the Correct Format
Once you’ve finalized the digitized design, save and export it in the embroidery machine’s compatible format (e.g., .DST or .PES).
Step 6: Test the Design
Always test-stitch the design on sample fabric to ensure proper alignment, color balance, and density before final production.
Pro Tip: Let the Experts Handle It
Embroidery digitizing requires technical skill and software expertise. If you’re not familiar with stitch density, underlay, or thread direction, your design might not stitch out correctly.
That’s why professional digitizers like RiseDigitizing are here to help. Our team specializes in:
✅ Converting JPG, PNG, or PDF to DST/PES files
✅ High-quality embroidery digitizing for logos, caps, and apparel
✅ Quick turnaround with affordable pricing
✅ 100% satisfaction guarantee
Why Choose RiseDigitizing?
At RiseDigitizing, we deliver precision embroidery digitizing services in the USA designed for businesses, fashion brands, and embroidery enthusiasts. Our experienced team ensures your artwork translates perfectly into stitches—clean, crisp, and ready for production.
Whether you need to convert a simple logo or a complex design, we make the process seamless and stress-free.
Final Thoughts
Learning how to convert an image to an embroidery file is a valuable skill, but mastering digitizing takes time and experience. With the right tools—or with the help of experts like RiseDigitizing—you can achieve professional embroidery results every time.