A well‑designed logo is essential for any brand, especially when it’s meant for embroidery. Unlike digital printing, embroidery requires designs that are simplified, scalable, and optimized for thread work. Whether you are designing a logo for embroidery business or creating custom branded garments, knowing how to approach logo design and how to digitize logo for embroidery can make all the difference.
In this guide, we’ll walk you through the best practices for an effective embroidered logo, show how to prepare your artwork, explain what it means to digitise logo for embroidery, and answer common questions for beginners and professionals alike.
Why Embroidery Logo Design Is Different
Embroidery is not the same as printing. When you design a logo for fabric stitching:
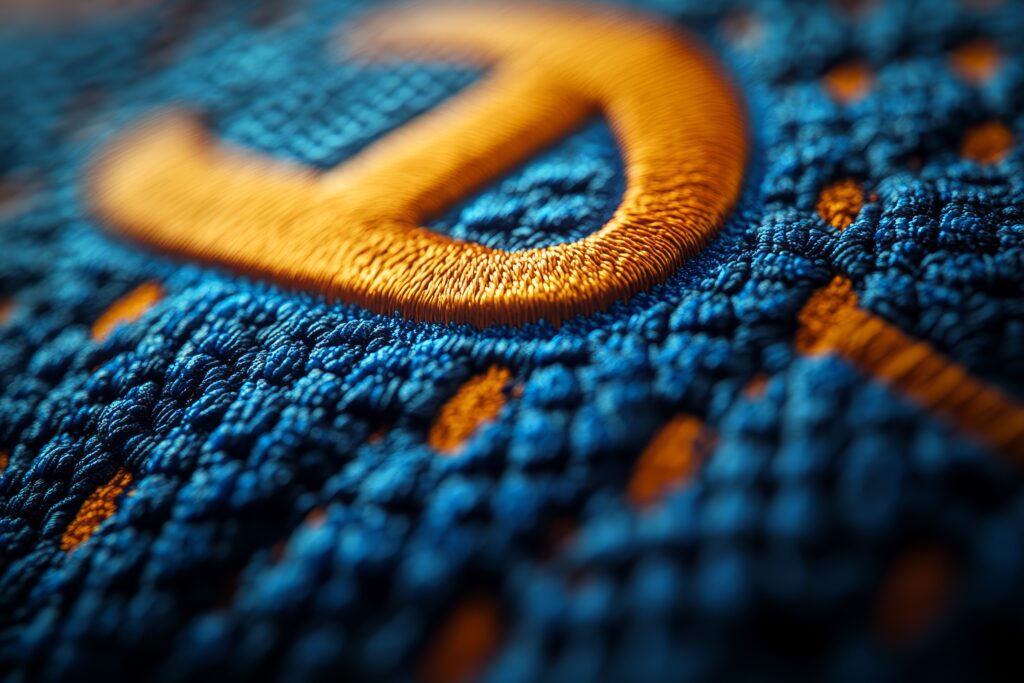
- Every detail becomes thread
- Line thickness matters
- Color blending is limited
- Small text may not show clearly
Because of this, designers must plan specifically for embroidery. A logo that looks great on a screen may not translate well into thread and fabric unless it is simplified and adjusted.
Step‑by‑Step: Designing a Logo for Embroidery
1. Start with a Simple Concept
The most common mistake in embroidery logo design is over‑detail. Complex gradients, thin lines, and tiny text don’t stitch well — they become blurry or distorted.
Instead:
- Focus on bold shapes
- Use strong, simple outlines
- Minimize small lettering
These design choices ensure that the finished embroidered logo is clear and attractive.
2. Choose the Right Colors
Embroidery thread has a limited palette compared to digital displays. Choose colors that contrast well and match your brand style. Avoid gradients when possible — they don’t stitch smoothly and often require workarounds from the digitiser.
3. Think About Size and Placement
Placement on shirts, caps, bags or jackets affects how the logo should be designed. A large logo on the back of a jacket allows for more detail, while a small emblem on a cap needs larger, thicker design elements.
Always test your design at the actual size it will be embroidered to ensure it remains readable.
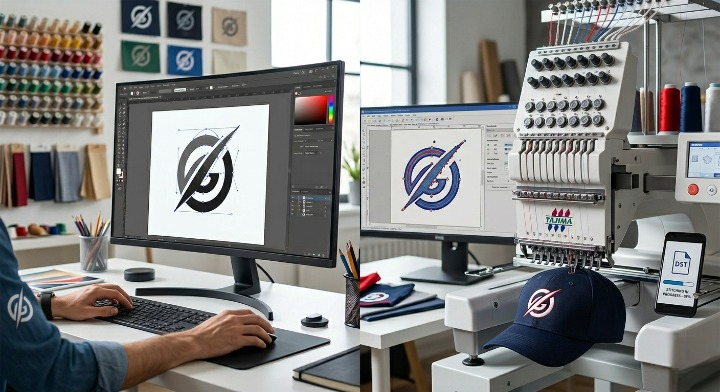
4. Convert to Embroidery Format — Digitizing
Once your logo artwork is ready, the next step is to digitize logo for embroidery. Digitizing means converting the image into a stitch file that embroidery machines understand.
A digitised logo contains:
- Stitch types (satin, fill, run)
- Stitch directions
- Density settings
- Underlay instructions
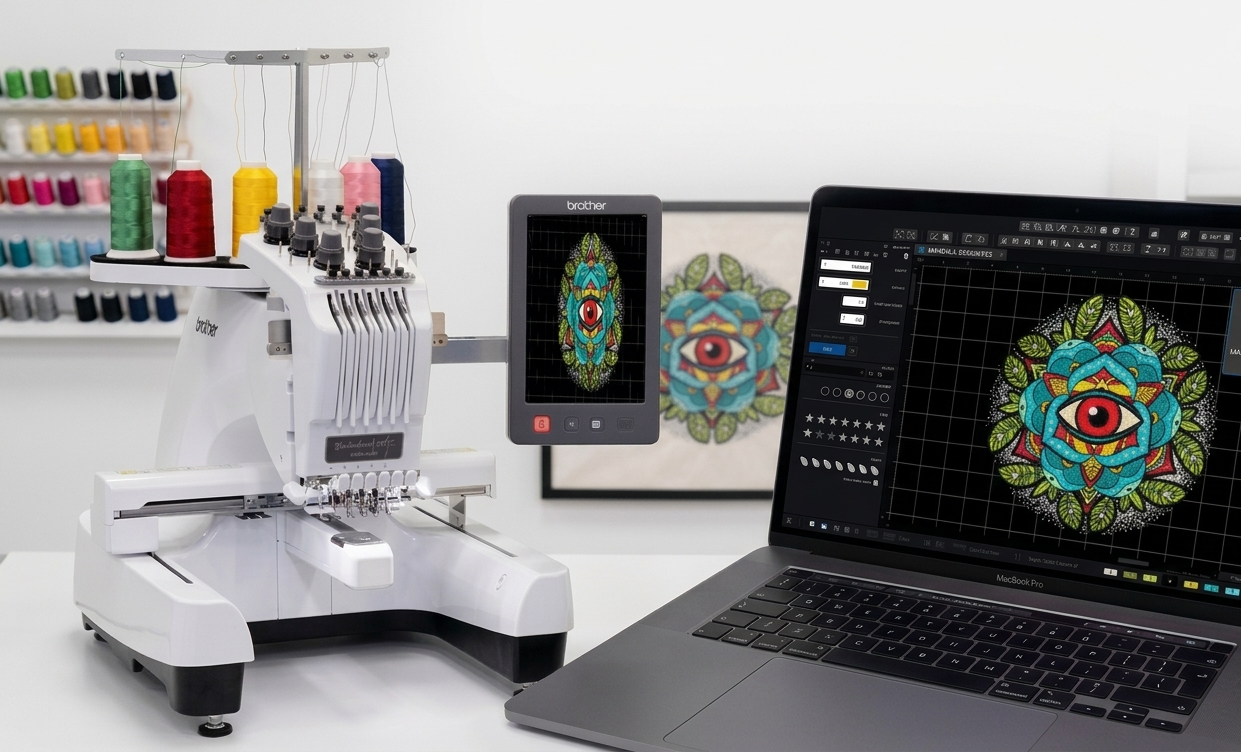
This process determines how your design will look when stitched onto fabric. Professional digitizing ensures that the design is optimized for thread tension and fabric type.
5. Test and Adjust
Before producing many shirts or caps, always run a small sample to check how the logo stitches out. Minor changes at this stage — like adjusting stitch density or simplifying a detail — can improve the final result dramatically.
Digitise vs Digitize: What’s the Difference?
Both terms — digitise logo for embroidery and digitize logo for embroidery — mean the same thing. The difference is regional spelling:
- Digitize – preferred in American English
- Digitise – preferred in British English
The meaning remains the same: converting artwork into a machine‑readable embroidery format.
Common Mistakes to Avoid
If you want your embroidered logo to look professional, avoid these common pitfalls:
❌ Too Much Detail
Finer details get lost in stitching, especially at smaller sizes.
❌ Thin Fonts
Thin text often disappears in embroidery. Choose thicker, block‑style fonts.
❌ Excess Colors
More colors mean more thread changes and higher production cost.
FAQs About Logo for Embroidery
Q: Can I just use my regular logo file for embroidery?
A: Not always. Most embroidered logos require a digitised file that includes stitching information. Regular image files (like JPEG or PNG) need to be converted before embroidery.
Q: What file format is best for embroidery?
A: Embroidery machines use special formats like DST, EXP, PES, and JEF. Your designer or service will provide a suitable format after digitizing.
Q: Does every logo need to be digitized for embroidery?
A: Yes — without digitizing, your design has no stitch data, meaning embroidery machines can’t interpret it correctly.
Q: Can I digitise my logo at home?
A: Yes — if you have the right software and skills. But professional digitizing services usually produce cleaner, more accurate stitch files, especially for complex designs.
Final Thoughts
Designing a logo for embroidery is both an art and a technical process. You must balance aesthetics with practicality to ensure your logo translates from screen to thread beautifully. The key steps — simplifying your design, choosing the right colors, preparing for sizing, and converting your artwork through professional digitizing — will result in a logo that looks sharp, elegant, and durable.
Whether you are creating a logo for embroidery business branding or producing merchandise for customers, understanding how embroidery design works will save you time, reduce rework, and boost the quality of your finished products.
Take the time to plan, test, and perfect your embroidered logo — because a well‑executed design isn’t just stitched, it’s remembered.