If you want professional embroidery results, the first and most important step is to digitise logo correctly. Many people think converting a logo into an embroidery file is as simple as uploading an image into software. In reality, logo digitising requires technical understanding, stitch planning, and fabric knowledge to ensure clean and sharp results.
Whether you run a clothing brand, embroidery business, or need branded uniforms, learning how to digitise logo for embroidery properly can save time, reduce thread breaks, and improve stitch quality.
What Does It Mean to Digitise Logo?
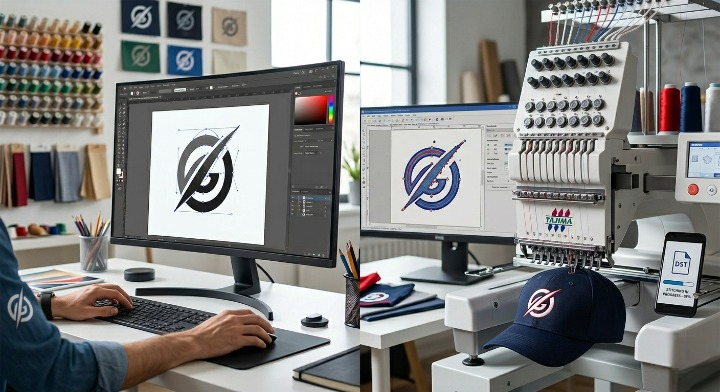
To digitise logo means converting a standard image file (JPG, PNG, AI, or PDF) into a stitch file format that an embroidery machine can read (such as DST, PES, EXP, etc.).
This process is not automatic conversion. Instead, it involves:
- Mapping stitch directions
- Setting stitch density
- Adjusting underlay
- Choosing stitch types (satin, fill, run stitch)
- Planning sequence order
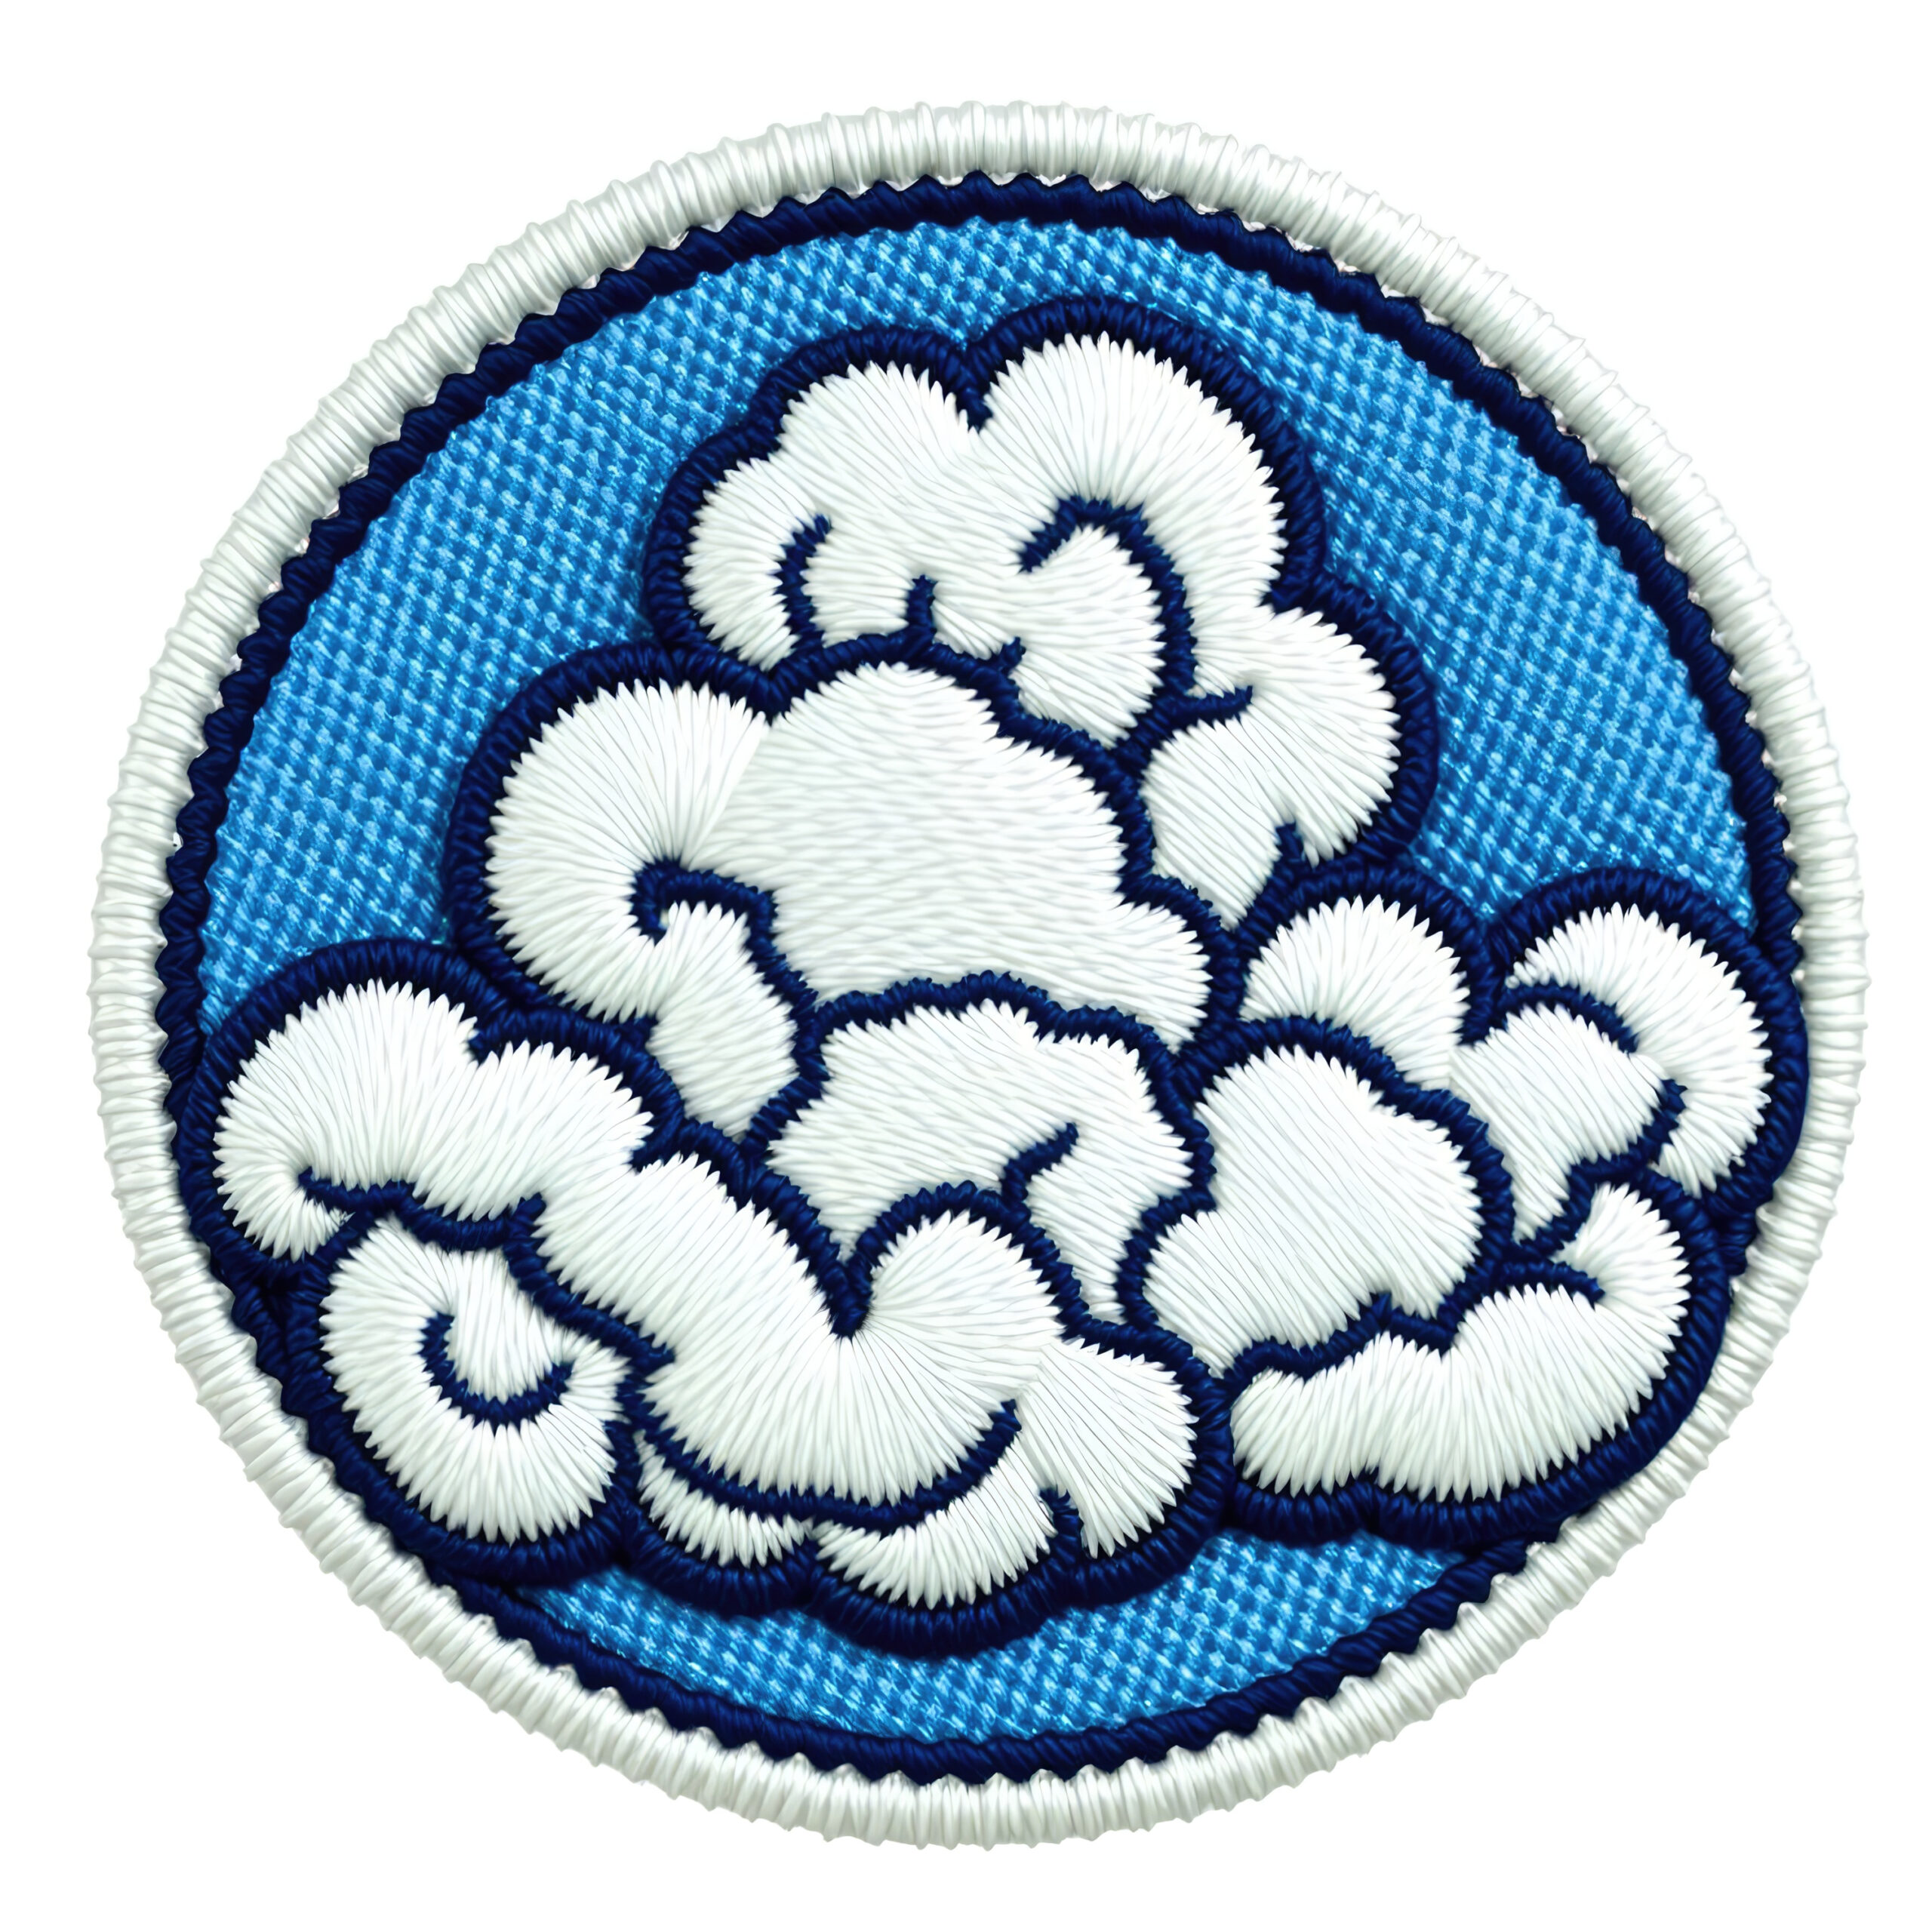
A well-digitised file ensures your logo looks clean, balanced, and professional on fabric.
Key Differences in Digitising Approaches
Many online guides explain the basic software steps for digitising, but they often miss critical production factors. A simple step-by-step method might tell you to import the logo, trace it, assign stitches, and export the file. While that works for basic shapes, it doesn’t always deliver production-quality results.
Professional digitising focuses on:
- Fabric type adjustment (cotton, polyester, caps, fleece)
- Compensation for fabric pull and push
- Thread path optimization
- Reducing trims and color changes
The difference between a basic file and a professionally digitised file becomes clear after the first test run on a machine.
Step-by-Step: How to Digitise Logo for Embroidery Properly
Here is a more practical approach:
1. Start with a High-Quality Logo
Use a vector file (AI, EPS, PDF) if possible. If you only have a JPG or PNG, ensure it is high resolution. Clean artwork reduces errors during digitising.
2. Analyze the Logo
Before opening the software, examine:
- Small details
- Text size
- Gradients
- Thin lines
Some elements may need simplification because embroidery has physical limitations.
3. Choose the Right Stitch Types
- Satin stitch: best for borders and text
- Fill stitch: ideal for larger areas
- Run stitch: good for outlines and fine details
Using the wrong stitch type can cause puckering or distortion.
4. Adjust Stitch Density
Too dense → thread breaks and stiff fabric
Too light → gaps and poor coverage
Balancing density is essential when you digitise logo for embroidery.
5. Add Underlay
Underlay stitches stabilize fabric and improve top-stitch appearance. Skipping this step often leads to uneven embroidery.
6. Set Proper Stitch Direction
Changing stitch direction improves texture and avoids visual blending of sections.
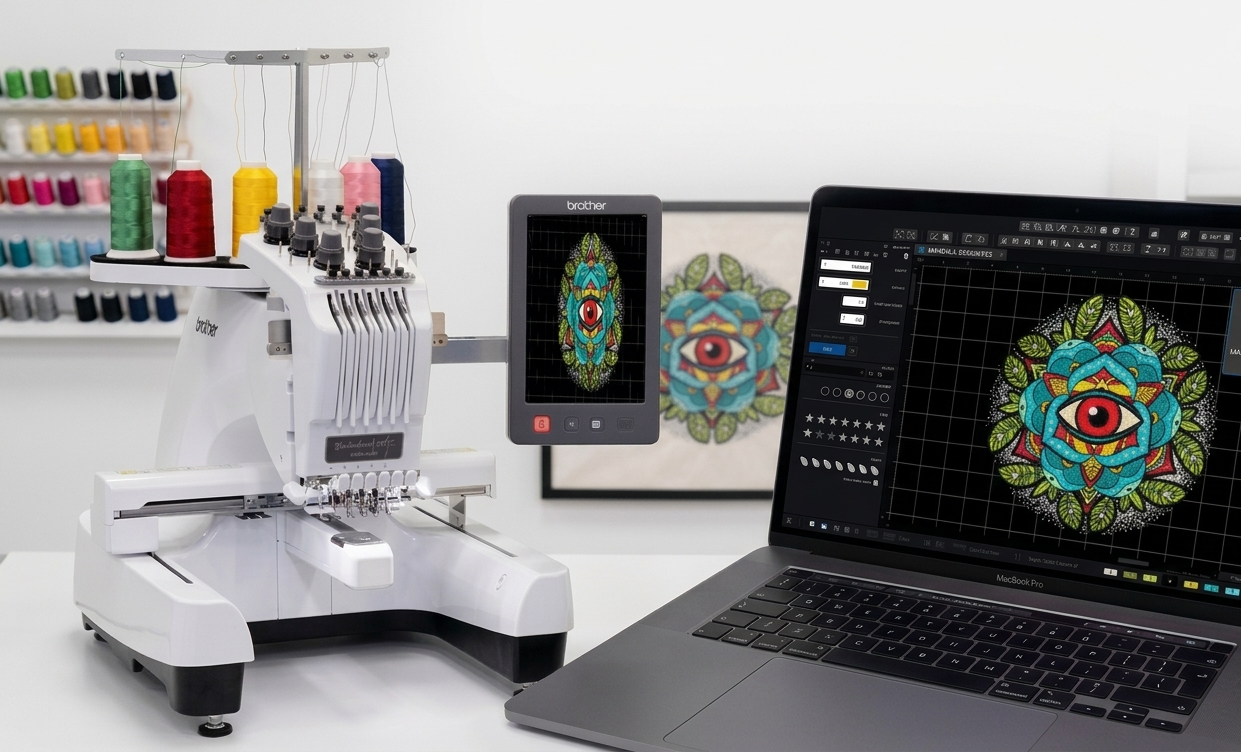
7. Test the Design
Always run a test stitch-out on the actual fabric. Adjust pull compensation if needed.
Common Mistakes When You Digitise Logo
Many beginners make these errors:
- Auto-digitising without manual editing
- Ignoring fabric type
- Using excessive stitch density
- Overcomplicating small text
- Not testing before bulk production
Proper logo digitising services focus on preventing these issues before final delivery.
Why Professional Logo Digitising Matters
If you’re running a business, poor embroidery quality affects brand image. A professionally digitised file ensures:
- Clean edges
- Smooth stitching
- Reduced machine downtime
- Faster production
- Professional finish
For companies producing uniforms, promotional wear, or branded merchandise, accurate embroidery digitising services improve efficiency and reduce material waste.
FAQs
1. What file format is needed to digitise logo for embroidery?
Embroidery machines require stitch file formats like DST, PES, EXP, or JEF, depending on the machine brand.
2. Can I digitise logo automatically using software?
Most software offers auto-digitising, but manual adjustments are necessary for professional results.
3. What Is the Average Time Needed for Logo Digitising?
A simple logo may take 30–60 minutes. Complex designs with multiple colors and details can take several hours.
4. Why does my embroidery look different from the original logo?
Embroidery uses thread and stitches, not ink. Some design adjustments are necessary to maintain clarity on fabric.
5. Is vector artwork better for digitising?
Yes. Vector files provide cleaner lines and allow better stitch mapping.
Final Thoughts
Learning how to digitise logo correctly is more than following software steps. It requires understanding stitch behavior, fabric movement, and machine limitations. While basic guides explain the technical workflow, achieving production-ready embroidery demands attention to detail and testing.
If you want consistent, professional results, focus on quality artwork, correct stitch planning, and proper testing. Whether you do it yourself or hire embroidery digitising services, investing time in accurate digitising ensures your embroidered logo reflects your brand perfectly.