If you work with embroidery machines, you already know how important the PES file format is. Many embroidery designs come in formats like JPG, PNG, SVG, or DST — but Brother and Babylock machines require PES files to stitch properly. That’s why so many users search for how to convert file to PES quickly and correctly.
However, converting a design file into PES format is not just about changing the extension. It requires proper digitizing to ensure clean stitching, correct thread paths, and professional results.
In this guide, we’ll explain how to convert file to PES format, compare common methods people use in embroidery communities, and help you choose the right approach.
What Is a PES File?
A PES file is a machine embroidery format primarily used by Brother and Babylock embroidery machines. It contains:
- Stitch data
- Thread color information
- Design layout instructions
- Machine-readable embroidery commands
Unlike image files (JPG, PNG), PES files are not simple pictures. They contain stitch paths and needle movement instructions. That’s why direct “file conversion” without digitizing often fails.
Why Simple File Conversion Doesn’t Work
In embroidery forums and user groups, many beginners ask if they can simply upload a JPG logo and “convert” it into PES format using free tools.
The reality is:
- Image files contain pixels
- PES files contain stitch instructions
If you directly auto-convert without adjusting stitch density, pull compensation, and underlay, the result may look distorted or messy when embroidered.
That’s where proper digitizing makes the difference.
Methods to Convert File to PES
Here are the most common methods people use:
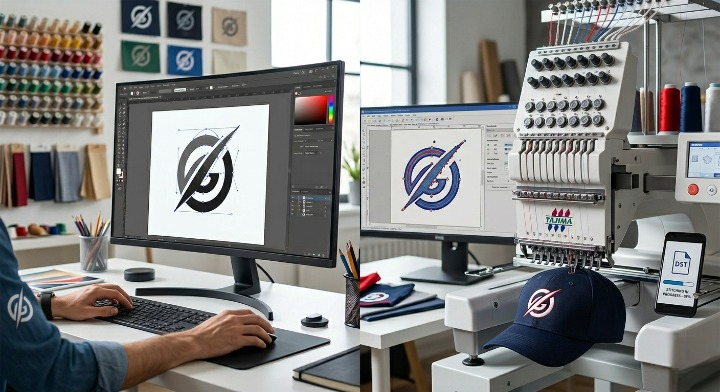
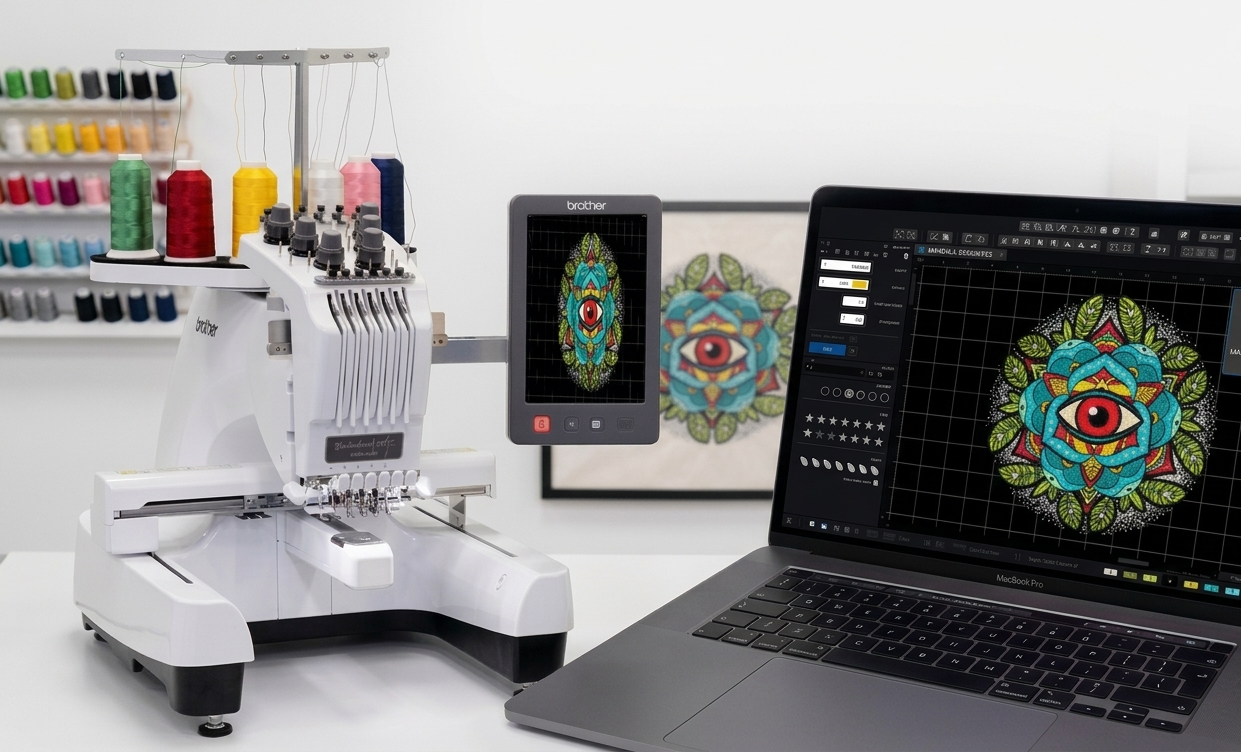
1. Using Embroidery Software (Best Option)
Professional embroidery software like Hatch, Wilcom, or Brother PE-Design allows you to:
- Import image files
- Digitize manually or use auto-digitizing tools
- Adjust stitch density and underlay
- Export in PES format
This method gives you full control and produces the best quality results.
Best for: Businesses, professionals, detailed logos
2. Online Auto Converters
Some websites claim to instantly convert file to PES format. These tools typically auto-trace the image and generate stitch paths automatically.
Pros:
- Quick
- No software installation
Cons:
- Poor stitch quality
- Limited customization
- Often unsuitable for complex logos
This option may work for simple text designs but is risky for professional work.
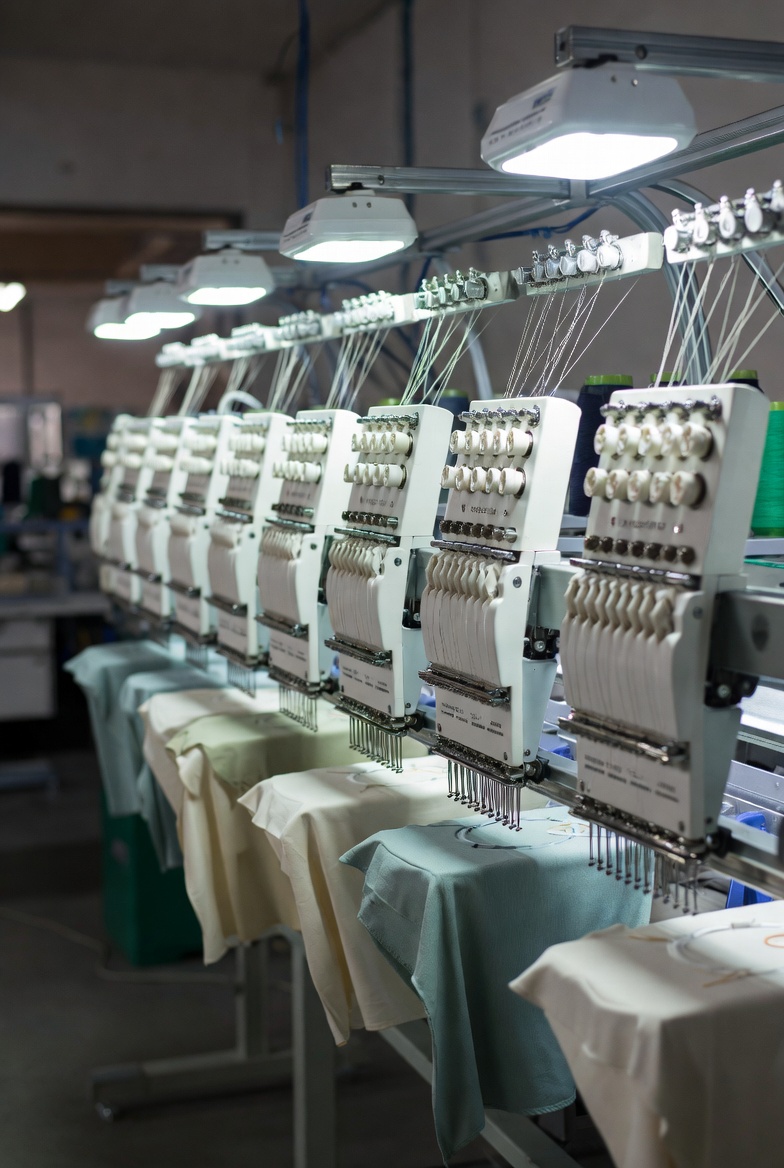
3. Professional Digitizing Services
Many embroidery professionals prefer outsourcing to digitizing services. Instead of using automatic tools, trained digitizers manually create stitch paths optimized for fabric type and machine settings.
Pros:
- High-quality results
- Correct stitch density
- Fewer thread breaks
Cons:
- Small cost per design
For businesses handling bulk orders, this method saves time and prevents costly embroidery mistakes.
Comparison: DIY Conversion vs Professional Digitizing
In embroidery communities, users often compare auto-digitizing with manual digitizing. Based on common experiences:
| Feature | Auto Conversion | Manual Digitizing |
| Speed | Very Fast | Moderate |
| Quality | Average to Low | High |
| Customization | Limited | Full Control |
| Best For | Simple Designs | Logos & Detailed Artwork |
If your design is for personal use and simple lettering, auto tools may work. But for branding, uniforms, or resale items, manual digitizing ensures clean stitching.
Step-by-Step: How to Convert File to PES Format Properly
- Open embroidery digitizing software.
- Import your JPG, PNG, or vector file.
- Adjust image size and clean background.
- Digitize elements (fill stitch, satin stitch, run stitch).
- Set stitch density and underlay.
- Preview stitch simulation.
- Export file as PES format.
Always test stitch on scrap fabric before final production.
Common Mistakes When Converting to PES
- Simply renaming file extension to .pes
- Ignoring stitch density
- Not adjusting pull compensation
- Skipping test stitch
Embroidery requires precision. A poor conversion can waste thread, fabric, and time.
FAQs
1. Can I convert a JPG directly to PES?
Not directly. You must digitize the image first using embroidery software before exporting it as PES.
2. Is there free software to convert file to PES?
Some free tools exist, but they offer limited control and may reduce design quality.
3. Which machines use PES format?
Brother and Babylock embroidery machines primarily use PES files.
4. Why does my converted PES file stitch poorly?
Most likely due to incorrect digitizing settings like stitch density, path direction, or missing underlay.
5. What is the difference between DST and PES?
DST contains basic stitch data, while PES includes additional color and layout information.
Final Thoughts
Learning how to convert file to PES format correctly is essential for producing professional embroidery results. While automatic tools may seem convenient, quality embroidery depends on proper digitizing — not just file conversion.
Whether you choose embroidery software or professional digitizing services, the key is ensuring your design is optimized for stitching, not just visually appealing on screen.
If your goal is clean logos, smooth stitching, and minimal thread breaks, investing time in proper digitizing is always worth it.