Embroidery is becoming more popular than ever — from custom clothing and sports uniforms to tote bags, patches, hats, and brand merchandise. But to turn artwork into perfect thread work, you need a clean, well-digitized file. And this is where the term Cheapest Digitizing comes in.
Not everyone wants to spend $30–$50 per file. Small businesses, Etsy sellers, T-shirt brands, and hobby embroiderers all look for ways to get high-quality embroidery files at the lowest price possible. But cheaper options can sometimes be risky if you don’t know what to look for.
This 2025 guide will help you understand how to get the Cheapest Digitizing without compromising quality — and what factors matter the most.
What Exactly Is “Cheapest Digitizing”?
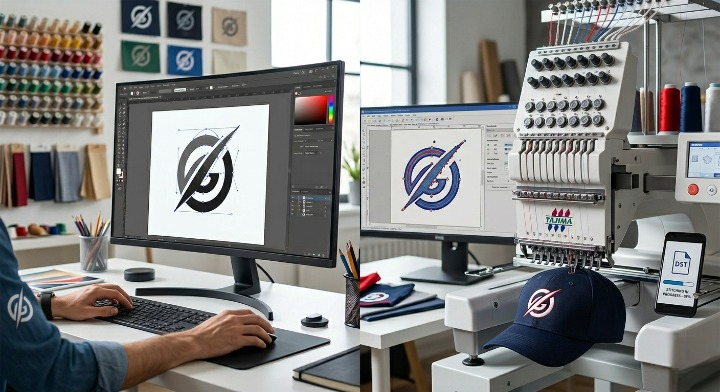
At its core, digitizing is the digital engineering of turning artwork into a machine-readable embroidery file. It includes:
- Stitch placement
- Underlay selection
- Density adjustments
- Pull compensation
- Trims + tie-ins
- Pathing and sequencing
- Fabric-specific optimization
When we say Cheapest Digitizing, it means getting all of this at the lowest possible cost — but still done manually, by a real digitizer, not auto-software.
The goal is saving money without sacrificing stitch quality.
Why the Demand for Cheapest Digitizing Has Increased
1. Growth of Small Embroidery Businesses
New startups and home-based embroidery shops want to keep their costs low, especially when testing new markets.
2. Rise of Custom Apparel & Branding
Schools, teams, restaurants, real estate companies, and corporate brands want affordable embroidery designs for uniforms.
3. Social Media Creators & Etsy Sellers
Creators constantly experiment with new designs. Digitizing can get expensive, so cheap options help test multiple ideas.
4. Bulk Orders for Promotional Items
When you have 20–50 logos to digitize, quality low-cost digitizing saves a LOT of money.
How to Ensure Quality While Choosing the Cheapest Digitizing
1. Analyze Their Digitizing Portfolio
Before choosing any cheap digitizer, look at:
- Smooth outlines
- Balanced stitch density
- No gaps or overlaps
- Clean satin work
- Small text clarity
- 3D puff samples
- Consistency in fill patterns
If the portfolio looks rough or unprofessional, the price won’t matter — you’ll lose money fixing errors.
2. Ask for Sew-Out Samples
This is the most important step. A sew-out shows:
- Actual stitch result
- How the design holds on fabric
- Any thread pulling or puckering
- How well the density works
If a digitizer cannot provide sew-outs or refuses to show real samples, avoid them — even if the price is cheap.
3. Check Their Revision Policy
Even low-cost digitizers should offer:
- Unlimited revisions
- Free resizing
- Density adjustments
- Color-change edits
Many “cheap” digitizers charge for every small change — avoid those.
4. Look for Clear, Transparent Pricing
The best Cheapest Digitizing providers display pricing like:
- $5 simple logos
- $7–$10 left chest designs
- $12–$18 jacket backs
- Free edits / Free color change
Transparent pricing ensures no hidden costs.
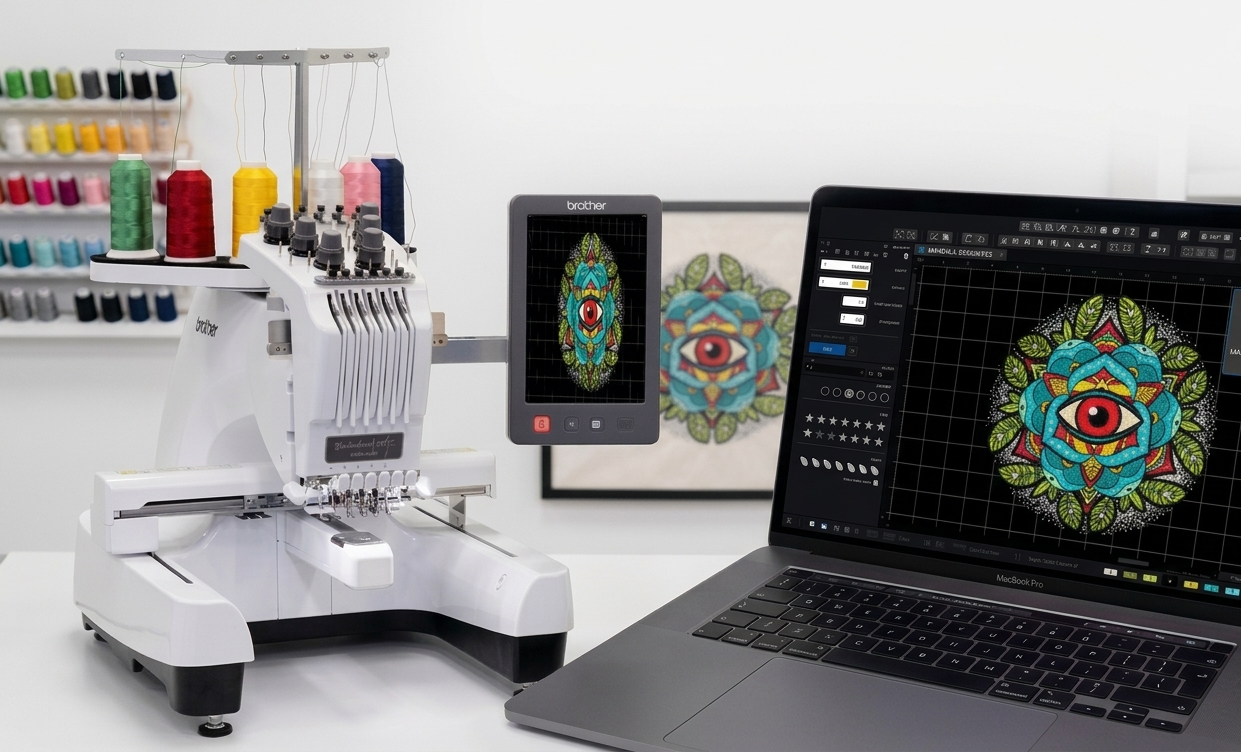
5. Ask If They Use Manual Digitizing
Cheap services sometimes rely fully on auto-digitizing software.
Auto-digitizing cannot handle:
- Thin outlines
- Small fonts
- 3D puff
- Satin details
- Complex shading
- High stitch density areas
Even if your goal is the cheapest digitizing, manual digitizing MUST be involved to achieve professional results.
6. Compare Turnaround Time
A good affordable digitizer will deliver within:
- 2–12 hours for simple logos
- 12–24 hours for detailed artwork
If someone promises 5 minutes — it’s auto-digitizing, NOT manual work.
Benefits of Going for Cheapest Digitizing (When Done Right)
Budget-Friendly for Startups
New embroidery businesses can save on upfront costs.
Cost-Effective for Bulk Orders
The more designs you digitize, the more money you save.
Helps Designers Experiment
Testing multiple design variations becomes affordable.
Great for Hobbyists
If you embroider for fun, cheaper digitizing keeps your hobby affordable.
Perfect for Apparel Brands
Brands can maintain profit margins while producing high-quality custom apparel.
Risks of Choosing the Wrong Cheap Digitizer
Going cheap without research can lead to:
- Thread breaks
- Misaligned stitches
- Too much density
- Puckering fabric
- Wasted garments
- Angry clients
- Higher machine downtime
- Re-digitizing costs
Sometimes the “cheapest” ends up becoming the most expensive.
Tips to Get the Lowest Price Without Lowering Quality
1. Send clean artwork
High-quality PNG, SVG, or vector files reduce digitizing time.
2. Avoid very small details
Tiny elements increase stitch count and difficulty.
3. Choose fewer colors
More colors = more trims + more complexity.
4. Ask for bundled pricing
Digitizers often offer discounts for 5, 10, or 20 logo orders.
5. Reuse your digitized files
Once you buy a logo, keep it safe — you don’t have to pay again.
6. Provide fabric details
Different fabrics need different density and underlay settings.
Giving this info avoids costly edits later.
Signs of a High-Quality Cheap Digitizer
Even if the price is low, a professional digitizer will:
- Respond quickly
- Understand fabric types
- Offer guidance
- Provide clean, smooth stitching
- Follow proper pathing
- Avoid unnecessary trims
- Deliver multiple formats
- Communicate clearly
This is how you know you’re saving money the right way.
Conclusion
Choosing the Cheapest Digitizing doesn’t mean compromising on quality. With the right approach — checking sew-outs, reviewing portfolios, confirming manual digitizing, and comparing revision policies — you can get professional-quality embroidery files at extremely low prices.
Affordable digitizing is ideal for startups, designers, apparel brands, and anyone who wants top-level embroidery without overspending.
The key is simple: cheap price + high-quality execution = perfect digitizing.
Rise Digitizing provides clean, accurate, and affordable embroidery digitizing with fast turnaround. If you want quality digitizing at the best price, Rise Digitizing is the perfect choice.
FAQs
1. How cheap is “cheapest digitizing”?
Most budget-friendly digitizers charge between $5 to $10 per logo depending on complexity, size, and stitch count.
2. Can cheap digitizing be used for commercial embroidery?
Yes! As long as the digitizer uses manual techniques and good stitch planning, cheap digitizing works perfectly for professional production.
3. Is manual digitizing better than auto-digitizing?
Absolutely. Manual digitizing gives clean outlines, proper underlay, smooth stitching, and better results — auto tools can never match that quality.