The need for customized embroidery is increasing more quickly than it has ever. If you’re a casual hobbyist or a small-business proprietor, or a professional digitizer being able to know how to convert image to embroidery pattern is among the most useful capabilities you’ll have. Nowadays, the latest digital embroidery tools and software allow you to do this faster than ever to transform images or sketches, logos or artwork into machine-friendly embroidery patterns.
In this comprehensive guide, we’ll take you through each step — starting with choosing the best image, to properly digitizing it to ensure you receive high-quality, professional results each time.
What Does It Mean to Convert an Image to an Embroidery Pattern?
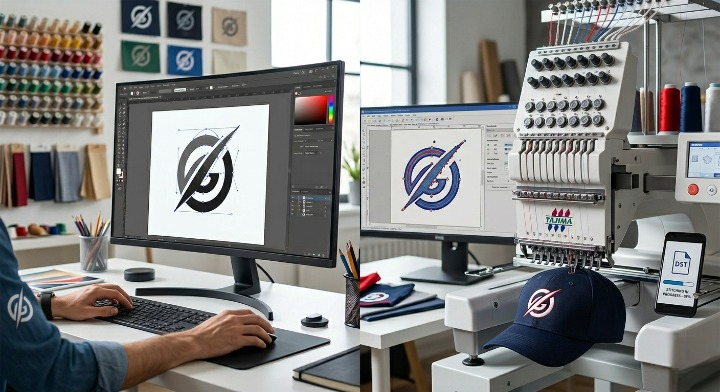
The process of converting an image to an embroidery pattern is the process of transforming an ordinary digital image (PNG, JPG, SVG, etc.) into a stitches file which an embroidery machine can understand.
These stitch files contain instructions like:
- Stitching is a type of stitch
- Stitch density
- Color changes
- Pathing (the place where stitches are arranged)
- Thread trimming
- The stitches are affixed with underlay
The process is known as digitizing embroidery.
Step 1: Choose the Right Image
Before learning the process of converting an image to an embroidery pattern, begin by choosing the appropriate picture. The final quality of your embroidery is largely determined by the image’s quality.
Guidelines for selecting the ideal image
Use high-resolution files
Choose images that have clear shapes and clearly defined lines
Do not take photos with shadows or blurry images
Simple artwork is more effective than detailed photographs
For logos, vector files (SVG, AI, EPS) give best results
If your image is complicated, try simplifying the image prior to digitizing it by decreasing the colors of your image or eliminating background information.
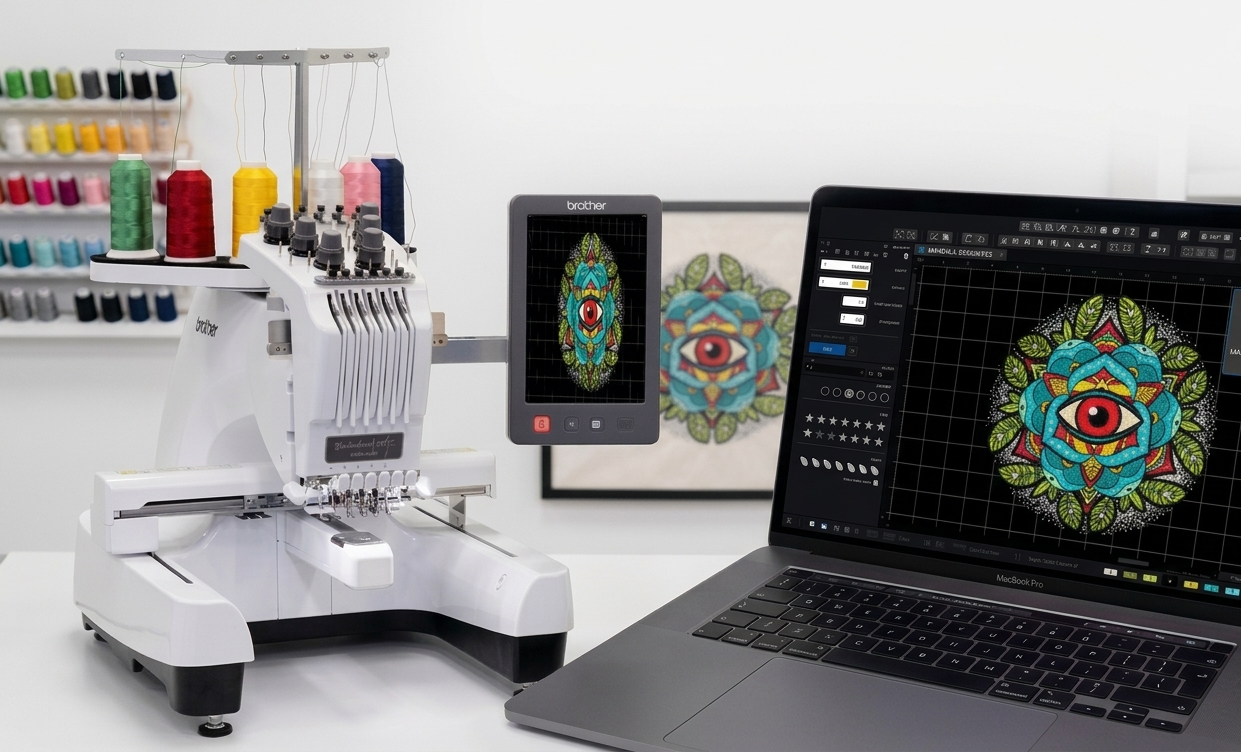
Step 2: Choose the Right Embroidery Software
In order to convert an image into embroidery patterns, you require digitizing software. There are free as well as cost-based choices.
Popular digitizing software
- Wilcom Embroidery Studio
- Hatch Embroidery
- Embird
- Brother PE-Design
- SewArt (beginner-friendly)
- Ink/Stitch (free)
Select the right software for your experience level, name, and the size of your task.
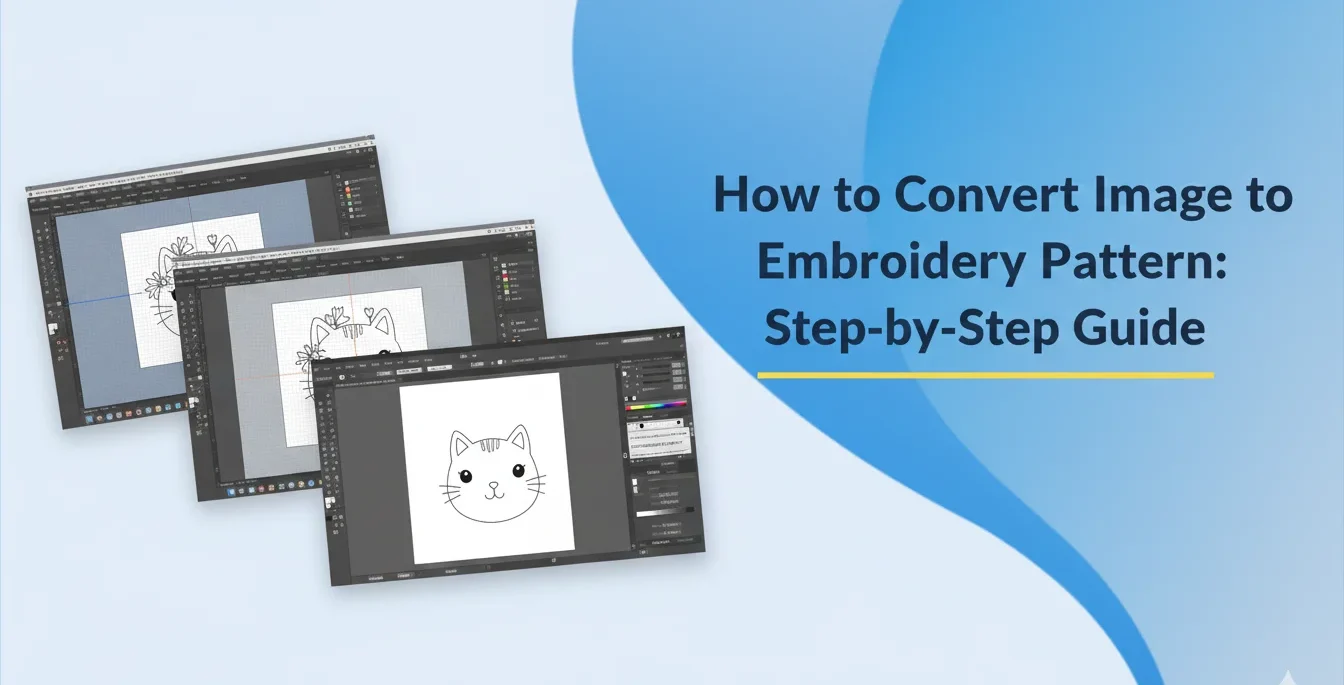
Step 3: Import and Prepare Your Image
When your software has been opened:
- Upload the image (PNG or JPG or SVG)
- Adjust the size to fit the size of your hoop
- Make sure the image is cleaned up if required — take out backgrounds, alter contrast, sharpen edges
The digitizing process is easy and precise.
Step 4: Trace or Auto-Digitize the Image
A majority of programs offer two ways:
1. Auto-Digitizing (Beginner-Friendly)
It converts the image to stitches within a single button.
However, it often requires manual corrections.
Best for:
- Simple logos
- Basic forms
- Cartoon-style pictures
2. Manual Digitizing (Professional Method)
This method allows you to manually assign types of stitches as well as directions.
It gives more control and produces professional results.
Best for:
- Detailed models
- Portrait embroidery
- Textured art
- Production of commercially-owned embroidery
Step 5: Assign Stitch Types Correctly
Different areas in your design require different stitches. This is the most important aspect of understanding how to convert image to embroidery pattern professionally.
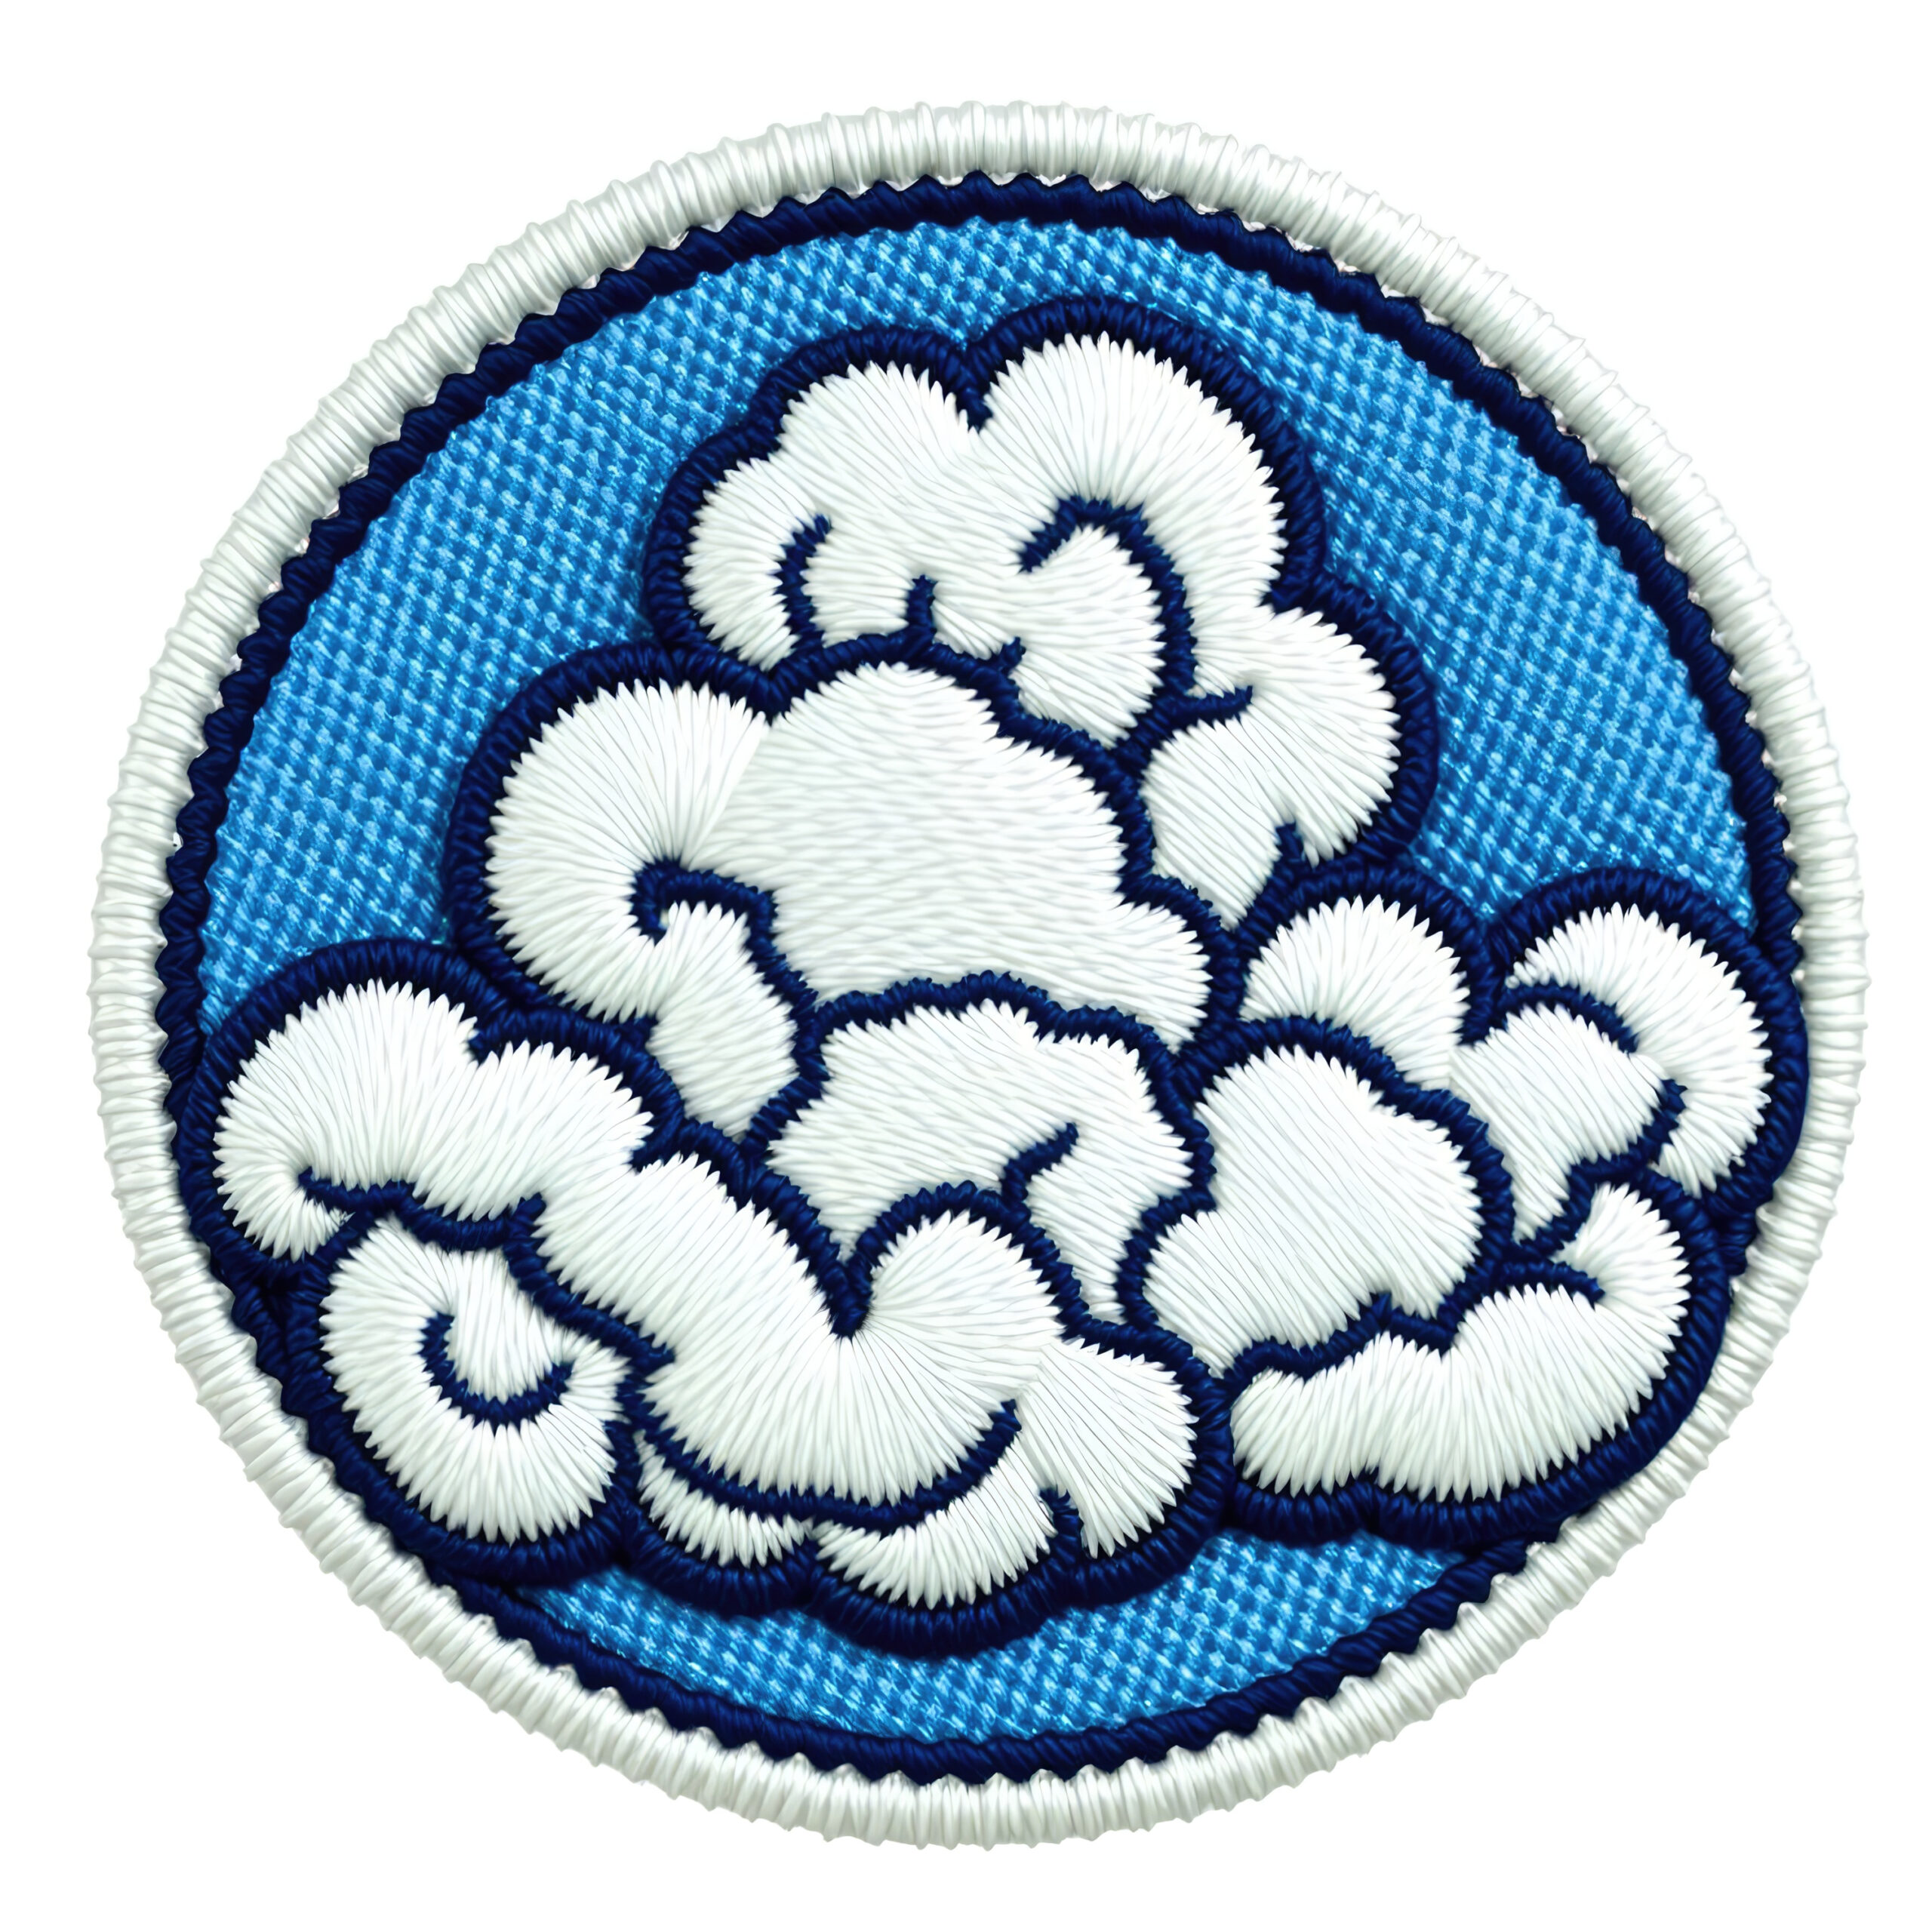
Common stitch patterns
- Satin Stitch: Borders, text, and tiny shapes
- Fill Stitch (Tatami): Large spaces that are filled
- Running Stitch: Highlights and details
- Zig-Zag Stitch: Decorative elements
- Underlay Stitches: Sustenance and stability
The correct type of stitch affects:
- Thread use
- Design quality
- Machine performance
- Fabric compatibility
Step 6: Adjust Stitch Density and Pull Compensation
Stitch density is the measure of how tightly stitch lines are formed.
- Too dense = thread breakage
- Too loose = holes in the pattern
Pull compensation ensures that the design won’t shrink when stitching, particularly on elastic fabrics.
Recommended densities
- Satin: 0.35–0.45 mm
- Fill: 0.40–0.50 mm
Settings differ based on fabric type (cotton, denim, fleece).
Step 7: Set Thread Colors and Sequence
Select thread colors manually so they match the image.
Your embroidery machine requires a clear stitch sequence:
- Color 1 → stitches
- Color 2 → stitches
- Color 3 → stitches
… and so on.
Be sure that jumps and trims are arranged in a way that minimizes thread loss.
Step 8: Save Your Embroidery File in the Correct Format
Different machines require different formats.
Most popular embroidery file formats
- PES (Brother, Babylock)
- DST (Tajima, universal industrial format)
- EXP (Melco)
- JEF (Janome)
- HUS (Husqvarna)
- VP3 (Viking)
Make sure you export the design into the format compatible with your embroidery machine.
Step 9: Test Stitch Your Design
Before stitching the final product:
- Make a test stitch using scrap fabric
- Check for puckering, gaps, or loose threads
- Adjust density, underlay, or stitch direction
- Export again if needed
Testing is crucial for accurate final results.
Why Learning This Skill Matters
Knowing how to convert image to embroidery pattern allows you to create with complete flexibility.
Whether you’re designing custom items, selling digital embroidery designs, or operating an embroidery business, digitizing opens up endless possibilities.
You can convert:
- Logos
- Photos
- Images of pets
- Cartoon characters
- Name monograms
- Patches and badges
…and many more.
FAQs
1. What’s the simplest method to transform images into a stitch pattern?
Using automatic digitizing tools in programs like Hatch and SewArt is the easiest. Manual digitizing gives superior results for professional use.
2. Can I transform PNG or JPG into PES or DST?
Yes! That is exactly what digitizing does. Upload your photo, digitize it, and export it into machine formats such as PES, DST, JEF, EXP, and more.
3. Do I need professional software for digitizing images?
Not always. Free tools like Ink/Stitch or affordable programs like SewArt are great for beginners. Professionals use Wilcom or Hatch for high-quality digitizing.
Conclusion
The process of learning how to convert images to an embroidery pattern is an important ability that opens doors to custom embroidery, innovative designs, and skilled machine work. By following the steps in this tutorial — choosing the correct image, carefully digitizing it, selecting the right stitches, and testing your work — you can create perfect embroidery patterns every time.
To get the best and most affordable customized digitizing, rely on Rise Digitizing as your preferred option for high-quality embroidery files.
We Offer fast delivery, professional quality and the highest level of precision in the industry.