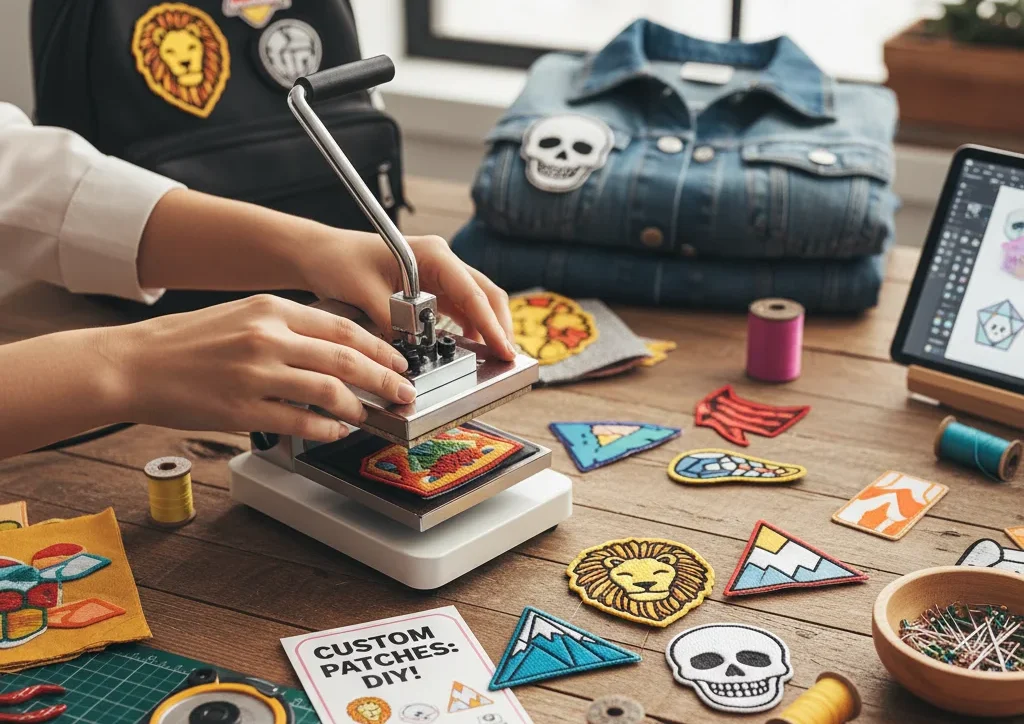
Custom-designed patches are an amazing method to show your individuality or showcase your talents or even promote your company. If you’re looking to customize the look of your backpacks, jackets, hats, or any other clothing items, understanding how to make custom patches for clothing could be an enjoyable and satisfying DIY task. In this tutorial, we’ll look at everything you should be aware of when designing and making custom patches. We’ll also provide suggestions about how to create iron on patches to make them easy to attach.
Why Custom Patches Are a Great Idea
Customized patches are the latest fashion statement, providing a unique and personal touch to your everyday garments. A few reasons why people are drawn to patches are:
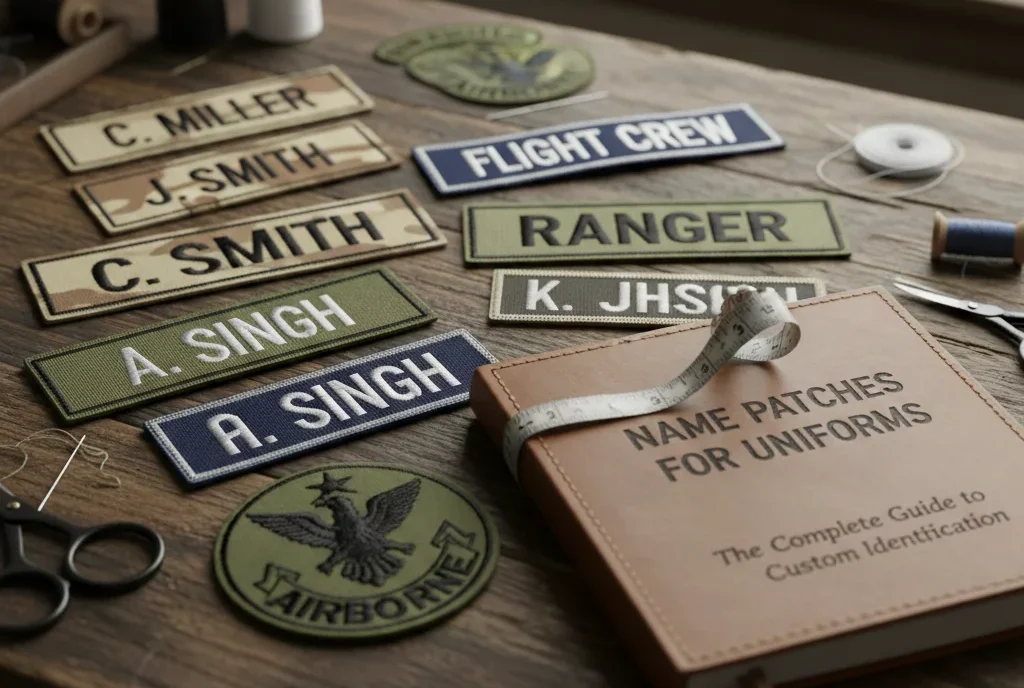
Customization: Personalize your clothing by adding your own name, logo, or image.
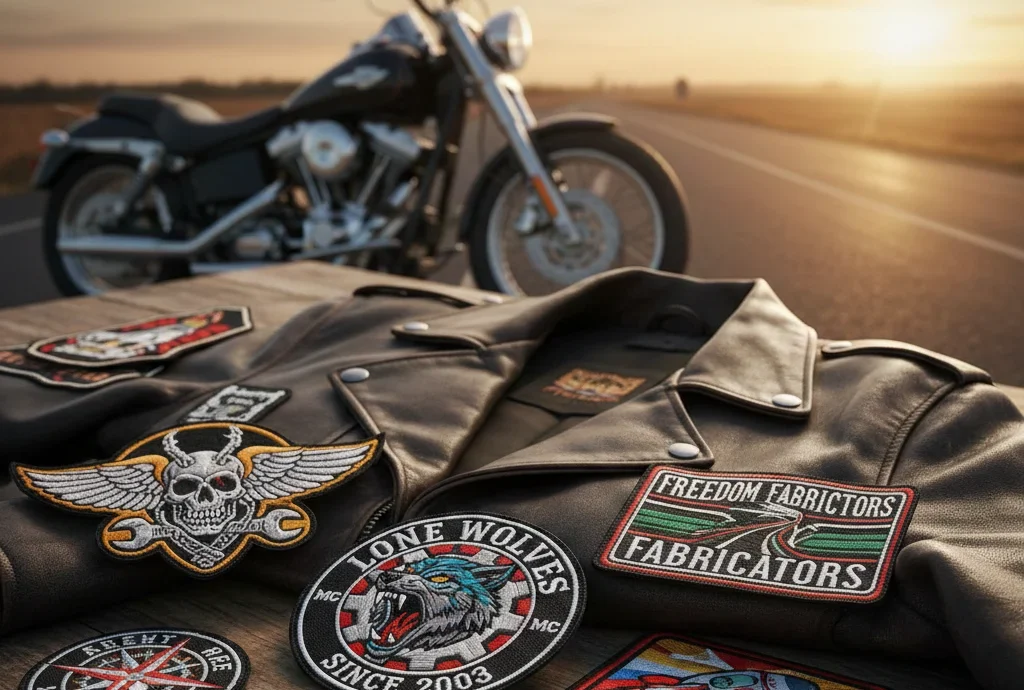
Fashion Statement: Make a plain jacket, hoodie, or backpack stand out.
Repairs: Fill small holes and damaged areas of clothing fashionably.
Brand Promotion: Companies and other organizations can design branded patches for merchandise and uniforms.
When you learn how to make custom patches for clothing, you can make something unique that represents your personality or brand.
Materials Needed to Make Custom Patches
Before beginning the process, gather the following items:
Fabrics: Felt, twill, or cotton are all common choices.
Embroidery Thread: For stitched designs.
Needles or Embroidery Machine: For manual or automated stitching.
Iron-On Backing (optional): Essential if you are planning to make iron on patches.
Scissors or Rotary Cutter: For precise cutting of patches.
Heat Press or Iron: To apply iron-on patches.
Design Software (optional): Programs like Adobe Illustrator or free alternatives for creating intricate designs.
Step 1: Designing Your Patch
Start by planning your design. You can draw it by hand or use digital software. Remember:
Size and Shape: Ensure the patch fits the intended clothing item.
Colors: Pick contrasting hues to make the design stand out.
Detail Level: Simplify intricate details for smaller patches, as they can be difficult to stitch.
Once your design is complete, transfer it to your preferred fabric using tracing paper or a light pencil sketch.
Step 2: Creating Your Patch
There are two primary methods for making patches: Hand Embroidery and Machine Embroidery.
Hand Embroidery
Use a hoop to keep the fabric in place.
Follow the outline of your design using embroidery thread.
Fill larger areas using chain stitch, satin stitch, or other methods.
After completing the patch, cut it to your desired shape.
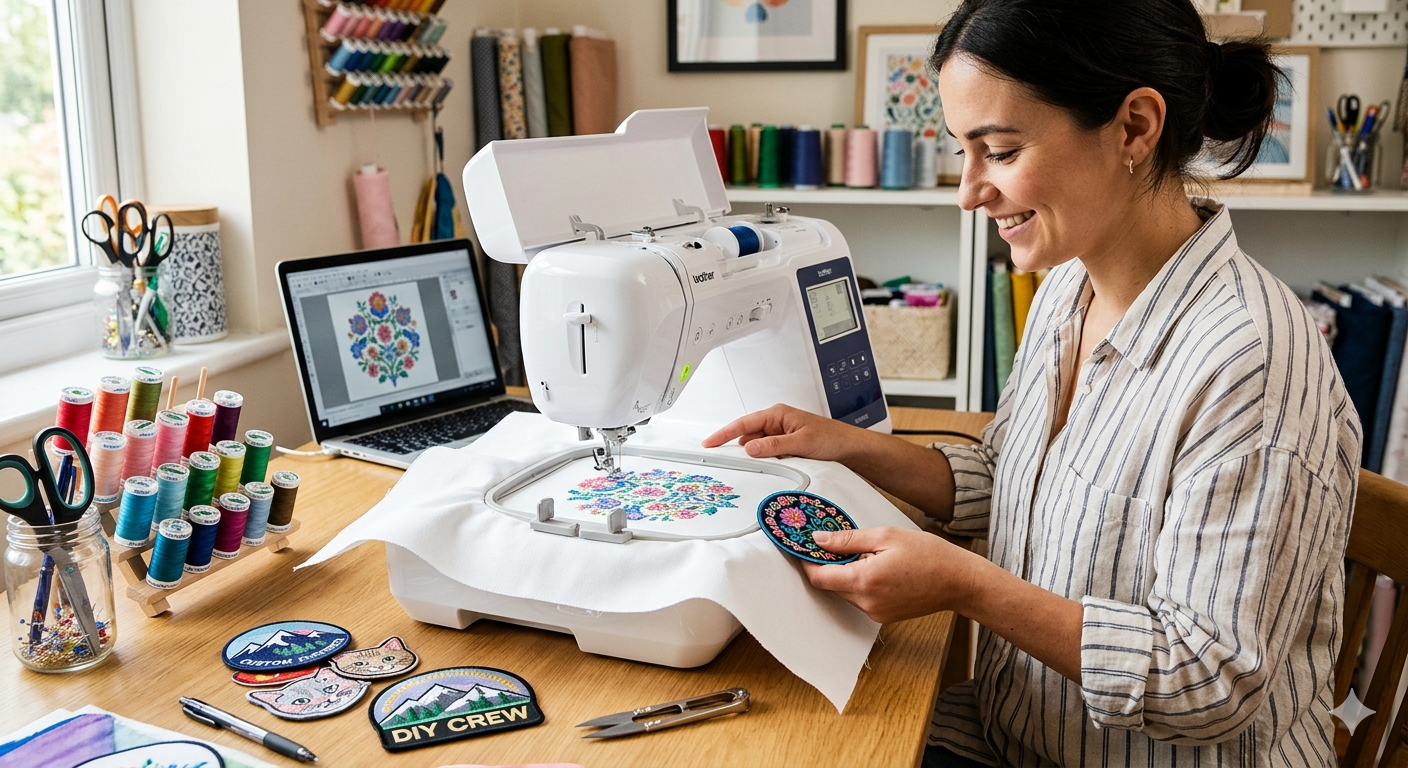
Machine Embroidery
Load your design into the embroidery machine.
Hoop your fabric with stabilizer to prevent shifting.
Start the machine and monitor the stitching.
Trim the edges carefully once finished.
Step 3: How to Create Iron On Patches
If you want to make iron on patches, follow these steps:
Apply Iron-On Backing: Cut a piece of iron-on adhesive slightly larger than your patch and attach it according to the manufacturer’s instructions.
Trim the Patch: Carefully cut around the design, leaving a small border.
Heat Application: When ready to apply the patch to clothing, use an iron or heat press. Place the patch on the fabric, cover it with a clean cloth, and apply heat according to the adhesive instructions.
Iron-on patches are convenient because they stick securely to clothing without sewing. For long-lasting durability, many people prefer sewing around the edges after ironing.
Step 4: Applying Your Patch
Whether sewn or ironed, patches instantly enhance clothing.
Sewing: Use matching thread for hand-stitching or machine stitching around the edges. For extra durability, consider a zig-zag stitch.
Iron-On Patches: Place your patch where you want it on your fabric. Cover with a thin cloth and press with a hot iron for 30–60 seconds depending on the adhesive type.
Step 5: Tips for Perfect Patches
Wash Carefully: Turn clothing inside out and wash in cold water to prolong patch life.
Test Placement: Before ironing, test with pins or temporary adhesive spray.
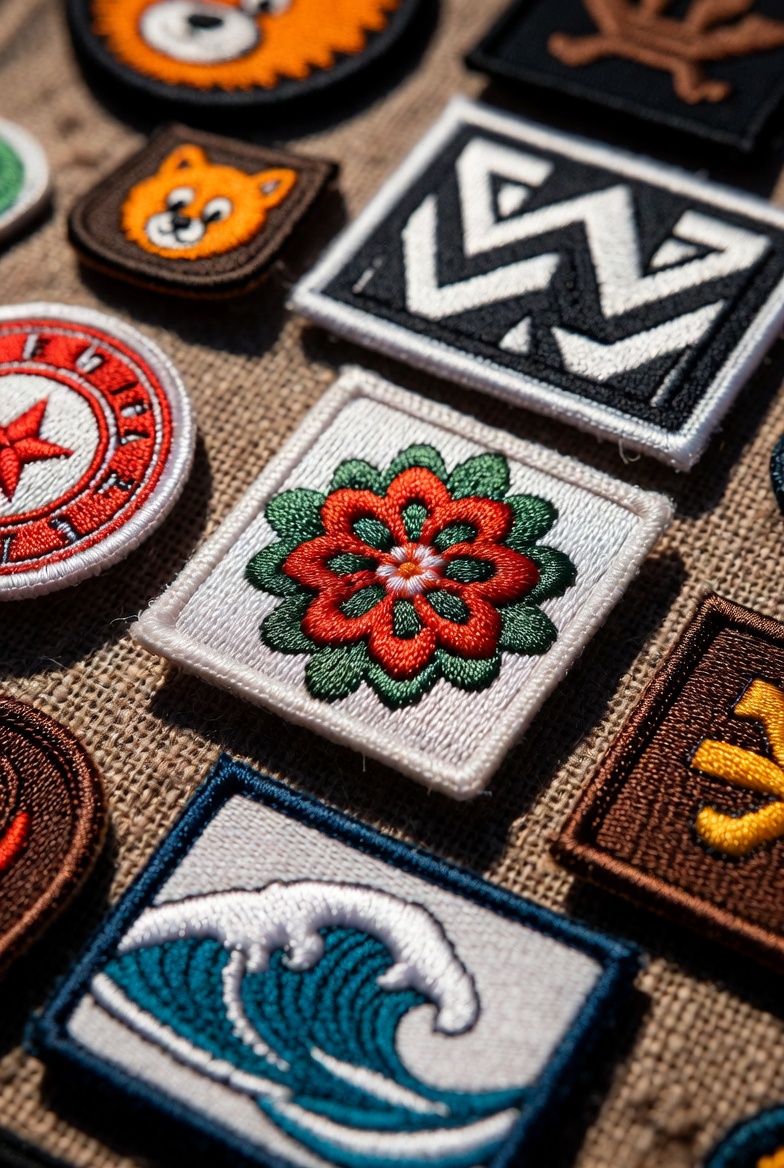
Experiment with Shapes: Circles, rectangles, and custom die-cut shapes all work well.
Combine Techniques: Hand-embroider details on an iron-on patch for a unique hybrid look.
FAQs
Q1: Can I make custom patches without an embroidery machine?
Yes! Hand embroidery is an excellent way to create custom patches. It allows more artistic freedom but requires more time.
Q2: How long do iron-on patches last on clothing?
Iron-on patches can last for many years if applied correctly and washed carefully. Sewing the edges provides extra durability.
Q3: Where can I buy materials to make patches?
Craft stores, online marketplaces, and specialty embroidery suppliers sell fabrics, threads, iron-on backing, and embroidery machines.
Final Thoughts
The art of learning how to make custom patches for clothing opens up endless creative possibilities. Whether you want to give personal touches to your wardrobe, repair garments stylishly, or create items for your business, custom patches are a cost-effective and exciting choice. Understanding how to create iron on patches makes this process simple and accessible to beginners. With the right supplies, patience, and creativity, you can craft patches as original as your imagination.