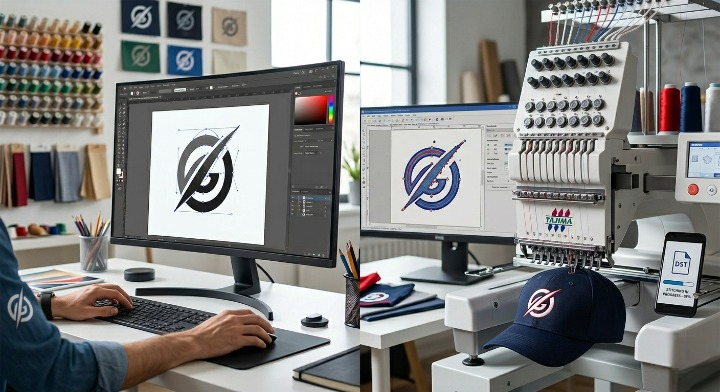
Making custom-designed shirts is one of the easiest and most effective options to launch your own clothing line, customize gifts, or even start the first printing venture of a modest size. However, before you start printing designs on T-shirts it is important Question comes in everyone mind that How to use heat press for shirts correctly.
Heat presses allow you to make designs for vinyl printing as well as sublimation, DTF transfers, screen-printed transfers, as well as printed papers that heat transfer with professional output. No matter if you’re an absolute beginner or making the switch from ironing to more sophisticated machines this guide will take you through all the information you should know.
In this comprehensive instruction on heat presses you will learn the proper methods, settings and professional tips to prevent typical mistakes and create perfect, vivid designs each time.
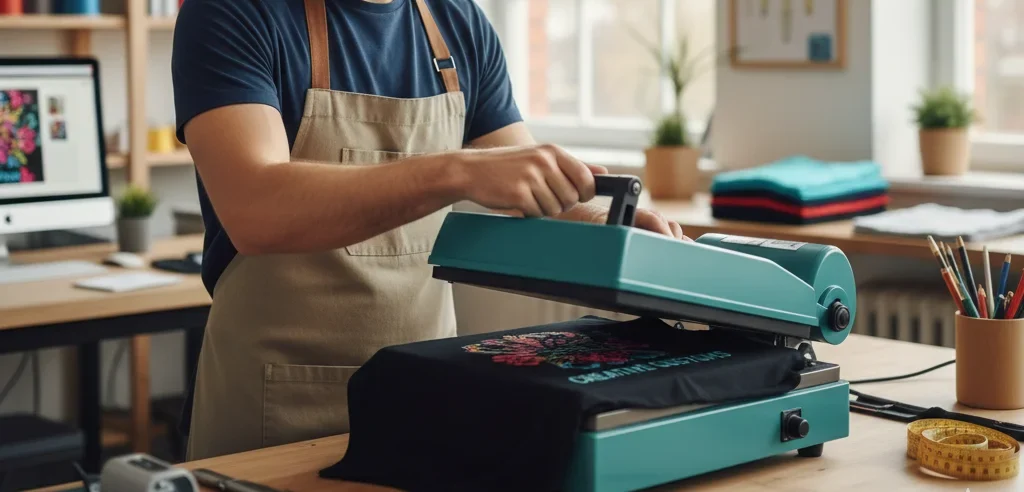
What Is a Heat Press Machine?
Heat presses are an instrument that makes use of pressurized heat to apply artwork on fabric. As opposed to irons, presses can provide:
Temperature that is consistent
Pressure that is never ending
More efficient results
Prints of professional quality
They are perfect for:
T-shirts
Hoodies
Polyester garments
Cotton T-shirts
Bags
Caps
Jerseys
These are crucial for T-shirt printing companies as well as DIY makers and hobbyists.
Why Learning How to Use Heat Press for Shirts Is Important
Making a mistake with a heat press could result in common problems such as:
Peeling vinyl
Cracked prints
Marks of burn
Designs that are not aligned
Transfers that are faded
Learning the method can help you to:
Vibrant colors
Lasting prints
Silky smooth surfaces
The perfect placement
Rationalization of effectiveness
This is crucial if you’re designing shirts for clients, occasions, special events, or even the launch of a brand.
Tools You Need Before You Start
Before you learn how to use heat press for shirts, prepare these things:
Machine for heat press (clamshell, swing-away, auto-open)
T-shirt (cotton, polyester, blend)
Vinyl for heat transfer, sublimation, DTF, transfer paper
Teflon sheets or parchment paper
Heat-resistant tape
Pressing pillows (optional)
Lint roller
Weeding equipment (for vinyl)

Step-by-Step: How to Use Heat Press for Shirts
This is the steps to follow for anyone who wants to learn:
1. Preheat Your Heat Press
Switch on the heating device and let it warm up to the desired temp.
Typical settings:
HTV (Heat Transfer Vinyl): 300–320°F
Sublimation: 380–400°F
DTF Transfers: 300–325°F
Transfer paper: 350°F
2. Prepare the Shirt
Before pressing:
Use the lint roller to eliminate dust
Pre-press the shirt for five minutes
Lay it flat and smooth
Use a ruler or T-shirt aligner
This ensures the design sticks properly.
3. Position Your Design
Design placement:
3 inches lower from neckline
Use heat-resistant tape
For vinyl, shiny side up
4. Apply Heat and Pressure
This is where you learn the actual procedure of how to use heat press for shirts properly.
For HTV:
Temperature: 305°F
Pressure: Medium-Firm
Time: 10–15 sec
For Sublimation:
Temperature: 400°F
Pressure: Light-Medium
Time: 45–60 sec
For DTF Transfers:
Temperature: 315°F
Pressure: Medium
Time: 15 sec
Be sure the press fully covers the design.
5. Remove the Carrier Sheet or Paper
HTV: hot or cold peel
Sublimation: remove immediately
DTF: warm peel
Transfer paper: cold peel
Do not rush peeling.
6. Post-Press the Shirt
Continue pressing for 5 seconds with Teflon sheet
Smooth edges
Allow to cool completely
Heat Press Time, Temperature & Pressure Chart
Ideal for beginners:
| Material Type | Temp (°F) | Time | Pressure |
|---|---|---|---|
| HTV | 300–320 | 10–15 s | Medium |
| Sublimation | 380–400 | 45–60 s | Medium |
| DTF | 300–325 | 10–15 s | Medium |
| Transfer Paper | 350 | 20–30 s | Medium |
Common Mistakes Beginners Make (And How to Avoid Them)
Using the wrong temperature
Not pre-pressing
Uneven pressure
Peeling incorrectly
Pressing too long
Pro Tips for Professional Heat Press Results
Use a heat press cushion for thick garments
Stretch fabric slightly before peeling
Use a heat gun to confirm temperature
Avoid seams
Store vinyl properly
Best Heat Press Types for Beginners
Clamshell Heat Press
Swing-Away Heat Press
Auto-Open Heat Press
Final Thoughts
Learning how to use heat press for shirts is simple once you understand temperature, pressure, alignment, and peeling techniques.
Mastering the process gives you:
Lasting prints
Smooth finishes
Professional-quality shirts
Happy customers
With the proper tools, anyone can create stunning custom apparel.