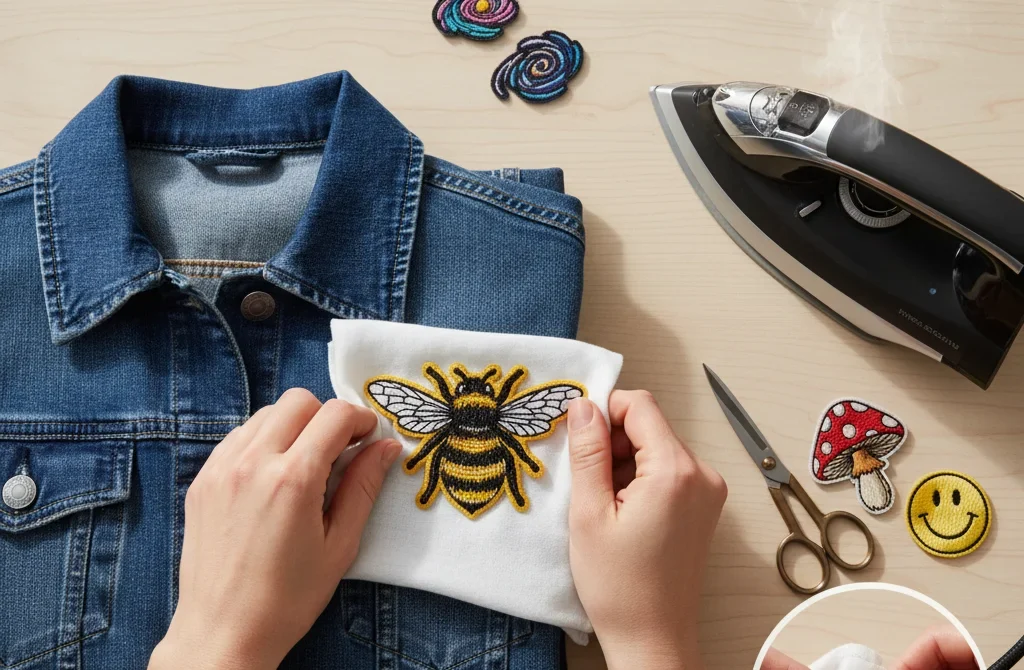
Embroidered patches are a fantastic way to personalize clothing, bags, hats, and more. They allow you to show off your style, support a team, or even promote a brand. If you’re wondering how to iron on embroidered patches, this comprehensive guide will walk you through the process, provide tips for proper placement, and answer questions about maintenance and sourcing patches.
What Are Embroidered Patches?
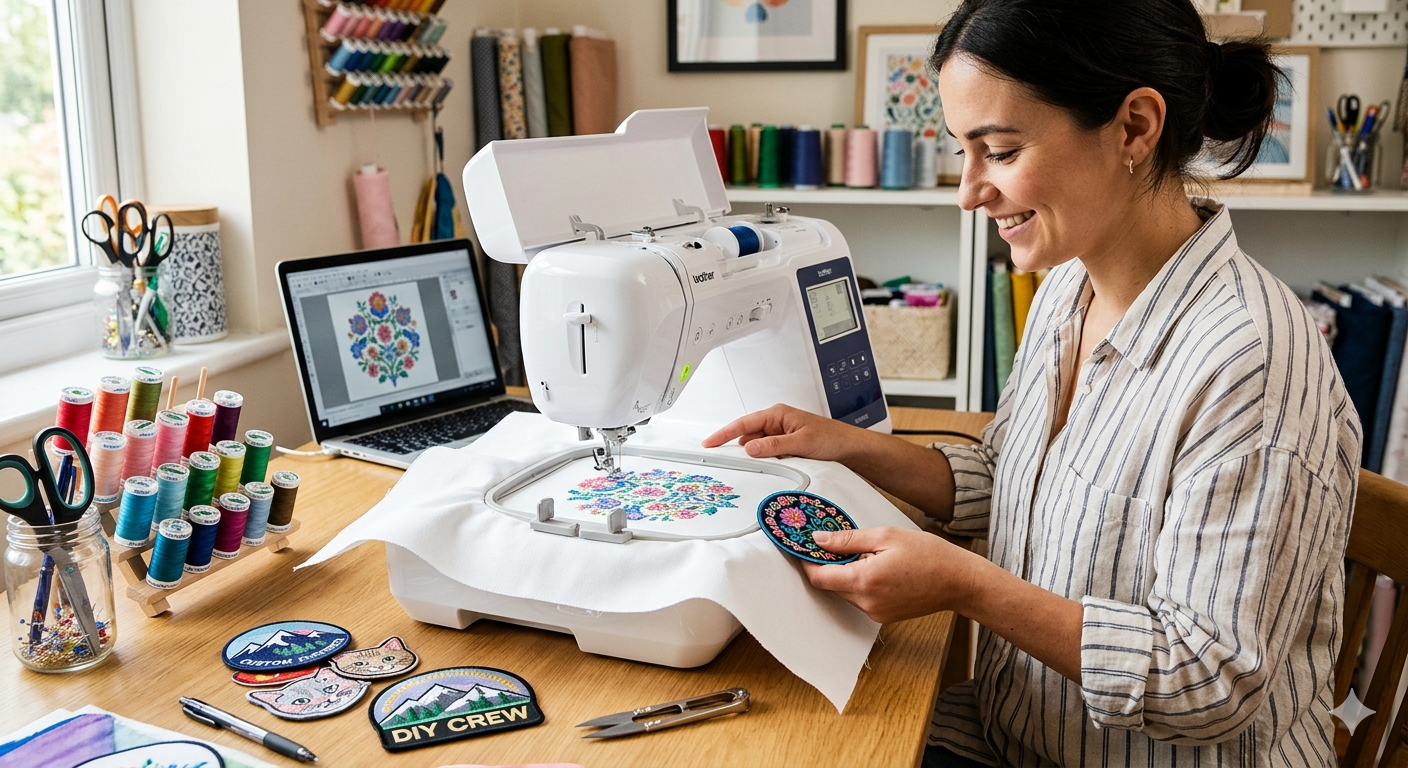
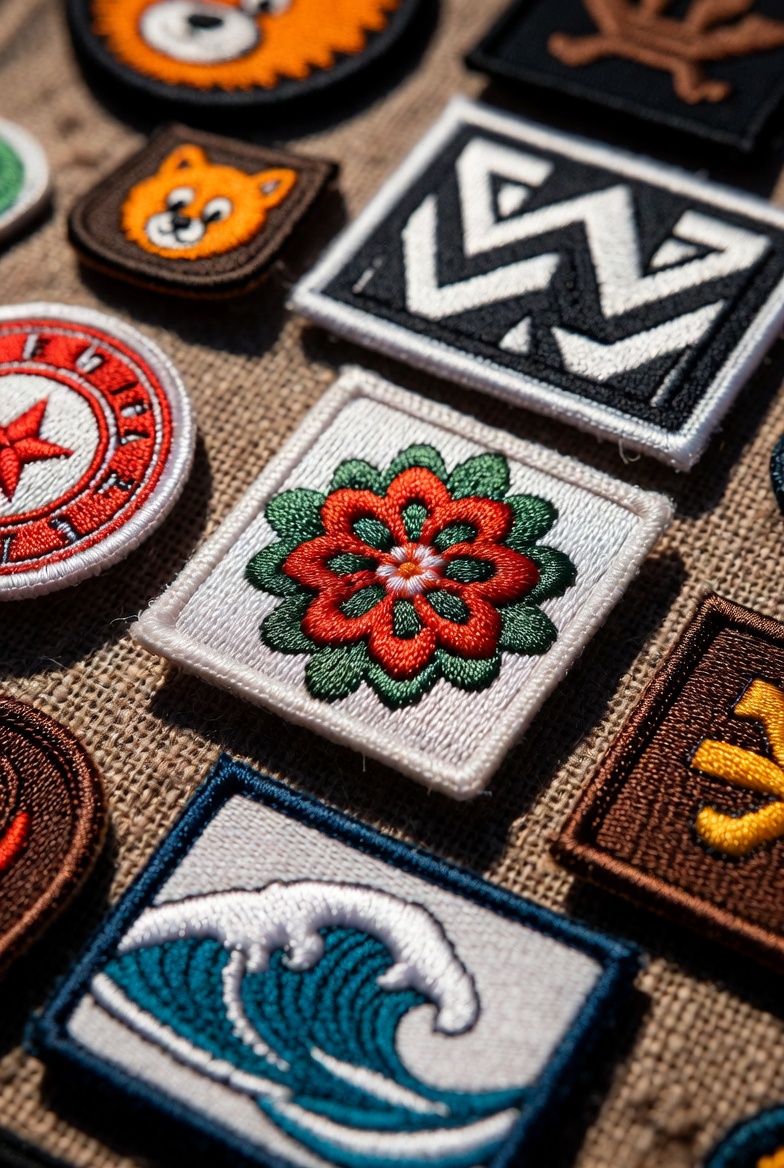
Embroidered patches are pieces of fabric adorned with stitched designs. They are often backed with an adhesive layer that makes them easy to attach using heat. These patches can vary in size, shape, and complexity, making them perfect for DIY projects, uniforms, or custom merchandise.
Using iron-on patches is convenient because you don’t need a sewing machine or advanced skills. With just a few household tools, you can securely attach patches to most fabrics.
Step-by-Step Guide: How to Iron On Embroidered Patches
Here’s a detailed step-by-step guide to ensure your patches adhere perfectly:
1. Gather Your Materials
You’ll need:
Embroidered patch with iron-on backing
Iron
Ironing board or flat surface
Thin cloth or towel
Your garment or fabric item
2. Preheat the Iron
Set your iron to the cotton or medium heat setting. Avoid using steam as it can interfere with the adhesive.
3. Position the Patch
Place the patch exactly where you want it on the garment. Make sure the surface is clean and free of wrinkles.
4. Cover With a Cloth
Place a thin cloth or towel over the patch. This protects both the patch and your fabric from direct heat, preventing scorching or melting.
5. Apply Heat
Press the iron firmly onto the patch for 15–30 seconds, depending on the size. Apply even pressure and avoid moving the iron back and forth.
6. Check Adhesion
Lift the cloth and gently test the patch’s edges. If it’s not fully adhered, cover it again and apply heat for another 10–15 seconds.
7. Let It Cool
Allow the patch to cool completely before wearing or washing the garment. This helps the adhesive set properly.
8. Optional: Sew for Extra Security
While iron-on patches are durable, sewing the edges can ensure longevity, especially for items that will be washed frequently.
Tips for Successful Iron-On Patch Application
Avoid synthetic fabrics: Iron-on patches work best on cotton, denim, and other heat-resistant fabrics. Avoid nylon or polyester blends, which may melt.
Prewash the garment: Wash and dry the fabric before attaching the patch to avoid shrinkage issues later.
Use a firm surface: Always iron on a solid, heat-resistant surface rather than a soft bed or couch.
Check manufacturer instructions: Some patches require longer heating times or specific temperatures, so always check the label.
How to Remove an Embroidered Patch
Sometimes, you may want to remove a patch without damaging the garment. Here’s how:
Heat the Adhesive: Use a low-heat iron or a hairdryer to soften the adhesive.
Peel Slowly: Gently lift one edge of the patch with tweezers or your fingers. Pull slowly to avoid tearing the fabric.
Remove Residue: Use a small amount of rubbing alcohol or adhesive remover to clean leftover adhesive.
Wash the Garment: Wash the area as usual to remove any remaining residue.
Knowing how to remove an embroidered patch is especially useful for replacing old patches or repurposing garments.
Where to Buy Patches in Bulk
If you’re planning a DIY project, team uniforms, or a business venture, you may need multiple patches. Here’s where to buy patches in bulk:
Online Marketplaces: Amazon, Etsy, and eBay offer bulk patch options with a variety of designs.
Specialty Patch Suppliers: Companies like PatchCollection, Patches4Less, and Custom Patches specialize in bulk orders and custom embroidery.
Wholesale Retailers: Local craft or uniform stores may offer bulk purchasing options for businesses or schools.
Custom Manufacturers: For branding or unique designs, custom patch manufacturers can produce large quantities tailored to your needs.
Buying in bulk not only saves money but ensures consistency across multiple garments.
Maintenance Tips for Iron-On Patches
Avoid high heat when washing: Wash garments in cold or warm water and air dry when possible.
Do not bleach: Bleach can weaken the adhesive and fade the embroidery.
Iron carefully: If ironing over the patch again, always cover it with a cloth to prevent damage.
Sew if needed: For patches on frequently washed items, adding stitches around the edges increases durability.
FAQs
1. Can all patches be ironed on?
Not all patches are iron-on. Some require sewing. Always check the backing of the patch before attempting to iron it on.
2. Can I remove an iron-on patch without damaging my clothes?
Yes. Knowing how to remove an embroidered patch carefully with heat and adhesive remover can prevent damage.
3. Where can I buy patches in bulk for my team or business?
You can buy patches in bulk online from marketplaces, specialty patch suppliers, wholesale retailers, or custom manufacturers.
Final Thoughts
Learning how to iron on embroidered patches is simple but requires attention to detail. Whether you’re customizing jackets, backpacks, or hats, following the right steps ensures your patches stay secure and look professional.
Knowing how to remove an embroidered patch and understanding where to buy patches in bulk can save time, money, and effort in your DIY or business projects. With the right techniques and resources, embroidered patches can transform ordinary garments into unique, personalized pieces.